| Date: 06-05-2018 | |
| Number of Hours: 7 | |
| Manual Reference: no ref |
Time for the fuel sensors to go into the strakes. I’ve spent a huge amount of time pondering and researching how to do this. My issue was using Avgas but perhaps some Mogas at times too. Once I go there, capacitance probes can be 40% out. I can’t re-calibrate on the fly and what if I shandy the fuel? This would mean completely unreliable fuel gauges. The only time this might be critical is for very long flights over water… exactly when I might not want false readings. So no capacitance probes for this plane.
My solution is a mix of optical fuel sensors and the old school sight gauges. I also need an electrical signal to work my ferry tank top up system. I’ve gone for the GEM ELS-950 level switches. These optical electric ‘switches’ just tell you liquid or ‘no liquid’. It doesn’t care about the specific gravity of the fuel as capacitance sensors do.
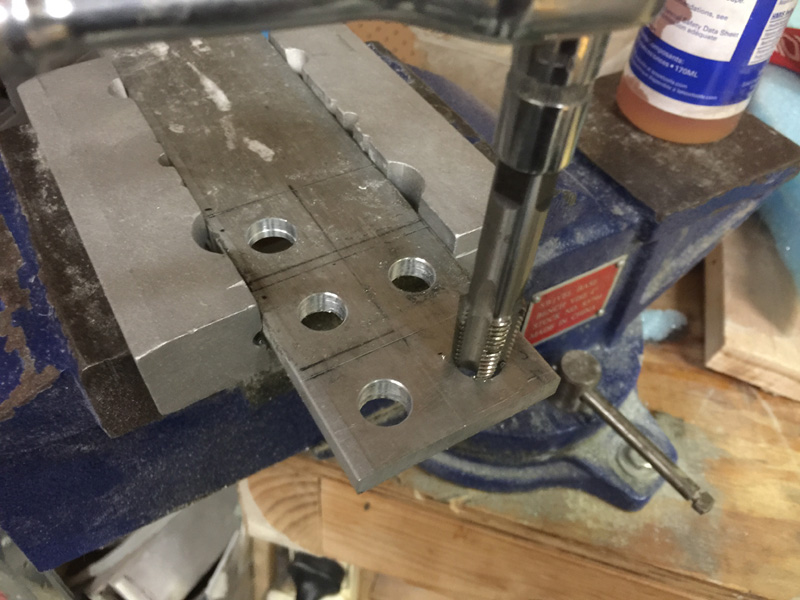
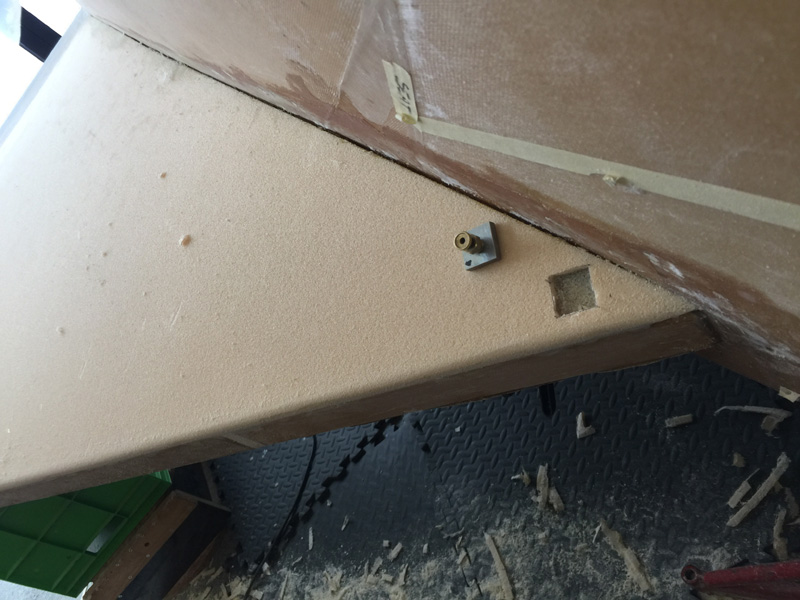
I used 2024 T3 1/4″ thick for the hard points. A 1/4″ NPT tap is used for the sensors. I also made a hard point for the AUX tank (or ferry tank) line which will be an AN firewall fitting.
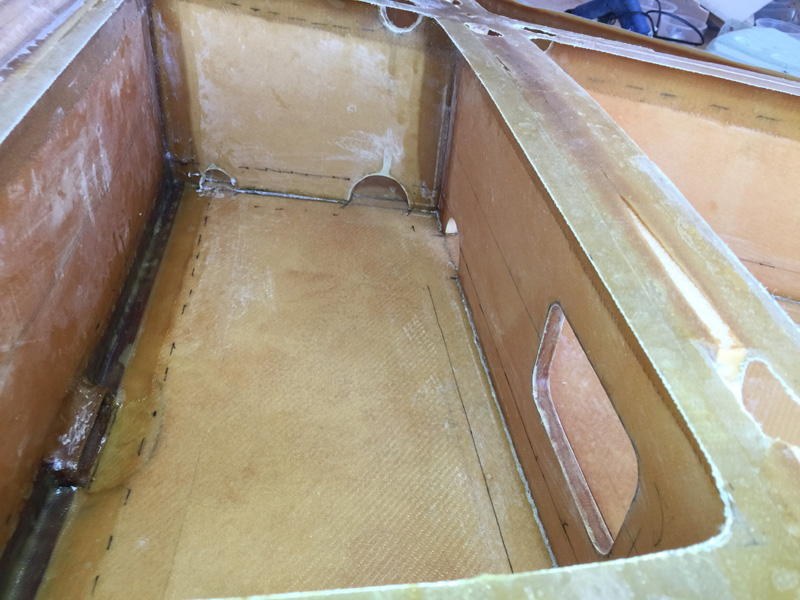
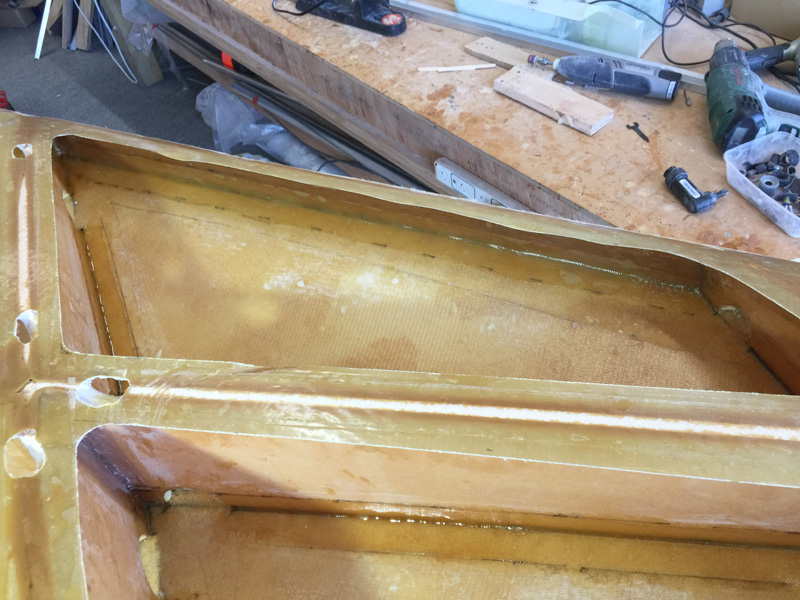
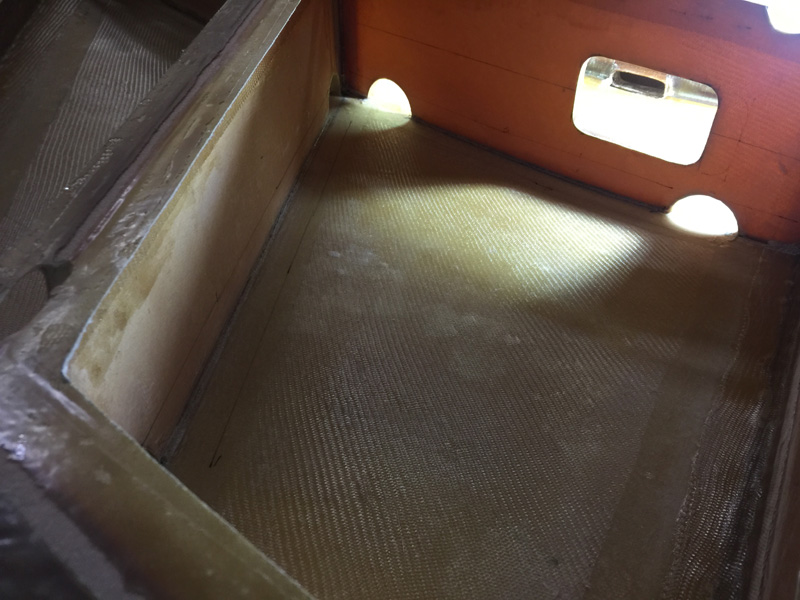
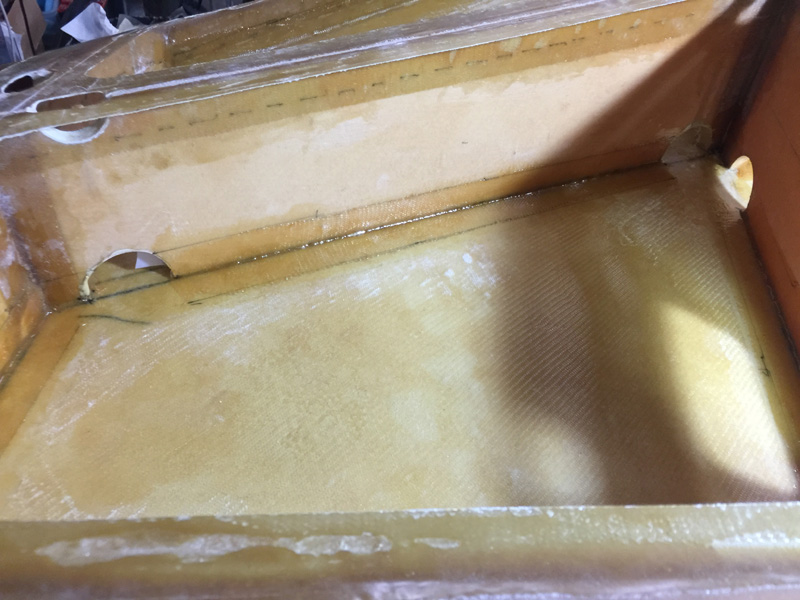
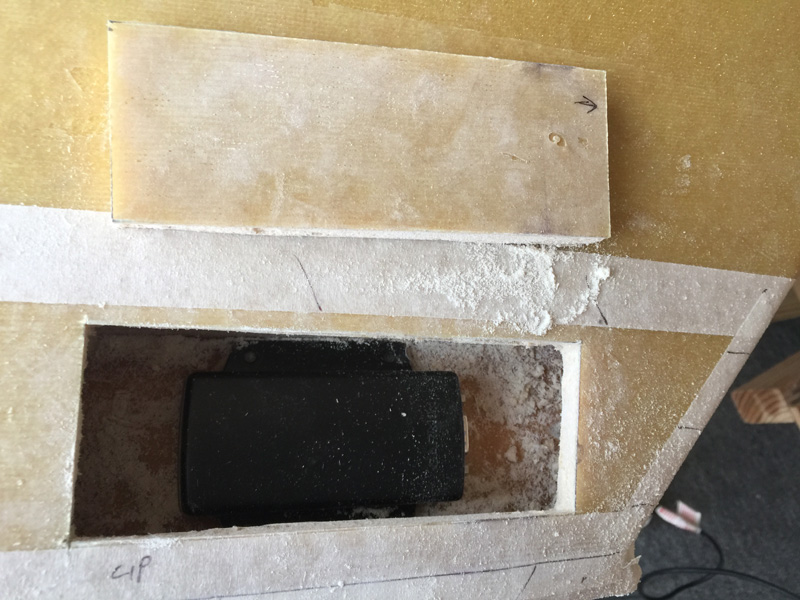
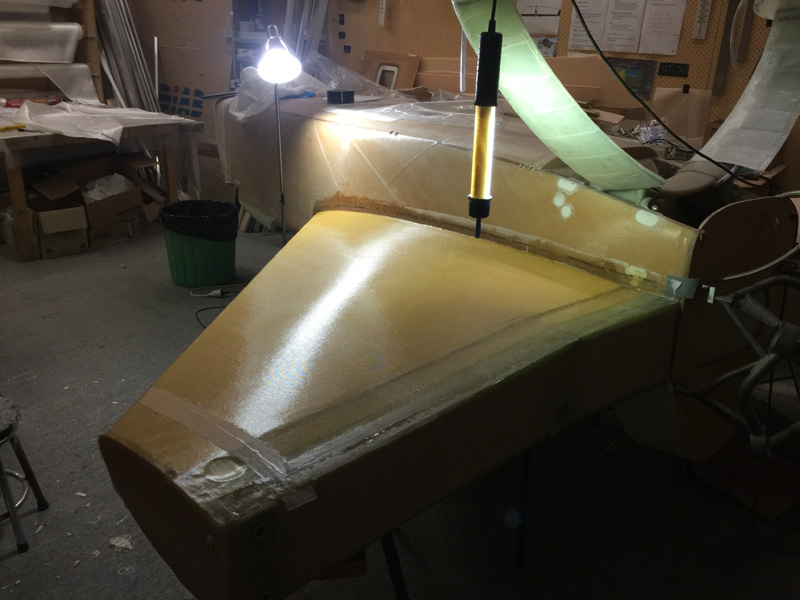
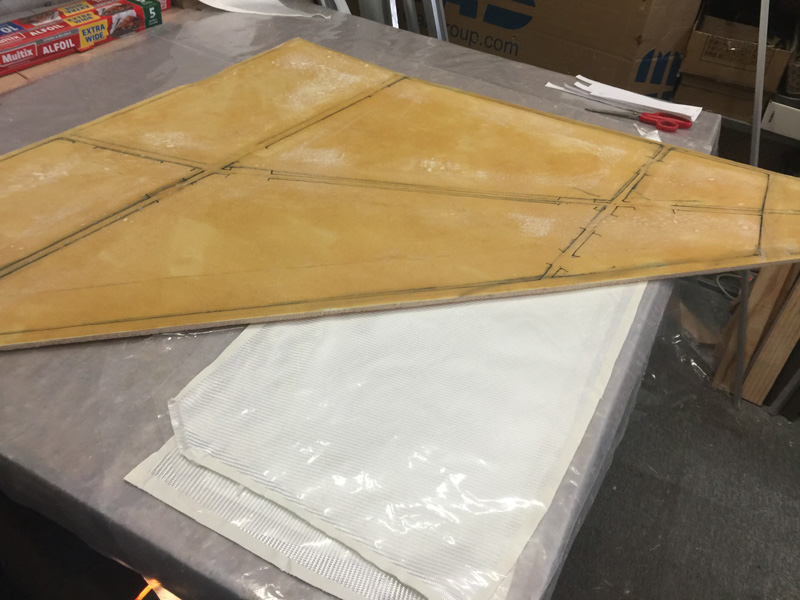
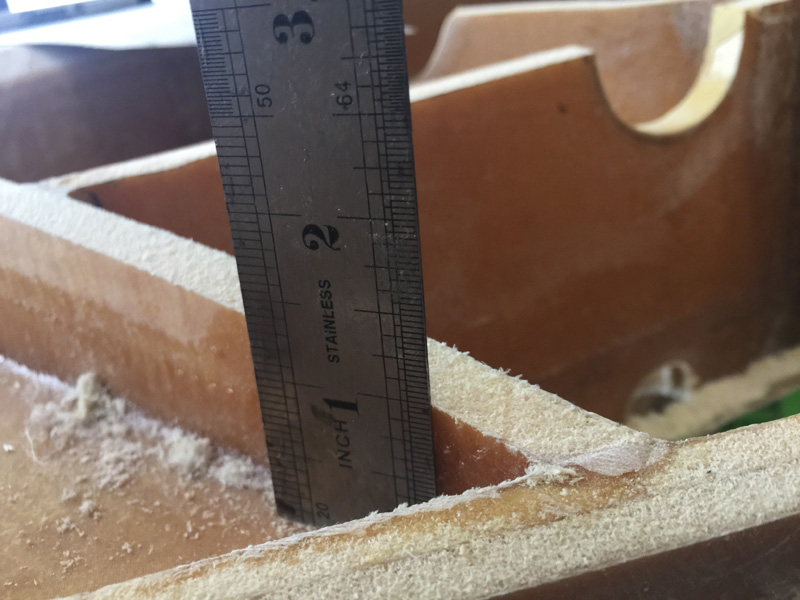
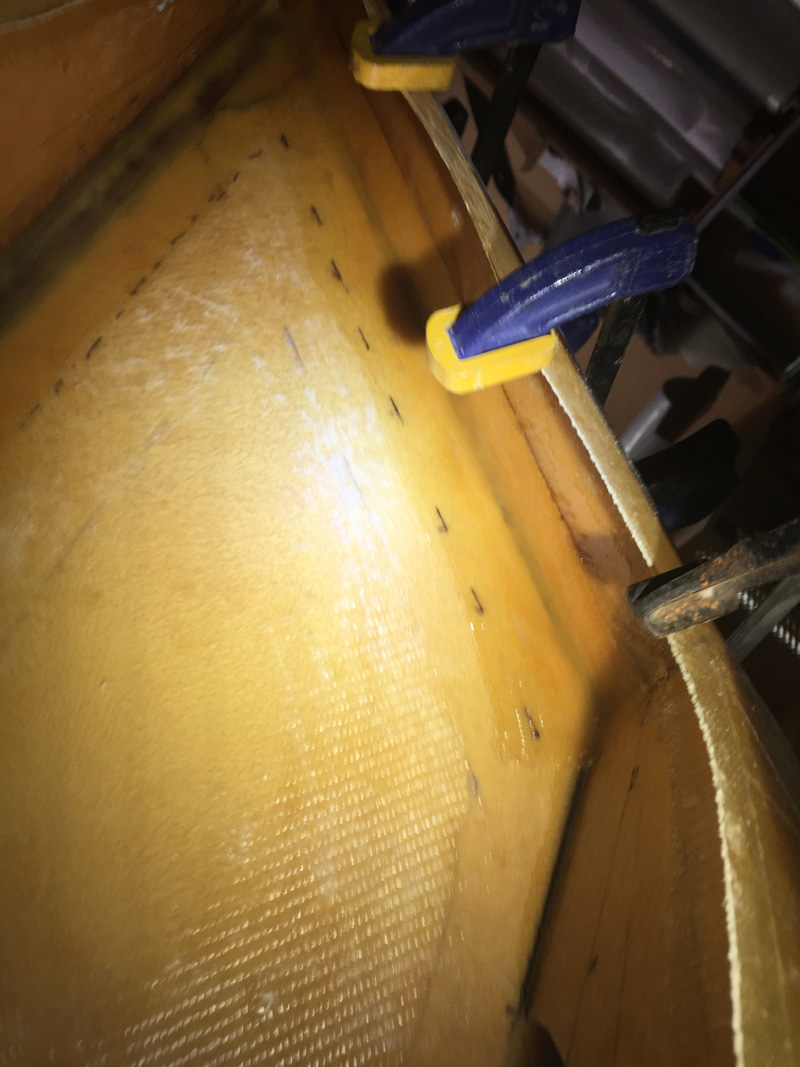
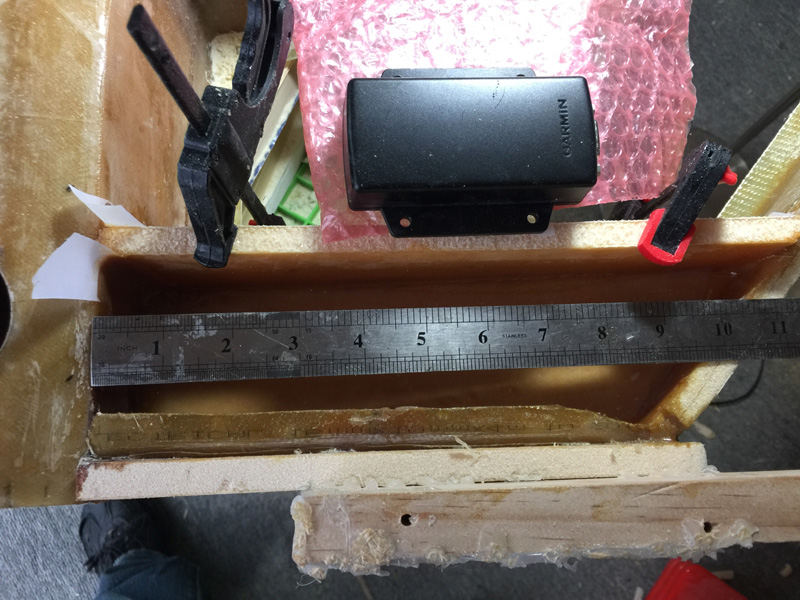
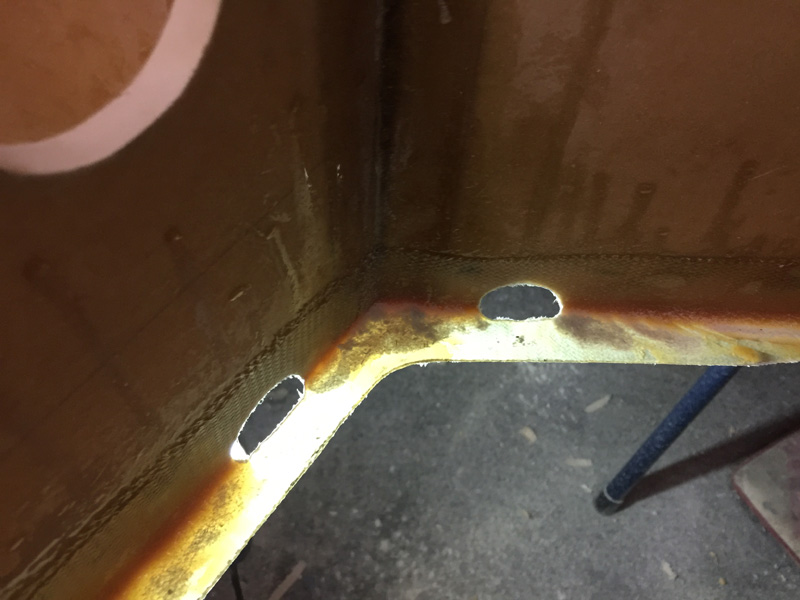
Here I’ve cut the foam down to the inside glass for installing the hardpoints.
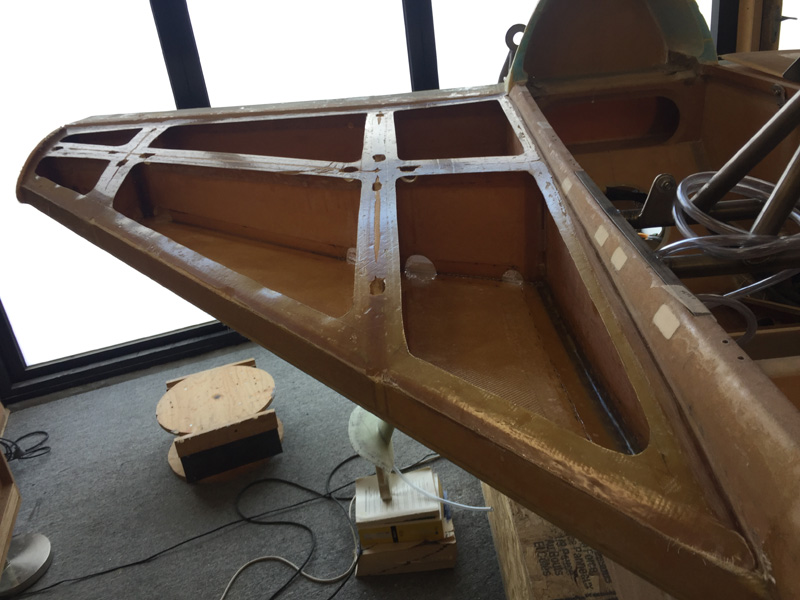
The positioning of these fuel sensors has been a year or so in the making. I finally realised that I have one fuel tank, not two (or three) and I don’t need sensors on both sides because the engine thinks there is only one tank supplying it.
I’ve then thought about what indications are useful in flight and what do I want the auto fill from the ferry tank to operate on which levels? I have a calculated guess that full fuel will be 300Lts in my modified strakes. Given the spar is 8″ in depth and allowing for 9″ depth maximum height as it is a little more forward, I could work out positions for the sensors as well. My decisions are:-
4/4 Full fuel at the Spar (which is not 100% full) about 275L as high as possible (right)
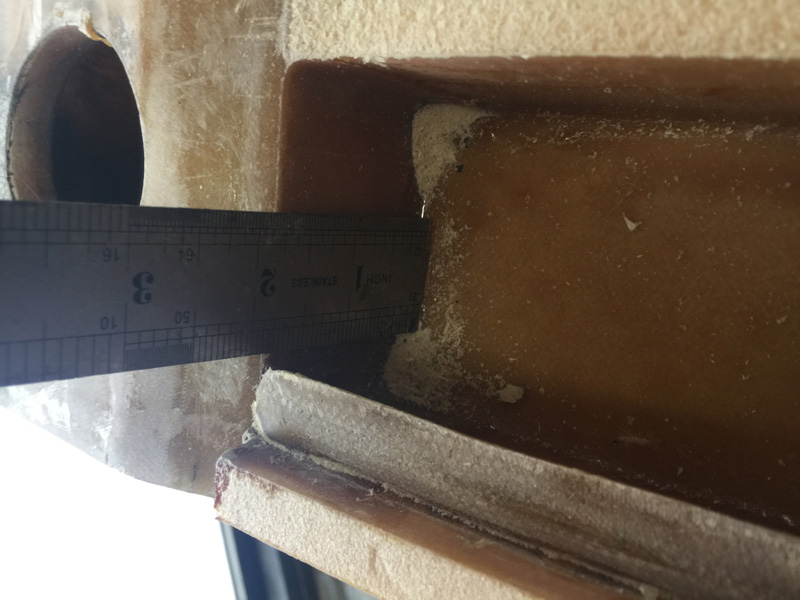
2/3 about 200L 5.3″ (from the bottom of the strake) (left)
2/5 about 120L 3.2″ (right)
1/5 about 60L 1.6″ (left)
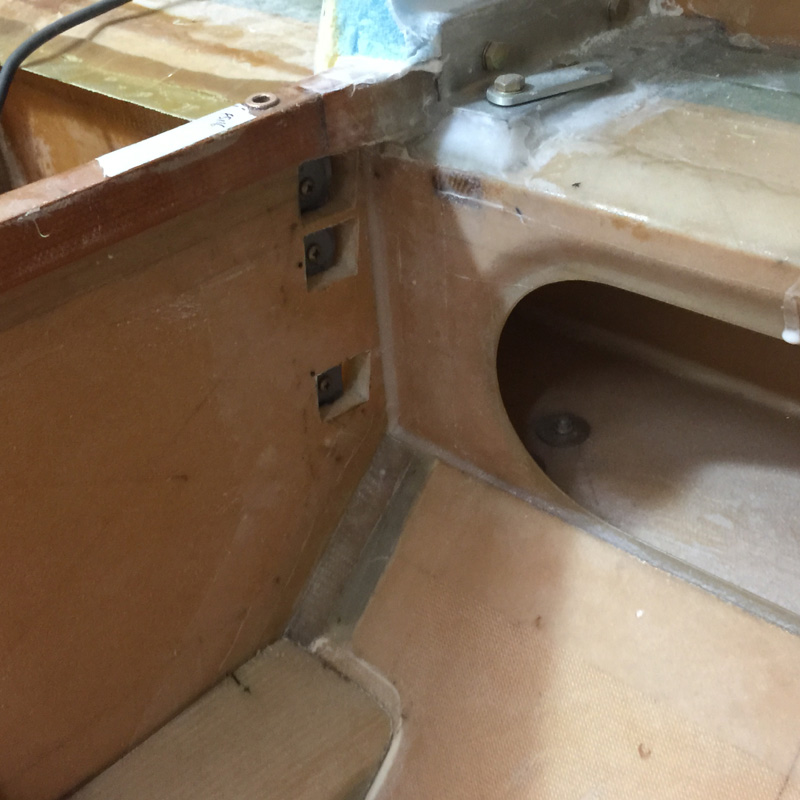
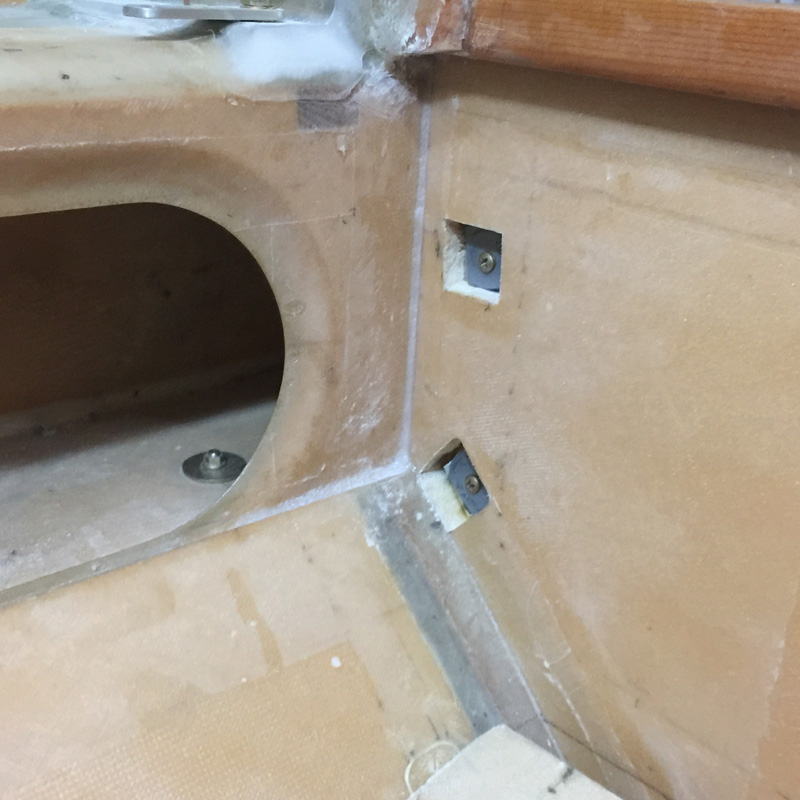
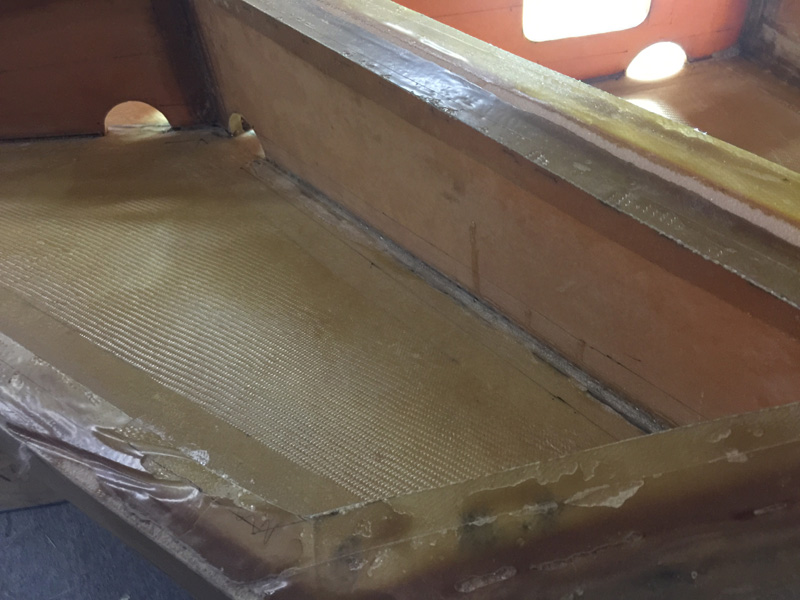
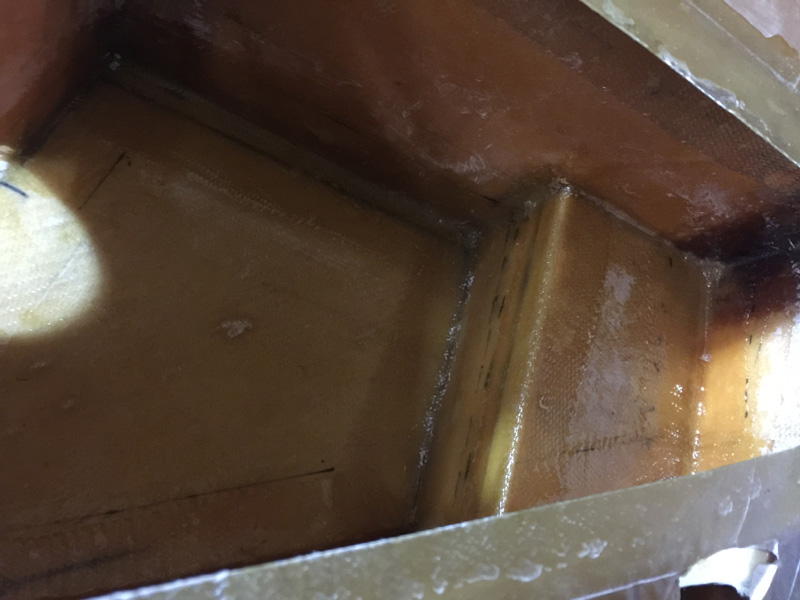
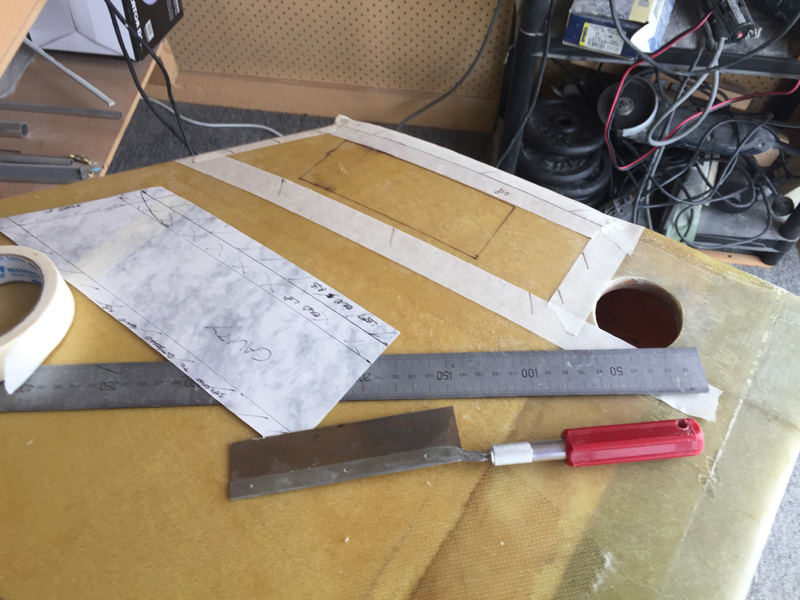
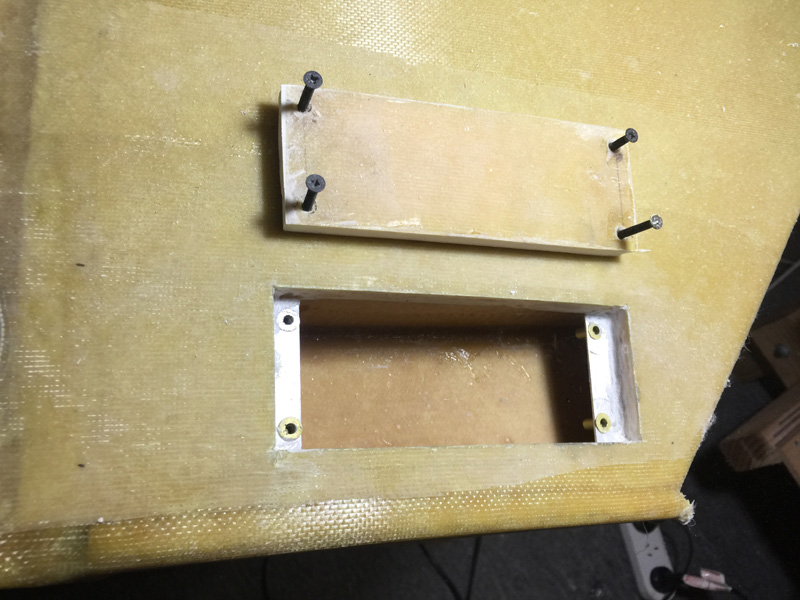
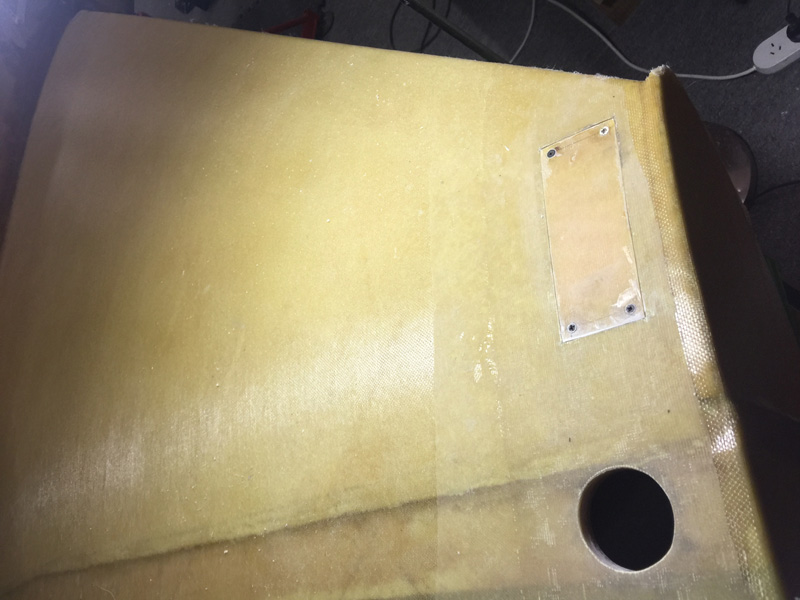
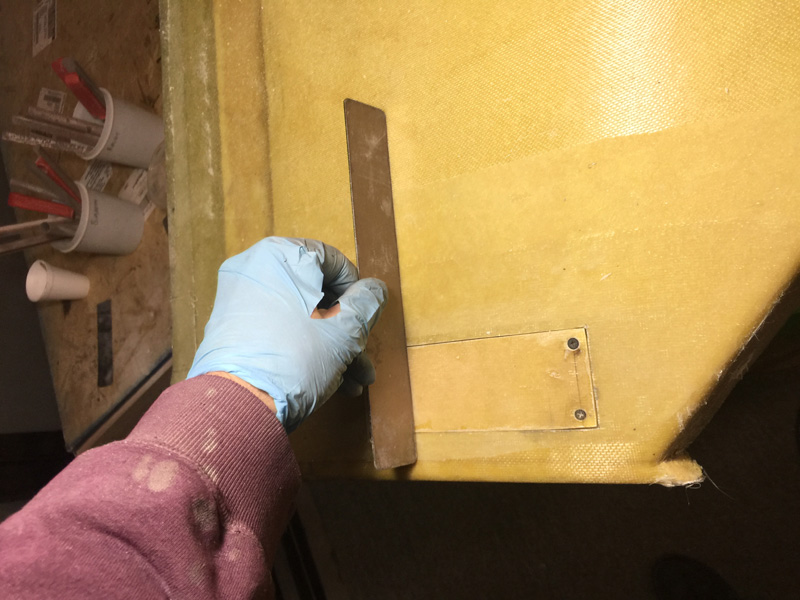
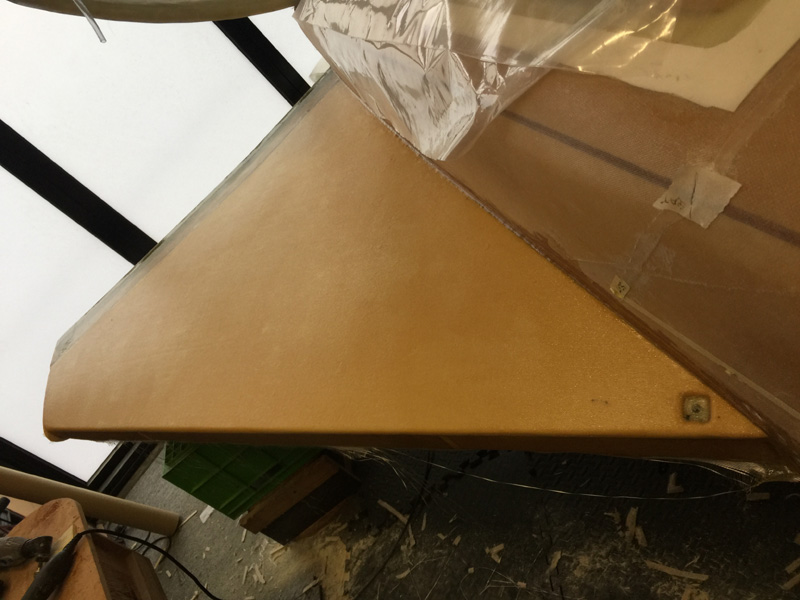
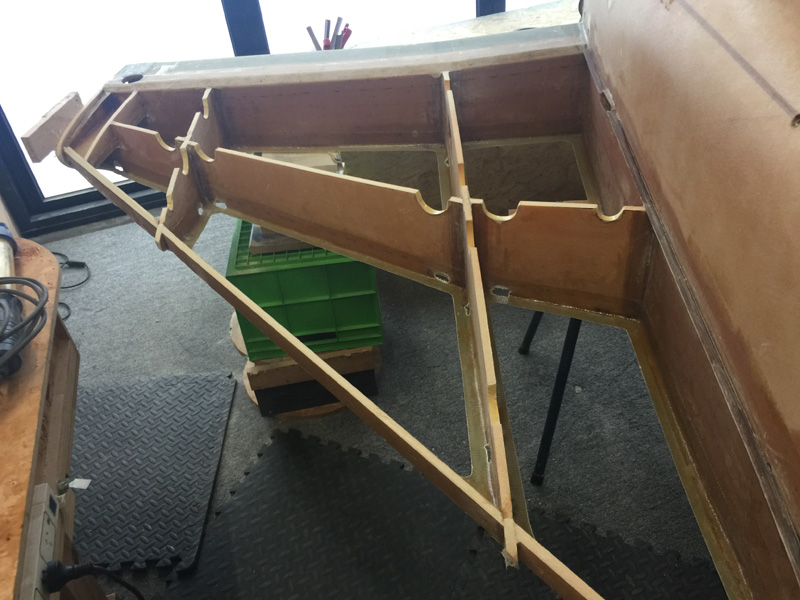
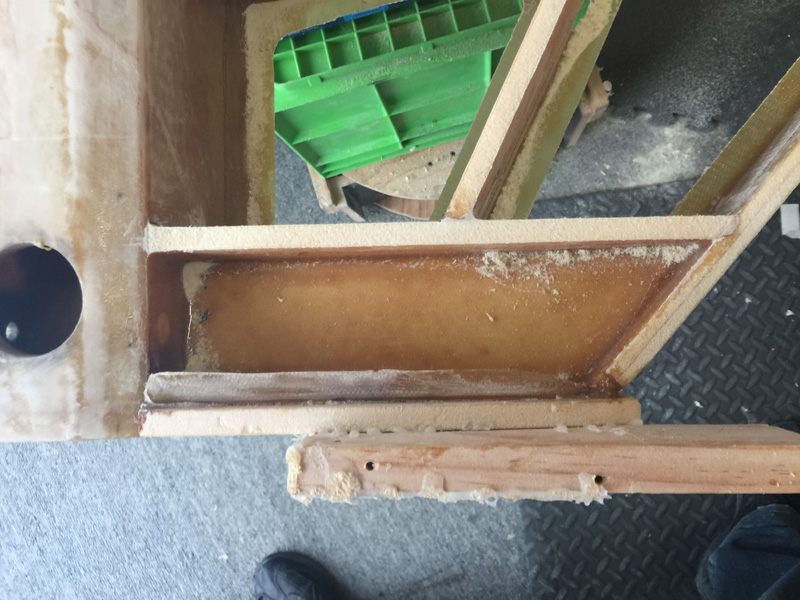
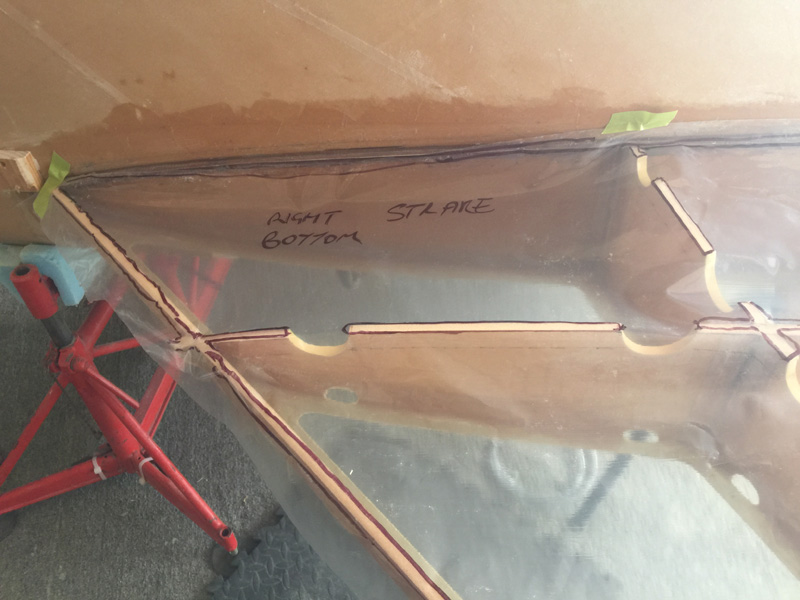
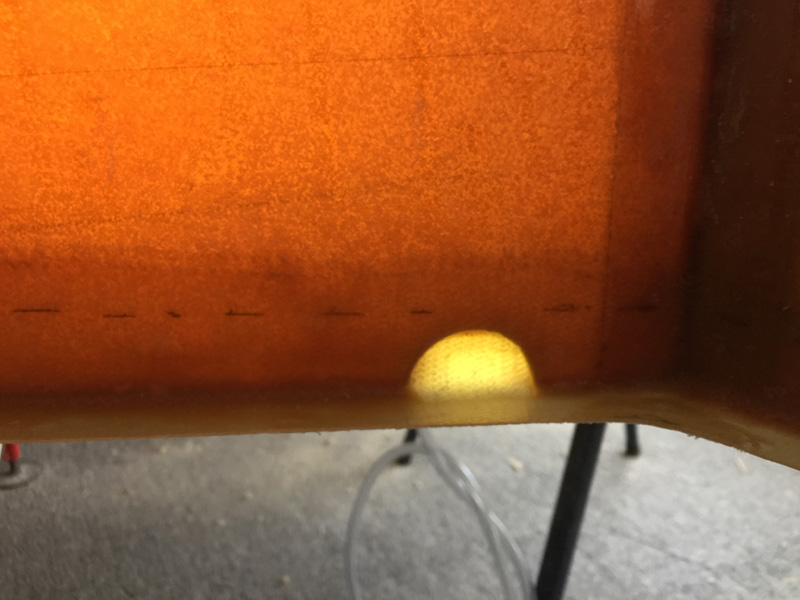
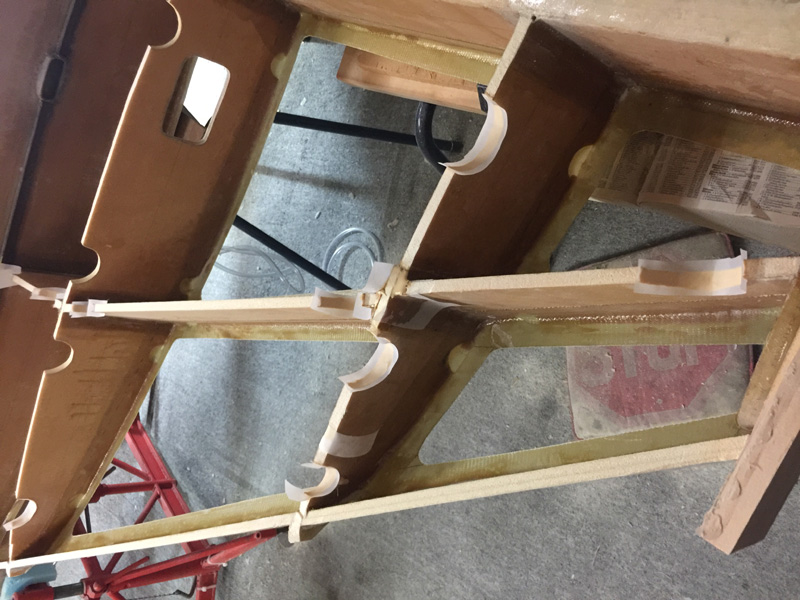
Yes I had to make a bunch of cut outs for the hard points. Here’s the one tank thinking…. I put the ‘full’ hardpoint on the right. Then I put the AUX ferry tank fuel inlet just below this also on the right and the 2/5 of a tank (3.2″) below that. So thats three hard points on the right. On the left we have the 2/3 full at 5.3″ and the 1/5th full at 1.6″. This is shown in the last two pics.
So whats my rationale? I like to know when I have about 2 hours fuel left. That’s my 1/5 or 60 liter indication. I also like the 120L number which is a good one for local flights given that I rarely fly less than 2 hours and I always include a fixed reserve. The nearly full and 2/3 or 200L are markers for my auto top up for the ferry tank. This holds 250L maximum (so I have potentially 550L at MAUW) and I like the idea of topping up the mains so if the top up fails for any reason, I always have at least 200L to feed the engine.
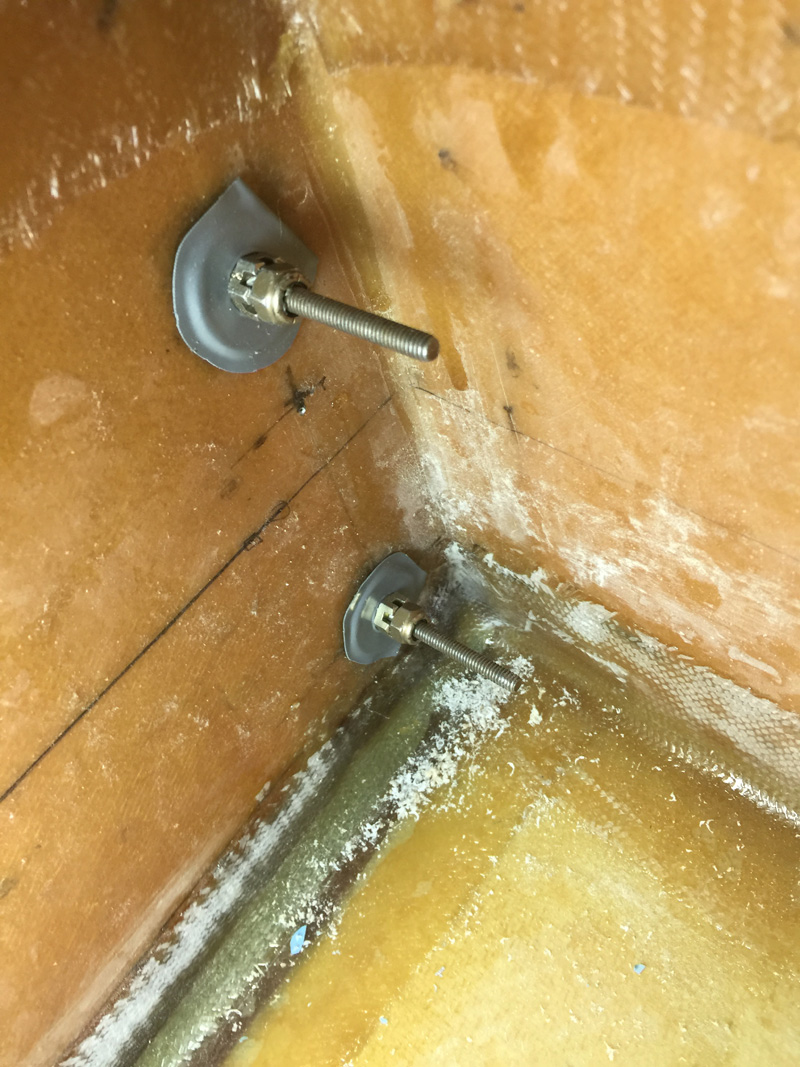
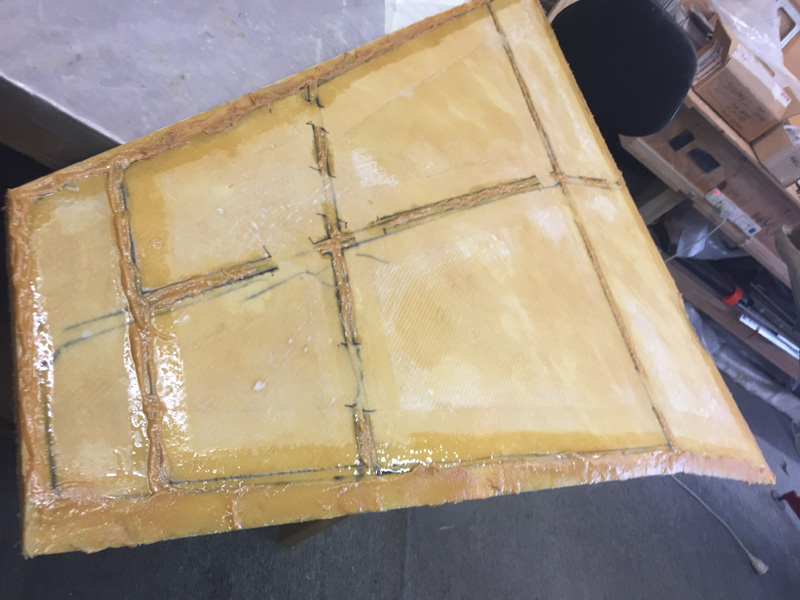
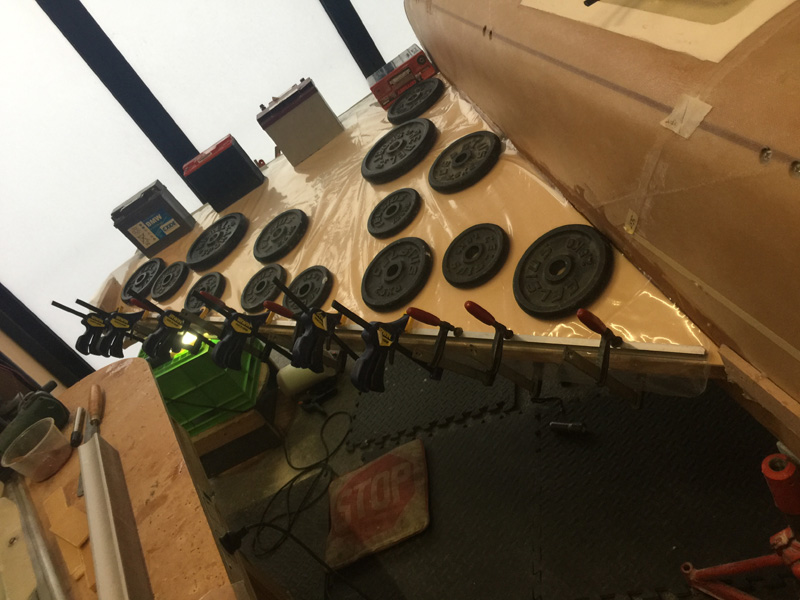
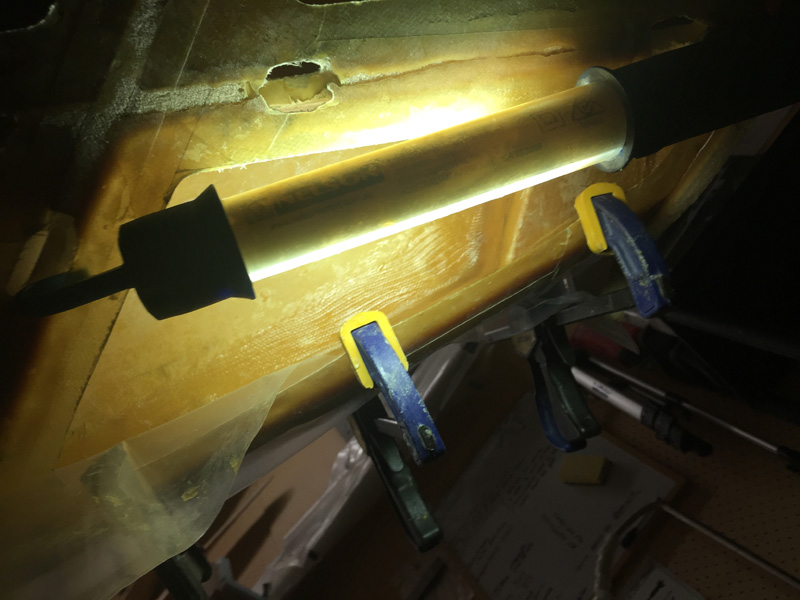
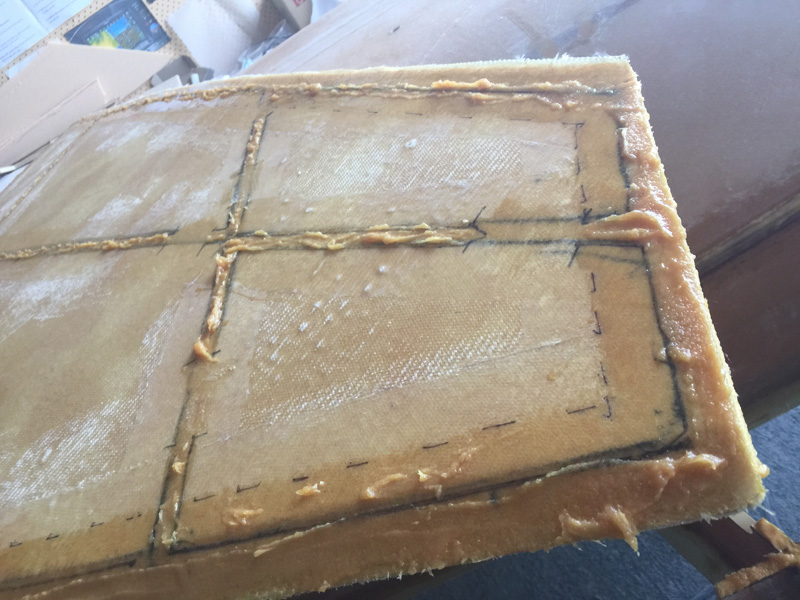
I’m doing these hard points in a couple of stages to ensure they are 100% fuel tight. First up is a system of washers screws and nuts to hold them in position for the initial flox to the inside skin of the fuel tanks (strakes). Also pictured is one of the fuel sensors.
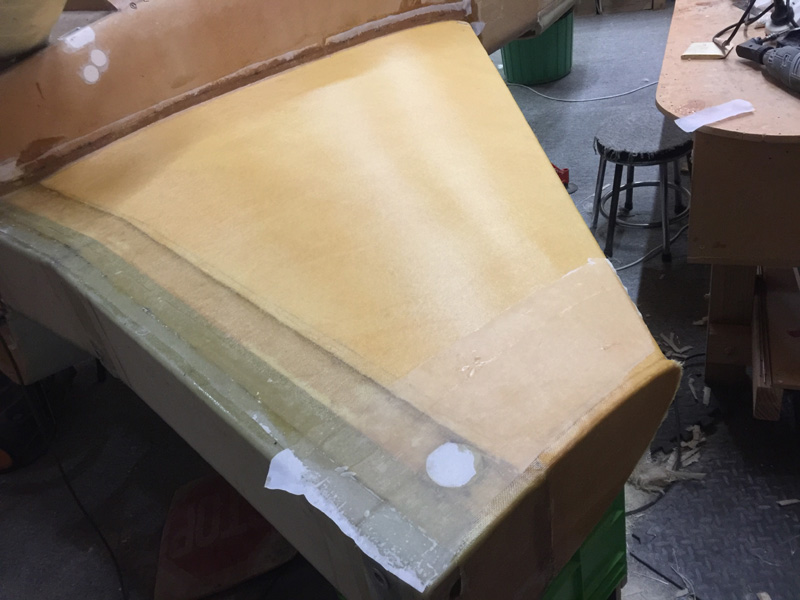
Right side hardpoints floxed and held in place.
I used the castle nuts initially even though the thread was not a match but then decided to do it properly with a nut that would give me more ‘squeeze’. I’ve tried to mitigate for these fasteners getting stuck. We shall see if all the careful duct tape placement works.
Right side with just the two sensor hardpoints.
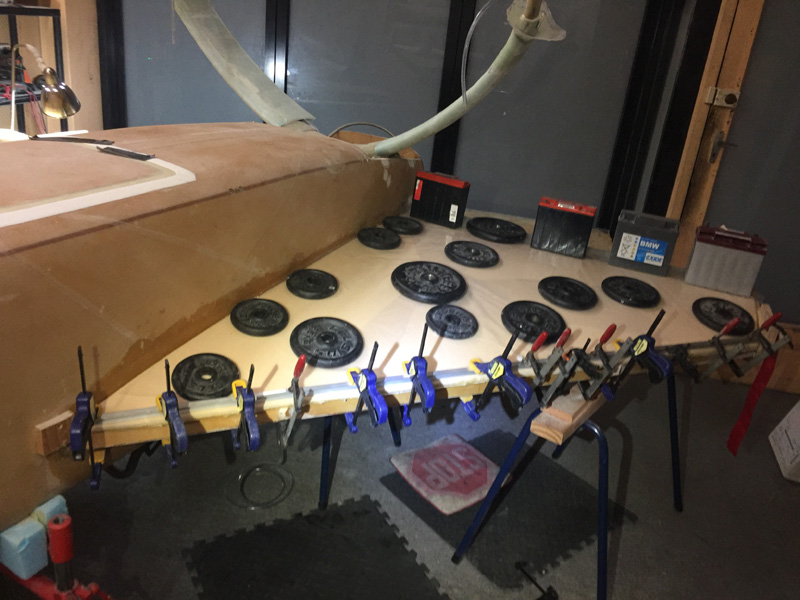
While I won’t have a full cure tomorrow, I’ll get the fasteners off and see where we are for the next lot of flox for our 100% sealed result.

