| Date: 07-09-2015 | |
| Number of Hours: 5 | |
| Manual Reference: 20-2 |
The left winglet went on today. By that I mean its lined up and secured with timber and 5mt glue. Somehow, and I don’t know how, my minor errors of 0.1″ or 0.2″ here and there seemed to disappear went we checked the line up of the left winglet (and right) before gluing on its positioning sticks.
We took the exact center of the wing spar assembly and strung a piece of special non stretching fishing line to check winglet position. While I had made a spot at the front seat some thought suggested this other center point wouild be a better reference.
I first set up the left using WPRP which I felt may have been about 0.2″ out of place. Not so it seems. We measured from the center point to the winglet LE, TE and upper TE and got the exact same distances left and right after careful checking.
Next I mixed some 5mt with flox and made sure it stayed there. Special thanks again to Mr M Wood who directed operations for the measuring and checking. I usually learn to do things better from these encounters.
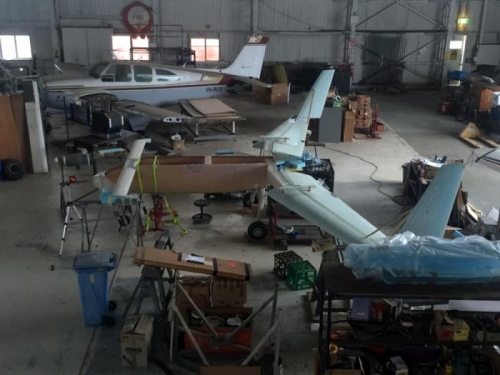
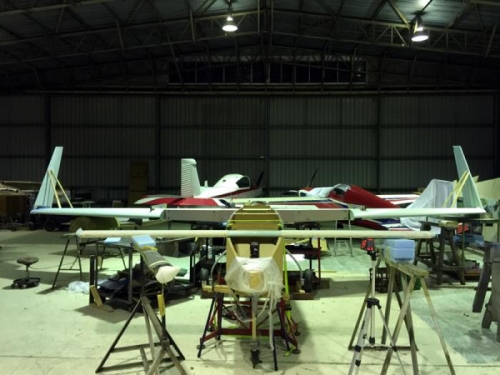
Here in the pics is the airframe together. It will be some time before I see my project looking like a plane again. Soon it will be transported back to my tiny workshop where I’ll start on structural layups on the winglets and much more of the build. For now, it looks something like an aeroplane.
Winglets in position
Winglets braced in position


