| Date: 09-20-2019 | |
| Number of Hours: 40 | |
| Manual Reference: 25 - Paint Prep |
Over the past two weeks I’ve been sanding and prepping for the paint at home and at the hangar. I’ll break it down into a few blog posts.
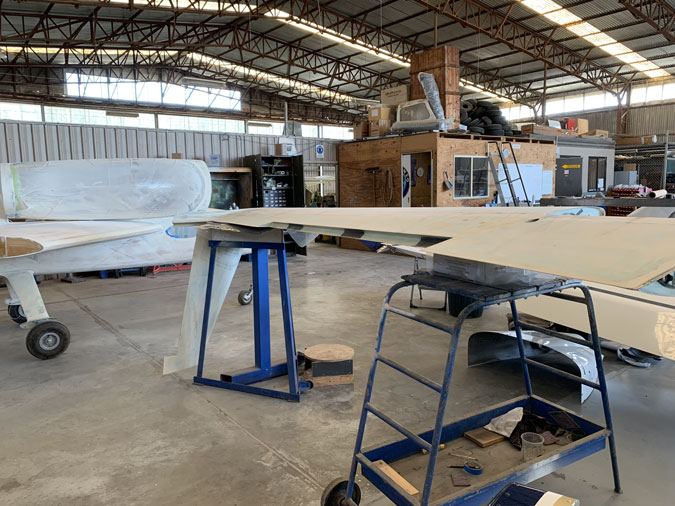
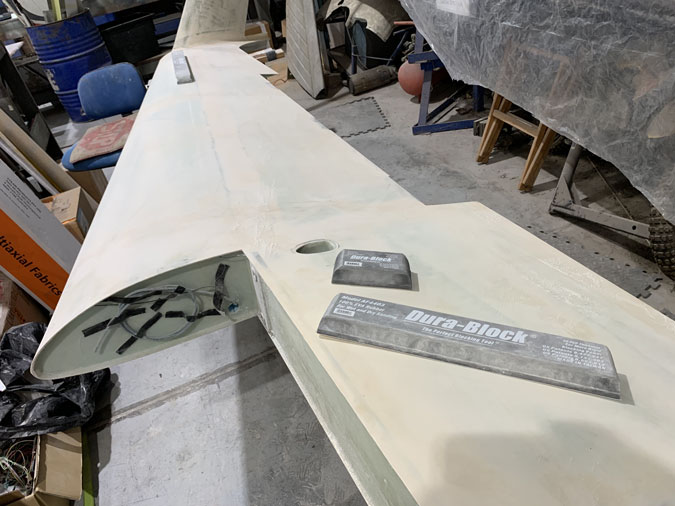
With some help from the hangar guys I got one wing inverted as you see above and the other right side up on two saw-horses.
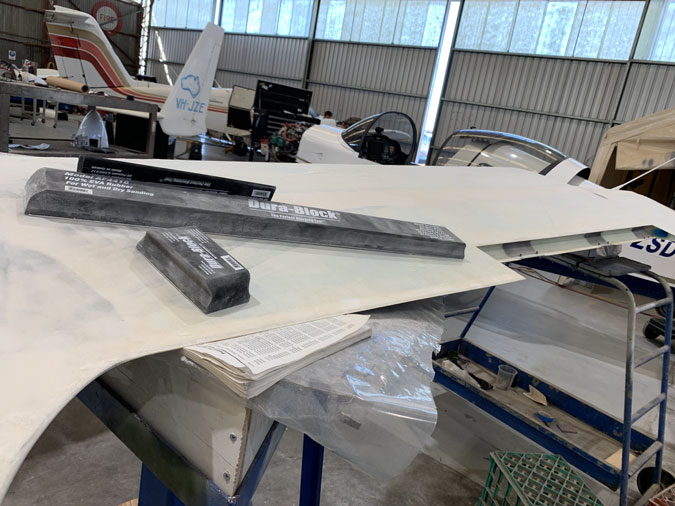
I’ve invested in a set of Dura-Blocks for the sanding work, some quality adhesive backed sandpaper and a 40 gallon drum of elbow grease.
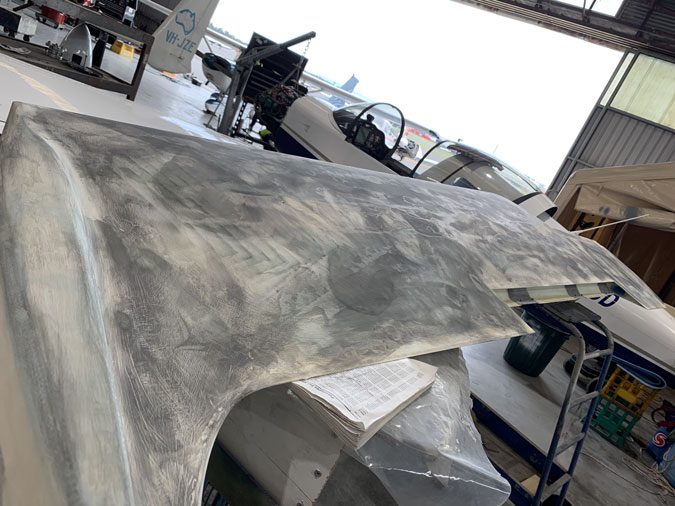
Here’s my first try with a guide coat using ‘GMH Black’, a very thin nitrocellulose paint. To my surprise it seemed to sink into the filler and glass rather than just sitting on top. Next time I will try a small amount in a corner!
That said I sanded most of it off and will certainly use the concept after I have the primer on to ensure a flat surface. It really shows up every single scratch mark and defect.
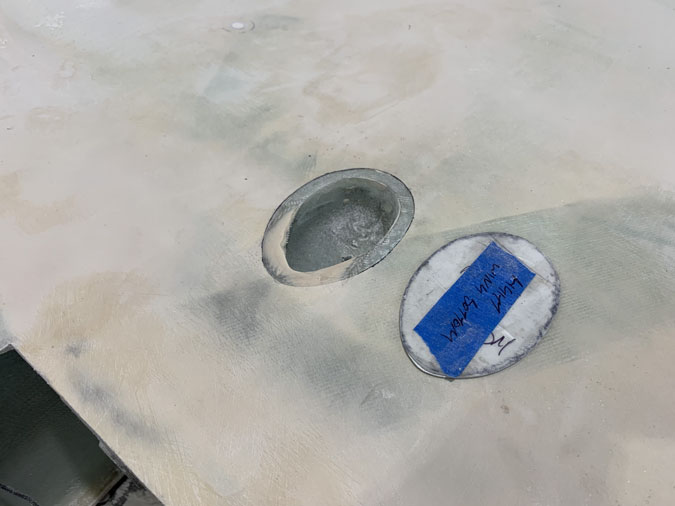
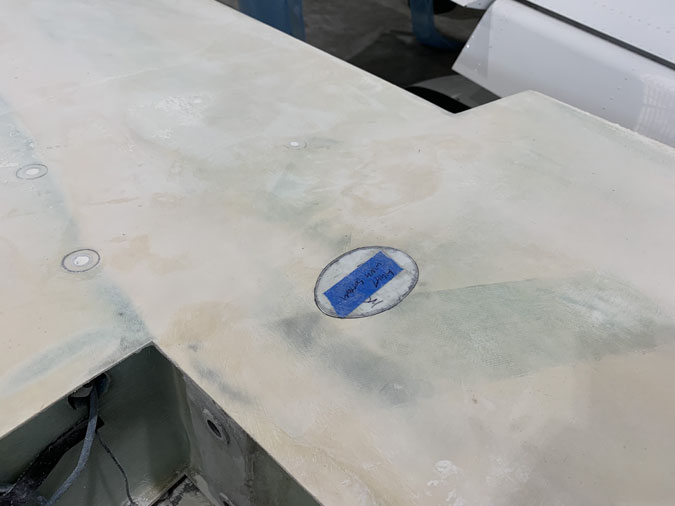
I’ve been wondering about how to cover the wing bolt access holes. The plans have you silicone on a bit of tin. I’m good for the same idea but I made I very shallow recessed lip.
This lid fits flush with the wing surface. I have two more to make but the concept is sorted out.
After a LOT (I mean days) of sanding of both wings, upper and lower surfaces we are here. Not much to see but its pretty good. I had a small delam to fix on this wing which was a bit of work but its all good now.
I thinned the area with sandpaper to ensure it was a delam and not something weird with the foam underneath. Then I injected epoxy into the ‘wound’ and put a battery on top to hold it flush until cured. Next up was a structural repair per plans, given I’d thinned out the area. Then filler on top and its like new.
That’s the only fault I’ve found after a pretty intense inspection of the wings and winglets..

