| Date: 11-17-2020 | |
| Number of Hours: 50 | |
| Manual Reference: no ref |
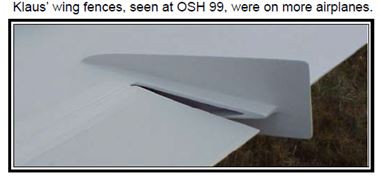
These wing fences are a mod designed by Klaus Savier, a racing pilot and owner of Light Speed Engineering. Klaus originally had these on his Varieze as pictured below. He has since recommend larger ones for the Long-EZ and Cozy IV. People who have installed them report better control at lower landing speeds, decreased takeoff run and increase climb. If they had a hit on the top end speed they would not be on Klaus’s plane, thats for sure. Kudos and thanks to Klaus.
Here are the suggested numbers. If you draw a triangle to represent the side view of the fence as installed, mark a chord line representing the wing chord ending before the trailing edge. The length of the upper edge is: 7.8″, 10″, 12″. The lower edge length is 6.0″, 6.8″, 10″. The length that extends past the TE is: 1.0″, 1.5″, 1.8″. The height of the fence that is above the wing TE is 2.5″, 3.0″ and 3.3″. The height that is below the wing TE is 1.5″, 1.8″ and 2.2″.
The first number is for the smallest fence which is mounted about 60% out between the outboard end of the aileron and the winglet. On my LE build that was 22″ from the outboard aileron or 15″ from the winglet. The second number is for the fence at the outboard end of the aileron (as close to it as possible) The third number is for the fence at the inboard end of the aileron. The outer two are most important.
OK, the construction method, materials and the fact I made them a bit bigger again with a slight aesthetic change is all on me.

First up I wanted to place then fence positions on the wings. Some guys have found the angle of the relative wind, given our wings are swept, by stringing a line between the winglets and using a square.
I went to the plans, Chapter 19-10. There is a view of the wing that includes angles. With a little trigonometry or Professor Google the angles given can be converted to an angle from the back of the wing. The inboard fence is 77.51 degrees and 78.64 degrees for the two outboard. Get back to me if I have it wrong.
I then made some cardboard fences so I could get the approximate sizes and the cutout angles.
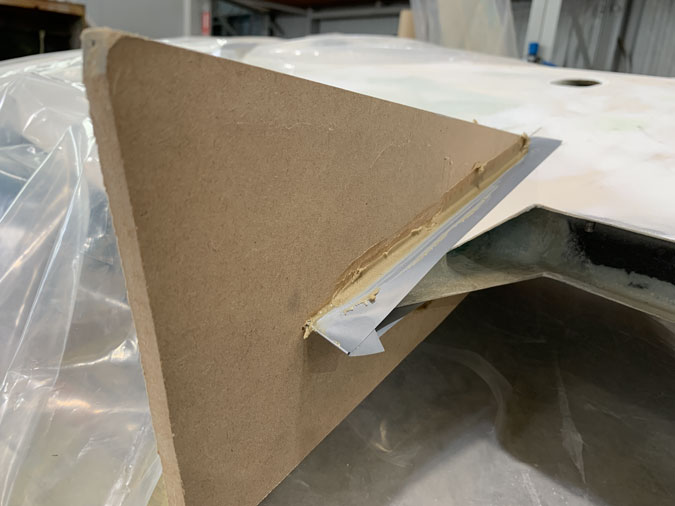
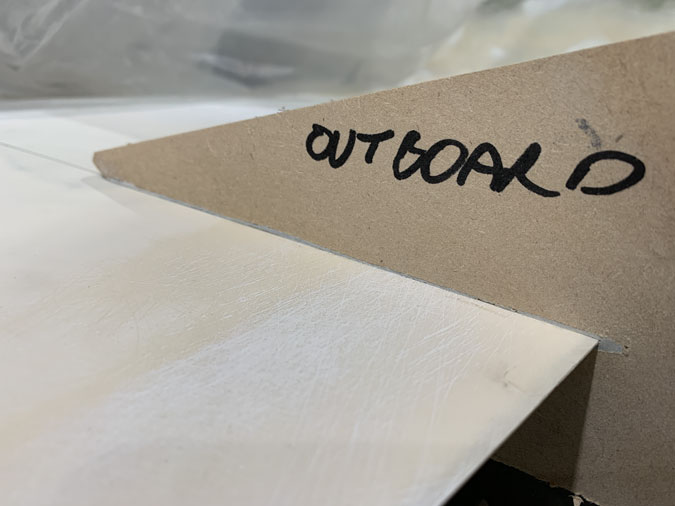
Using my cardboard templates, I made some MDF templates pretty close to the right cutout sizes.
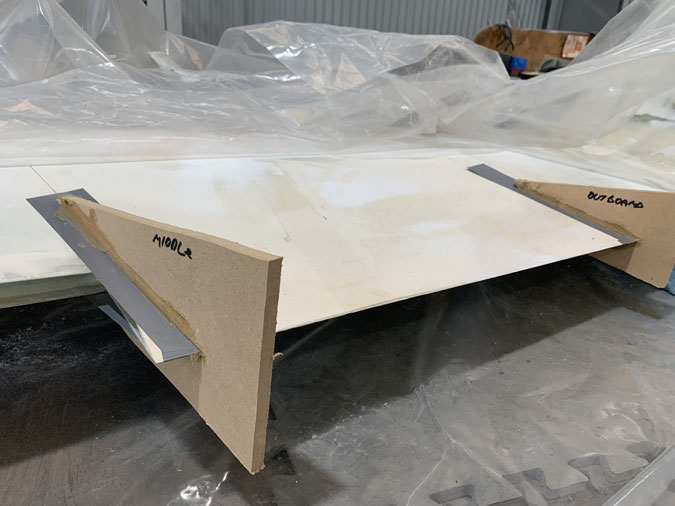
Pretty close got better with some bog and grey duct ‘release’ tape.
I now had a set of three correct cutout template I could use on both wings. A bit convoluted but it didn’t take that long.
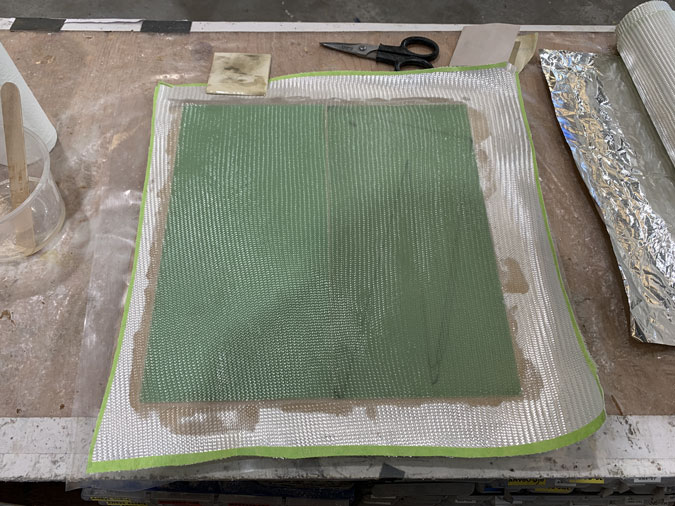
I am trying to keep these fences lightweight and straight. I went for the green Garolite G10, a high pressure fiberglass laminate. It is super straight and I just used .8mm thickness. I could have gone to 1mm maybe. The final result is however stiff enough. My next construction step was to add a ply of BID to each side.
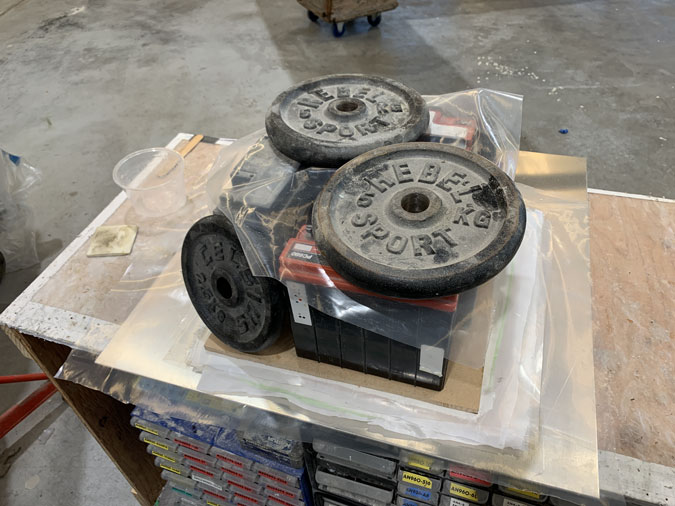
This is how I kept the BID very flat on the G10 while curing.
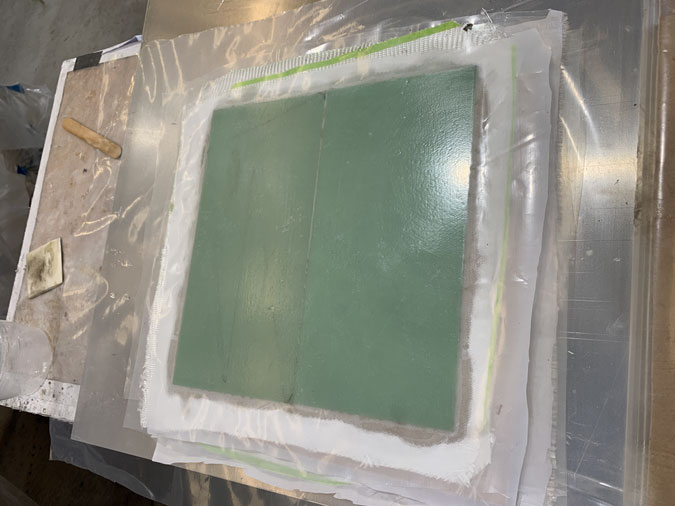
Yes it came of nice and straight. I used 4 pieces and that will be enough for the six fences.
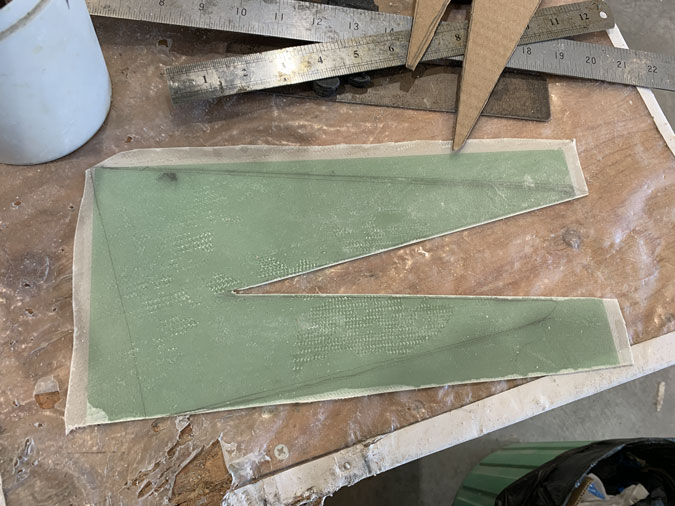
After a full two day cure I cut the slots first. My reasoning was to allow a bit of wiggle by finalising the cutout before the outer edges.
Despite my excellent templates, I still had to file a little to get the fit I wanted.
A few more hours of fun getting all six sitting happily.
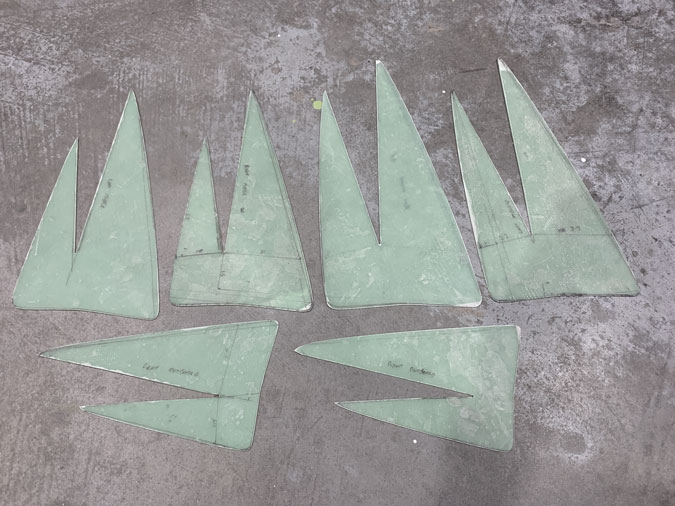
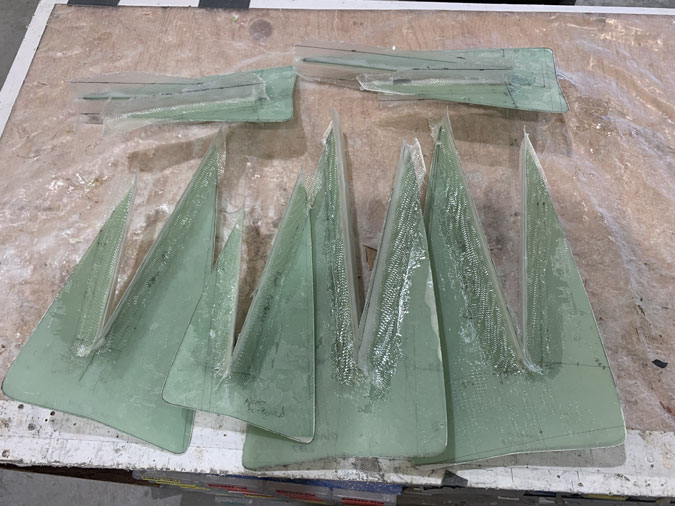
Once the cutouts were good I could go for the outer edges. I have put a bit of a curve in the tops and a little at the trailing edges too. The lines you can see drawn near the tops are the ‘straight’ dimension. Try not to judge me, OK they do look like elongated pacmen if you are old enough to remember what they looked like.
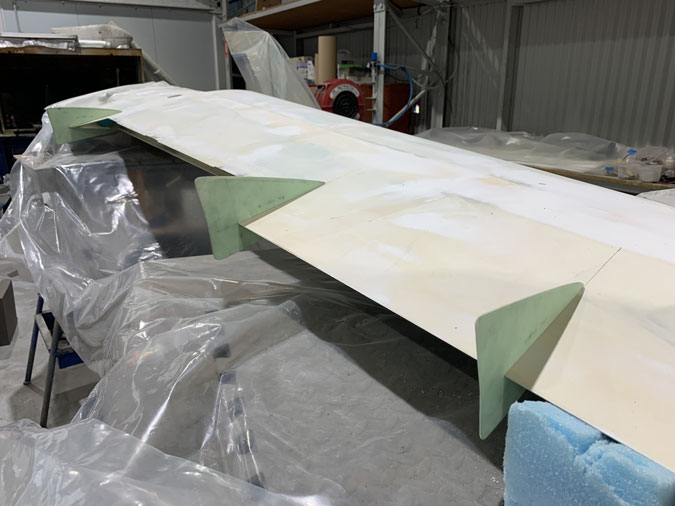
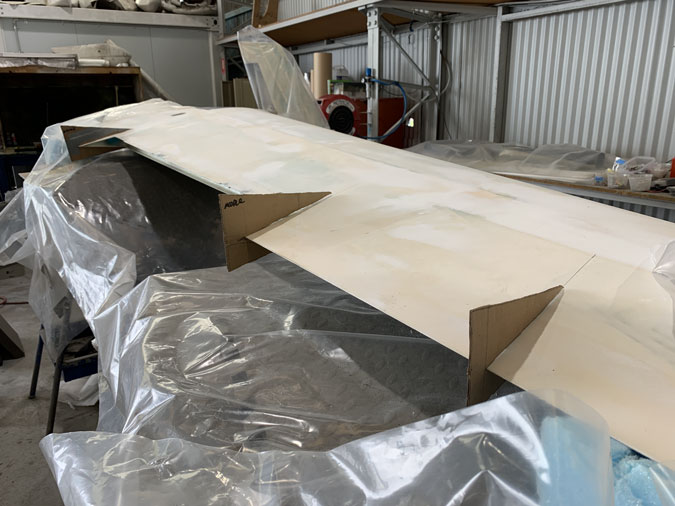
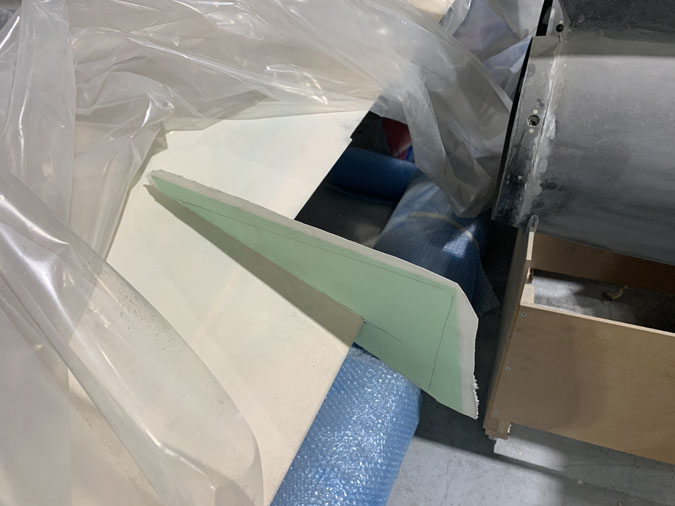
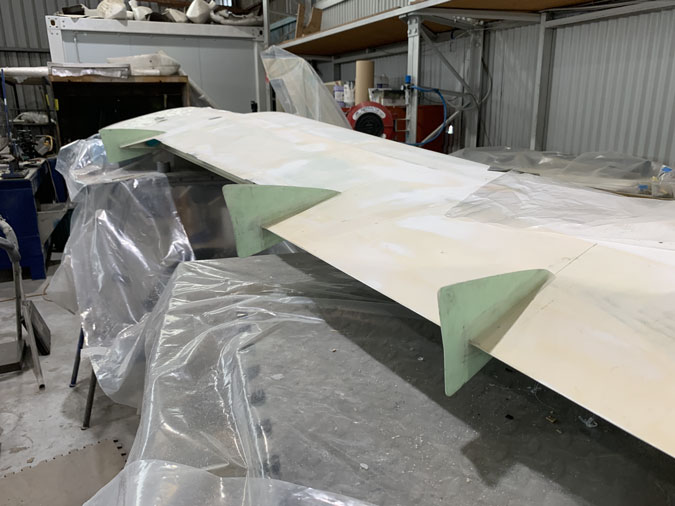
Here they are in place. One issue is that there is no way they are going to stay there without some help.
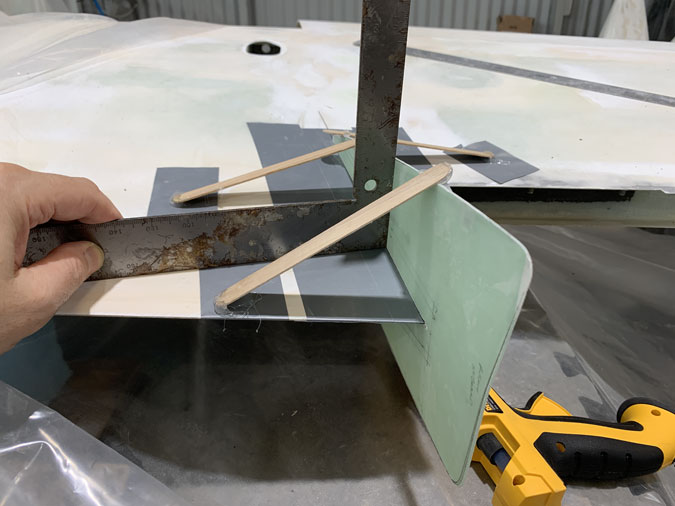
So how to keep the fences, straight and in place while I add some tapes to make flanges?
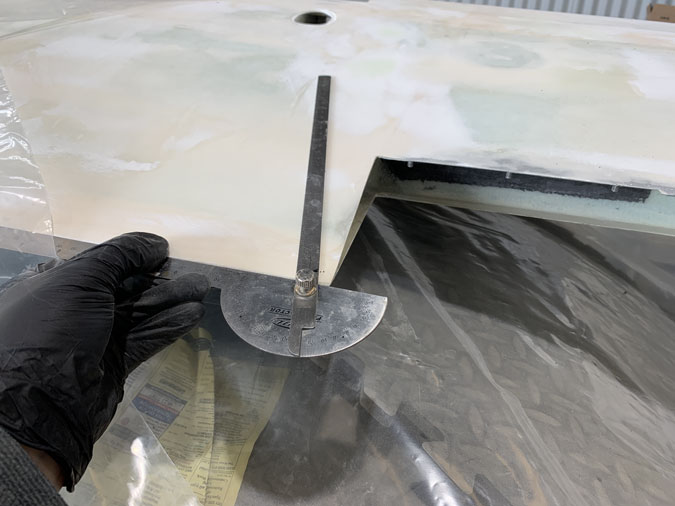
Who doesn’t like playing with hot glue?
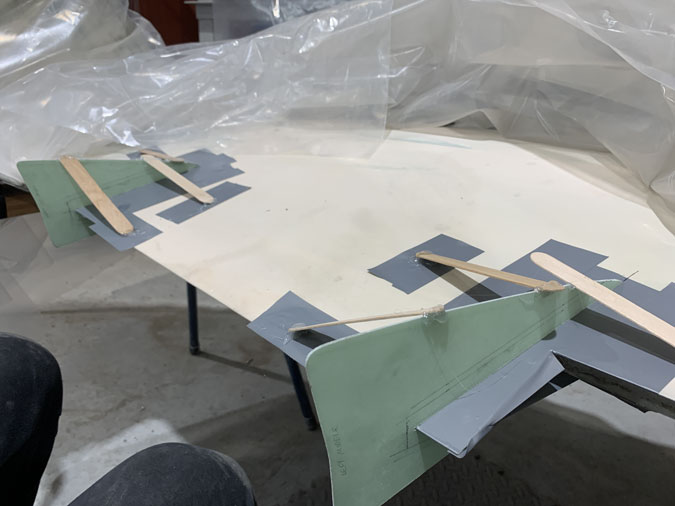
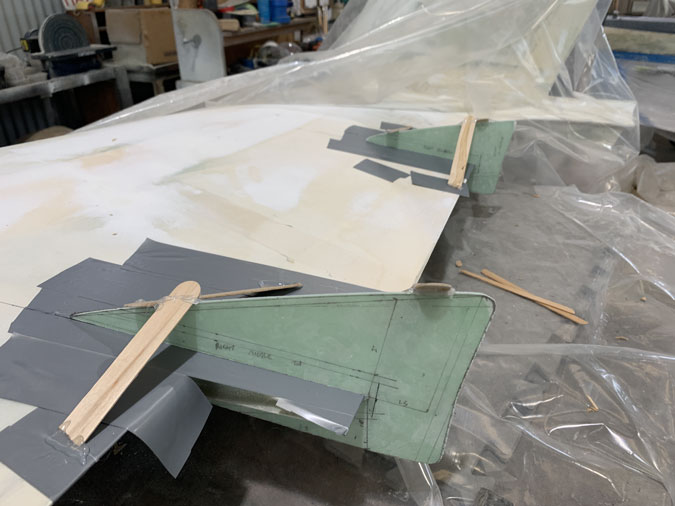
A few sticks, the glue and meticulous attention to the square had these guys upright and firm.
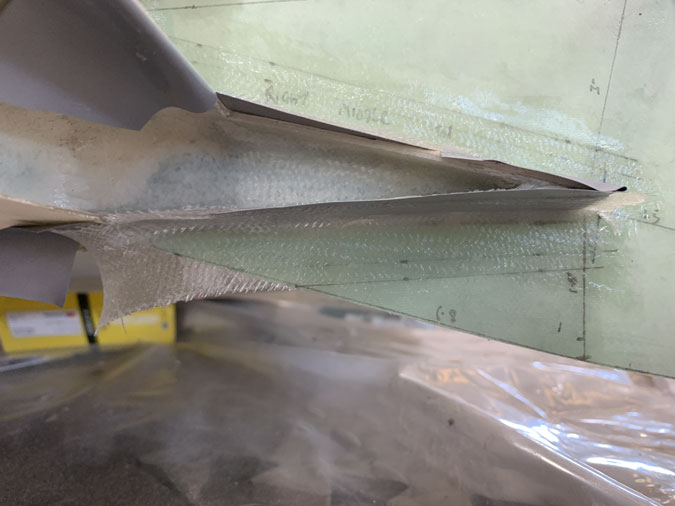
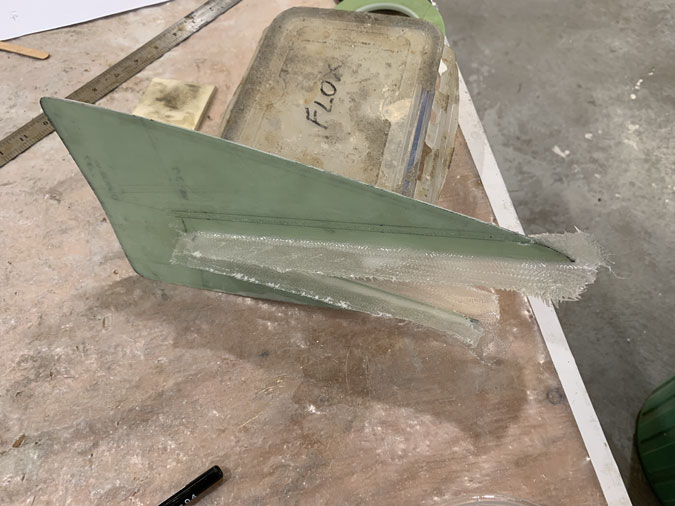
I went for 2 plies of BID so thats 8 separate plies per fence or 48 pieces of glass 1.4″ wide by the required length. I did put a little flox in the corners to ease the glass transition.
While I did the usual layups on foil and plastic my idea was to do each ply separately with a small step of about .3″. Wow that was really dumb.
After the first 16 pieces I went with a straight 2 ply layup for the next. The glass was too tricky as a one ply to get in place and then add another on top. You think I’d know better at this stage of the build? Enough to say I am still trying variations on ideas in an attempt to improve. This time the penalty was about 4 pieces of glass the next day to clean up some imperfections. This was a 5 hour layup. Going faster isn’t faster.
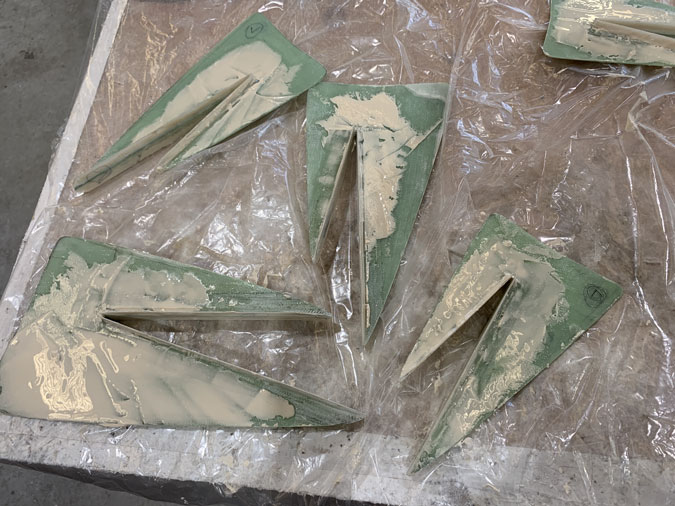
Did you think getting these things off the wings undamaged was going to be easy?

Lots of patience require as usual when doing a tape release.
They are looking pretty ugly now.
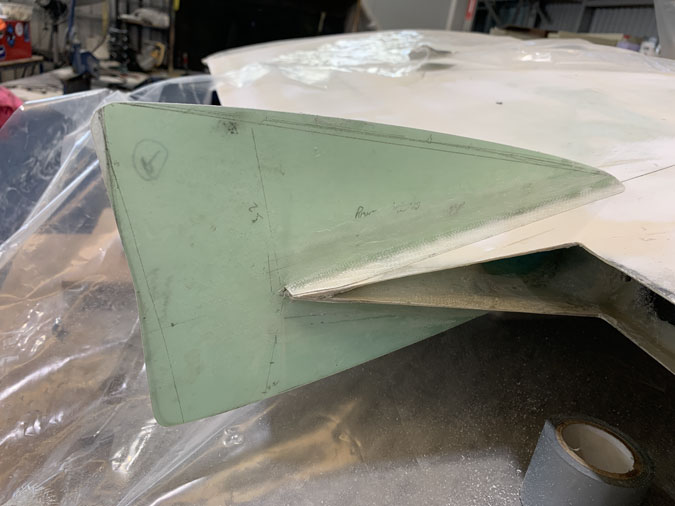
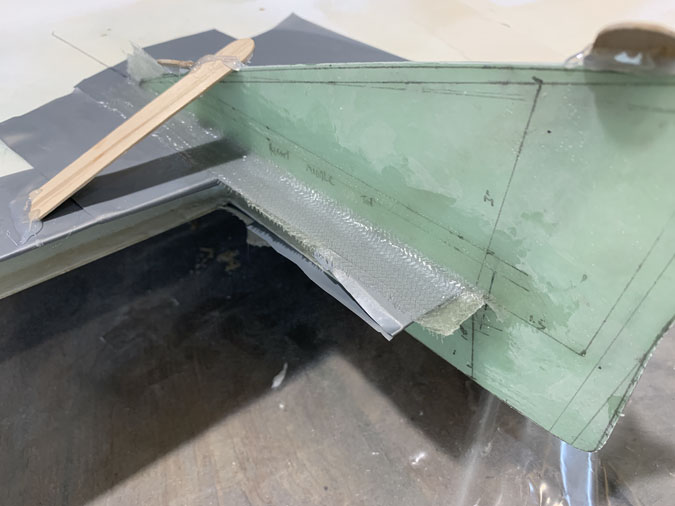
Another big clean up for a fitting.

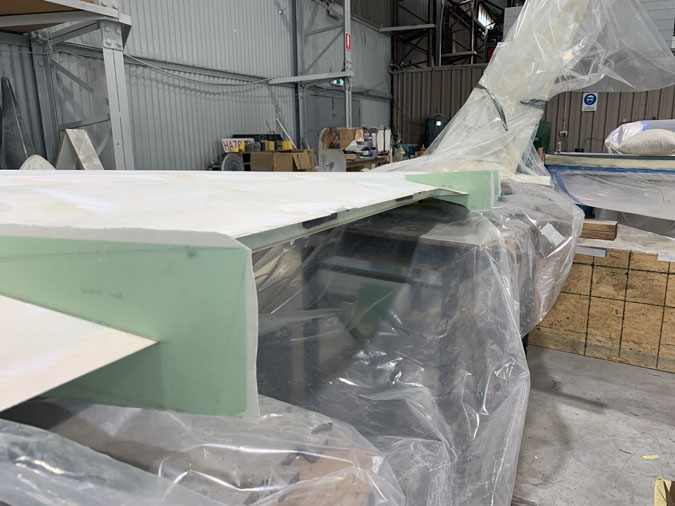
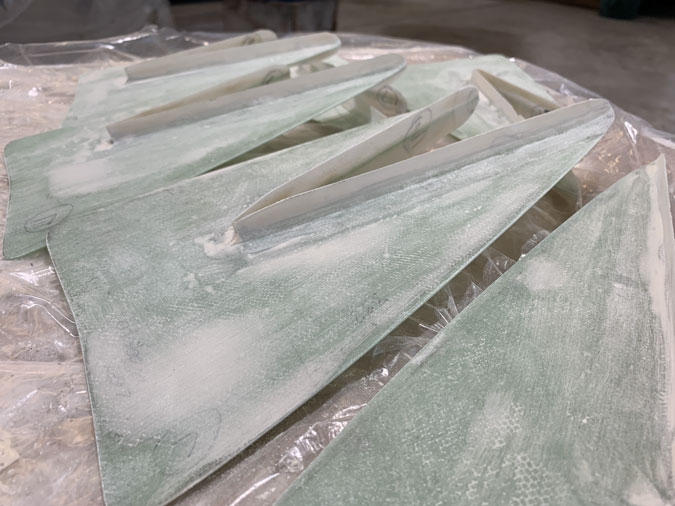
They sit very well in position as they should after excessive prep with the templates.
They are still not pretty close up. The flanges are .4″ wide.
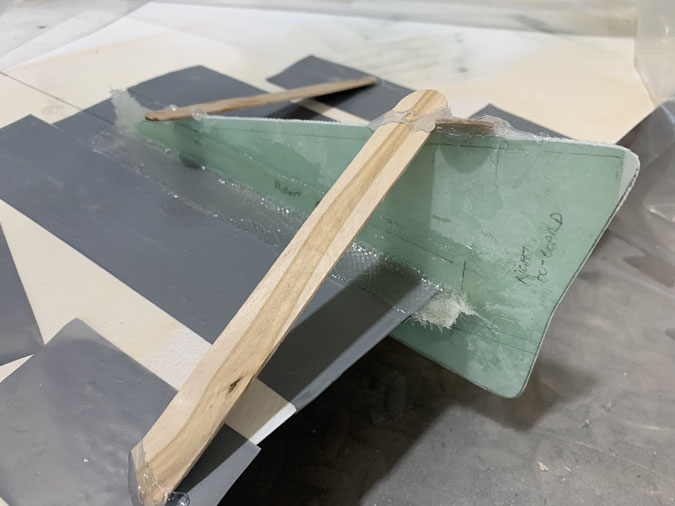
More fitting to make me feel good about all the work.

They are quite big, they should be functional and put scars on my back when I crawl under the wings.
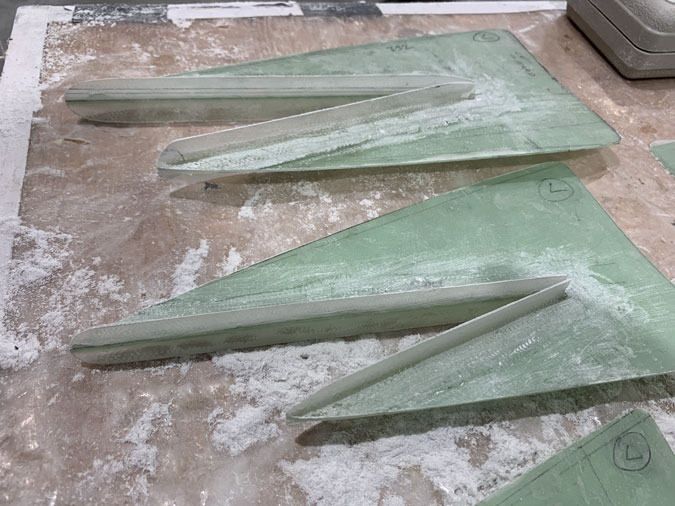
Now to make them nice with a little 410 filler. I want a clean transition from the side tapes to the fence main body.
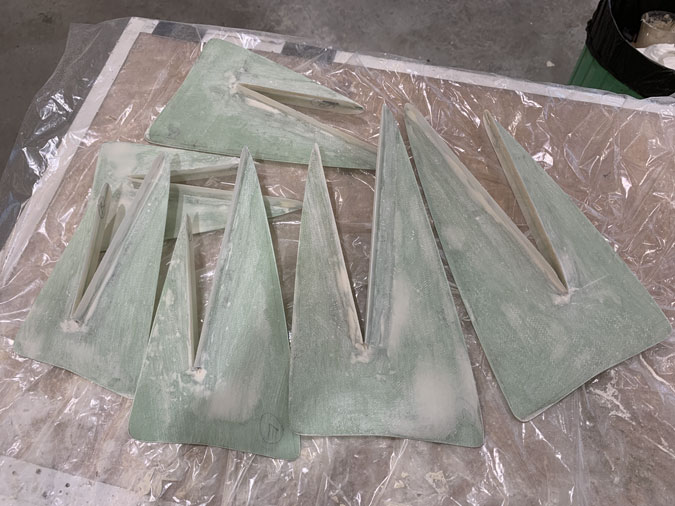
A full afternoon of sanding was required to make these nice again.
I think I need one more fill just in a few places per fence and then I can go to finer sandpaper to finish off and be ready for the undercoat.
Weights? 14.91ozs or just under a pound. Given it’s a proven mod with big advantages, I’ll take the hit. I went for the minimum material and I’m satisfied this will be strong enough.
Right fences 3.37oz, 2.47oz, 1.75oz,
Left fences 3.32oz, 2.30oz, 1.70oz.
Assume I will add a few more hours to fine tune the finish but overall this mod is DONE!