| Date: 07-21-2019 | |
| Number of Hours: 30 | |
| Manual Reference: no ref |
The saga continues.
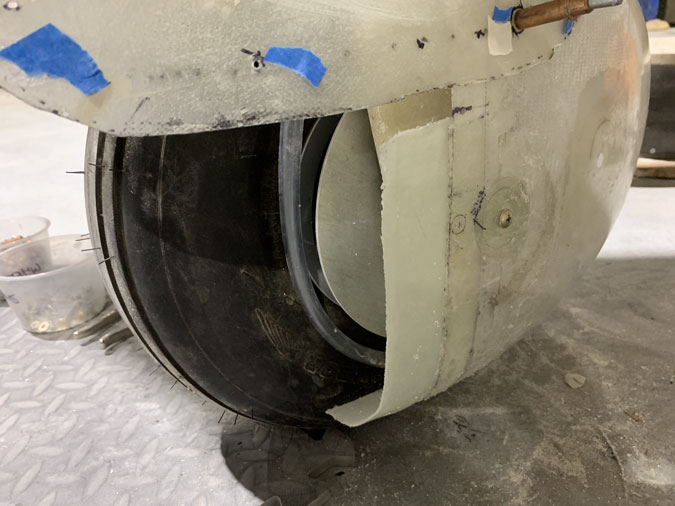
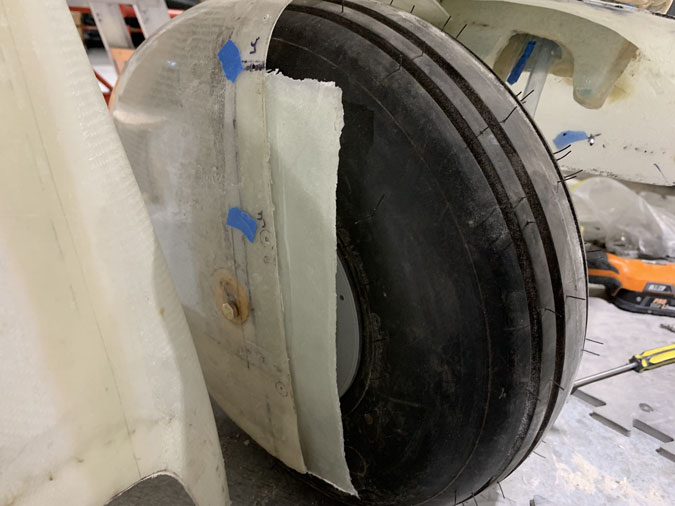
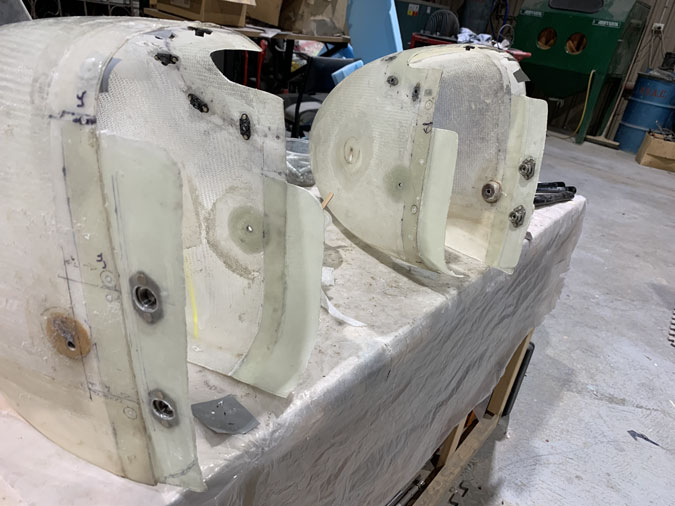
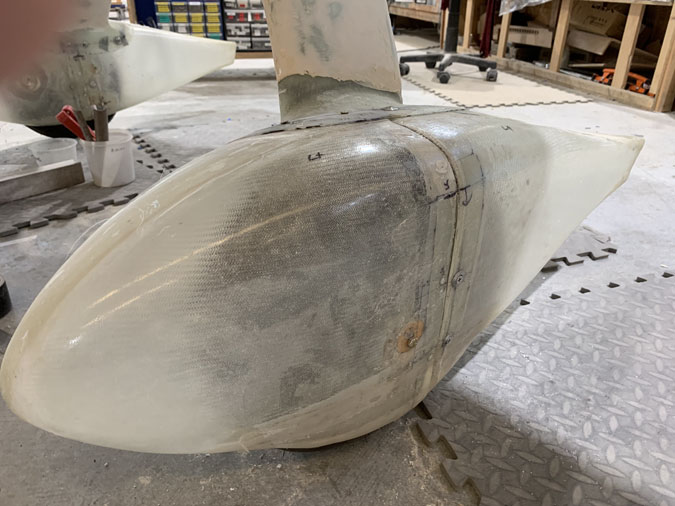
The tabs worked out OK, not perfectly at the bottom. Gravity had an effect during the cure. I may have to address this later on the other side as you might see below.
Its still a good result with the swapping of which side the tabs were on.
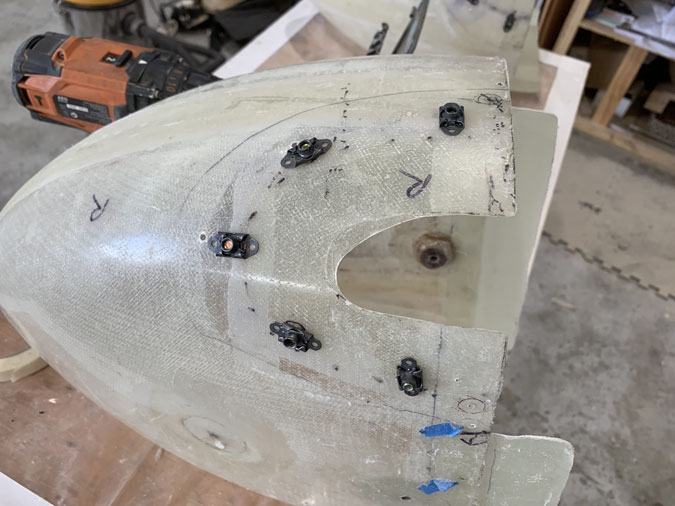
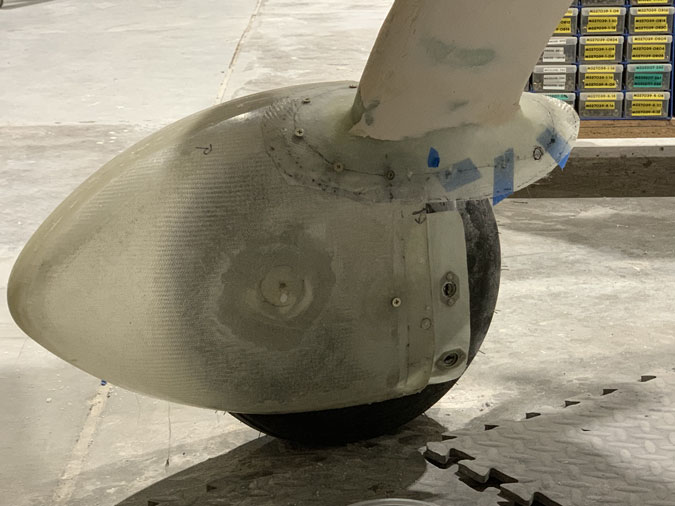
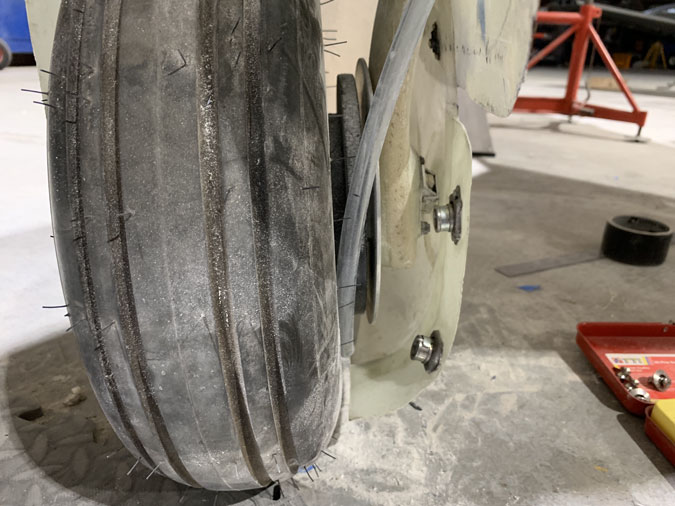
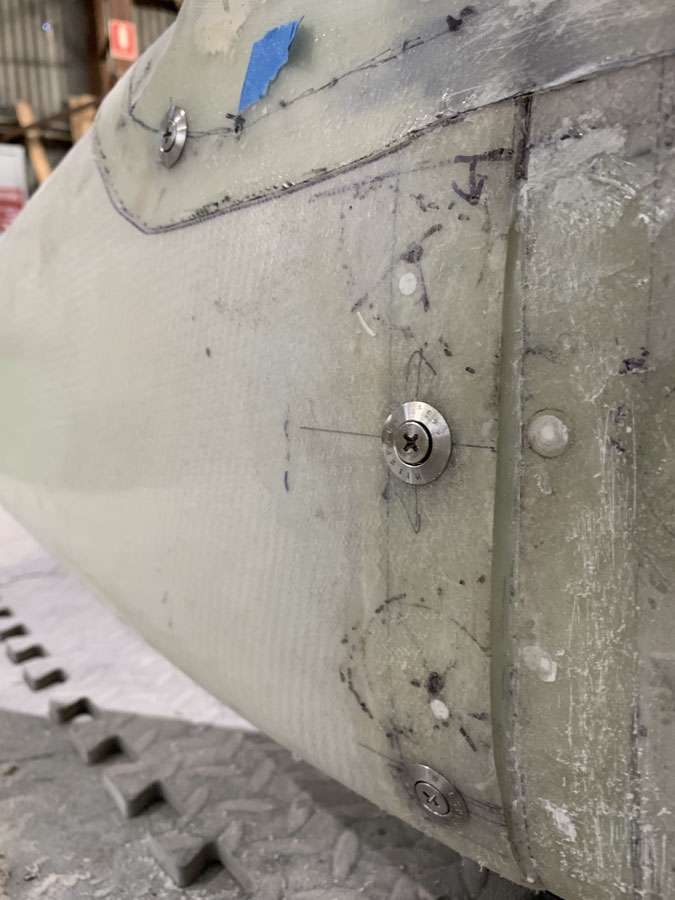
After a few more hours on my knees checking and rechecking, I was good to go for the front nutplates. The pic shows how I mount them on the outside to match drill holes for the soft rivets. I’m using soft as we are dealing with very lightweight fiberglass pants not steel ones!
The concept remains that I’m happy to have light and simple nutplates and screws on the front with a larger screw at the wheel hub and new fitting. These take a few minutes to remove and are not ideal for in the field when quick wheel for inspection and air is needed.
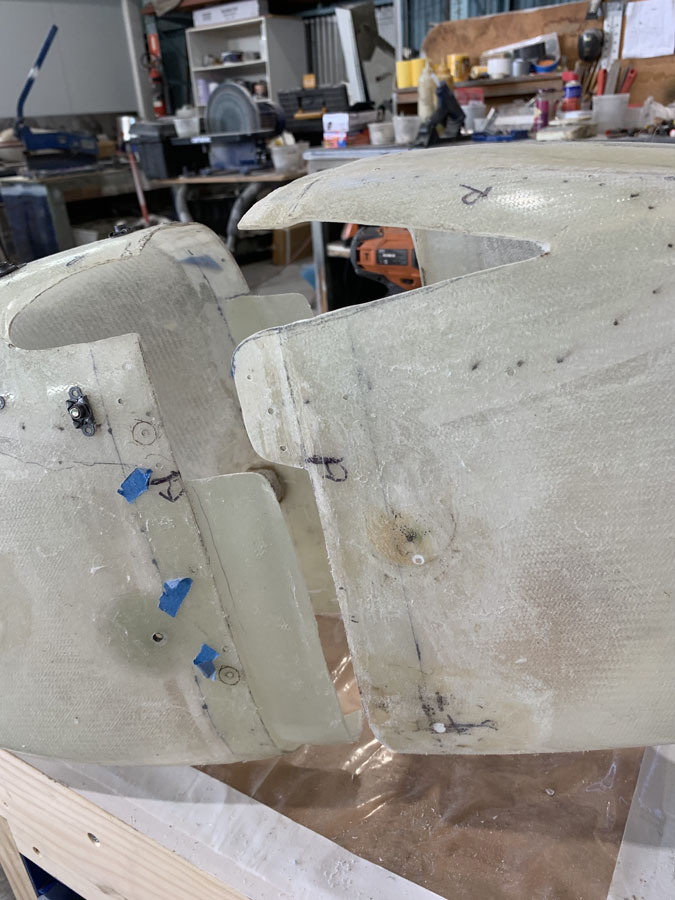
This fit has developed into an unusual under and over system with the ‘tabs’. It works.
Some days later I had some of the camloc receptors installed as well as nutplates.
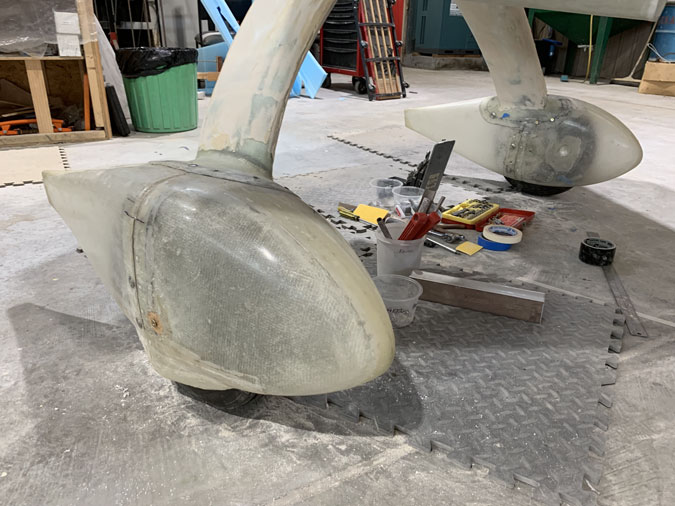
With just screws on the bonnet and two on the wheel hub area these front pant halves are rock solid. This shot shows the addition of the two ‘inside’ camlocs.
There is great clearance on the inboard side. Outboard I had to be very careful with camloc placement.
With two camlocs each side at the pant join I found I only needed two more to make the rear pant ROCK solid. One at the top and one where that cleco is. Through this fitting process I have added one fastener at a time and then checked the fit. I am really trying hard to avoid a bad fit that I can’t fix with a handful of filler. <grin>
While pretty rough, I’m getting there with all the fasteners in place now.
Here’s a view down the side where I have a bit of cleaning up to do.
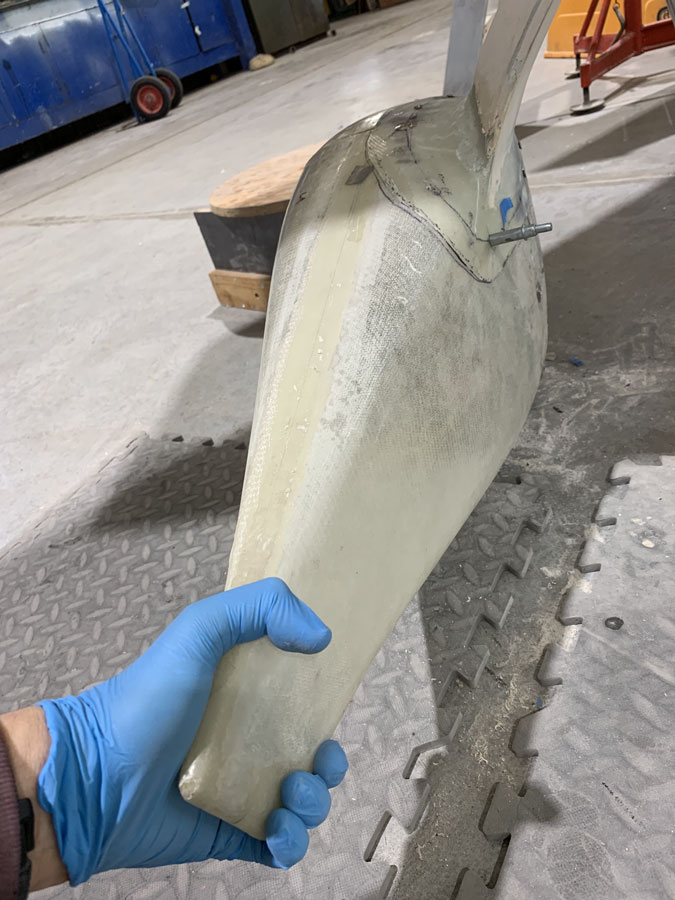
Pants are on and secured. Next up is addressing the excess flexibility I’ve produced because they are so thin and light. I need some stiffeners for the rear sections.

