| Date: 01-08-2018 | |
| Number of Hours: 8 | |
| Manual Reference: 18-6 |
The reference is to plans 18-6 but I really don’t know what you’d call this layup. Its not really per plans as the outside is inside on my canopy rail.
First up I again cleaned up excess flox right near the canopy itself. One slip and it would not be good. There is a little bit of tape here and there and I’ve decided to leave it rather than risk a deep dremel scratch or worse on the soft stuff. Hang on…. didn’t I say this last blog entry? Well this was the final clean up so I went over all that territory again.
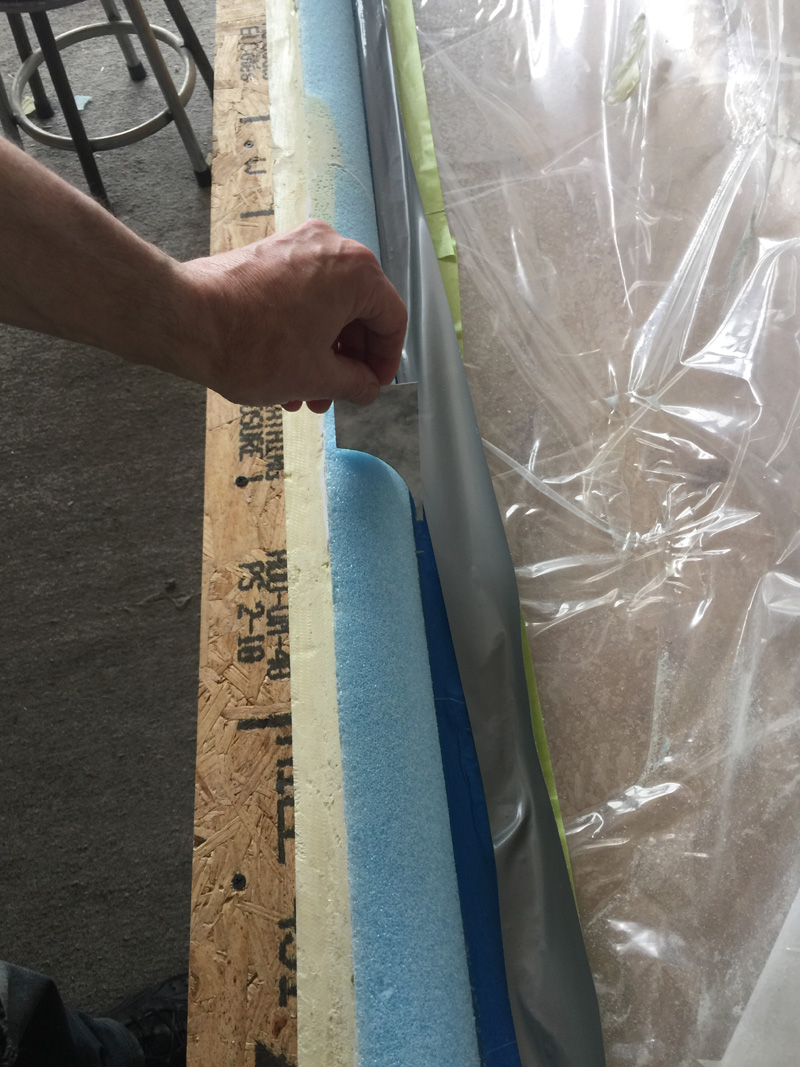
Next up was sanding the blue foam. I’ve decided not to hard shell it but see if I can improve my technique by careful sanding all the way down to 240 grit.
I did the work by eye and feel. The template here is just to show you the curve. The foam cell size is smaller that with a rough sand and this is where I hope for a better result with the micro.
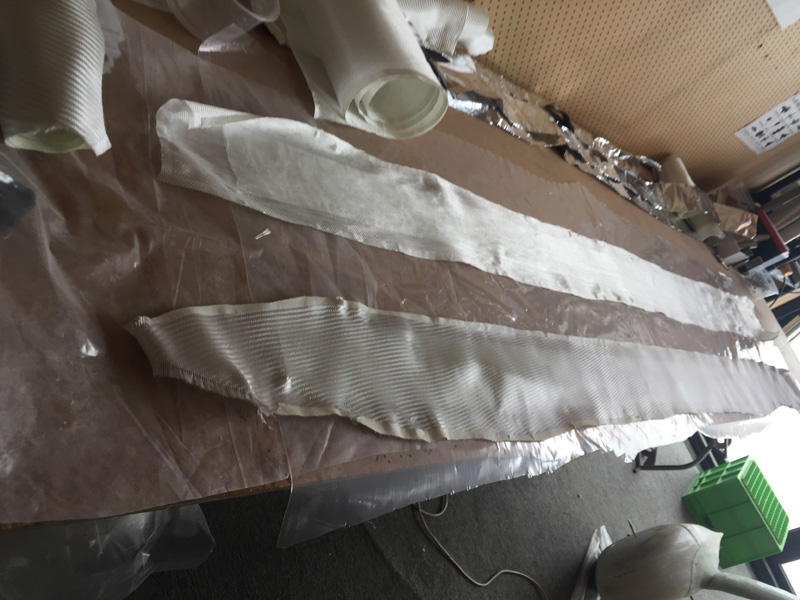
Below is a couple of the cloths ready to go. I cut out foil and glass for an hour or two for both sides. These are steps not everyone does and it adds a lot to the time required to do the job. It adds a little to the quality too so thats OK with me.
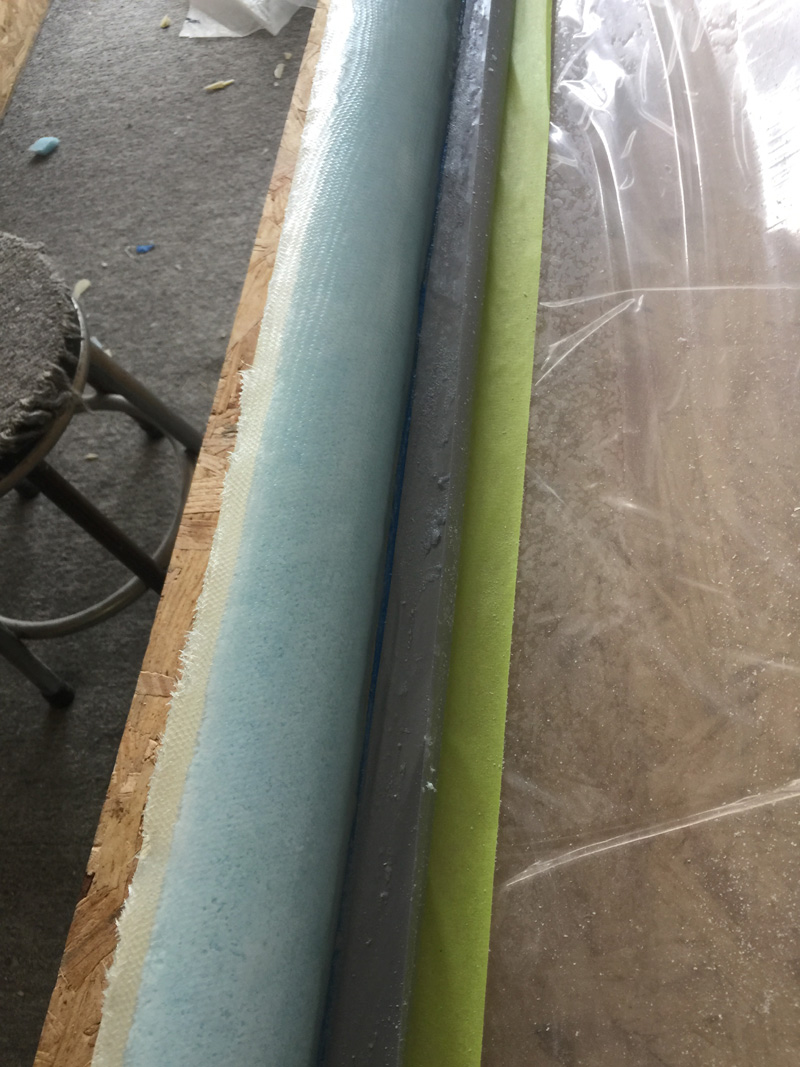
I used a much wetter micro slurry than usual and with the sanding and I think its a better result. Here are the first two plies of BID in place. It took a lot of hand smoothing to get it sitting well. I was going to use clamps at the end on the layup and had it all prepared but this is sitting down nicely on its own.
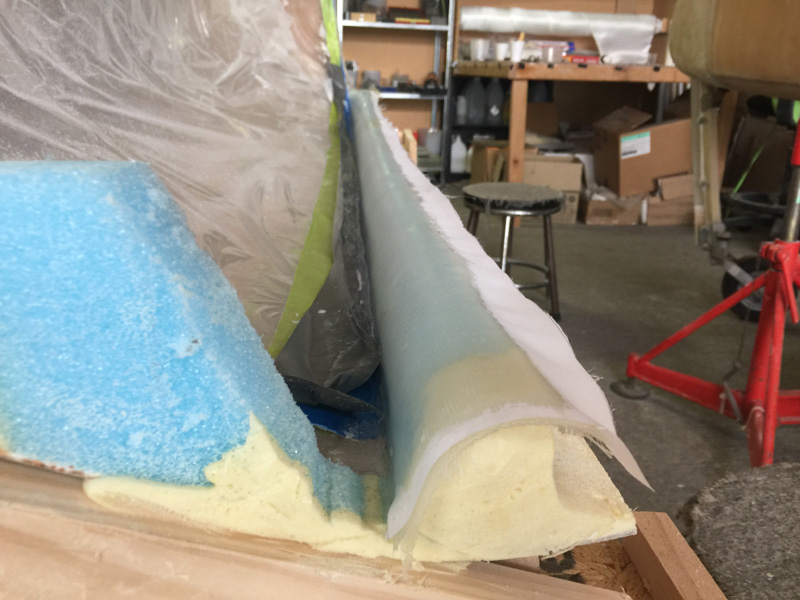
Another point is that I’ve left the foam shape quite thick for a canopy rail. My idea is that a little more meat and not a lot of extra weight here may make the frame a lot more stable than a thin rail would be.
Here we have all four plies, 2 BID 2 UND and then peel ply. I spend a long time checking the plies and then did the peel ply wetting it out with a small brush so I could again check the layup as I went. I think it will be OK.


