| Date: 06-26-2021 | |
| Number of Hours: 20 | |
| Manual Reference: 25 |
Finally, the top coats. Three to be exact.
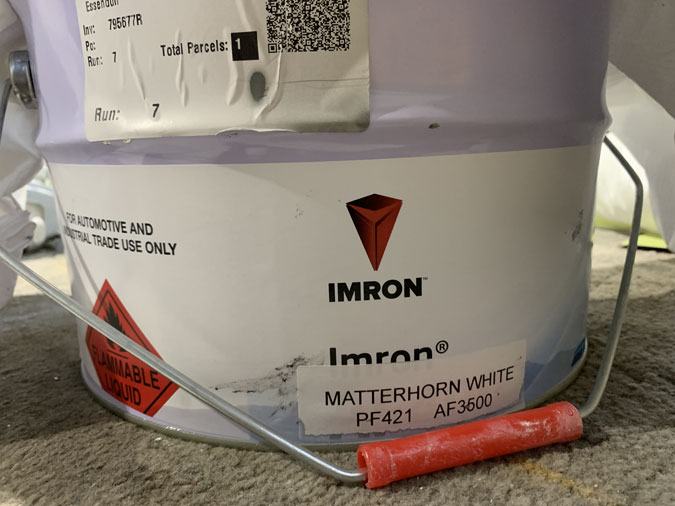
Here’s the paint we used. I still need to check on the high build primer. Three top coats. A light one, then medium then a wet coat.
A brief word about the painter. I’ve done all hundreds of hours of fill and prep on my plane except for three days. Day one high build primer was sprayed on, day two sanding, day three more prep and top coats. I think this is a good mix. My guy has averaged painting two planes a week for twenty years. His skills were next level. It cost a lot and thats the price of a job I could not do to anything like the standard I now have.
There will be one more day when all the smaller pieces will be painted off site and returned to me. Then there will be sealant around all the window edges.
Unfortunately I won’t get these parts back for two weeks so I’m yet again held up on the build until they are returned.
BUT WAIT…. lets roll back a few weeks again. Its all about the preparation, aka the never ending story.
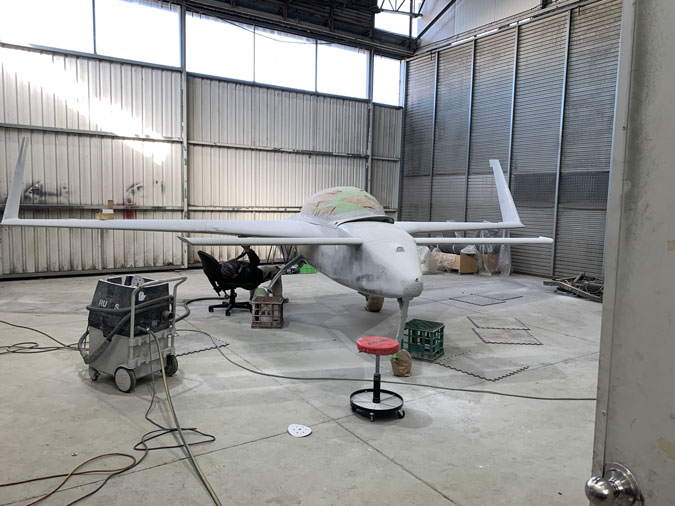
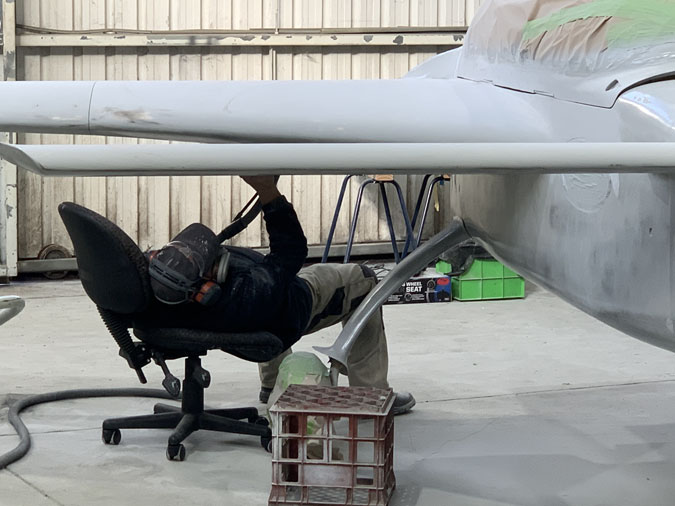
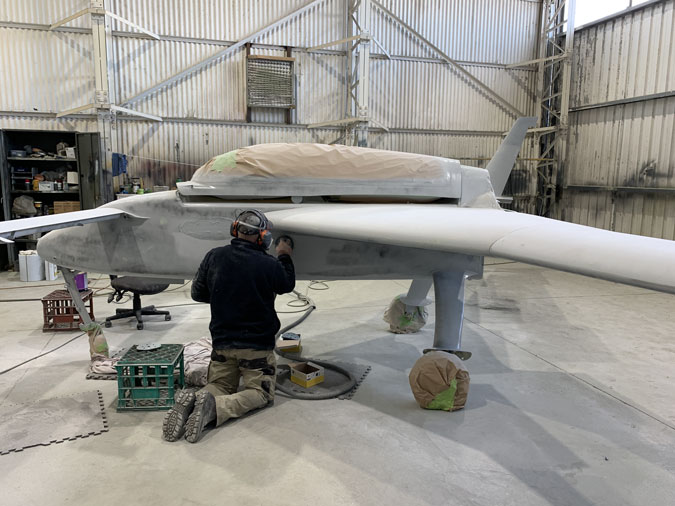
After I had spent around 30 hours hand sanding the top surfaces yet again with long boards. The professional painter came for a day and did the undersides. That sander thing on wheels takes the compressed air from the sanding hand piece and keeps ALL the dust in the unit. Air, electricity, 180 grit sandpaper and skill gets it done.
I wanted to sand with the wings off so I could do the bottoms. Doh! All I needed was and office chair.
Oh and to the office chair you might add 20 years experience painting airplanes and helicopters.
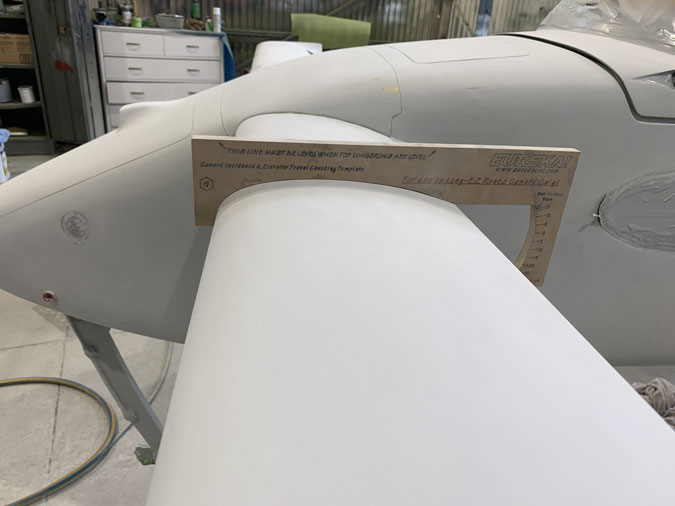
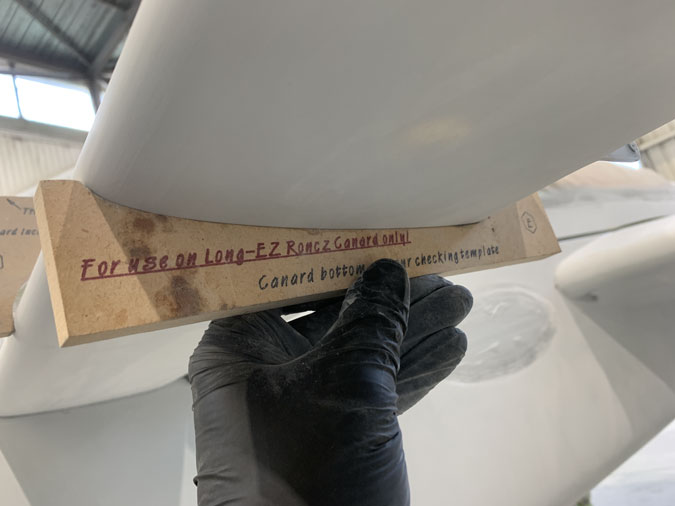
Just to roll back a little, I did recheck these surfaces on the canard as they are particularly critical to getting my stall (canard) as low as possible.
All good or as good as I can get them.
Here we are a few weeks later and its top coat day. My job was to get all the pin holes filled before that day.
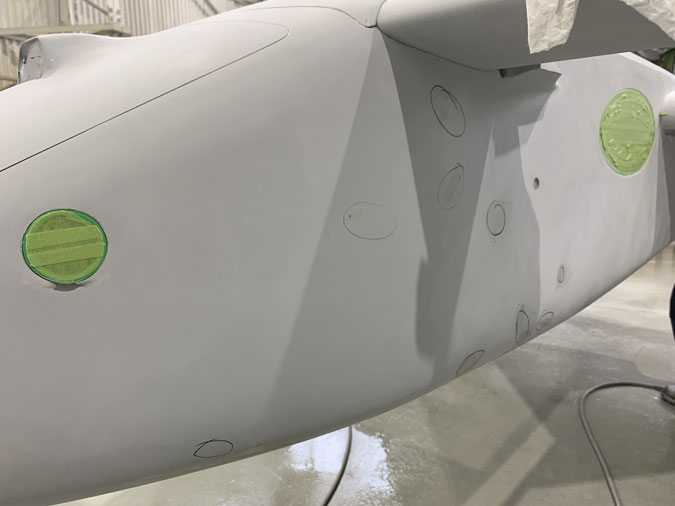
I thought I had done a through job. We wetted down the walls and floor to reduce dust. The painter got the air-blower out and the hunt was on for missed pinholes and a final surface check.
Using a marker pen all the missed pinholes appears as if my magic. Blow on them and they show up. This was just one small area. The whole plane needed these tiny holes filled that I had missed. Then the expert rechecked again and we found more and more. This is just part of the process apparently.
Then a wipe down with special grease and wax remover I assume. It was wax on wax off for a while, or really wipe on wipe off using two cloths.
You’ll never guess what we found…. more pin holes to fill!
After the pin hole hunt was over, With fill and sand and clean again, a final step was needed. This was a simple tack rag over the whole plane. It gave me something to do while the painter mixed paint.
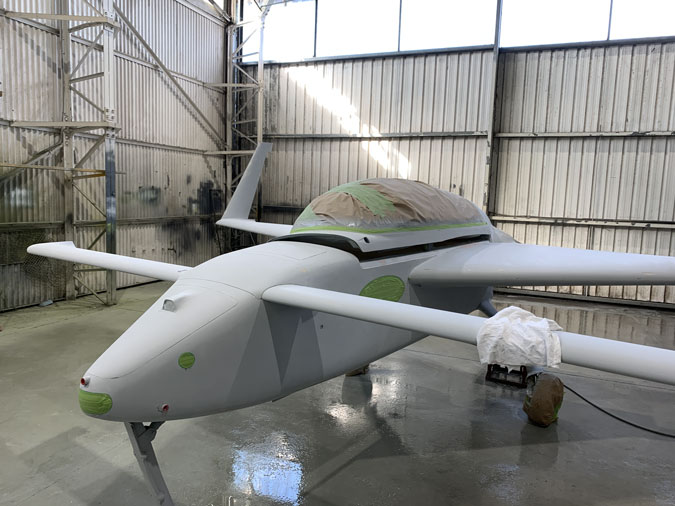
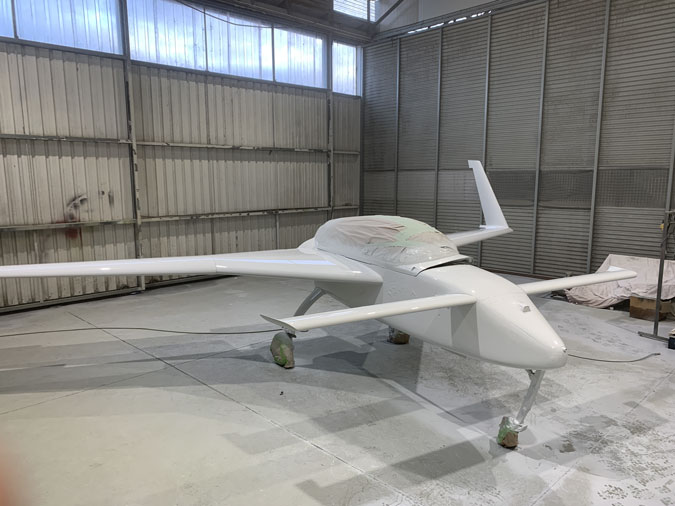
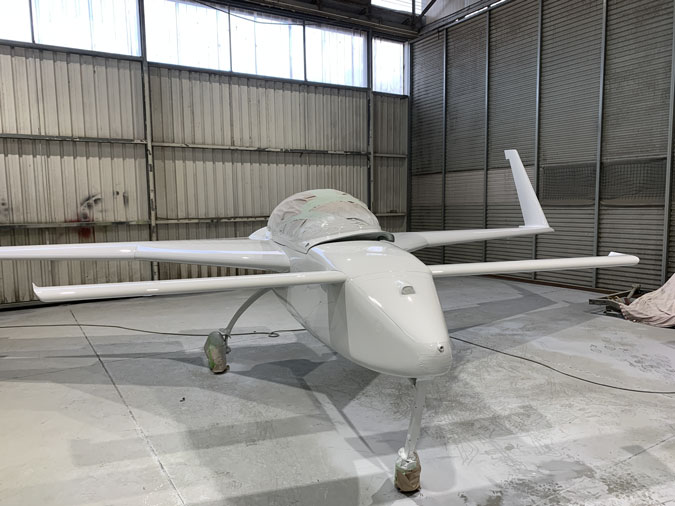
After the first light top coat I snuck in for a quick picture.
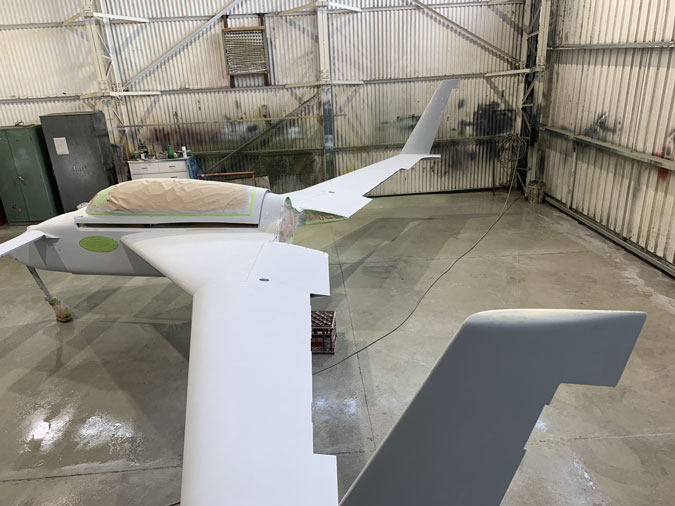
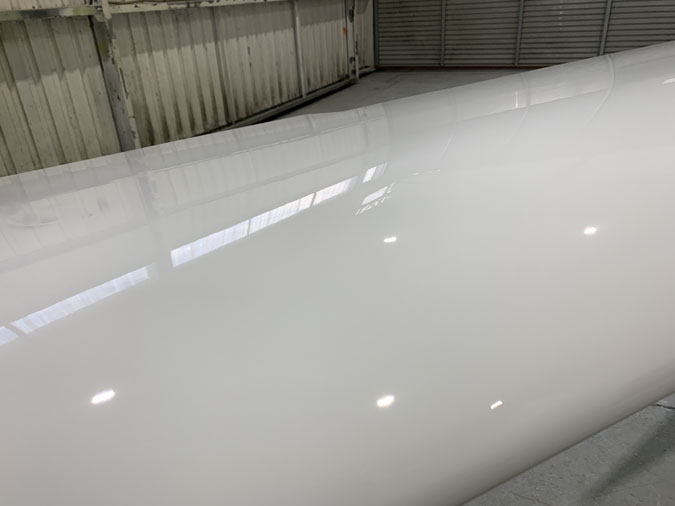
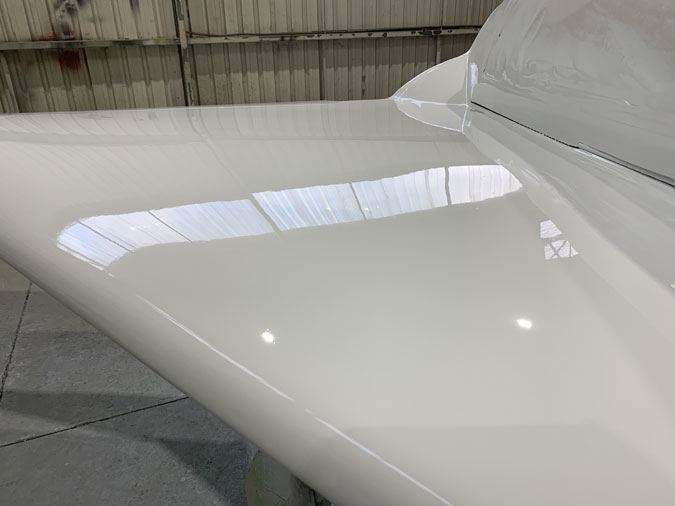
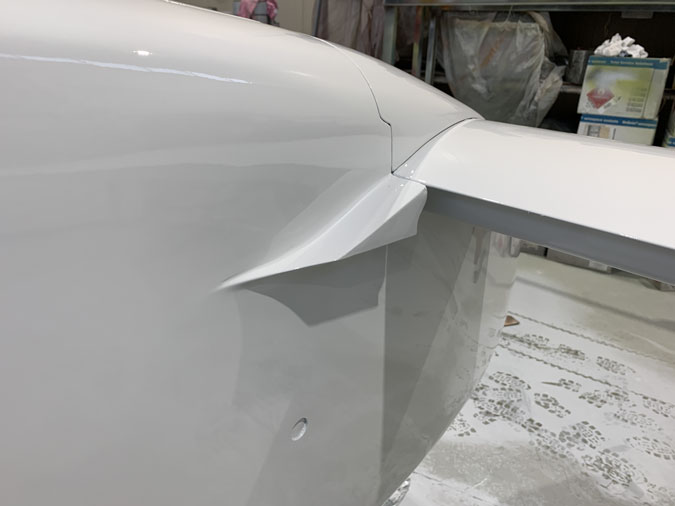
After three coats here is the result.
No runs or blemishes, just a shine straight off the gun.
After enormous preparations to a degree I would never have achieved on my own it is done.
No sanding and polishing for a perfect finish. Its looking good to me. I have a quality gloss finish. I’m not going to a car show with this, I am flying around the world.

3 Comments. Leave new
Congratulations, Dave! It looks great on my computer screen, I’d bet it looks even better in person! It must feel great to reach this milestone. Can’t wait to see it all come together. Good job.
Phenomenal effort! Looks fantastic!
Thanks for the comments. Since the initial look a lot of dust settled into the wet paint. That’s the price of an inferior ‘paint booth’. It looks like it might be more sanding and then polishing to make it right. I’ll be getting my expert to ….advise 🙂