| Date: 04-14-2018 | |
| Number of Hours: 10 | |
| Manual Reference: no ref |
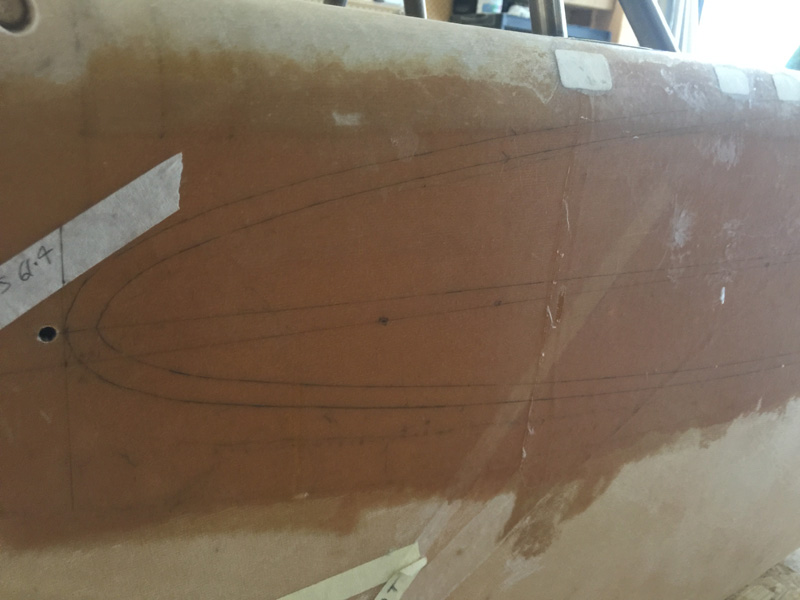
So begins the strakes. What to do first? I thought it might be the ribs. More thought told me that at some point I’d need to make a sort of shelf to sit the strake tops and bottoms on.
The more I thought about doing the ribs the more I realised how hard it would be to do the shelf idea with those in the way, especially the one at B.L. 23
I’ve been thinking about how to do this for some time, mainly with the idea of using the top skin as a form and glassing a shelf to it with release tape, although that seems overly complex. I’ve seen blocks of wood and bits of foam that people use too. I like the spline concept that I used for drawing those curves earlier.
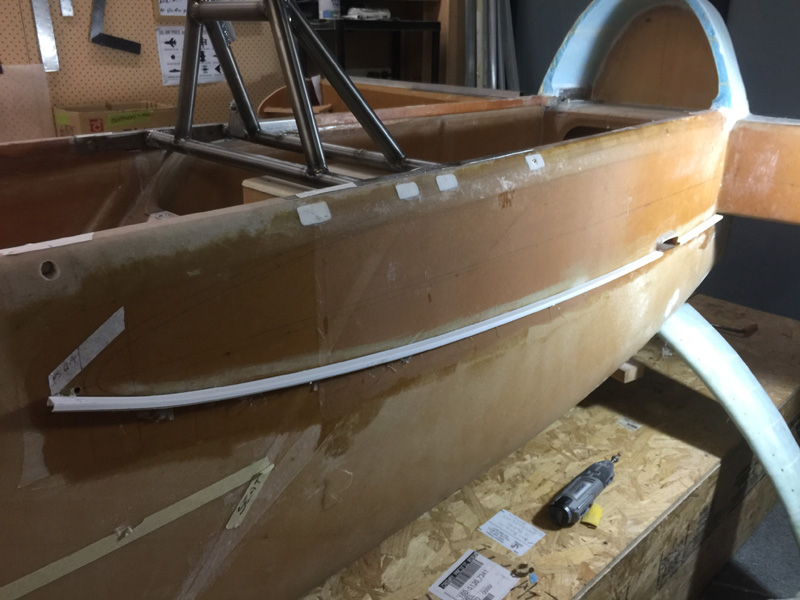
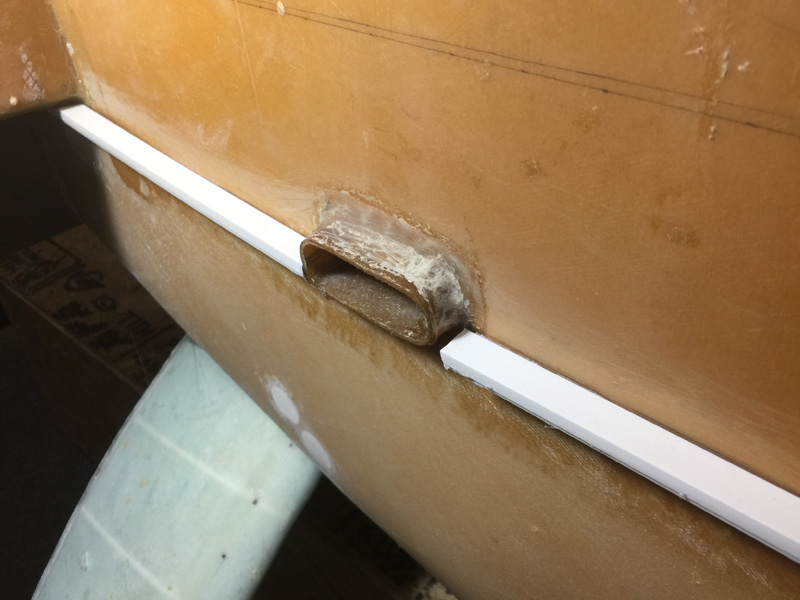
I went to the local hardware place and got some rectangular electrical conduit usually used for hiding wires. This stuff is perfect. I then spent a few hours with hot glue, holding sections in place while it set and ended up with a perfect match on the sides. I did the lower ones first, the upper ones are a bit more challenging. That’s tomorrow job.
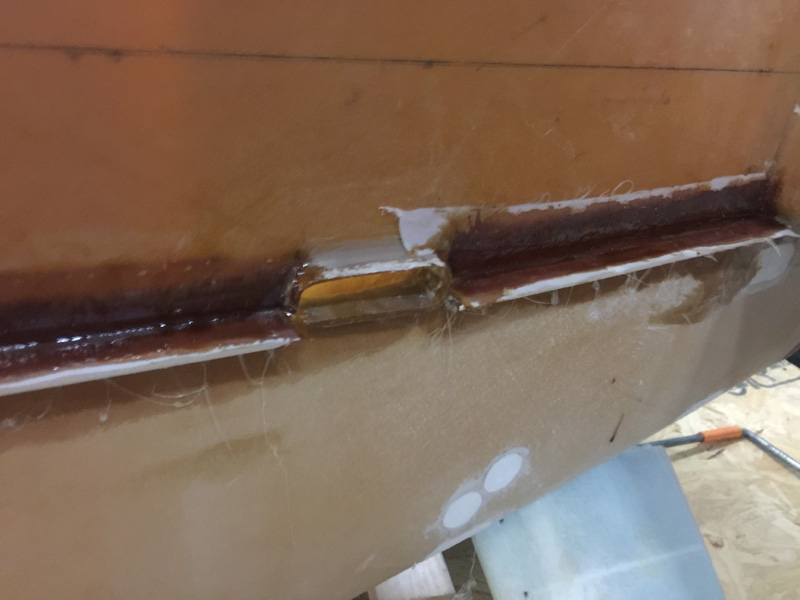
The fuel inlets might just work out pretty well. I’ve positioned them so that they will be right on the bottom of the strakes and I’ll be cutting into the foam to slope to them. I plan to minimise ‘unusable fuel’.
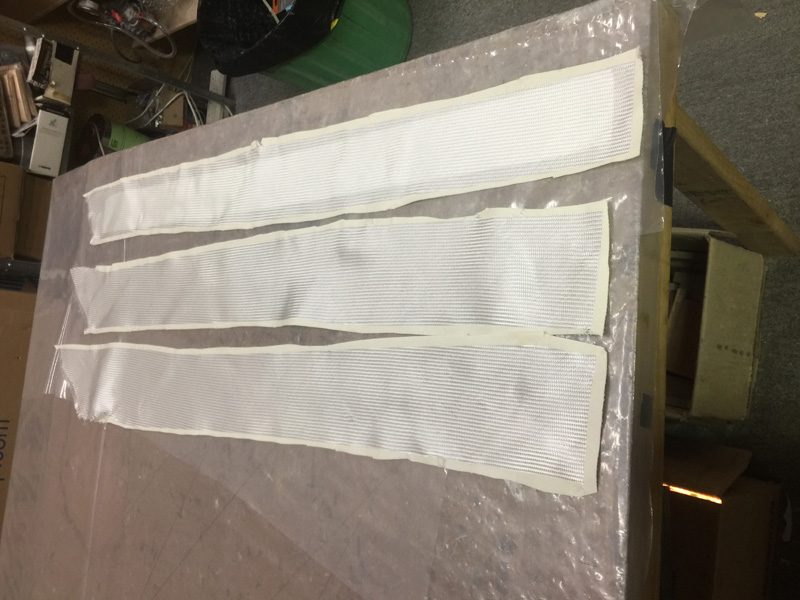
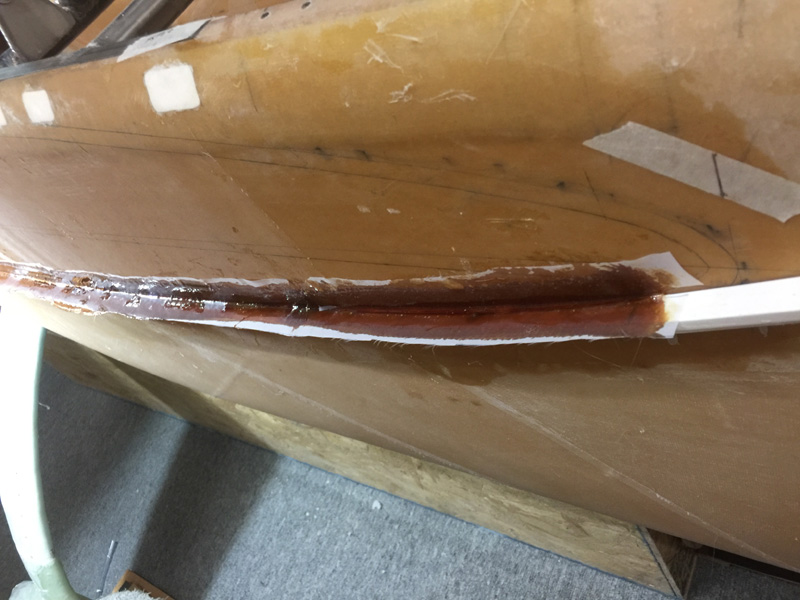
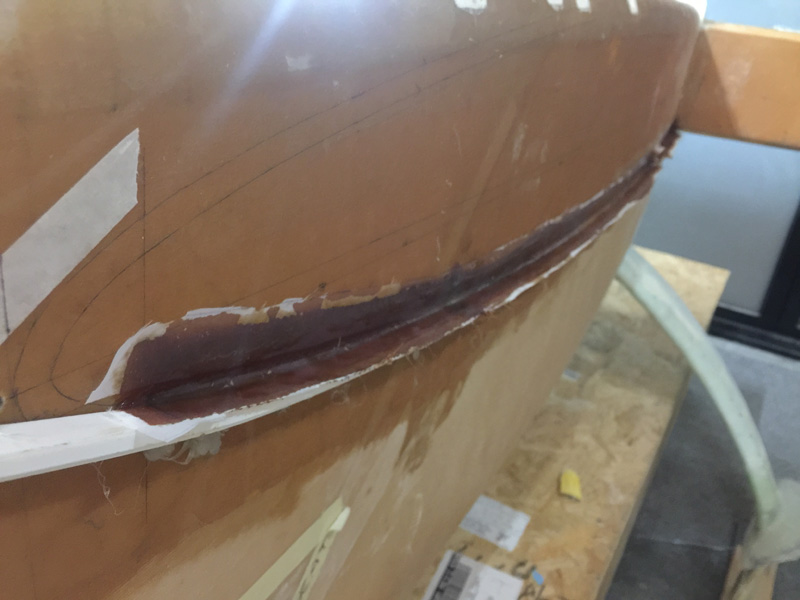
The little shelf will be about .7″ out from the sides. I’m using 3 ply of BID, the fuel safe epoxy of course and cutting 1.5″ strips to make my ‘angle iron’ style shelf. I believe this approach will also minimise the chance of leaking tanks at the fuselage join as well as giving me a bit more strength here..
Beautiful wet brown goo…
..with peel ply as usual.
Here’s how it looks around the inlets.

