| Date: 05-12-2018 | |
| Number of Hours: 4 | |
| Manual Reference: 21-3 |
The fuselage needs to be on its back like a turtle for a while. With a distinct lack of military precision I assembled a team of six. Now one got stuck in traffic on the way so our team of five got it done. My three giant windows come out easily with a new glass sucker I’ve acquired. We just carried the plane outside, rotated the spar on the ground which was padded with a few rubber mats and carried it inside again.
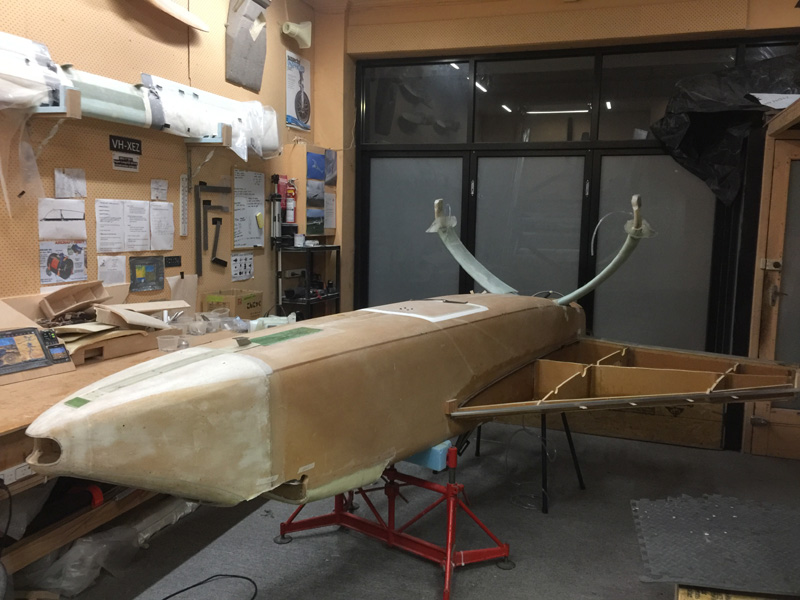 I found it pretty easy but one said it was quite a workout and another discovered he was not as strong or agile as he thought. I guess I’m not pulling my weight. Apart from having kittens every time we got close to damaging anything, like the car parked really close to us, and of course, the front strake outboard rib, it was all good.
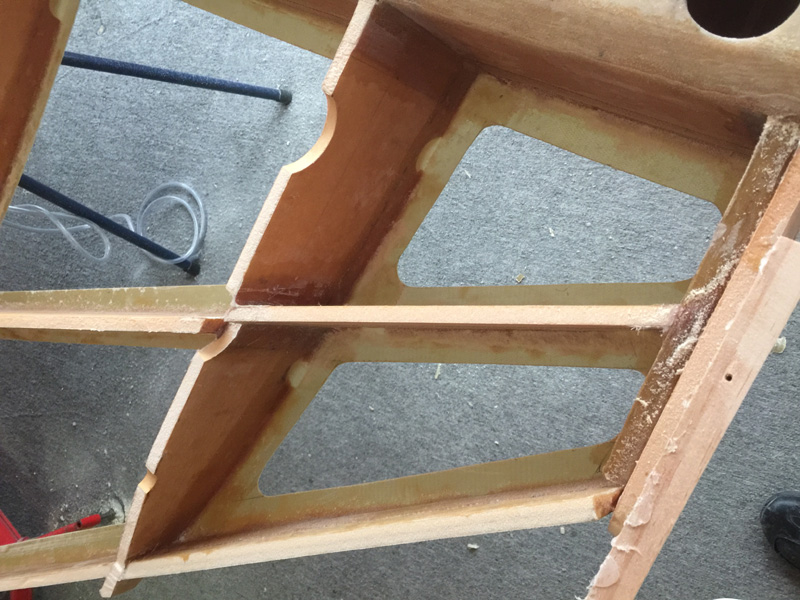
With the strake ribs still exposed I spent a couple of hours just trimming the hat tops. Partly because I like neat work but really to remove the frayed edges and get a little sandpaper on there. It will get more prep work later before the top goes back on.
I am very mindful of not leaving little bits of half attached fluff for when the strakes are closed. These would eventually break off, float around for a while and then get fuel soaked and sink. More time later they find their way to fuel filters and start blocking them.
Experience of others shows that this takes around 50 hours and a few people have had engine failures on this issue. I believe I’m 100% (hahah if thats possible) protected because I have the 15″X15″ giant Holley Hyramat fuel filter in my common sump. However, thats no reason to be complacent. That filter is not cleanable and really expensive so another good reason not to fill it with ‘fod’ prematurely!
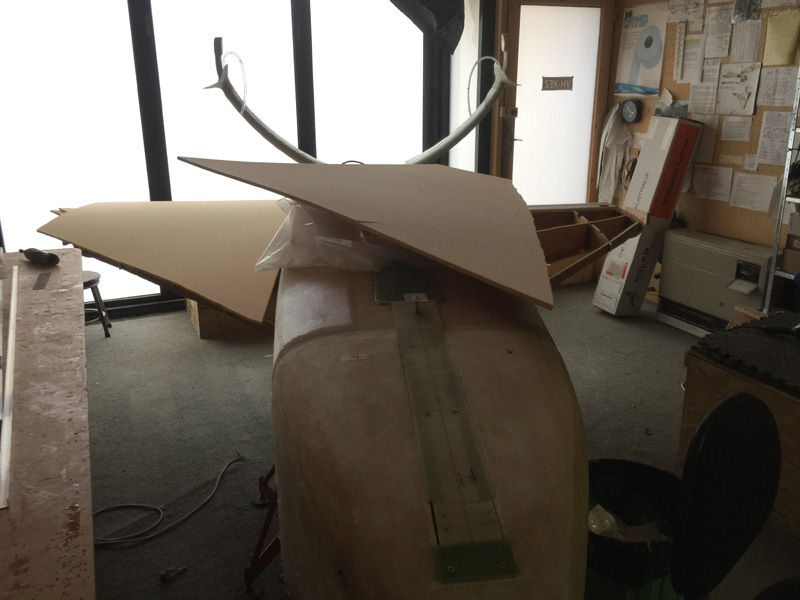
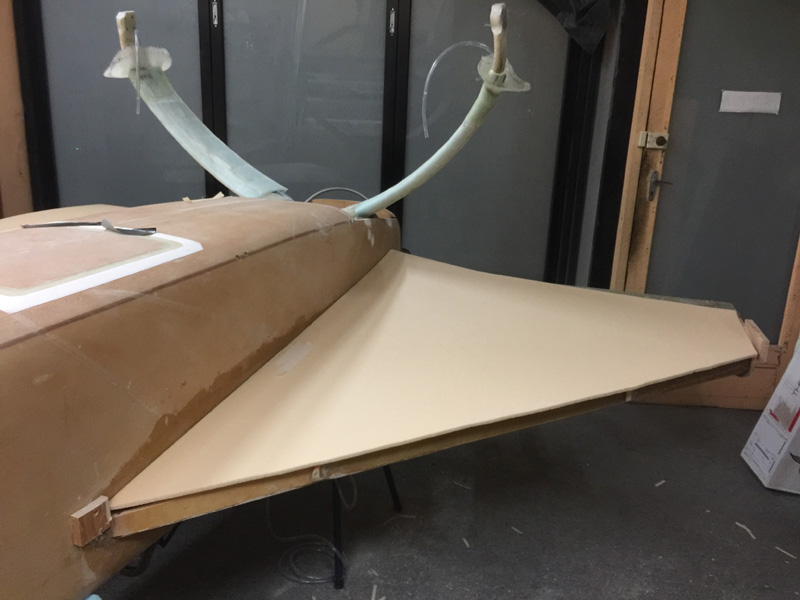
As usual I spent a while doing the rough cut from one big sheet for the two strake bottoms. This is my last big sheet of foam the right thickness and it would be a big delay if I had to get more. Like months…
Here’s the first rough cut fit. The side edge has a gentle curve that needs a careful amount of sanding to get right. I’d forgotten already how much time these guys take. While the way forward is close to worked out, its just a lot of time and effort now.
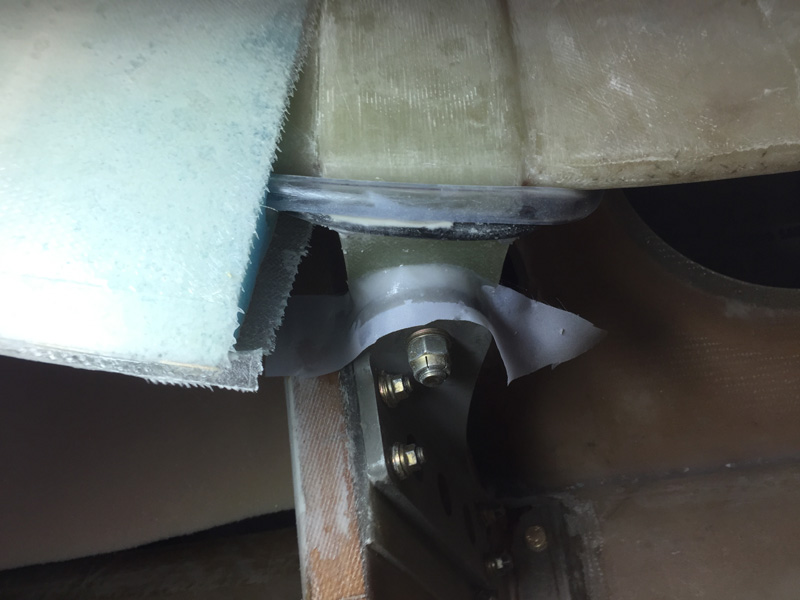
Meanwhile I have a long list taped to my wall of small jobs for execution while she is in ‘cat belly scratch’ position. This was the landing gear donuts. When I floxed that gap from above I couldn’t get to the underside without the flox oozing out. This little mod just prevents the gear tabs from moving on the through tube. I like to think it also reinforces the tabs themselves with extra thickness.
Yes now I’m looking at this I’m seeing the sharpish corner of the gear and the SS brake line (in a plastic tube) along with the pee tube that could be better supported and protected from chafing. More jobs for the list while inverted.

