| Date: 01-11-2025 | |
| Number of Hours: 25 | |
| Manual Reference: no ref |
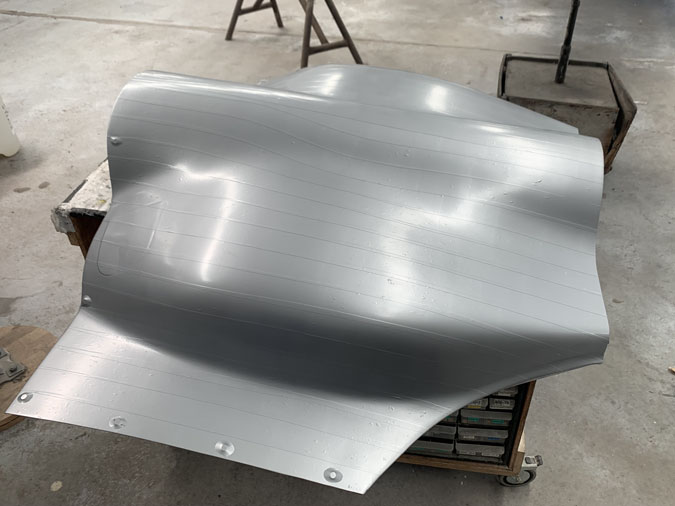
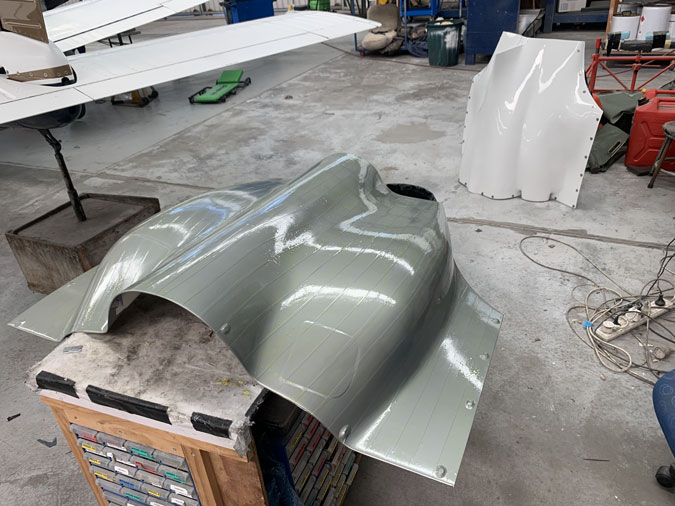
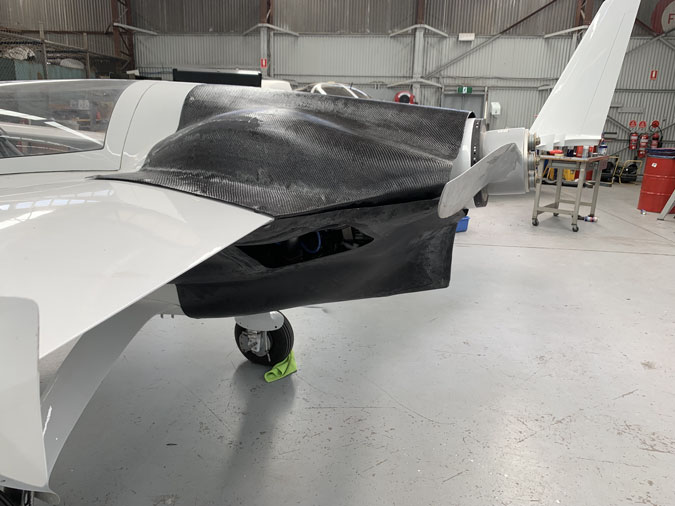
The 11 days since my last post have been busy. The data tells me I need to vent the bottom cowl AND the top cowl. So first up I need a new top cowl to do my testing with.
I covered the top cowl in duct tape as usual, trying to get it as smooth as possible. Not that it matters except to work on my build standards. The resultant dummy cowl will be stored in my roof space when all the testing is done. I don’t think I could throw it away… yet.
This time I used up all my PVA release fluid. We will see if it makes the cowl easier to get off.
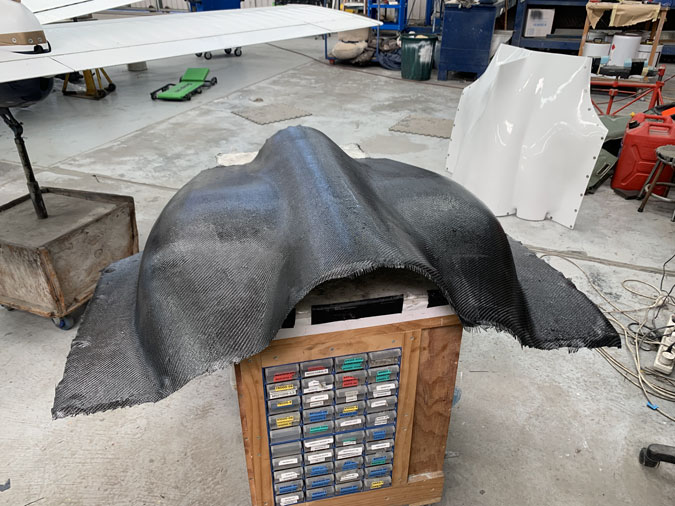
Despite the so called slow cure West epoxy hardener it was a real race against time to get the two plies of cloth wetted out and pushed and coaxed into place.
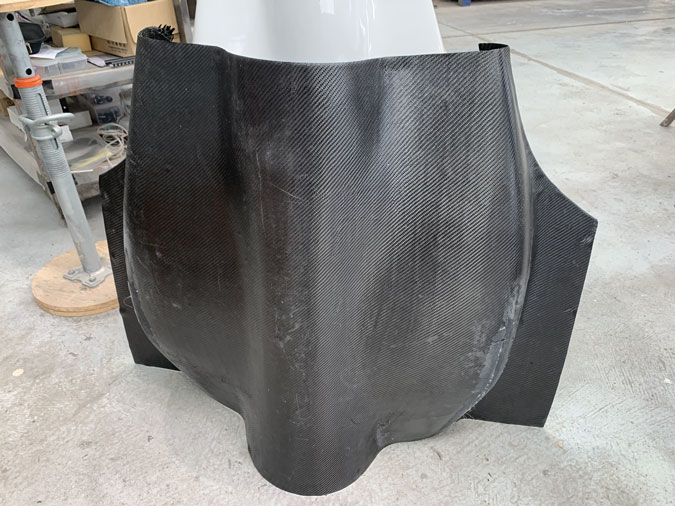
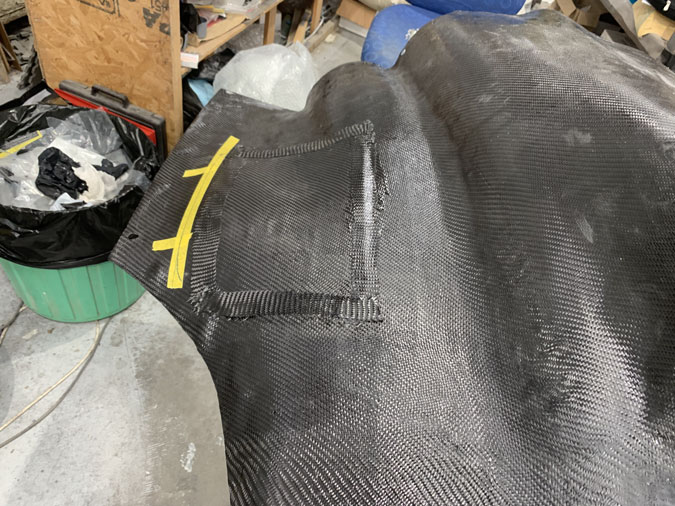
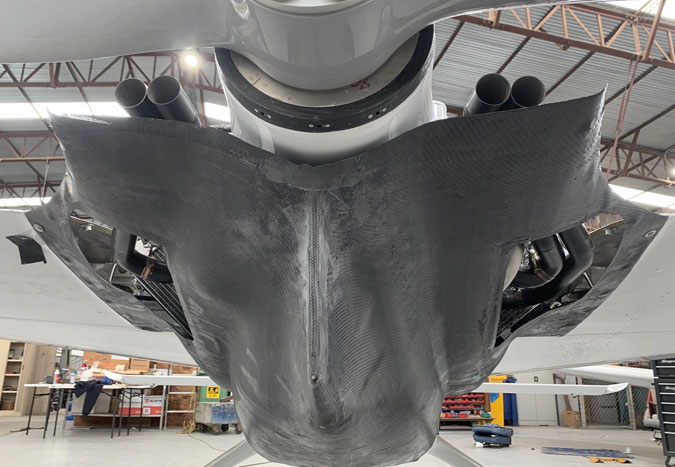
I spent well over five hours trying to get this cowl off the mold. In the end I had to make two cuts in the top, then it sort of popped in a couple of places. I quickly repaired the two cuts and after a trim we have a dummy top cowl to play with.
While it still needs more fitting work it is going to be fine for testing. I may have to reinforce the end as I did on the real top cowl so it doesn’t impact the spinner. We will see how it it after I get a few fasteners in place.
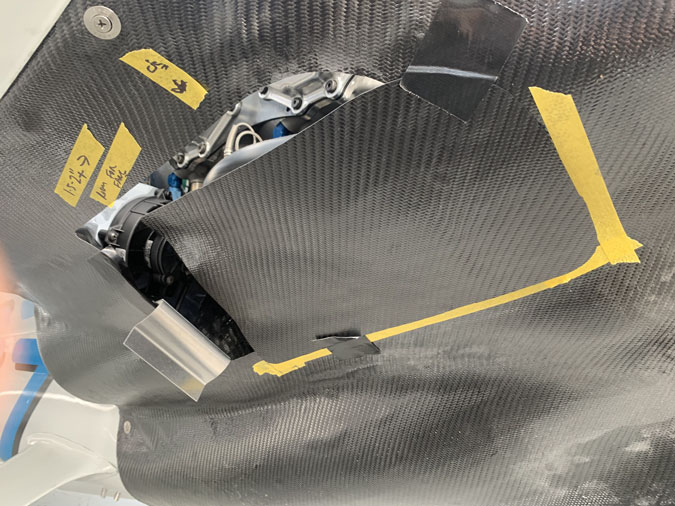
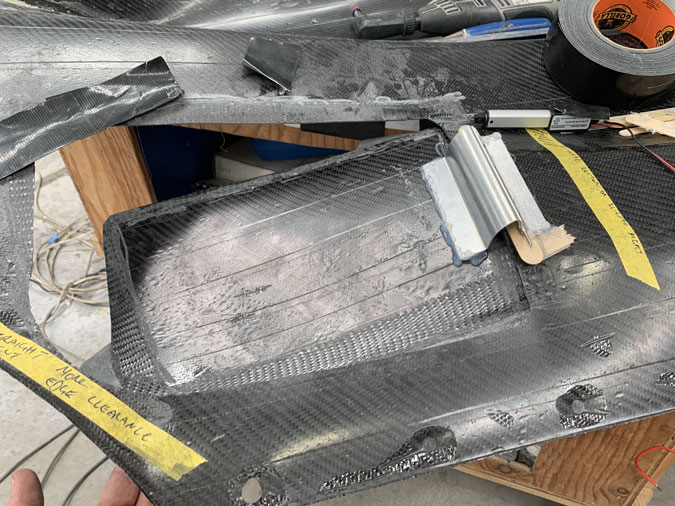
The cut-out for the flaps I felt was not quite in the optimum position relative to the exhaust pipes, the main source of heat. Here I’ve marked where they should go.
So I repaired or ‘put back in’ the flap doors!
After re-cutting the doors I am much happier with the position now. I moved this one back a little to leave room for the radiator fan. It was a little close.
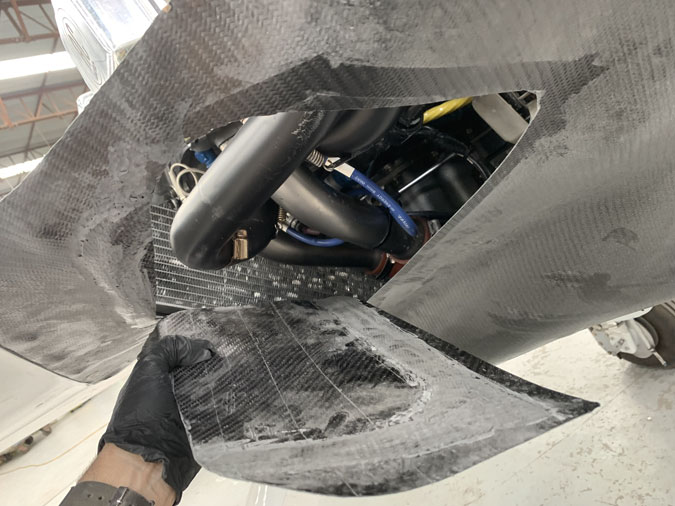
Previously this door was further to the left, now it is well clear of the outer exhaust pipe. I will alter the closeness to the edge of the cowl when I do the real cut-outs. For now what I have is OK for testing.
You can see good visibility for the pipes now. Which suggests the hot air will get a better path and so improve the ground cooling when the plane is not moving.
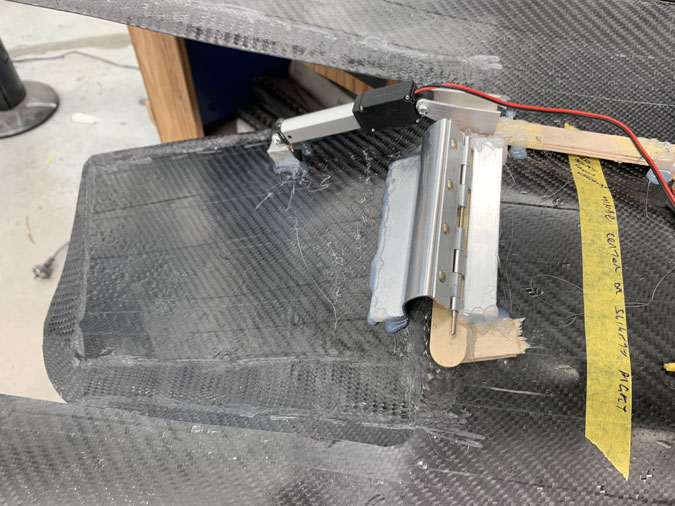
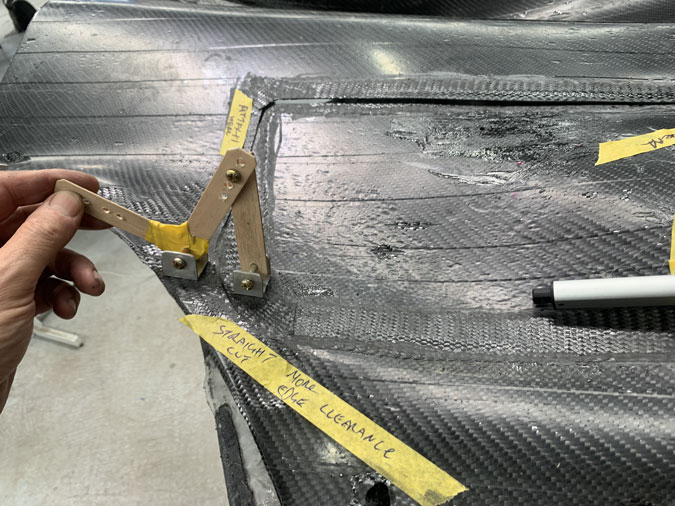
Yes its not pretty but I spent a while getting the offset hinge working. It has to clear the cowl as it opens downward. Its the same type of hinge I used on the oil door. I have reverse the spring but its not strong enough to close the door on its own.
Despite the hot glue and ice cream sticks, it works quite well.
I’ve bought this mini 2″ push length linear actuator. Yes I know they don’t like the heat. A cable is out of the question, no room. So somehow I need to make this work and then shield it from the heat.
I worked non stop for several days on this problem. I got the actuator to work ‘a bit’ with partly opening the flap door but it was pretty awful. I don’t have room to make this actuator upright and it would need a lot of mounting if I could. Even then it would get knocked over sooner or later when I pulled the cowls.
I tried every configuration that I could think of. I went to several engineering shops expecting a solution. I just wanted a solenoid type until that would move an arm 180 degrees. I thought I could make that work. Devices were either way too heavy, thousands of dollars each or both.
I went down the remote control cars and planes route, the big ones. They have quality servos. I spoke to several experts. Wrong voltage and they need a controller, it was just getting too complex when all I wanted was a thing with two wires that I could reverse… like the actuator! …but I couldn’t seem to make that actuator work with the space issues and they just didn’t seem to support the door very well.
I found a nice cowl flap mechanism for RV planes. It was around $800 and out of stock and wouldn’t fit anyway. I did like the idea…so I started to mock up something quite different to that but ‘inspired’ by this stock item.
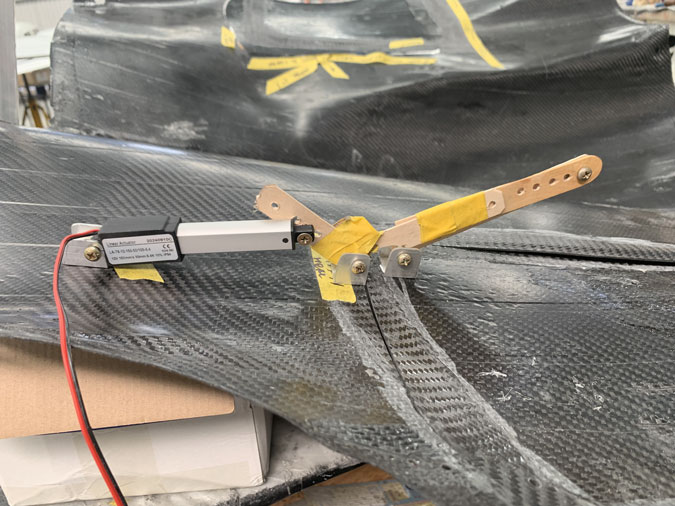
Does this give a bit of an idea?
Here’s the basic movement. This is a long way from useable but I was onto something. I had to put the bottom cowl back on and work out clearances of course and then where to mount it.
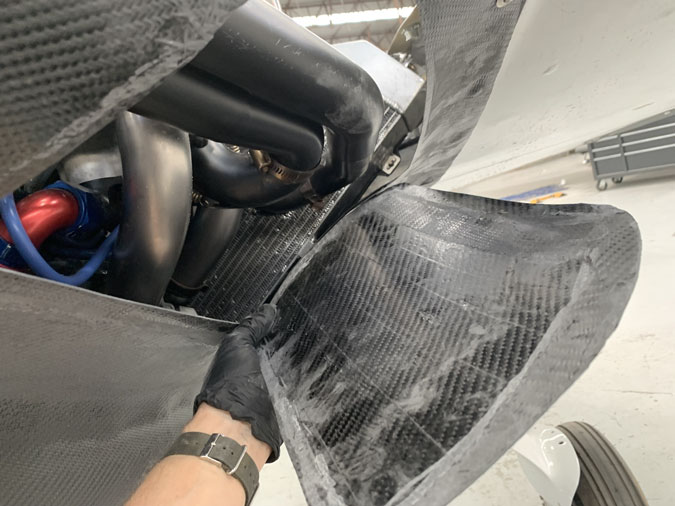
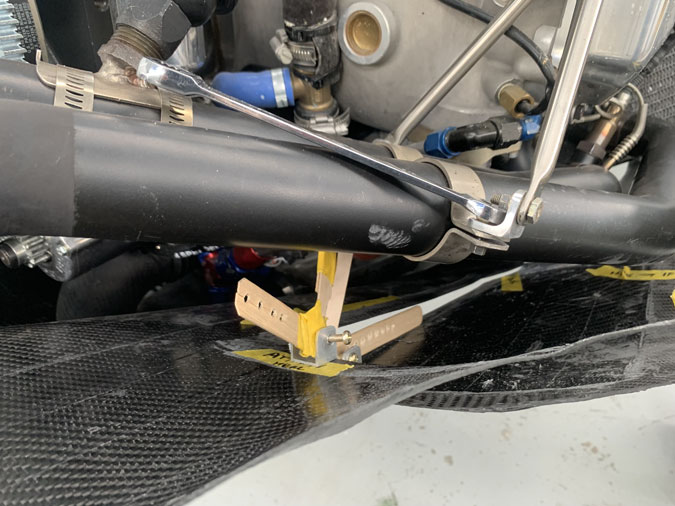
It tucks in here. I did have to move the exhaust pipe clamp but a good days work will make new supports if I need to. I might have to move a hose as well. We will see.
It will fit on this opposite side but I’m right near the exhaust pipes. I think I can build a shroud for them and it might survive will lots of shielding.
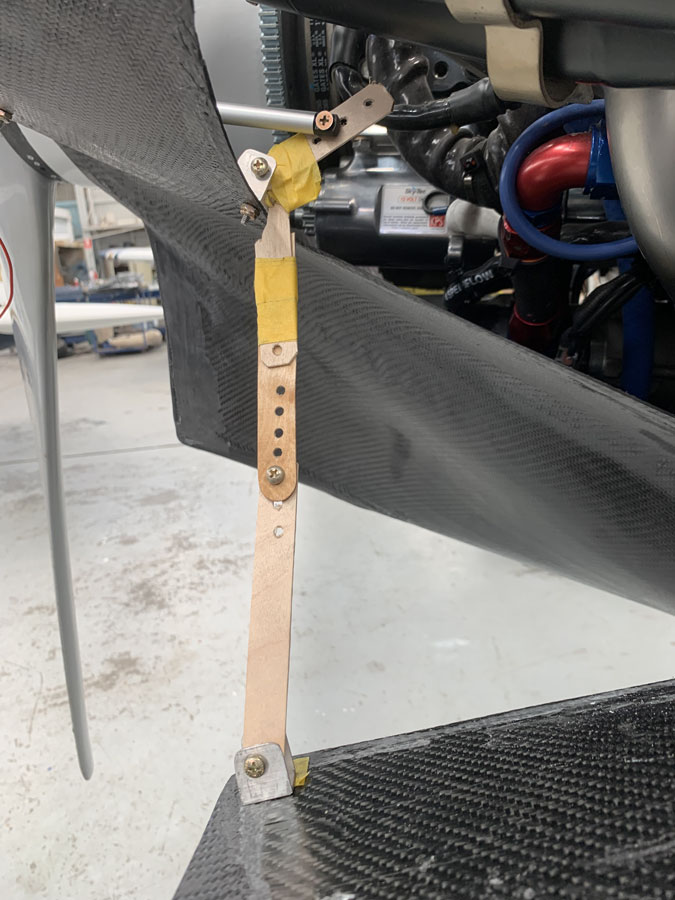
I’m getting a good opening. It took a few hours to work out the gearing and several ice cream sticks.
Here is the proof of concept. It works. I have a cowl flap mechanism. Now to make the parts a little more carefully!

