| Date: 02-09-2025 | |
| Number of Hours: 52 | |
| Manual Reference: no ref |
With the flap doors and lips made all I need to do is fasten the hinges. Easy right? ……..not so easy after all.
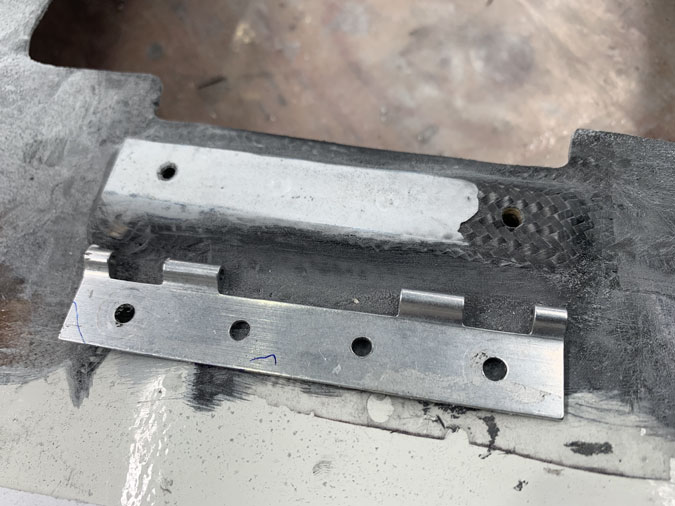
I used this hinge on the oil door and it worked out really well so I went ahead and bought four of them.

In my confidence, I even put in the hardpoint of plywood and covered it in carbon on both lower cowl openings. I used the same place as the oil door.
There is a problem. Maybe its because the lip is thicker. I spent a couple of days trying everything I could think of. No luck. What did work, doesn’t on these flaps. I was starting to think I needed to make giant ‘Jay hinges’ as people use on hatches.
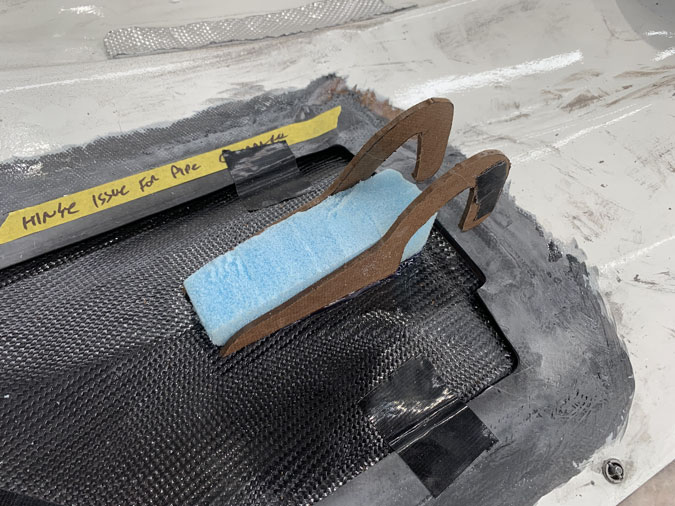
I made a few prototype of these ‘Jay’ hinges… but they had exactly the same lip problem. It is really the compound curve right at the opening that is the issue.

An engineer friend visited the hangar, looked at the problem and asked for a piece of paper and an old school drawing compass. He made a few squiggles and told me the hinge rotation point needs to be further back, in fact 20mmm from the edge.
I played around with hot glue and the top cowl and that seems like it might work.
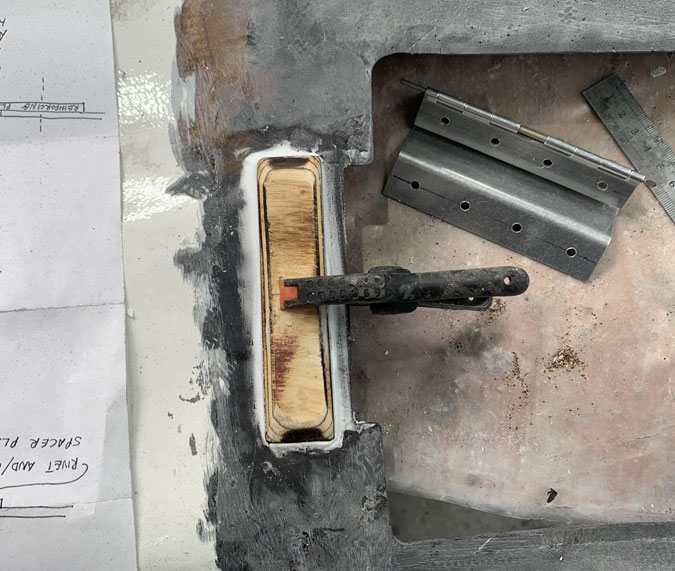
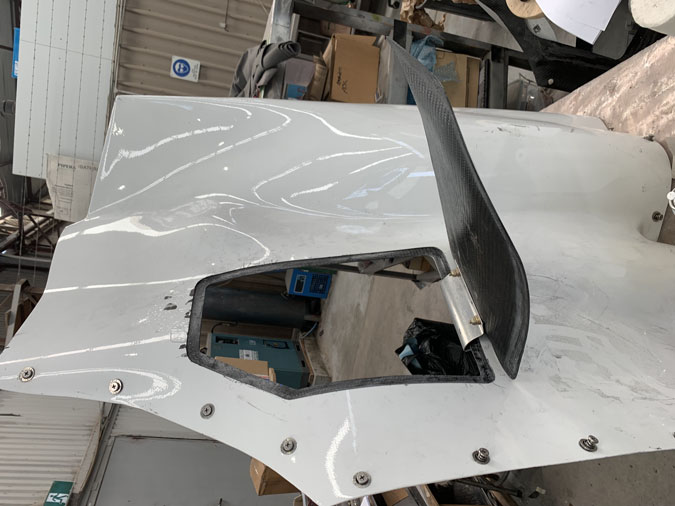
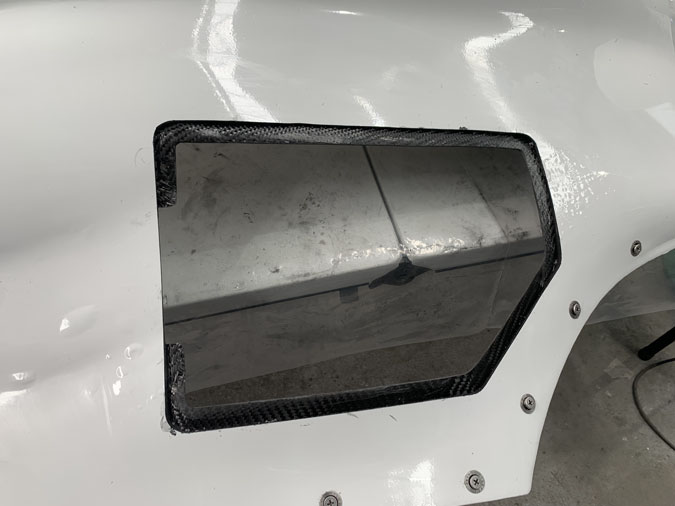
So I have ground off my nice hard points and built another one further back. I love doing things twice. I’m just doing one side at a time now. The other big thing is that I’ve cut the lip all the way back to fit the hinge rotation, kind of an insert that you see above.
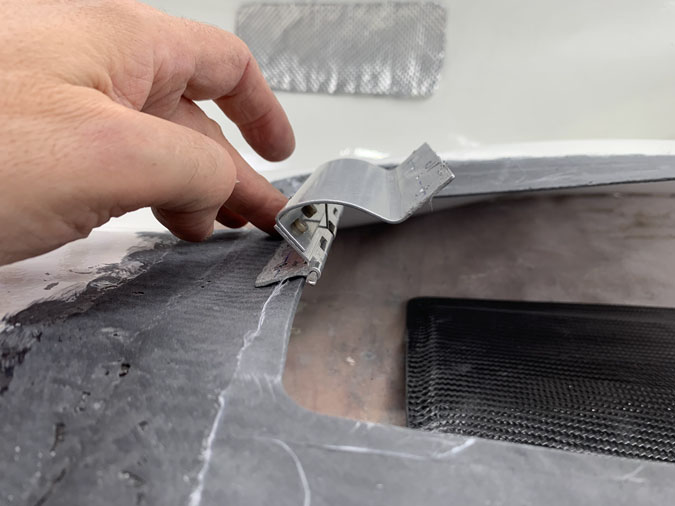
I’ve tested this and it ‘nearly’ works, like the earlier Jay hinge ‘nearly’ works. I’ve had to trim the edge of the flap right down so its ‘edge’ and I might need to make a slightly larger than ideal gap around the rotation edge of the flaps, but it will work with this amended and rather unsightly gap at the pivot point.
This is a bit of a relief, although not ideal, it is a solution I can live with.
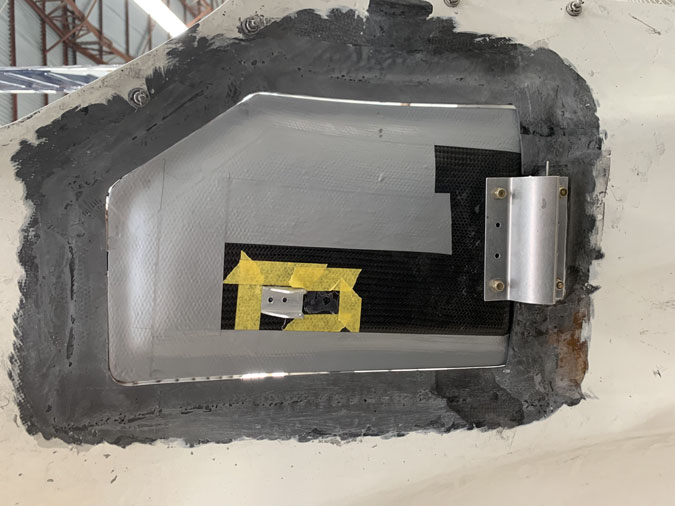
I need the hard point both for getting the hinge line equal on the door and the cowl as well as for strength. I also need to get the hinge pin going in level so that it doesn’t bend which would cause it to wear very quickly. A little micro does the trick here.
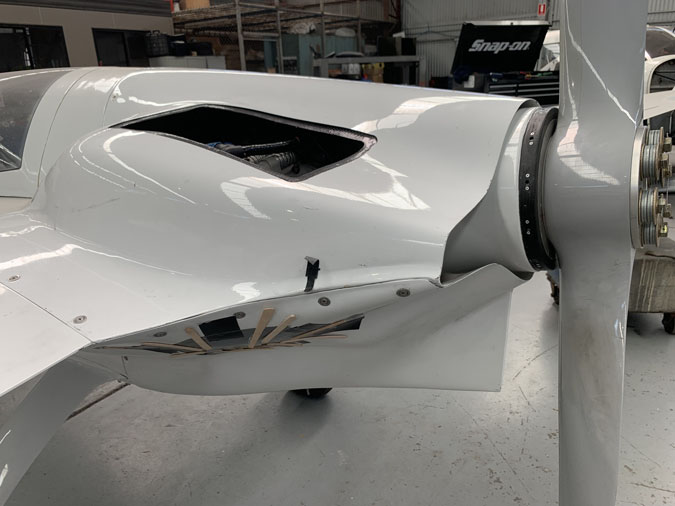
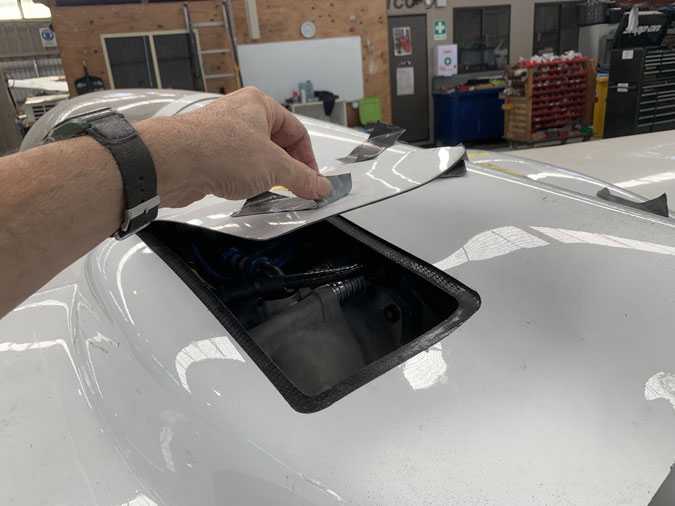
Here you can see the gap at the hinging point and how the door ‘just’ misses the edge. I may have to open it up a touch more. There is a bit of sideways wiggle in the hinge that makes quite a difference to the opening gap required. I’m going to get the mechanisms built and see if that stabilises the opening. If not I have a couple of ideas to try.
We do have a door that opens and closes. OK for now. I did start on the mechanism next and that produced a few new problems of course. I’ll finish off the hinge story here and we can have a look at the mechanism issues in my next post.
Meanwhile I am just not happy with how these doors fit against the lip. Everything was pretty good until I put the cowls back on the plane. Once in place, they flexed into a slightly new position. On the plus side the top cowl door lip are usable. The bottom ones need to be done again and set up on the plane when I put the wet carbon fibre down.
I’ve just the lip off although I did leave the thickness as its strengthening that part of the cowl at the opening and I can live with this.
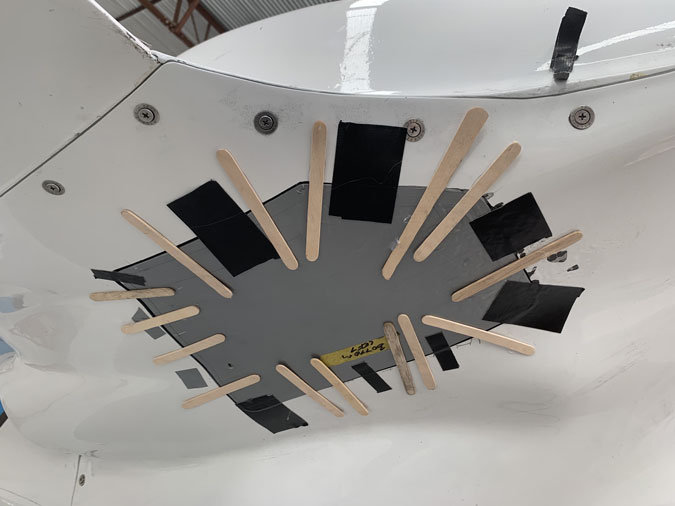
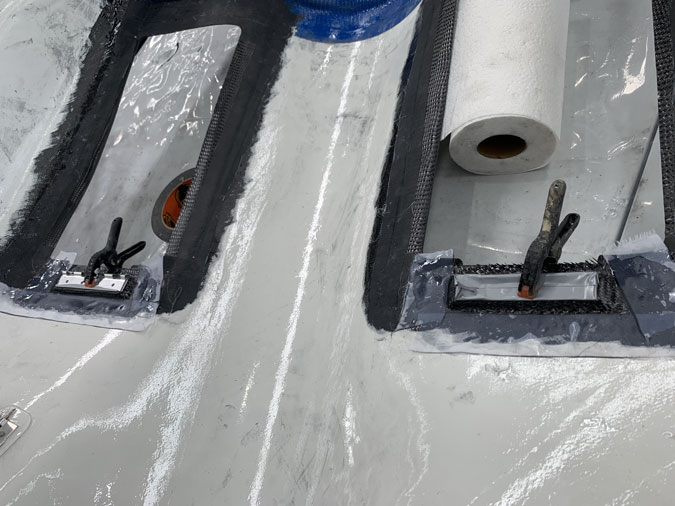
This time I’m setting up the door as flush as I can make it with all the fasteners done up. Of course I had to remove the exhaust pipes so I have access from the top.
All done and peel plied. These layups take so long that I’m getting the carbon wetted out on plastic and then putting it in the fridge. I then take out enough for two piles of the seven and the rest go back into the cold. It is the height of summer here and pretty hot in the hangar. Not as much fun as it might be.
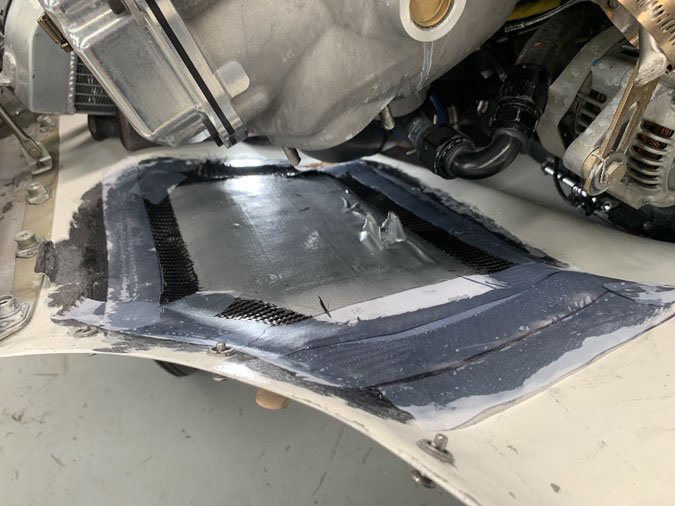
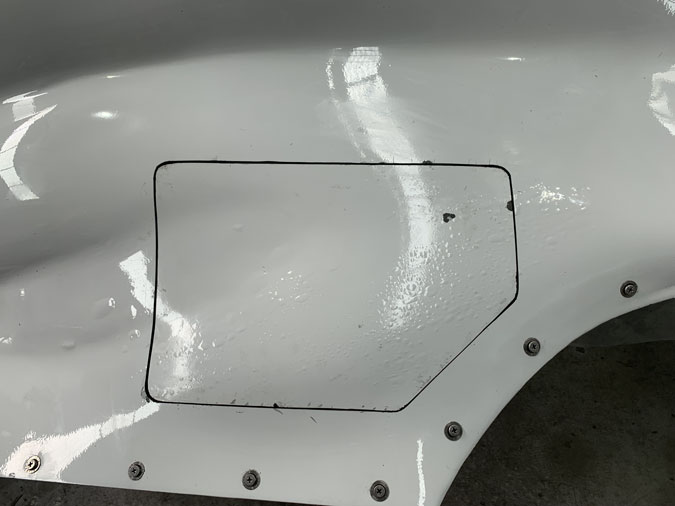
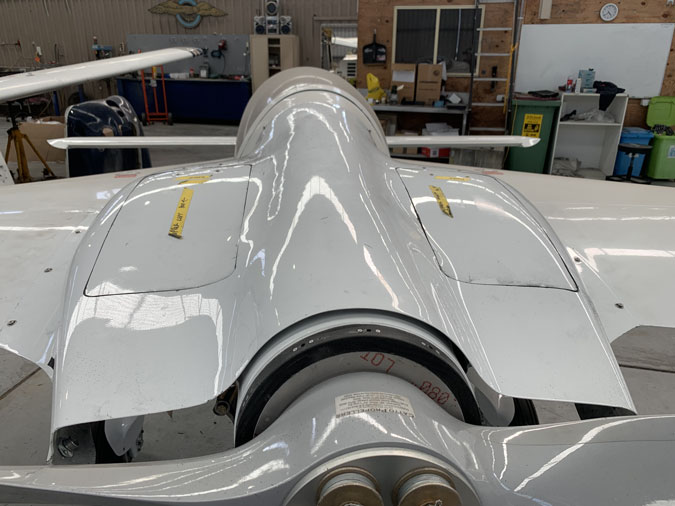
I put the top cowl back on to let it cure. The result is not perfect, but given I’ll have to refinish the cowls again anyway its within ‘range’ of having an acceptable result.
Of course I had to do the whole process on the other side as well up to this cleaned up state.
Again the fit is better than before and all the ‘error’ cost me was several more long days. Every delay in getting to first flight hurts. The clock keeps ticking. On the plus side I am very much in ‘builder mode’ and going in to work every day until it is done.
So the hinge works. Now I have all the hardpoints to do of the other three and mounting of the doors as I fit the hinges. There needs a bit of trimming work to get the gaps right.

Hardpoints on the top as well. The earlier cowl stiffener probably saved me from having to do these twice. It was still a LOT of work fitting the doors with the lips and it is far from perfect as the cowls flexed a little after being cut. It will work out OK with time and care during the refinish.
The hardpoints got a ply of carbon to seal them in. They will get some levelling down the track too. I do need to keep moving however. I want to see how the mechanisms work before I do a final fit as a few more little things might be needed.
I decided to get the four hinges working before the next step so I at least had a feeling of completion of something.
If you stand back far enough these look ok. Just don’t get too close. OK, lets move on and make these doors open and close with electric actuators while somehow fitting under the cowls between all the engine hoses and bits. Wish me luck.