| Date: 02-02-2025 | |
| Number of Hours: 62 | |
| Manual Reference: no ref |
With the testing complete and the efficacy of the ground cooling cowl flaps proven by the data, one thing remains. I have to build these things into my ‘real cowls’. The last major step before first flight.
Here we go. The Top cowl weights 3.37kg (7lbs 7ozs) and the bottom 4.14kg (9lbs 2ozs) These flaps and the mechanism are going to weigh a ton. I need them strong. It will be added to my Weight and Balance sheet.
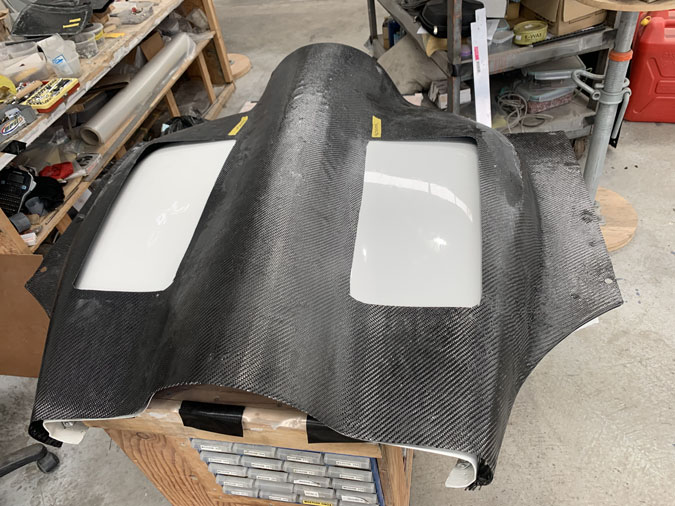
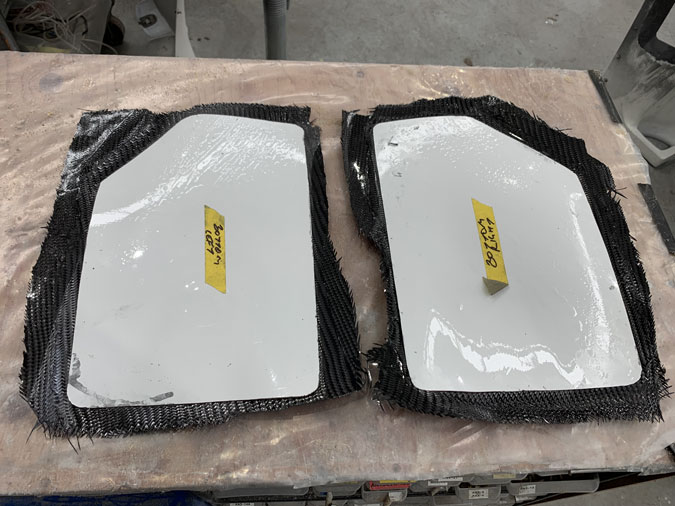
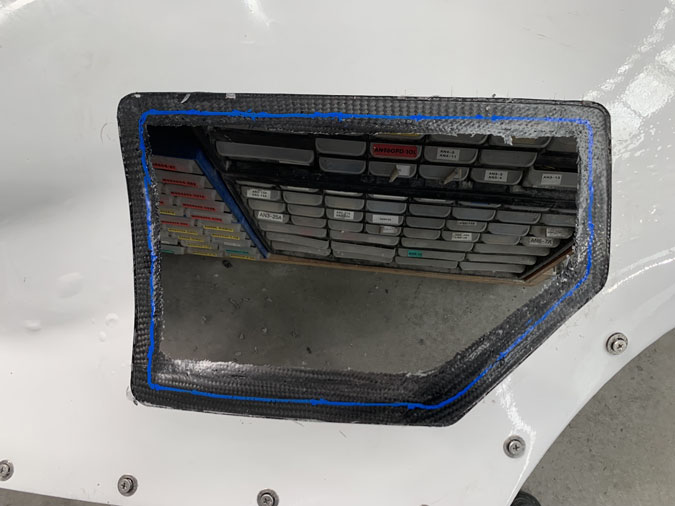
Using the dummy cowl cut-outs as a template, I marked out the flap outline on both upper and lower.
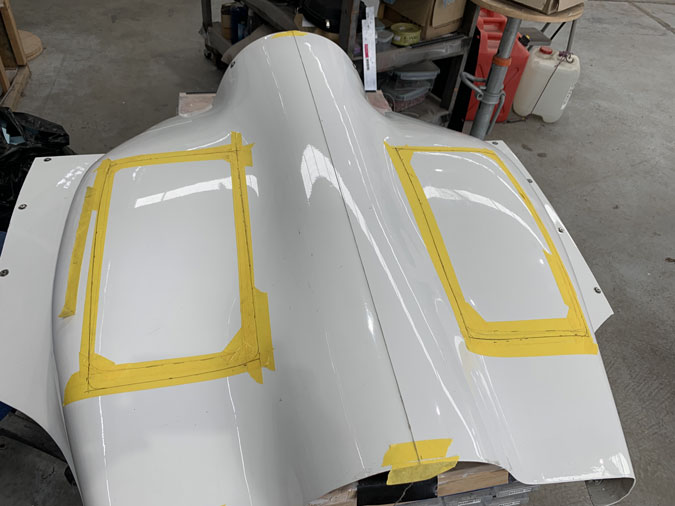
I had to be a little more careful than the dummy set. On the top ones I tried to make them pretty even. The bottom set are offset slightly due to the exhaust pipe layout, but only a little.
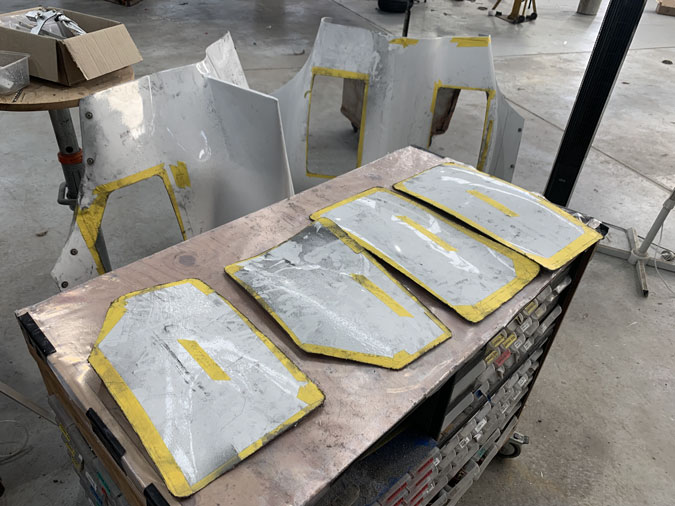
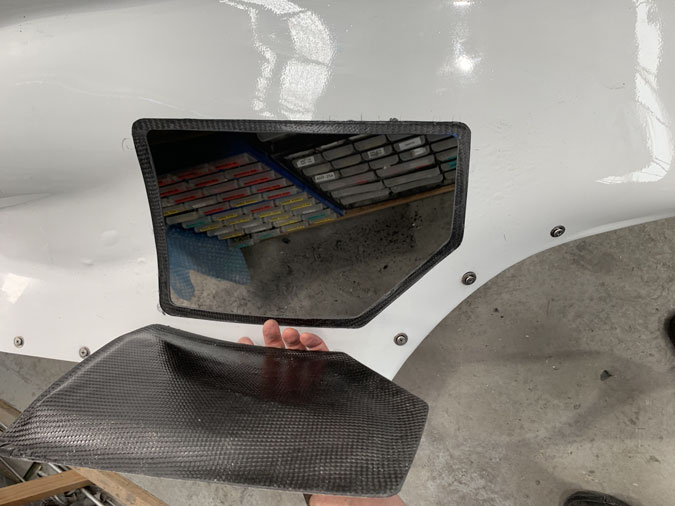
Cutting them out was easy with a Dremel. Of course these pieces are only the thickness of the cowl and you can cause flexing by just waving them around. They will need some force to ensure they are tight and I do not want flaps broken off and in my prop, that would not be good. This means they need to be rock solid.
If I build them well enough to open in flight they might be useful in a prolonged climb at low speed if there is a cooling issue in that configuration. I don’t need them for speed brakes, if I did the approach is just wrong and I’d need to go around.
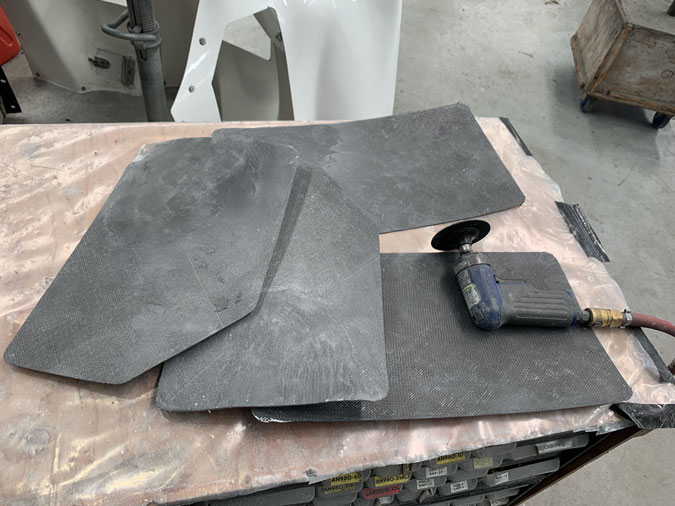
All the paint had to come off the underside for the next step.
I need to make ‘hardpoints’ where I can attach the actuator arms to push and pull on the flaps for movement. It must take considerable force. I’ve modelled this on the landing brake construction to some degree as we know that works in flight and OK to use at 90 knots or so.
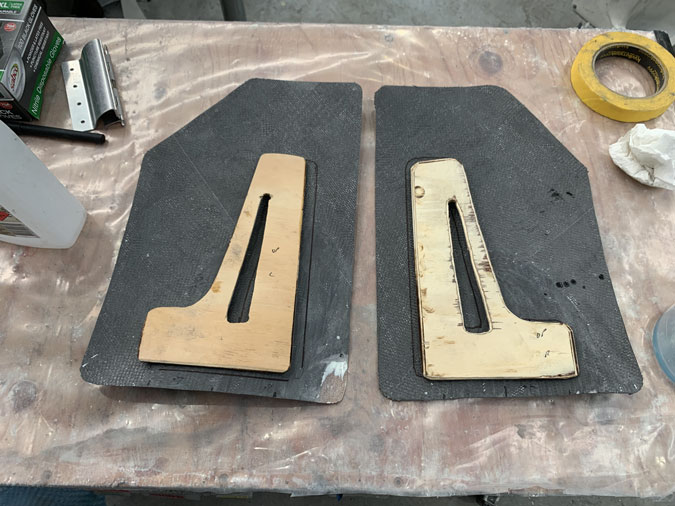
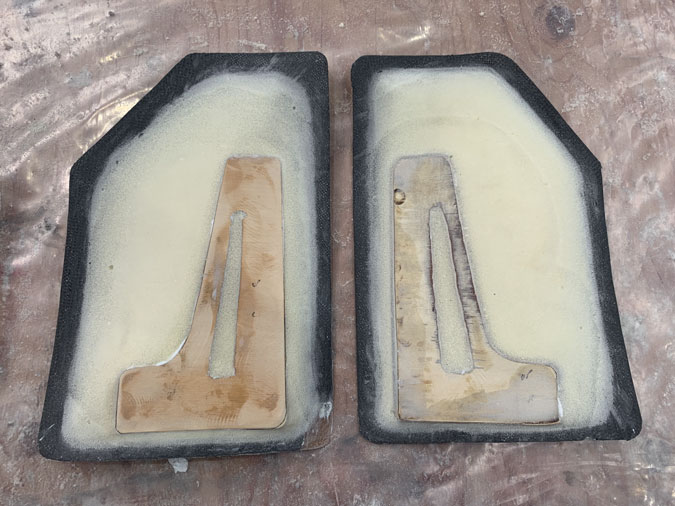
I’m using the marine ply that was left over from the firewall. It was quite thick so I’ve routed pieces down to .25″ The shape is to allow for the hinge attachment as well as the actuator bracket.
Given the cowl doors are a compound curve, I’ve just placed them on the carbon and filled the gaps with dry micro.
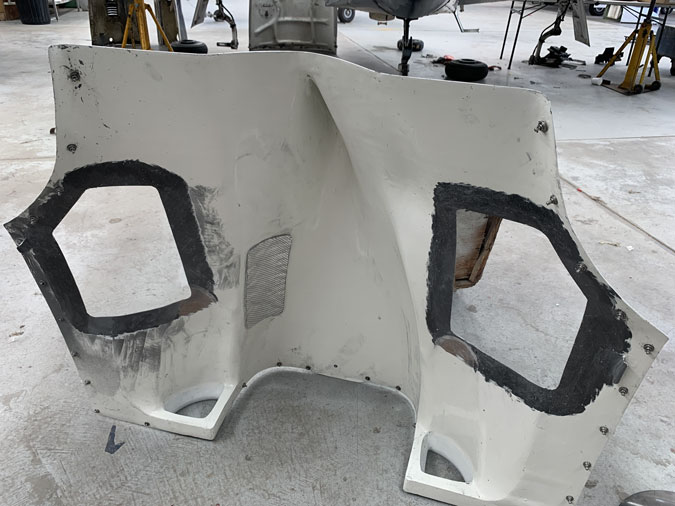
Of course I have to prep the cowls themselves for flap ‘lips’ by removing paint. It took some time as I didn’t want to remove any carbon either.
Yes the top cowls had to be done too.
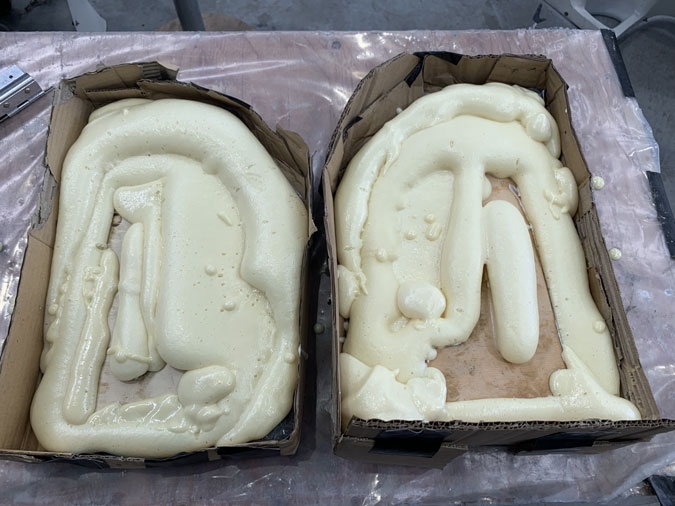
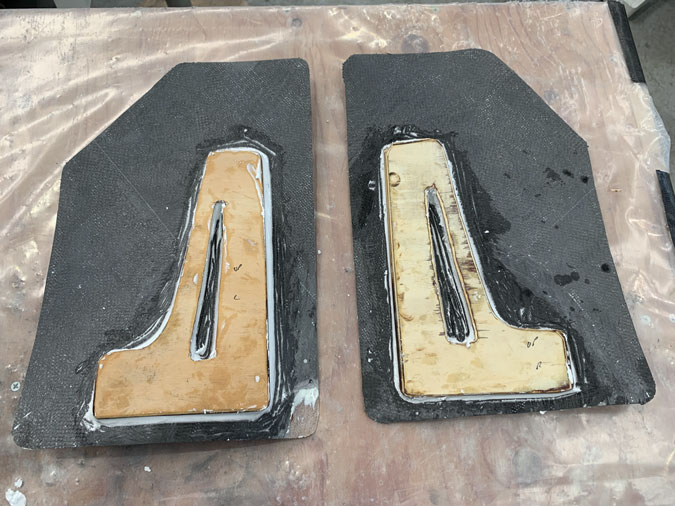
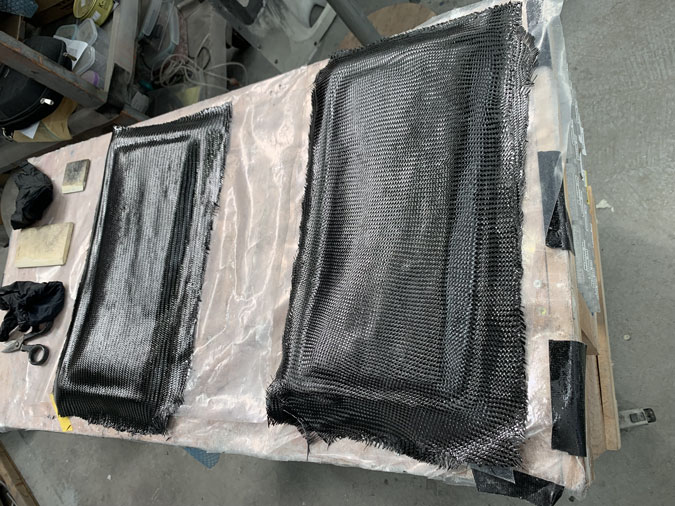
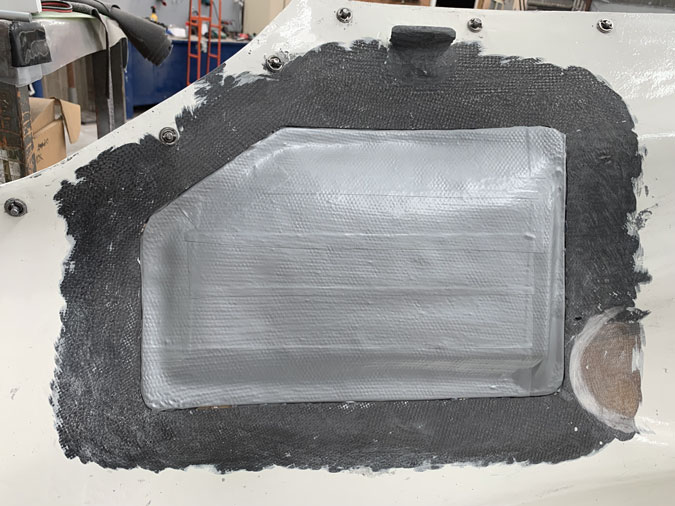
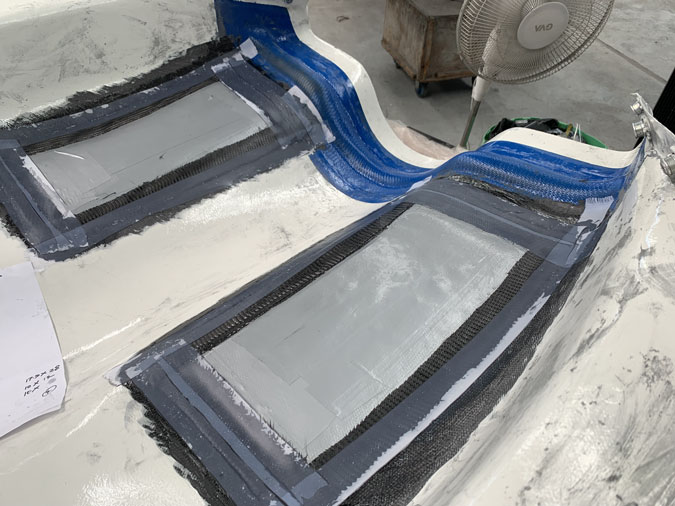
I made simple carboard surrounds and did my thing with pour foam. This is going to give the flaps a lot of strength without too much additional weight.
Carefully trimmed there is not a lot of foam left. The edges are ready for the carbon to carbon join.
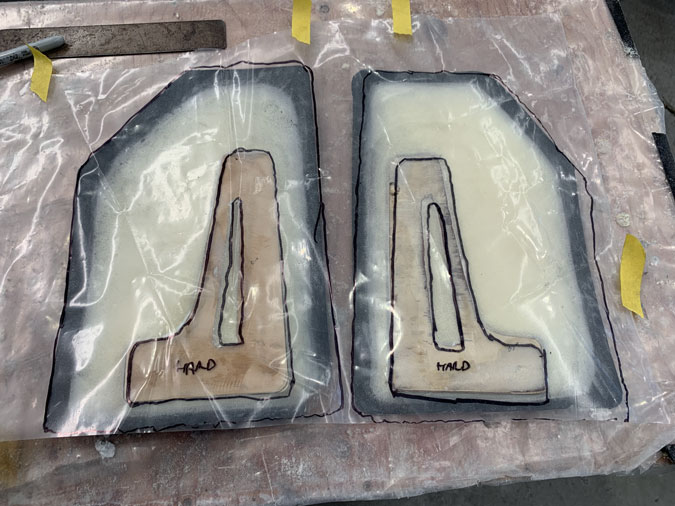
I thought it a good idea to mark out where the hardpoints are. Once it is covered in carbon, I’ll only be guessing otherwise which could be an issue for placing the hardware.
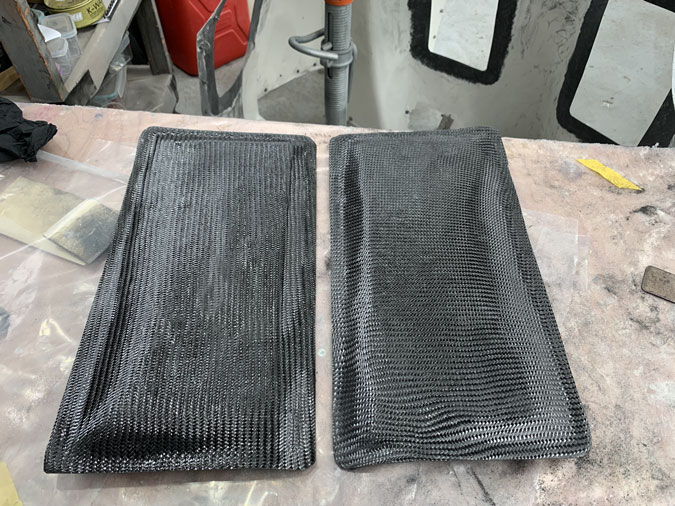
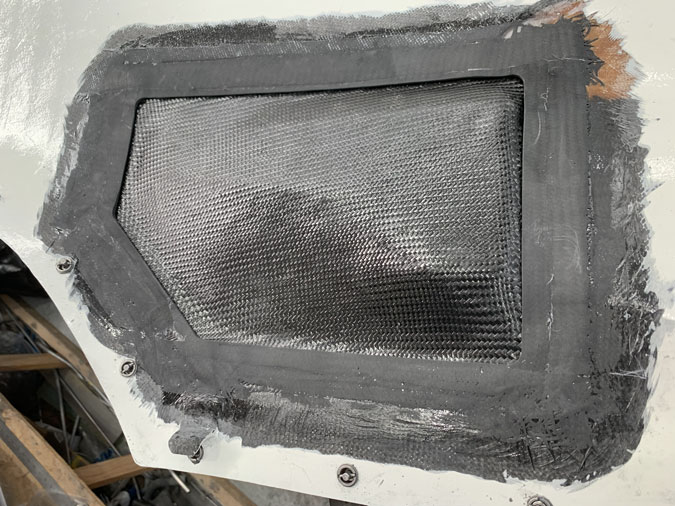
This is 3 plies of carbon later.
It does need a bit of a trim.
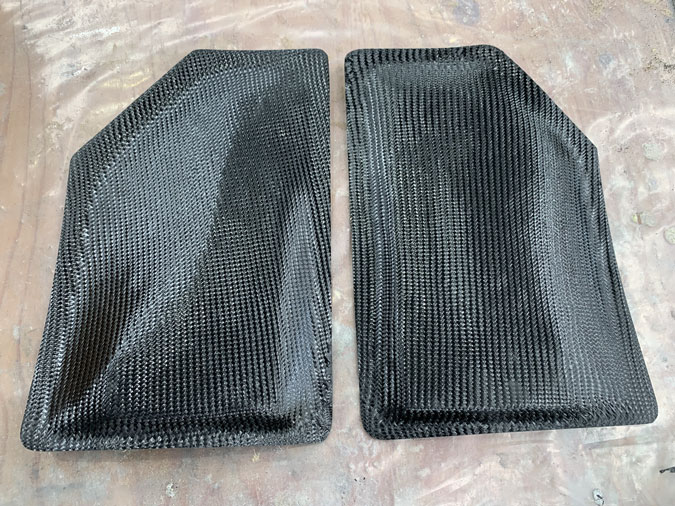
These are really solid now, although heavy. Better strong than departing the airframe unexpectedly.
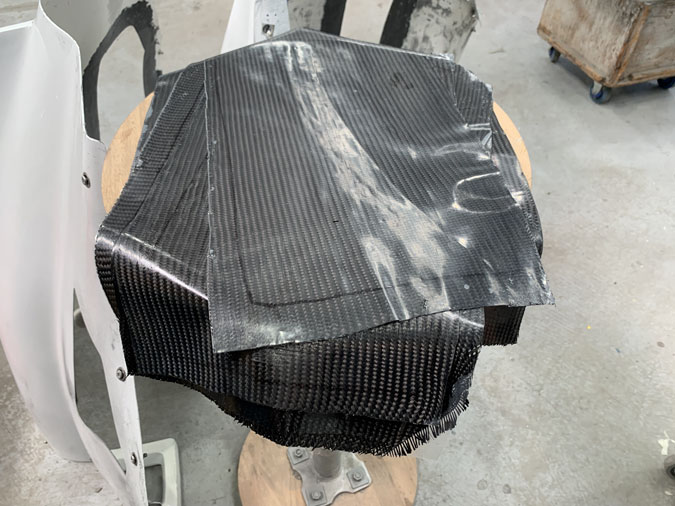
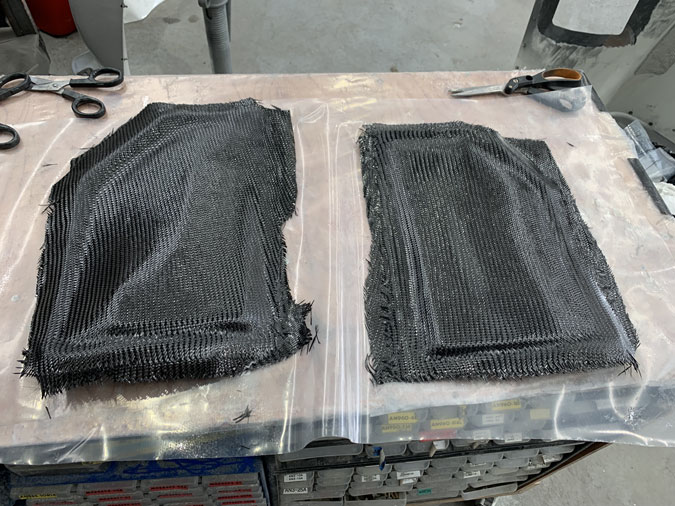
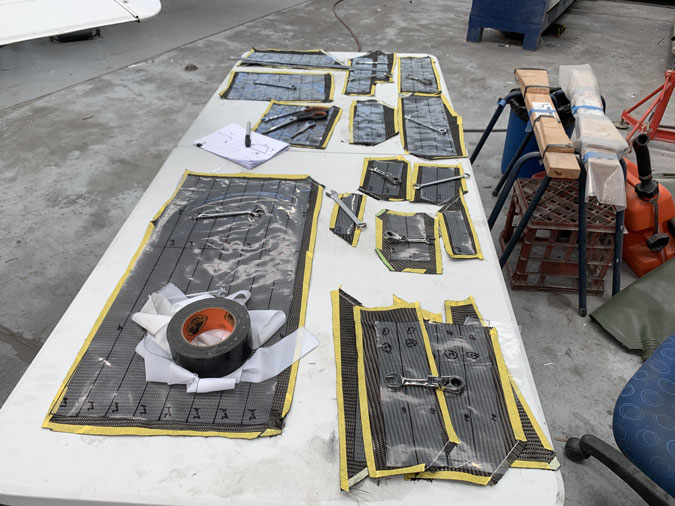
I had to do the same full treatment for the upper cowl flaps from cut outs to this stage, timber, pour foam and carbon. It is quite a lengthy process. Here’s how I do the carbon. Marked and laid up between thick plastic.
Probably vacuum bagging would be one more step for improvement, although the plastic technique gives a really good ‘glass to resin’ ratio. It’s just not something I’ve pursued on this build. I have a ‘fear’ that I’ll ruin the part if I don’t get it just right and this hand layup thing is working out.
Cleaned up and ready for the next step, making the cowl lips for them to ‘sit in’.
Each flap had to be covered in grey duct tape which I still use as a mould release.
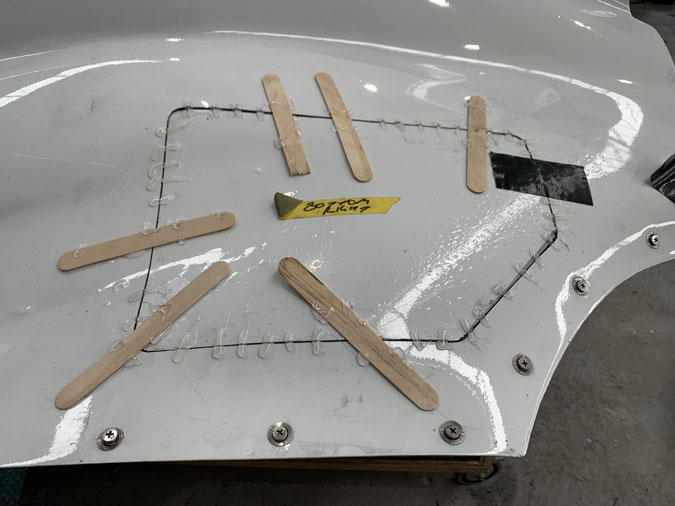
The flap is placed as best I could back where it was cut-out from. Hot glue and sticks are my weapon of choice for this sort of thing.
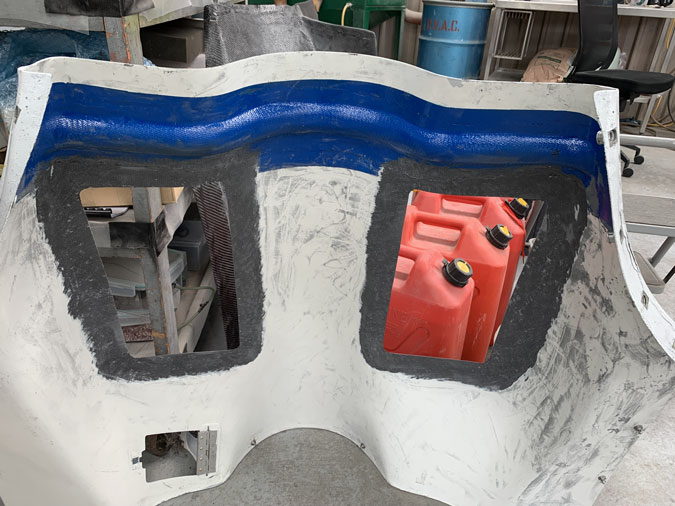
I couldn’t get absolutely perfect alignment. The cowl has flexed somewhat with such a huge holes in it. Its not too bad and I will have to refinish these cowls at some point after a bit of testing. They were painted so beautifully too.
I will have the opportunity to do a little filling to make them right. It will be another big job. Painting only works if the preparation is ‘perfect’ and that gives you only a good job.
Now for the lips. I have gone for 7 plies. While only 1.5″ wide, it is still a lot of carbon and preparation.

Both sides were done on the same day with peel ply at the end. I nearly ran out of time as the epoxy was starting to go off.
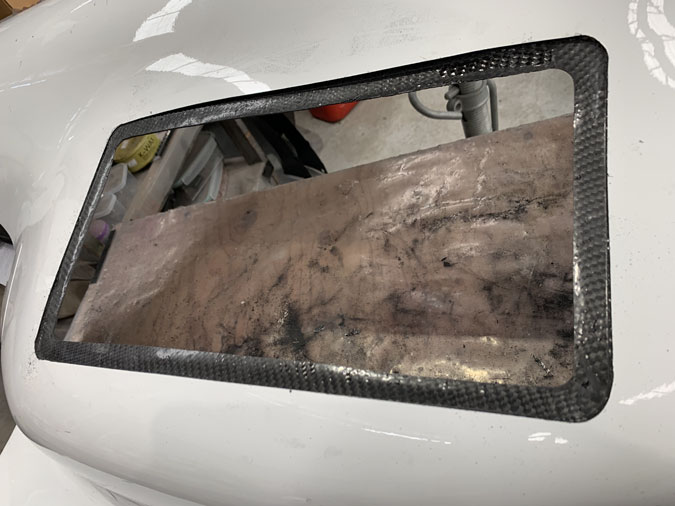
It was a bit of a job cleaning off all the hot glue. The tape worked really well and the doors came out easily enough.
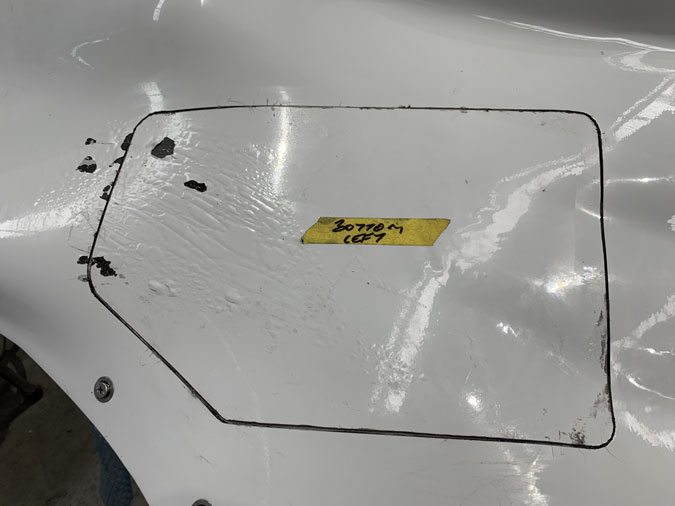
After a trim, I have nice fitting flap doors. Not perfect, but they are close and will, after the repaint, be very nice.
Here’s how it looks on the reverse side. What colour should they be when they stick up in the air?
Here’s the other lower flap.
Of course there was the same lengthy process with the top cowl flaps.
Here’s the completed lip on one of the top flaps. There will be enough pictures later as I work on the actuators.
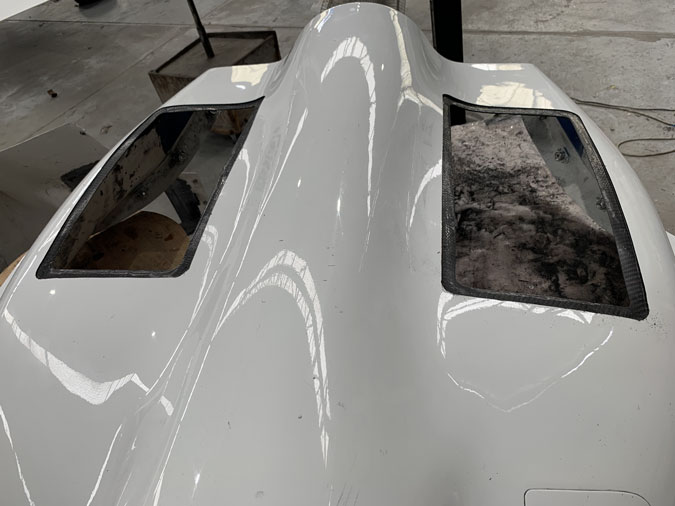
With the light just right the cowls still look good. Just don’t get too close until the repaint, OK?