| Date: 03-02-2025 | |
| Number of Hours: 137 | |
| Manual Reference: no ref |
Here we go with building a mechanism for opening and closing the flaps. I started with the lower ones.
Criteria:
- Getting the actuator as far as possible from the hot exhausts.
- The second big one is trying to fit a mechanism that works around all the pipes and guff I already have under the cowls.
- Finally I need something that pulls in the best possible direction, upward, for keeping the flaps tight and closed in flight.
Before we get going. Here’s the actuator I’m using. Its rated at 16lbs of force. There are stronger at 38lbs but I think if I needed that it might break the cowl!
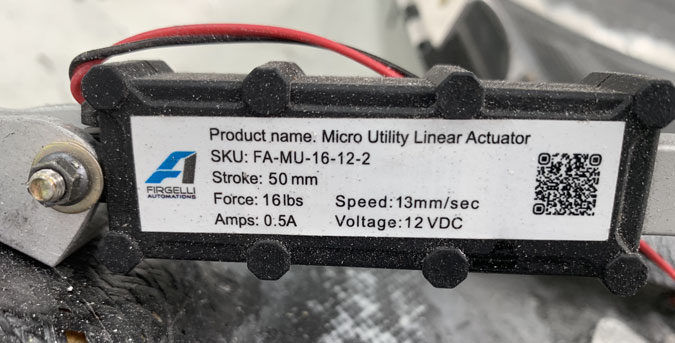
Firgelli FA-MU-16-12-2 Linear Actuator
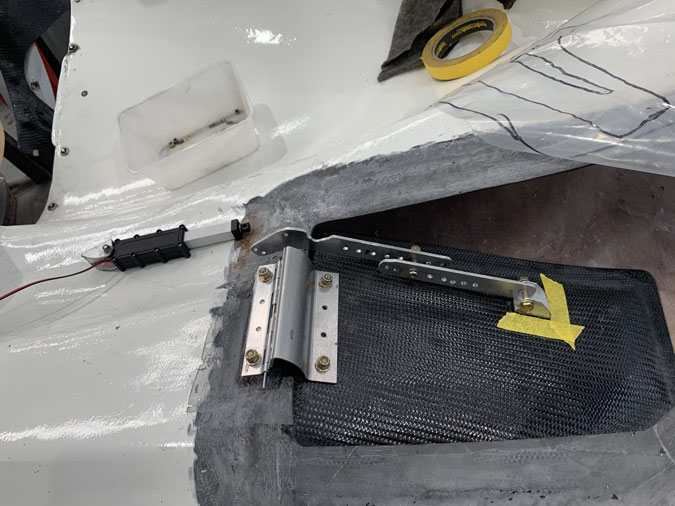
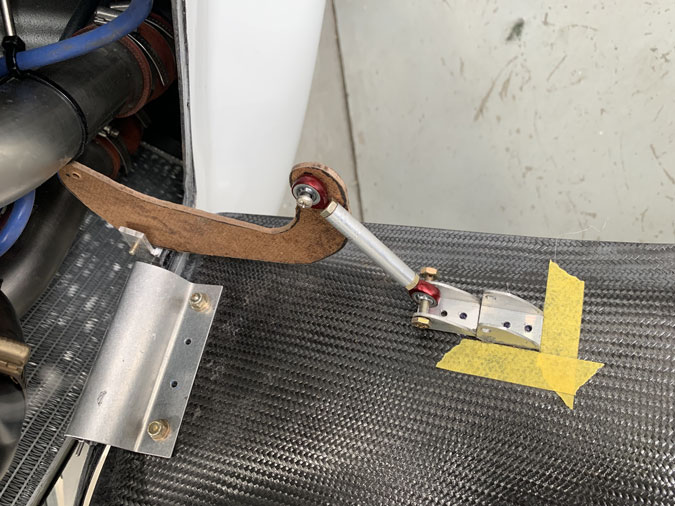
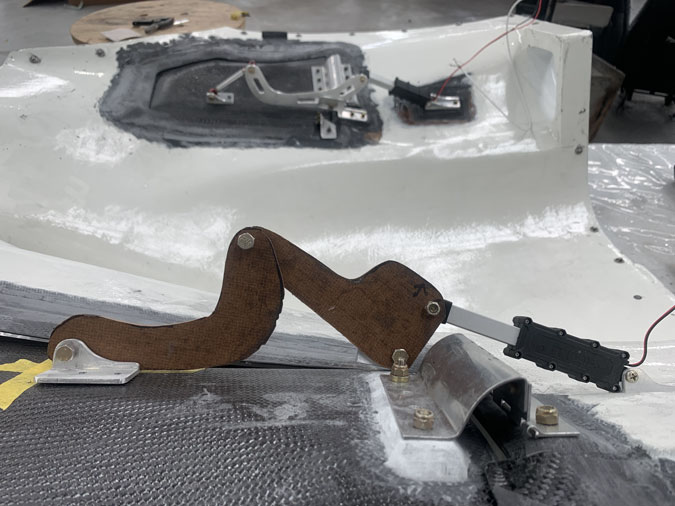
Here’s the first idea. I need the actuator down near the hinge (away from the exhaust) and a scissor action like my original prototype with ice cream sticks.
This angle will help pull the flap closed.
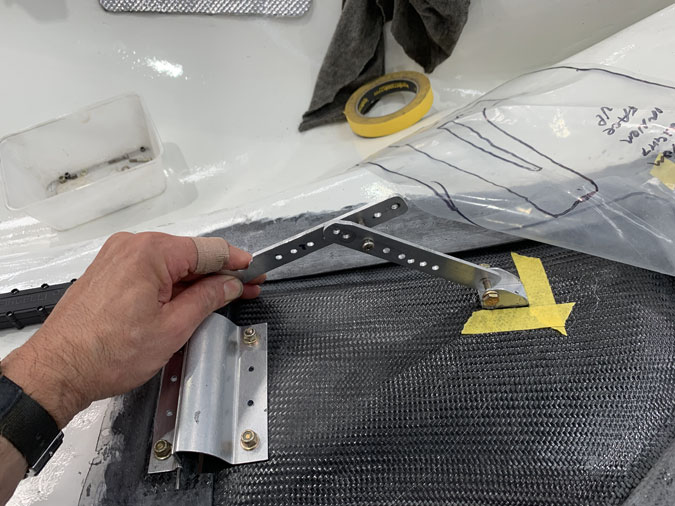
I soon found I needed more angles to pull on a flap arm. I did make a bunch of fittings which took an afternoon and that’s already one of many masonite arms. The fittings in the end were never used in final versions.
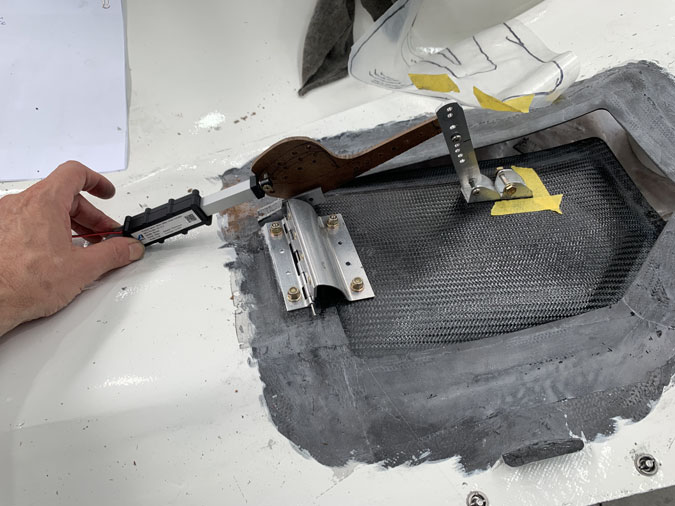
Now I’m getting a bit closer working on going around pipes with a more refined piece. Oh and did I mention I was NOT happy with the way the two doors fitted on the cowls. Yes so I cut off the flanges and redid that whole job. You can throw in more than 20 hours extra work that I made for myself. How to do the flanges is in earlier posts so I’ll spare you more pictures of the same process.
I am not seeking perfection, the enemy of good enough, I do need things to fit functionally. There is no compromise in that. The little arms with the rod ends do look nice though?
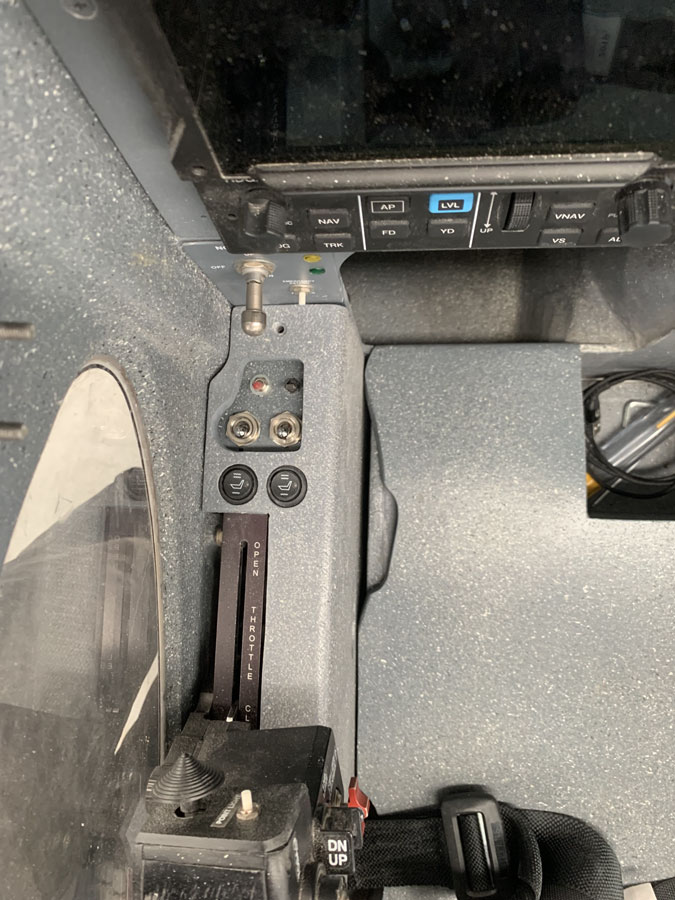
I did add those two largish switch to the left side console, just above the seat warmer switches. These will be for upper and lower flaps as pairs.

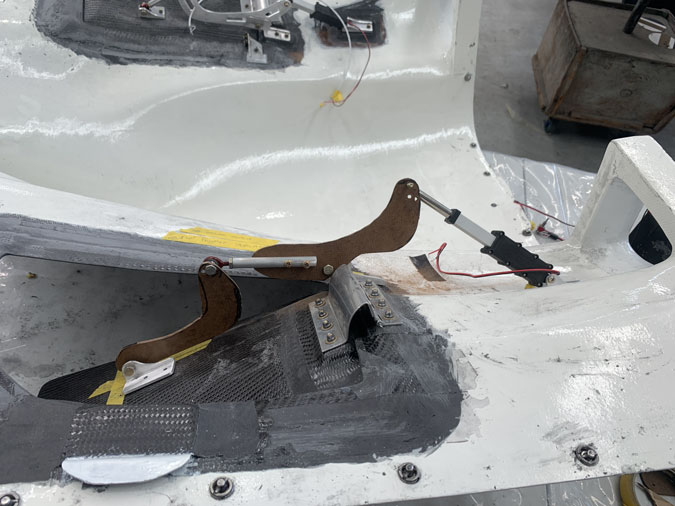
I continued with my prototyping work getting the hinge mechanisms to work around all the obstacles. This is just a fraction of what I ended up with as the prototypes progressed.

Here things are starting to work. I’m up to putting in hard points, 1/4″ marine ply, Fasteners are going through the cowls and are all going to be rock solid. I do not want any of this stuff coming loose and going through my prop. The actuators have 16lbs of force which is a lot of ‘pull’ in one direction.
Many, many days got us to this point. One of the hardest parts is the geometry of the set up. Change one thing and something else is wrong. I spent several days just playing with this on the one flap. Getting it to fit under the cowls needs to be correct within 2-3 mm or it is going to hit something.
Getting to here, just for this one flap was 14 solid days work.
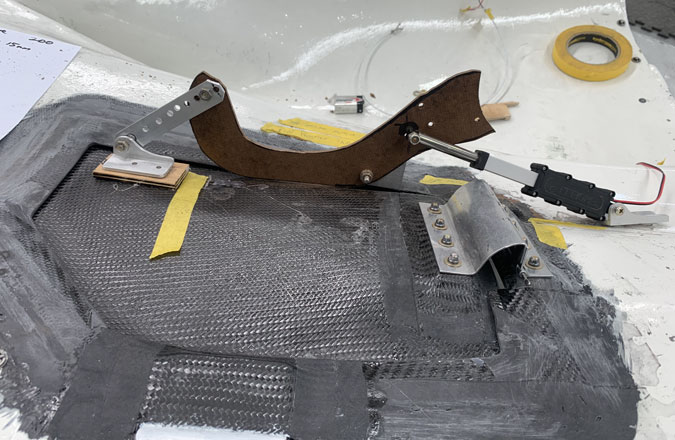
Here you can see it works pretty well off the plane.
That fancy looking arm with the lightening holes is not CNC or plasma cutter made, its old school. A jig saw, hand files, a drill and sandpaper. It takes me around two hours to make one from scratch. It would take that long to do a CAD drawing and then days to get it made. It is so much easier to just knock one out. If it’s wrong, off I go and make another one. For a one off part, I think this is still the best method.
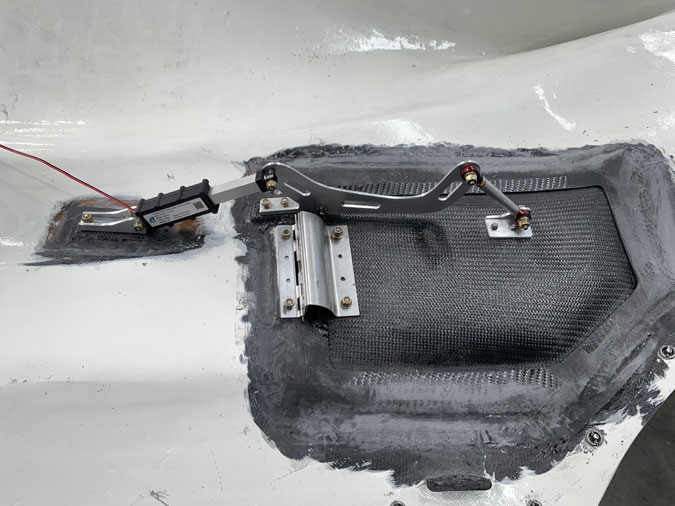
This is on the plane and missing the pipes and so on.
You can see on the lower middle an extra fitting? This is a bracket for a micro switch which will signal if the flap is open or closed. It took a bit of head scratching as usual and it is adjustable of course.
Time for the second lower flap.
You’d think once I’d made one the rest would be easy? Wrong, each location has a fresh challenge and all the geometry is different. This photo is several days in of trying to nut it out. I experimented with multiple locations for the middle hinge point, it was a beast yet to be tamed.
I tried a lot of different ideas to make this thing fit and open up to the same 200mm as the other flap. Within +/- 5% is the goal. They will look weird otherwise.

I’m not there yet but this gives an idea of how much these guys will open.
Part of the process is trial and error to get all the balls in the air at once. Opening size, missing the pipes, fitting under the cowl. Yes this means cowls on and off around 50 times for this one.

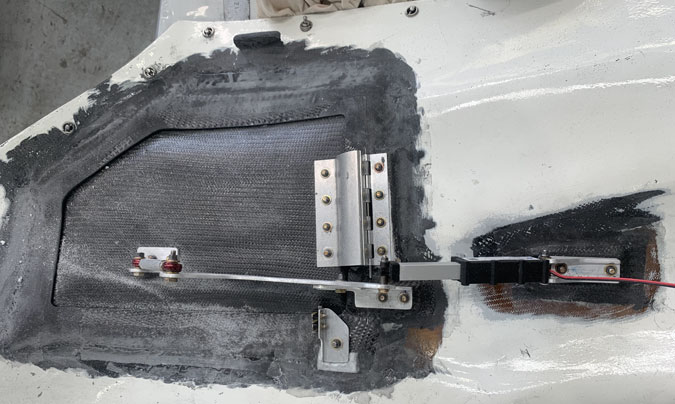
Eventually, as in many days later, this has come out looking a bit like the other side. In the small details it is totally another animal.

This side also needed the flap micro switch for open/closed indications which is almost finished in the picture.
I’ve added a RayAllen flap indicator. This has a 1.2″ travel so I have ‘geared’ it for the 2″ actuator travel. We will hook it up to the G3X flap annunciator and I’ll be able to partly open the lower flaps in flight and see a position in the cockpit. While the concept and design of these cowl flaps is for ground cooling, I have made them really strong just in case a little extra cooling in a slow climb would be handy on a very hot day.
I thought this lower cowl flap process was going to be the most time consuming and the most difficult compared to the top cowls. Of course I was wrong and another nightmare awaited me.