| Date: 10-10-2015 | |
| Number of Hours: 10 | |
| Manual Reference: HP Rudder R1 |
The next couple of days was fitting the rudders with cables to see if I had full range. I just fed them in from the inboard end, pulled the cable out, added the eyelet, popped it on the bellhorn and then back in place for testing. I just cut the ends off to use on the other wing with the same procedure. Easy.
The plans allow 4″min to 4.5″ for maximum travel and this is taken from the Cozy numbers which measure from the extended rudder. The important numbers are 22 degrees minimum and 26 degrees maximum deflections so the gap is less important if this is correct as it doesn’t matter as much about the measurement. The Long-EZ plans say 5″ to 5.5″ which works out if you do the kink measurements at the bottom. Of course I don’t have that kink 😉 In other words I’m getting the deflection I need. There is a slight catching of the swage tips at full deflection but I’m certain I don’t want or need all that I have so its going to work out.
I spent many hours installing and removing the rudders and tweaking the hollow where the movement takes place. I also bent the bellhorns very slightly as others have done to get the required clearances. I think it could have lined up a fraction better at the bellhorn and probably the only way to do that would be to do a temporary fitting, cut out the rudder and then set it up. In some ways a retrofit might be easier. Maybe. I will have correctly working rudders so I’m good to move on.
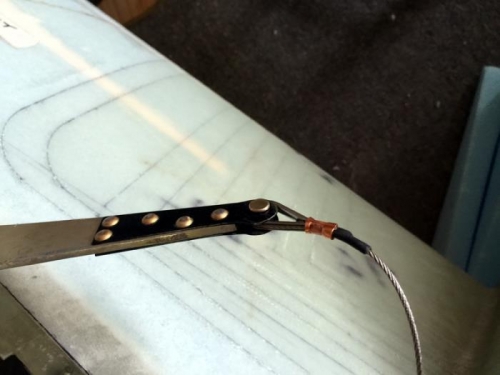
Cable in place for checking
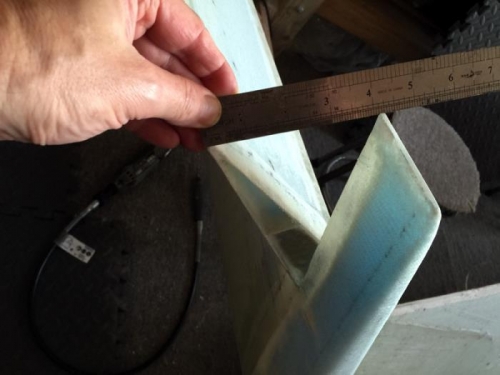
Proof of range
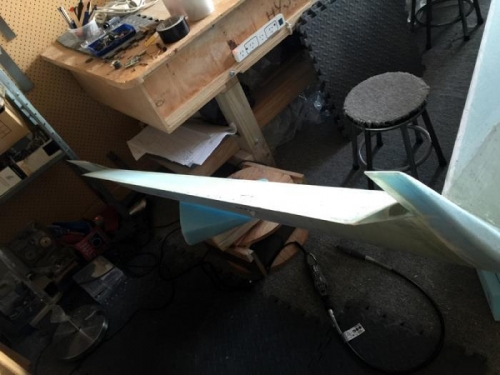
A working rudder