| Date: 06-26-2017 | |
| Number of Hours: 10 | |
| Manual Reference: 19-6 |
his prep took nearly a week. The spar cap came out at the same level as the wing in some places and up to .07″ lower in others. My options were to lower the wing profile to match or think differently. The profiles are good thanks to the CNC cut, I have the required plies in the trough per plans and my glass is a lot stronger according to the specs than the Spruce UNI anyway. I don’t see why I should loose profile or change the caps.
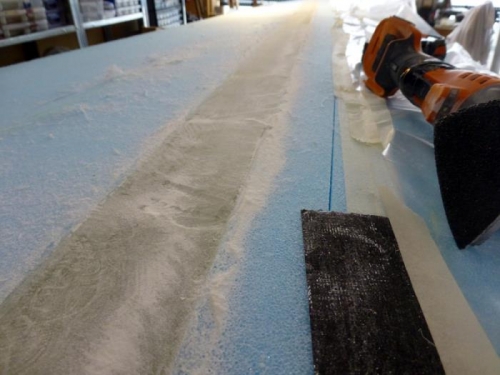
My approach was to smooth where necessary for an even transition and else where to make a gentle ramp at the spar cap edges. I will glass over this with the bottom skin and end up with only a small elongated sort of triangular area that will need lightweight filler later over the skin. To me this is the minimum weight option with correct plies. I saw no point in filling up the cap area and then sanding it all down later. It just would mean more glass than necessary would be used.
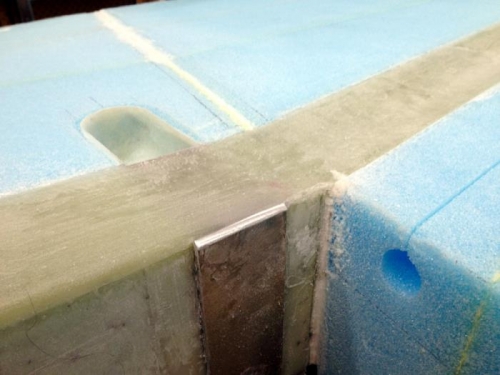
This took quite a while as I was extremely careful with the super hard edges and the super soft blue foam. Hours of fun. There were also areas in the foam that needed a little dry micro to fill before skinning. These were dings and a few gouges made along the way over the past 6 months… that foam is SOOOOO soft. If you look at it harshly it leaves a mark. I later very lightly sanded these fills for good adhesion at layup time.
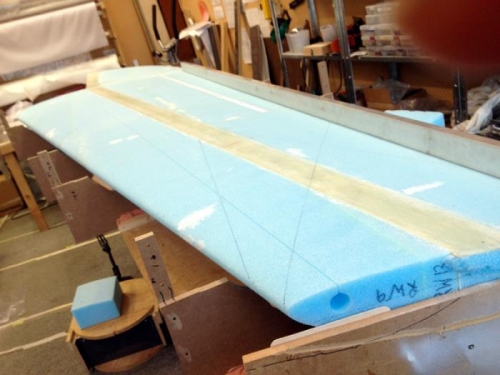
Then lines had to be drawn so I would know where the plys go, I wrote out a 17 point layup plan as I usually do for any major epoxy task, there are a few steps in this one, the wing was re-leveled with the straight edge as in pic 3. Finally the glass was cut to over size, labeled and rolled up.
Spar cap blending
Corner prep
Lines and the straight edge


