| Date: 05-27-2024 | |
| Number of Hours: 20 | |
| Manual Reference: 23 |
Given I was never happy with the RHS radiator duct, it comes as no surprise this needed more work. I had moved the radiator mount yet again by a small amount, less than an inch, but that was again enough to interfere with the cowl. It was also too much of a gap from the cowl armpit intake and the mouth of the duct.
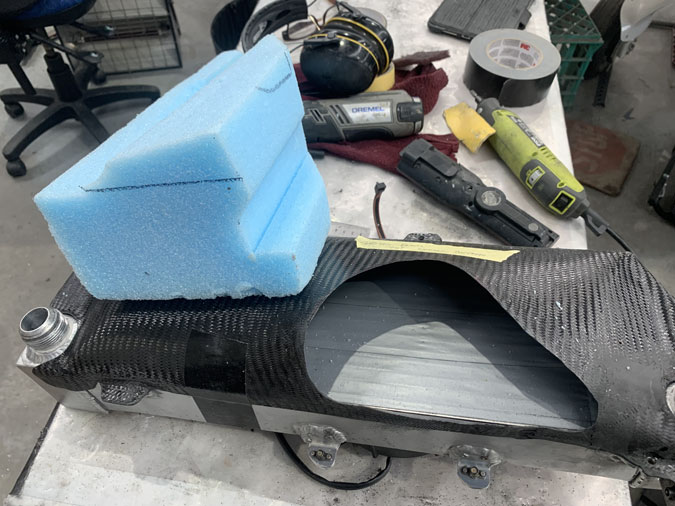
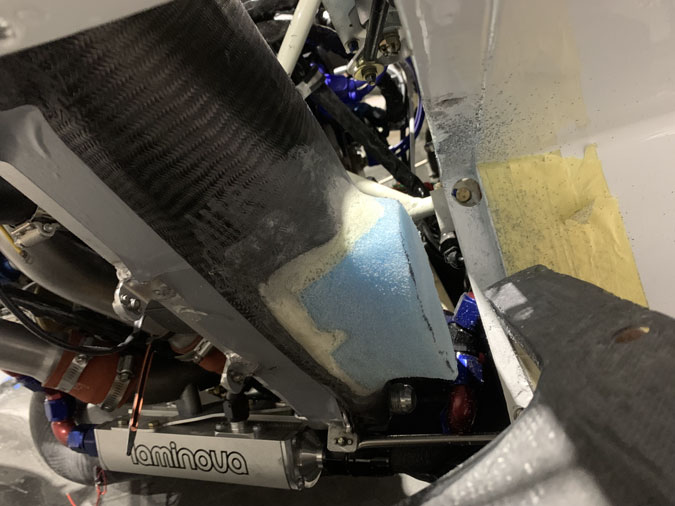
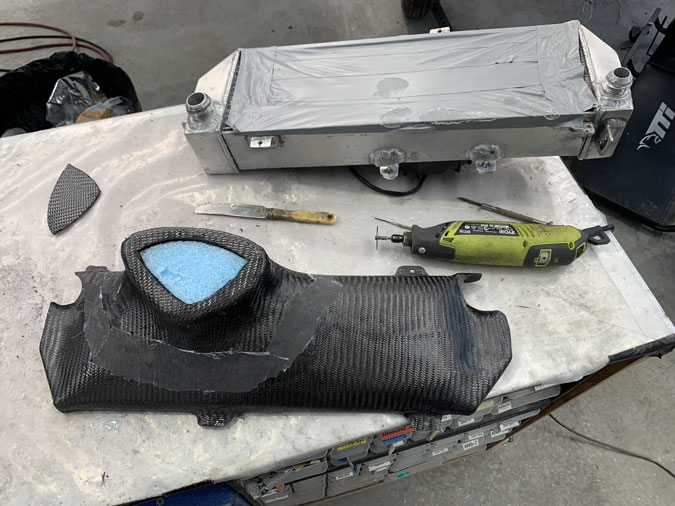
To fix and modify I just cut a big chunk out of the duct and the plan is to stuff it with some foam and rework the shape.
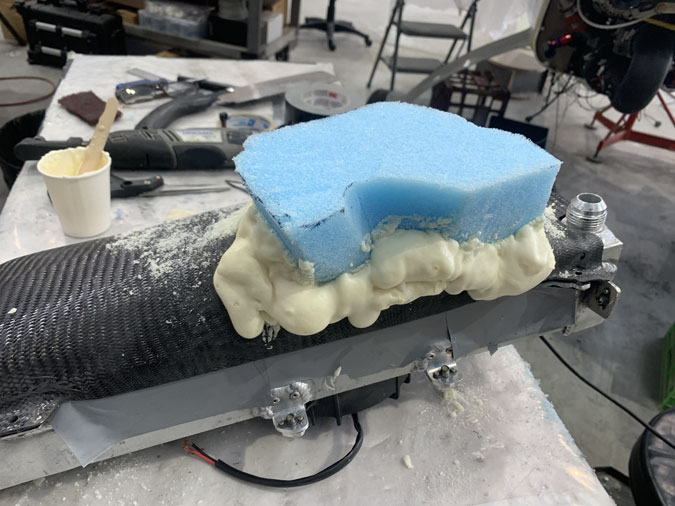
There is no need for a perfect plug to begin with. I’ve added some pour foam to fill the gaps.
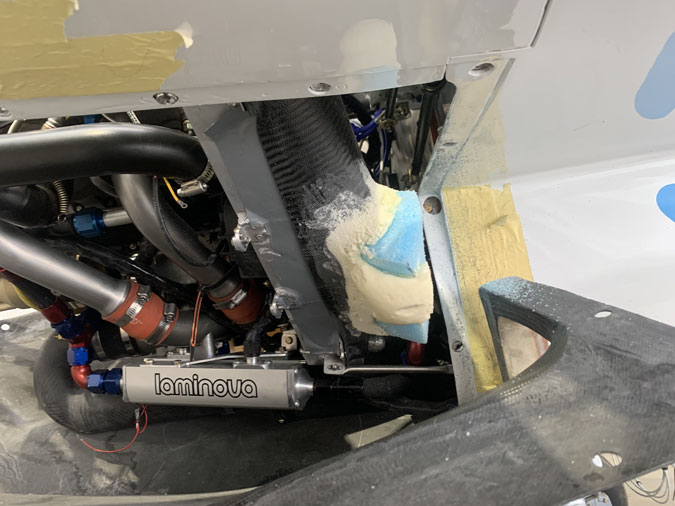
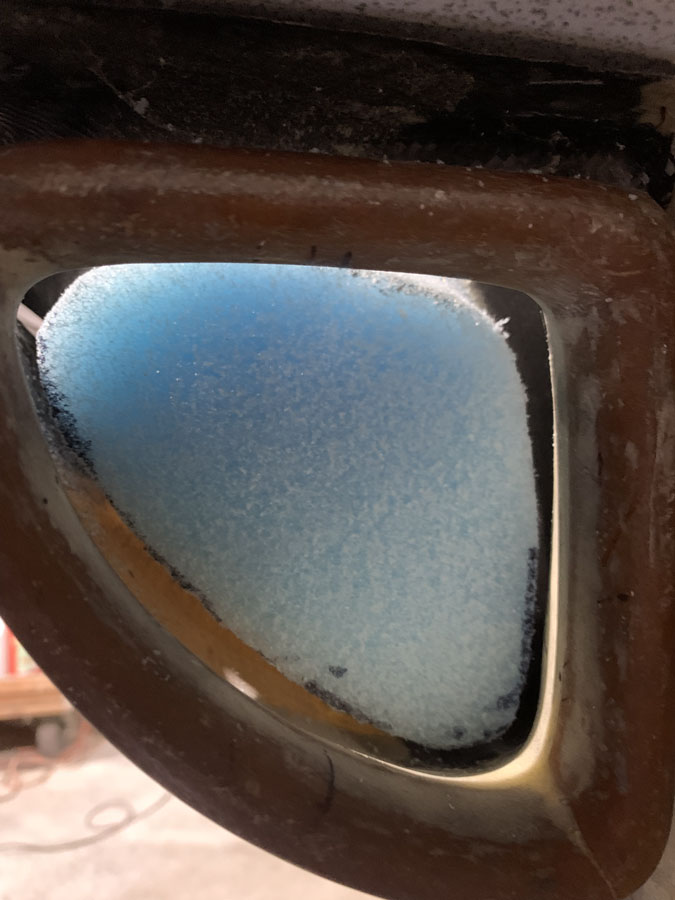
Now the fun part, lots of shaping, lots of putting it in place, putting on the lower cowl and then carving a bit more.
I’m getting closer here.
More carving and checking of position.
More checking.
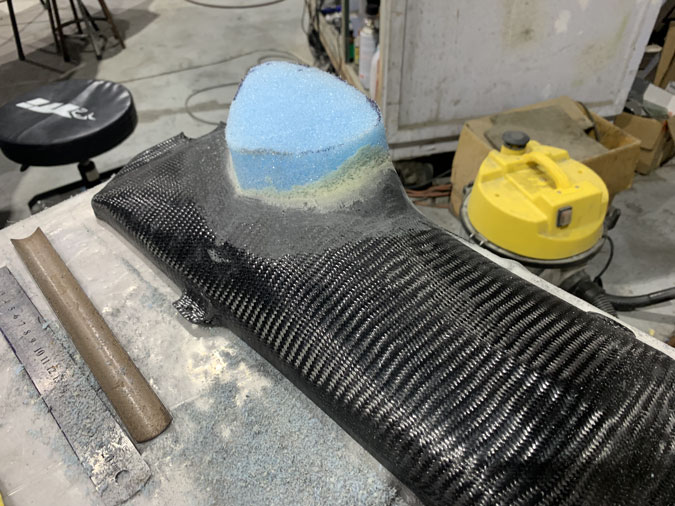
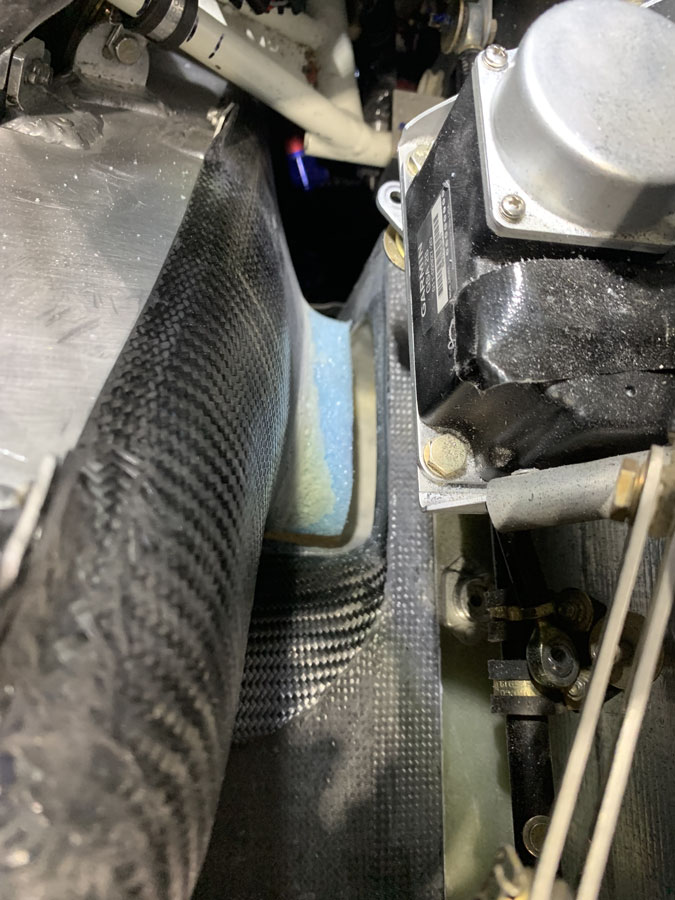
Its looking pretty good now.
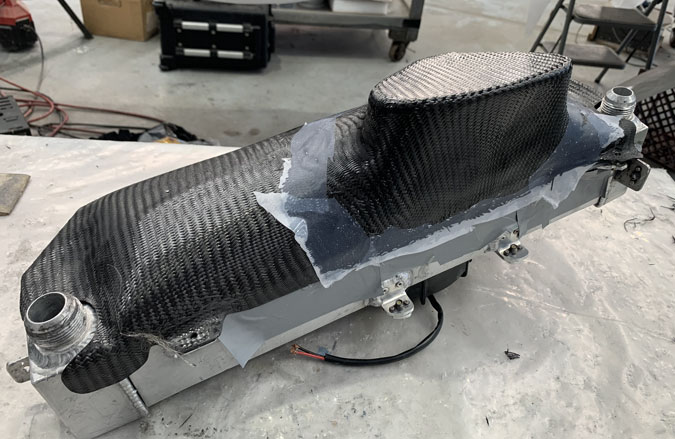
I did the usual thing of thin plastic duct tape for ‘release’ and modeling clay for filling holes and the transitions. I needed to think about making a gap between the release tape and the old carbon structure. I didn’t want plastic tape trapped under the new carbon between the old stuff.
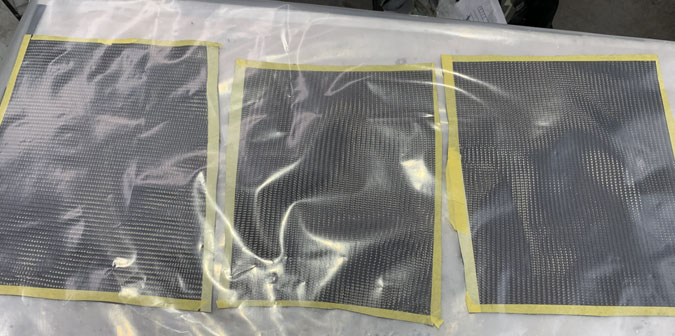
The usual three ply and carefully wetted out on plastic. The pic above is the prep before wetting out the cloth.
OK, three plies done. Its a weird shape to get the cloth to sit over. I use my gloved fingers and patience to work it into position and then trim the edges with scissors.
Getting these things off is always fun and takes a little time.
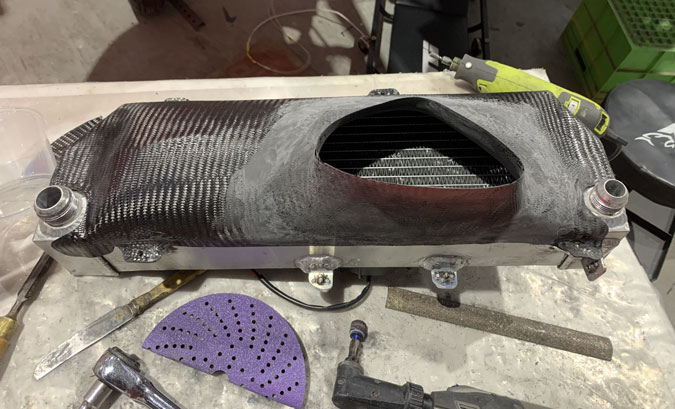
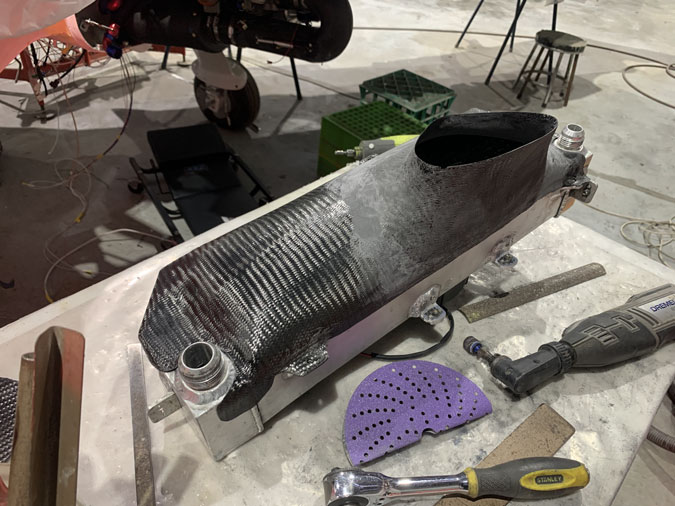
After the big clean up here we are.
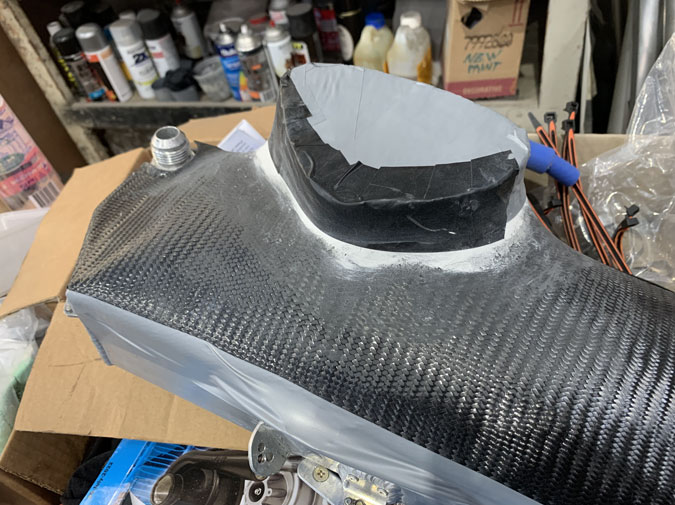
Another angle. Its very smooth on the inside too.
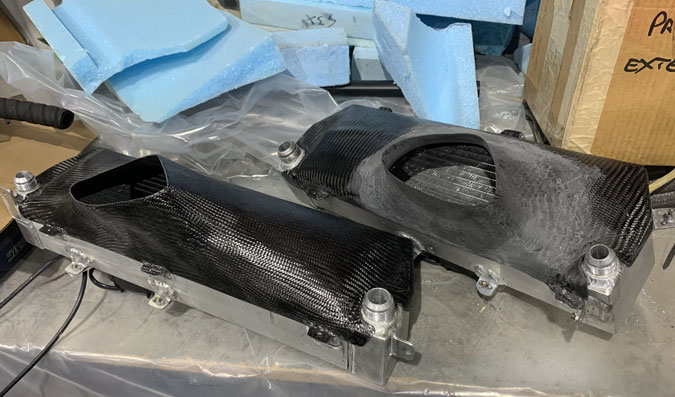
Here are my two radiator ducts. The next step is to somehow work out a way to transition these when back in place to the removable cowls. I don’t know how yet, I just have a few ideas to try. Sitting and staring at the job also helps.

1 Comment. Leave new
Phenomenal effort… amazing how much you’ve been able to cram into that engine compartment! Impressive.