| Date: 02-22-2019 | |
| Number of Hours: 8 | |
| Manual Reference: no ref |
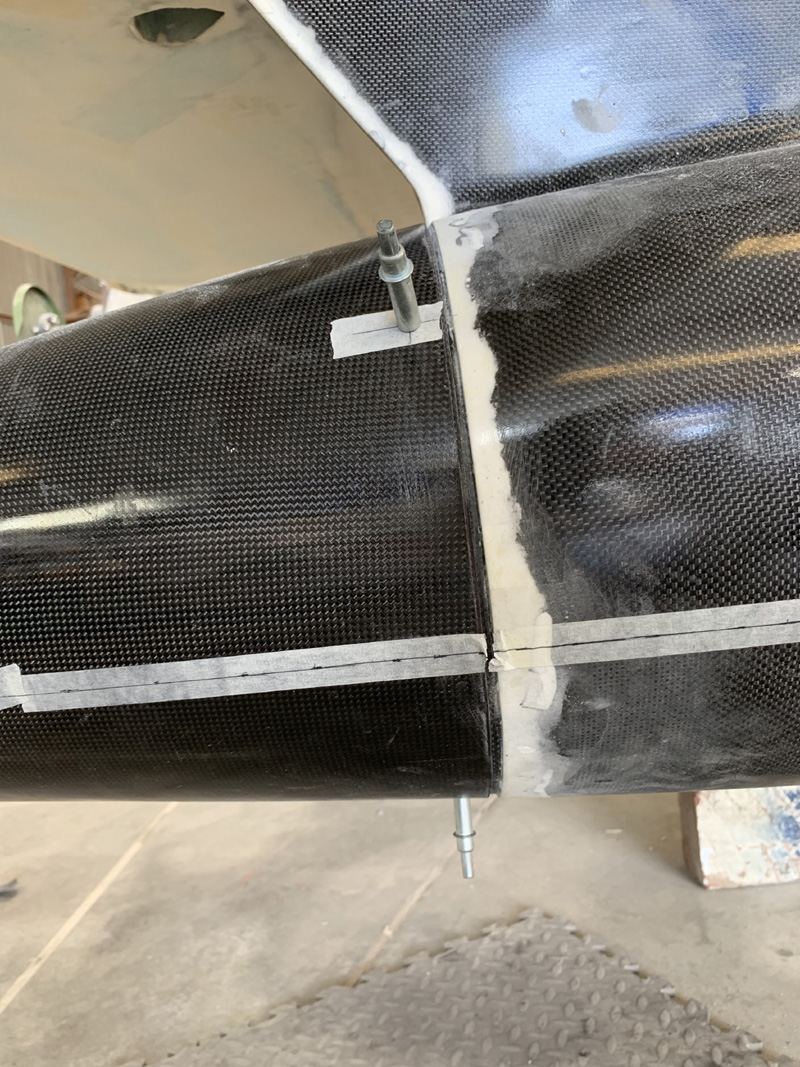
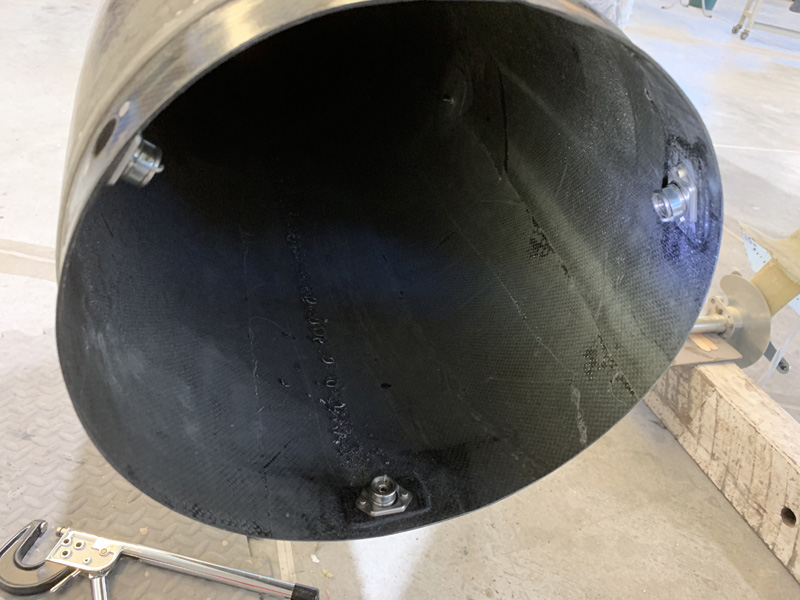
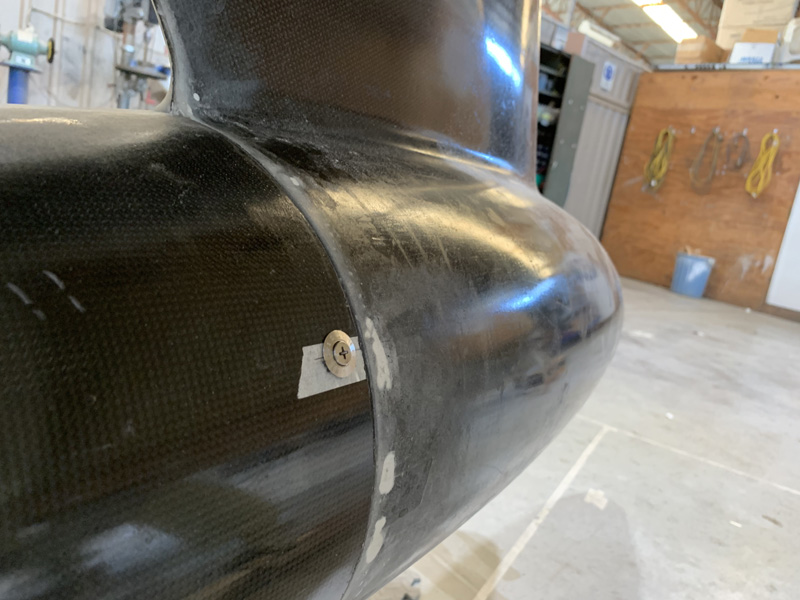
The removable rear section of the pods is secured by three fasteners. I’ve gone for adjustable Camlocs. They are large and robust. The only downside is that the male fasteners have to be completely removable to slide the rear cone off and on. Normally a retaining ring keeps them on the part. I have been very careful with this simple installation because I do not ever want a fastener failure here.
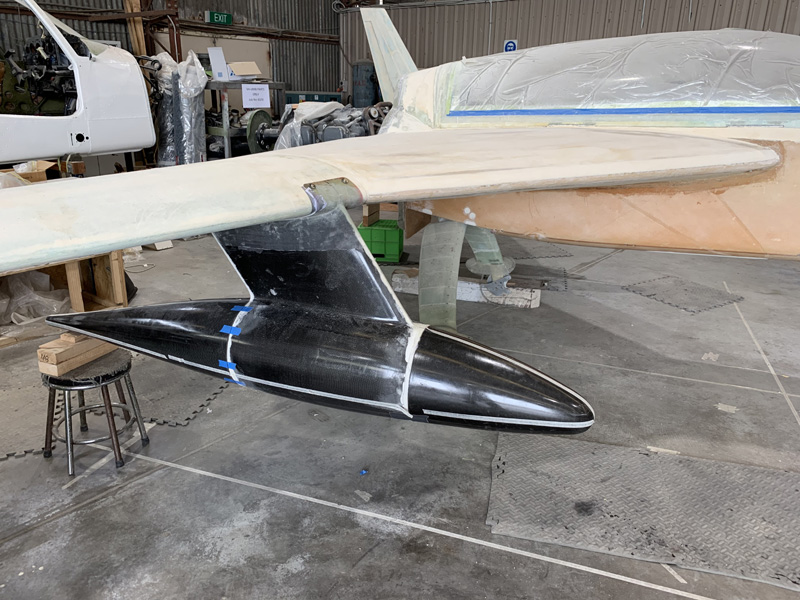
First up I again set up the pods using the laser and my guidelines on the floor. That’s what the wood on the chair is for. The waterline seems the hardest part to keep straight.
The three fasteners go at 6 o’clock, 10 o’clock and 2 o’clock. Using C=D x 22/7. That’s 36″ around making it 3″ between the numbers. Took me back a few years to school days. Not all that much has been useful from then. Moving on I placed my three clicos and rechecked that the pods were still in line. All good.
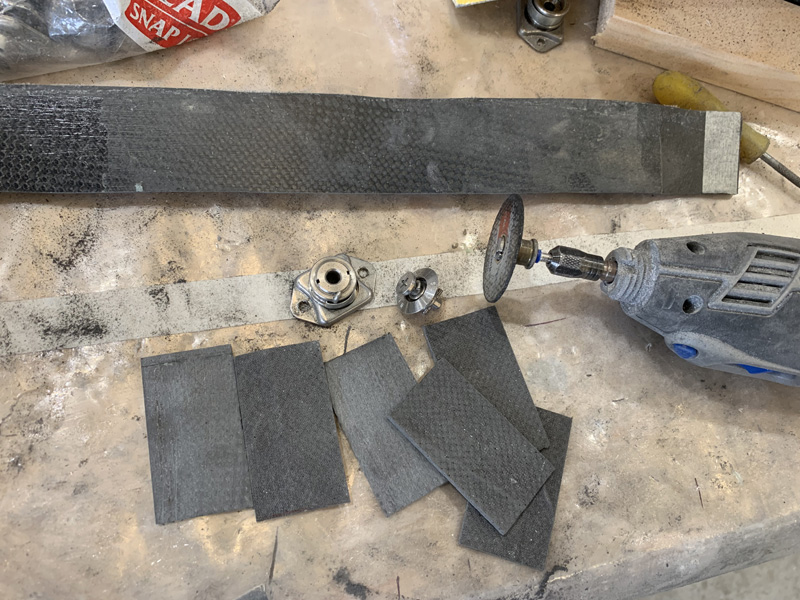
I felt that the pods were not really stiff enough for the sort of use they would be getting at the fasteners so I’ve reinforced this area. I was also worried about the rivets coming loose over time so I really wanted more depth. I had some cowl cutoffs in carbon fiber. Perfect!
After the usual prep and prime I’ve secured the 6 reinforcements using the clicos and flox. This will also flatten out the pod curve a little for the Camlocs to sit flush.
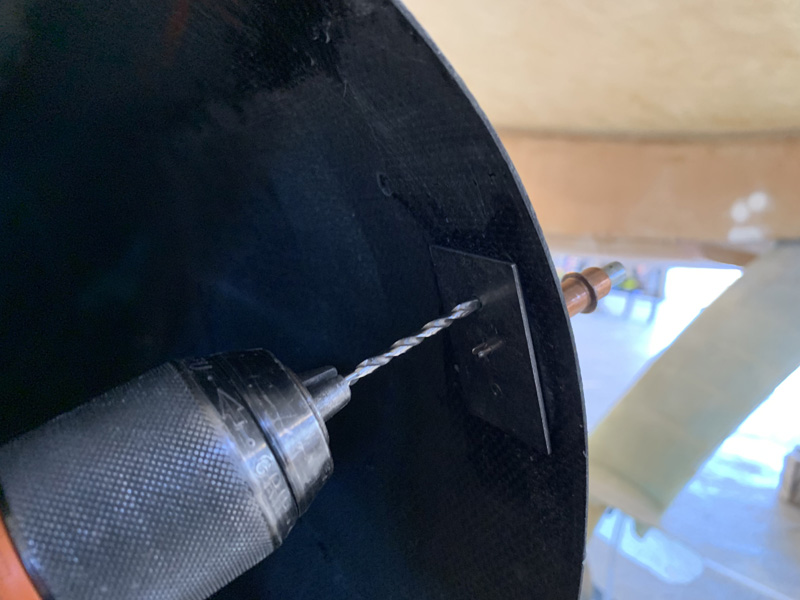
I used the supplied template to position for the rivets. Given the curve I had to tweak the holes very slightly later.
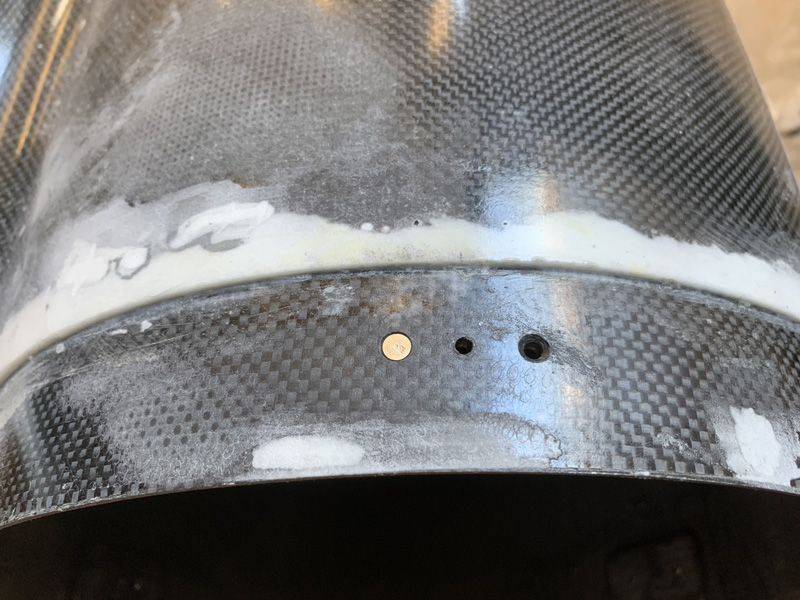
I was extremely careful with the countersinking of the rivets. These must be flush for the pod to slide on and off.
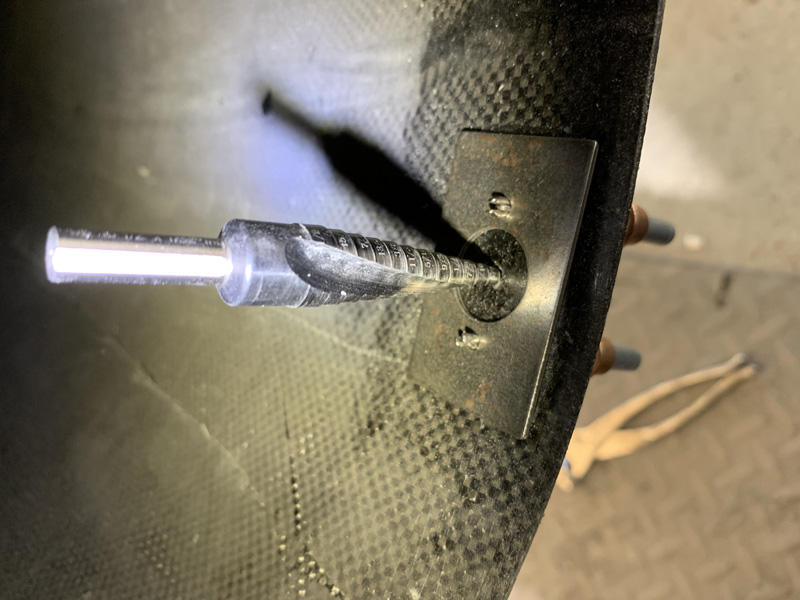
The mid section was then drilled out close to the diameter shown. First with my small step drill and then a larger one. Easy.
The three Camlocs were finally installed.
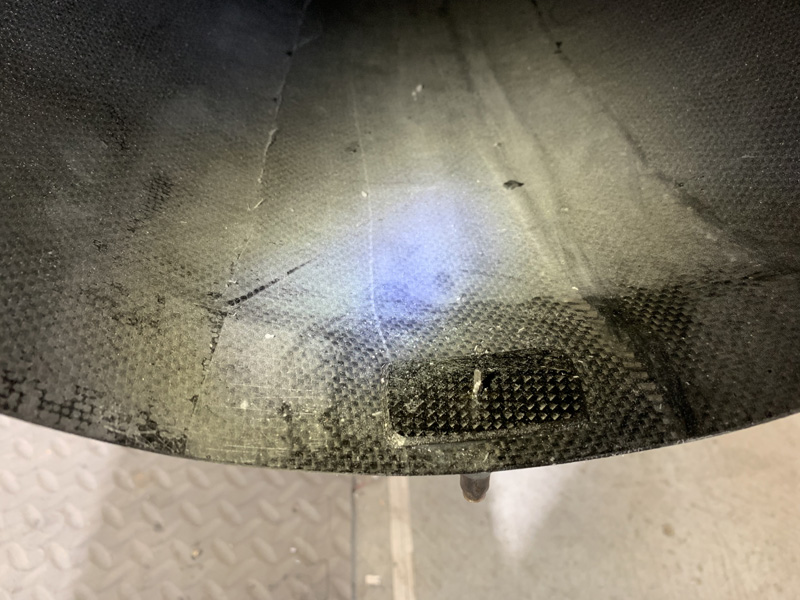
All I had to do on the back piece side was to drill up the holes to half inch. I did this in drill increments so that I wouldn’t loose the center positions. These will be slightly more flush fitting later, but this is pretty close to done.
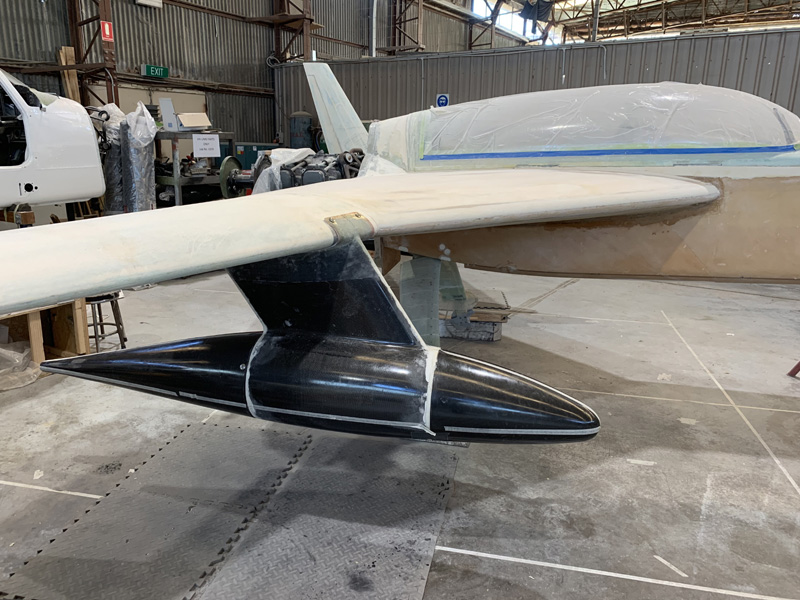
I rechecked with the laser. They are still in line and the rear section is very firmly held on.
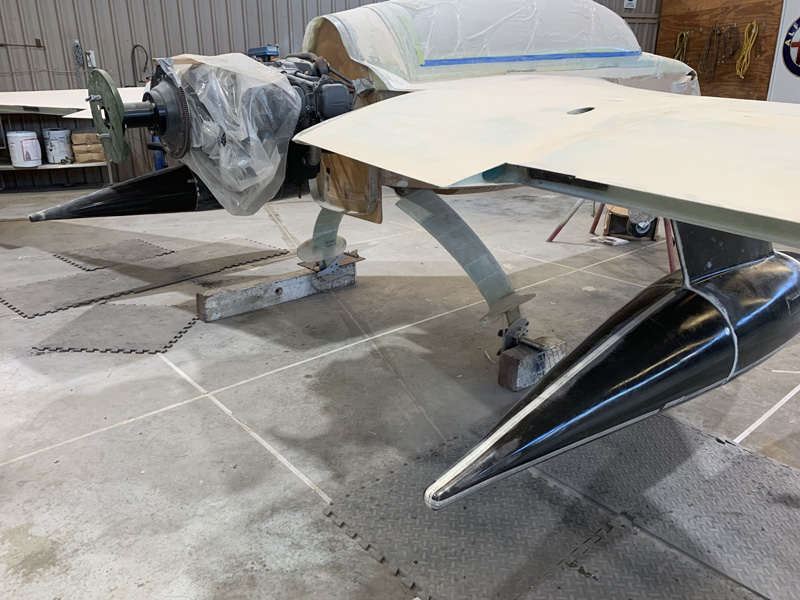
Yes its a gratuitous rear shot. The pods need a fill and fair but otherwise this baggage pod install is getting close.

