| Date: 12-09-2017 | |
| Number of Hours: 10 | |
| Manual Reference: 18-1 |
My rear of canard hatch area needed to first be installed from underneath and at the sides. I’d made this piece ages ago and now its finally time for a permanent install. This sets the height of the Instrument panel and gives me a platform for where the canopy will ends up.
Yes its a bit convoluted to talk about. I’m just securing the underside of a cover. I’ll do the outside later. Three days part time work in my usual slow manner.
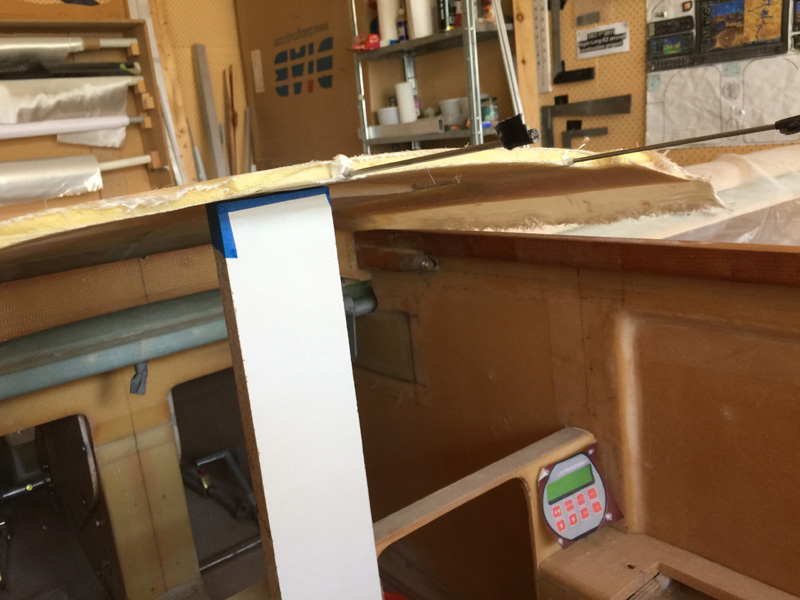
First job was to make a foam fillet to join the top to the longerons Here’s how it looked to start with the hatch pins locking it all together. All I have at the sides are a couple of plies of glass sitting in mid air at this stage.
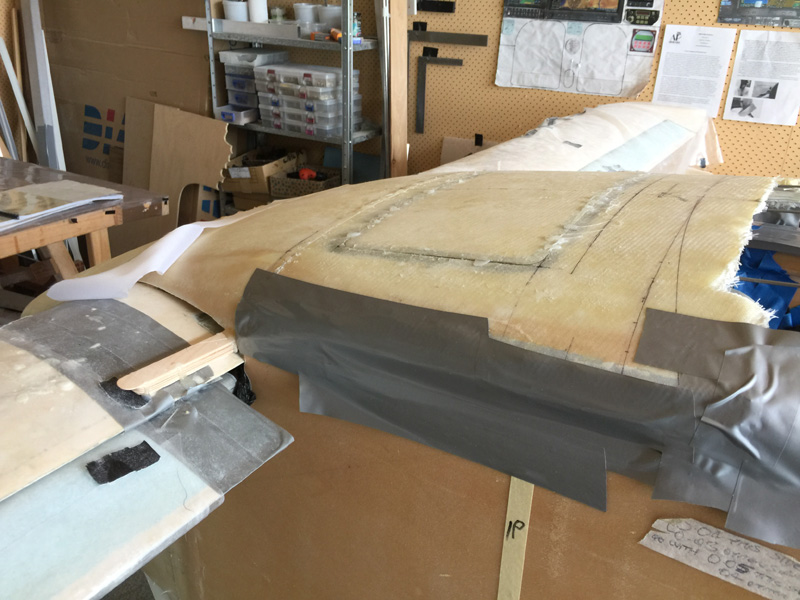
First up I closed off the sides with duct tape. Gaffer would have been better as it leaked a little later on.
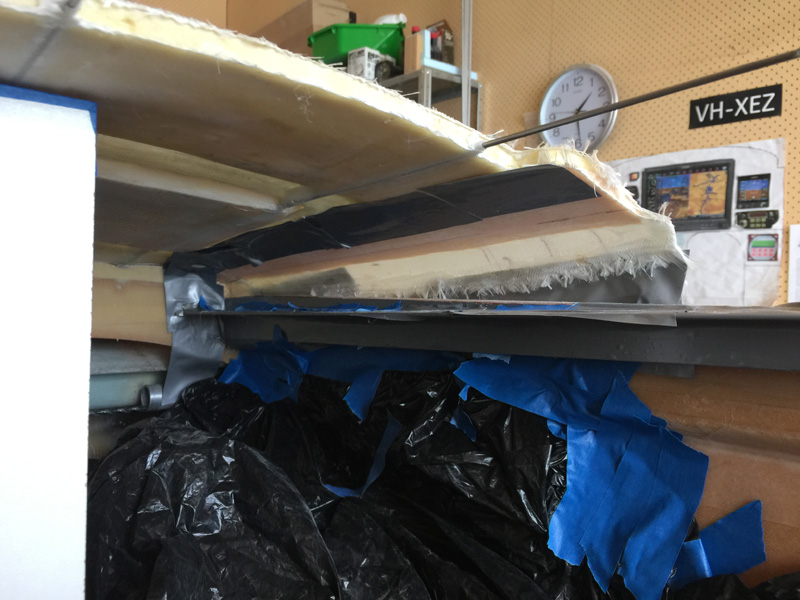
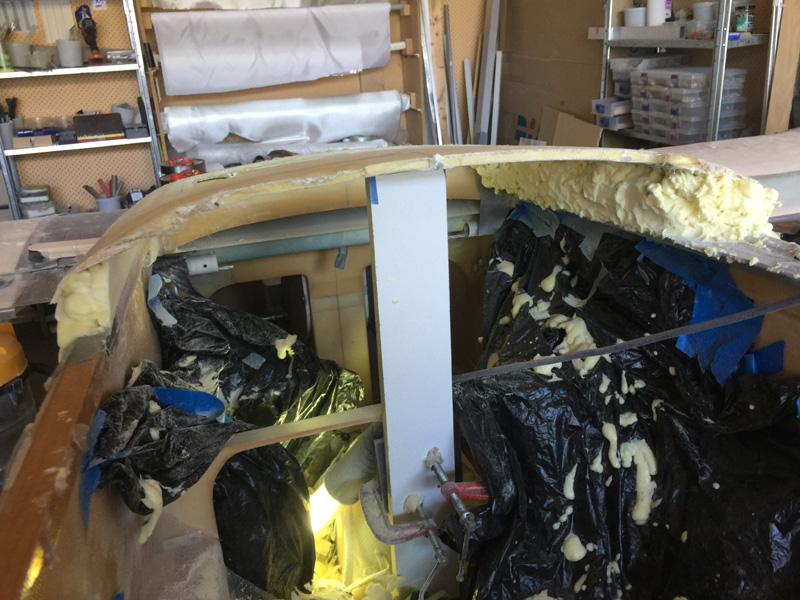
Here’s the inside treatment where I have hot glued some aluminium angle and have more duct tape with the idea of making a sort of dam for the pour foam.
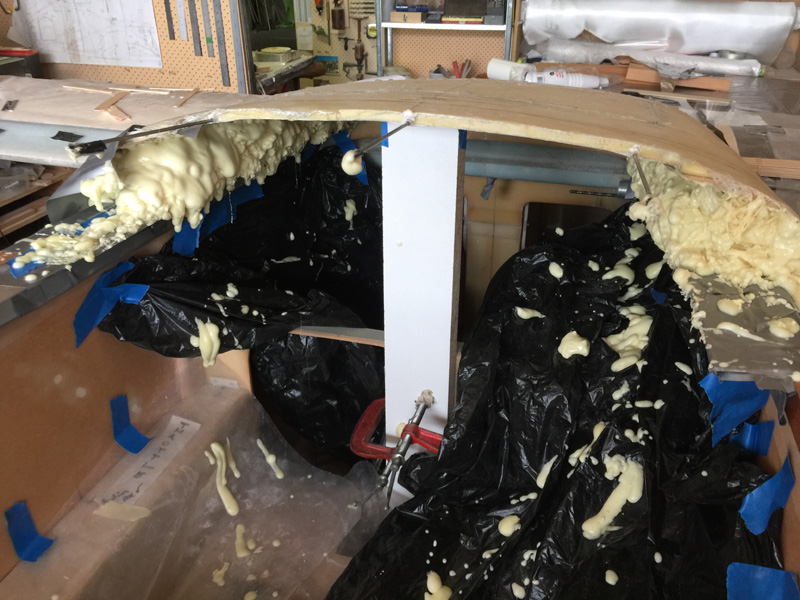
Yes, pour foam! The trouble is that I wasn’t pouring it out. I needed it to go sideways and upside down. In the end I made very small batches of about 20 grams, mixed like crazy and waited for just the right moment when it was beginning to thicken up. Then I had less than 1 minute to slap it on. I did more than 20 batches a side. You can see the beautiful results below.
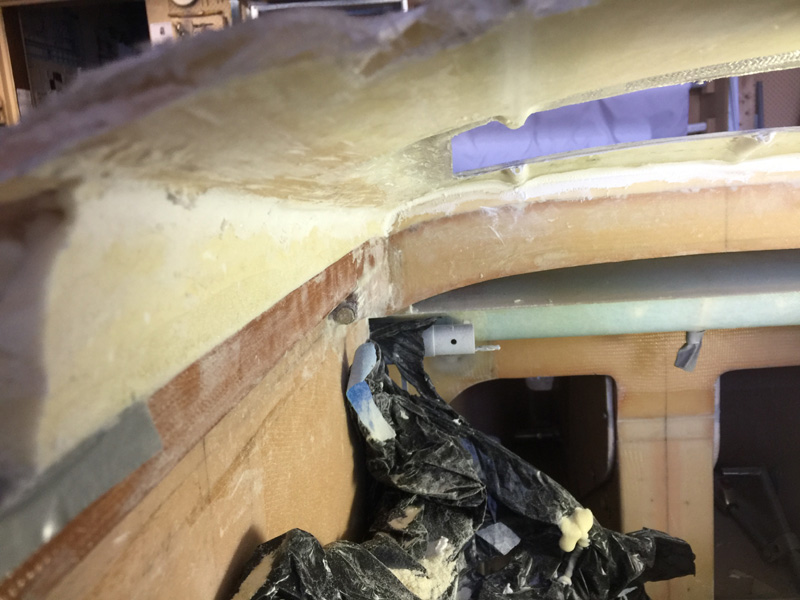
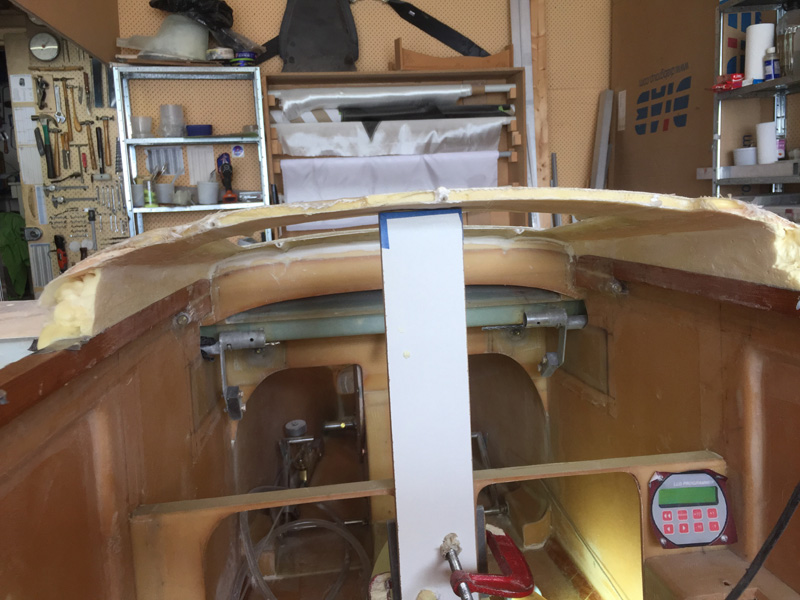
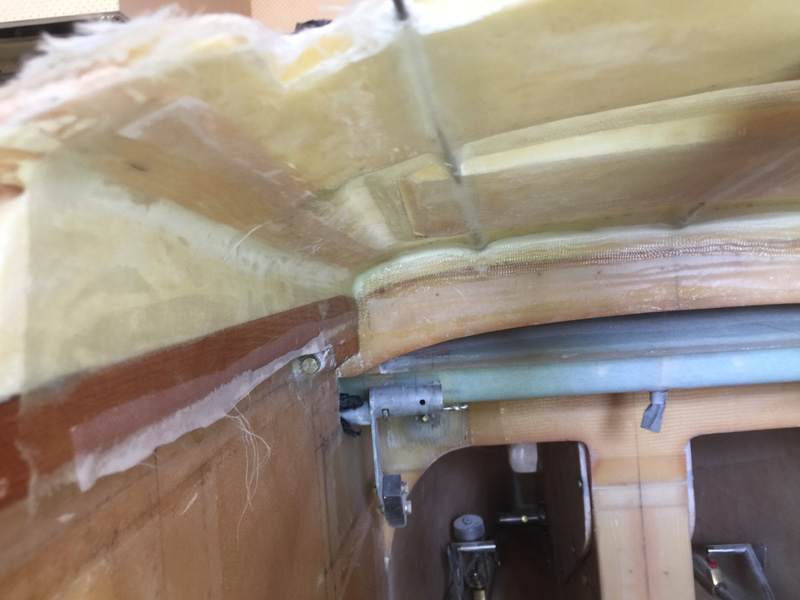
I used my cordless vibration cutter to do most of the trimming and about 2 hours per side had it pretty good. This shot is just one side getting close to being done. I really wanted good solid contact here so this method worked rather than trying to make a perfect fitting piece from a block of foam and then glue that in. This pour foam is quite dense too which I like for extra strength here.
There were a few cavities that needed filling which I did with the quick set West epoxy and micro using a really dry batch. I filled in at the front section as well over the top of F28 where I’d previously made a fill piece.
Here we are all cleaned up and ready for glassing after a bit of sanding and the usual prep work.
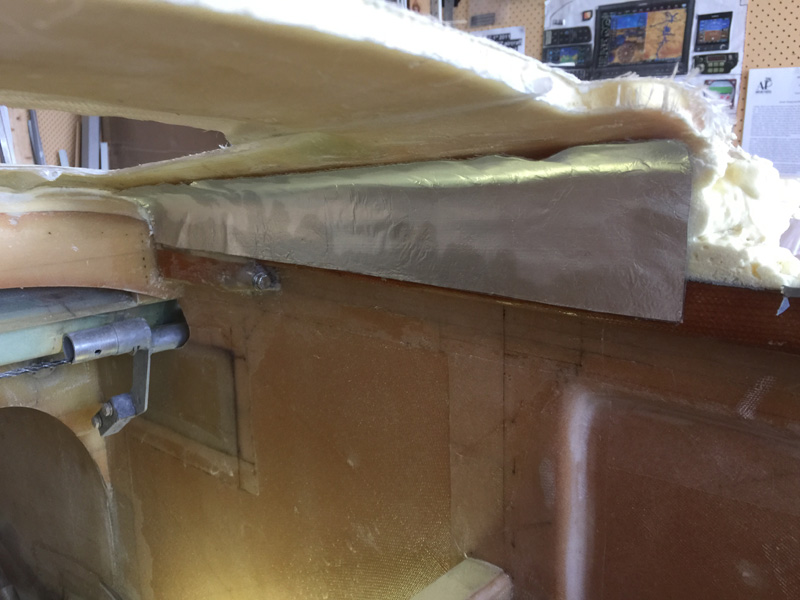
I used the ‘foil method’ with pieces down both sides overlapping the top 1.2″ and then a piece at the front lapping F28 and the top piece. I also added a 2″ X 2″ to both corners to further tie it all as one. All glass was 2 ply of BID at 45 degree bias.
I peel plied the edges and left it until the next day to cure.

