| Date: 02-10-2019 | |
| Number of Hours: 7 | |
| Manual Reference: no ref |
Using my self leveling laser today’s task was to continue to get everything in line.
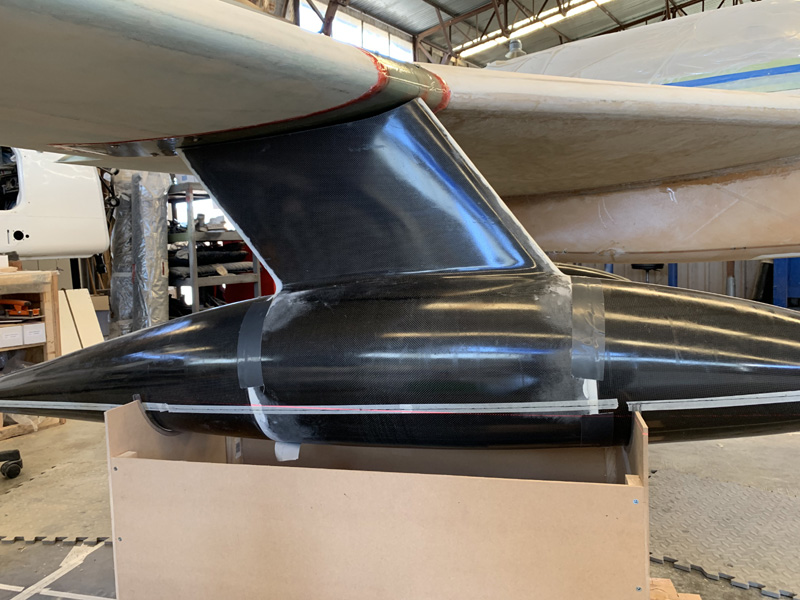
Before mounting the pods I wanted to ensure that the nose and tail sections were in line with the middle part that has the pylon. It is easy to skew these parts slightly to one side in relation to each other. I wanted all of the pod parts to be in line.
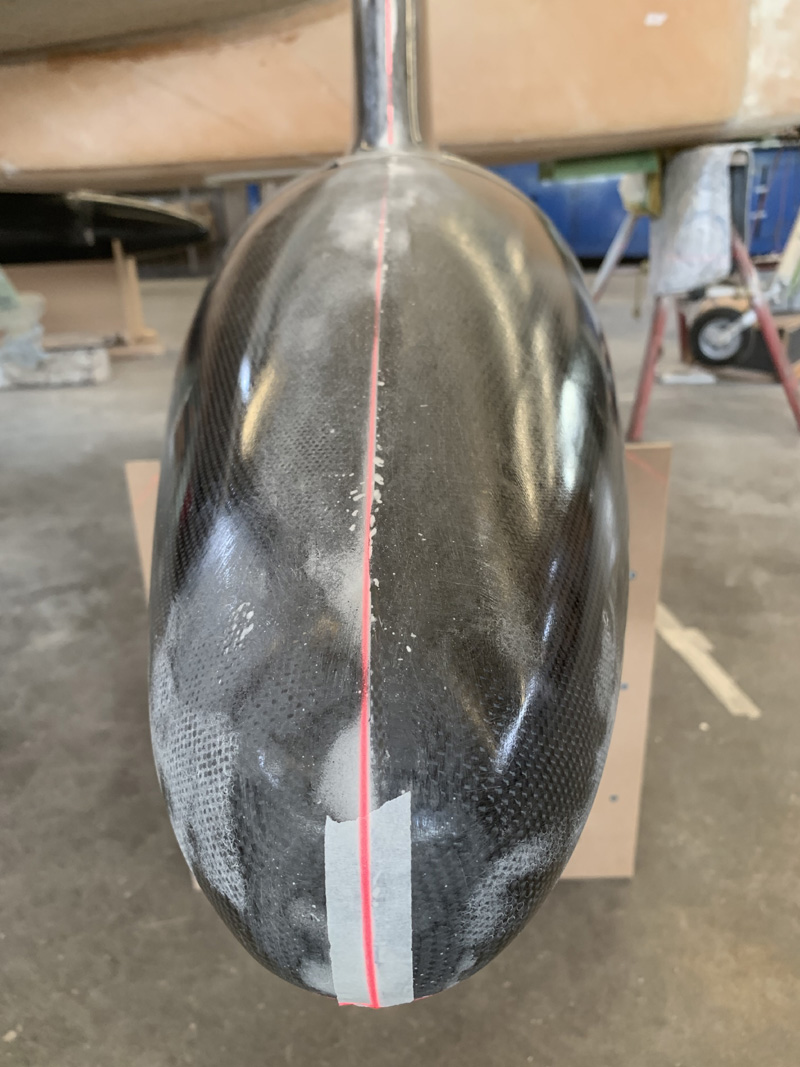
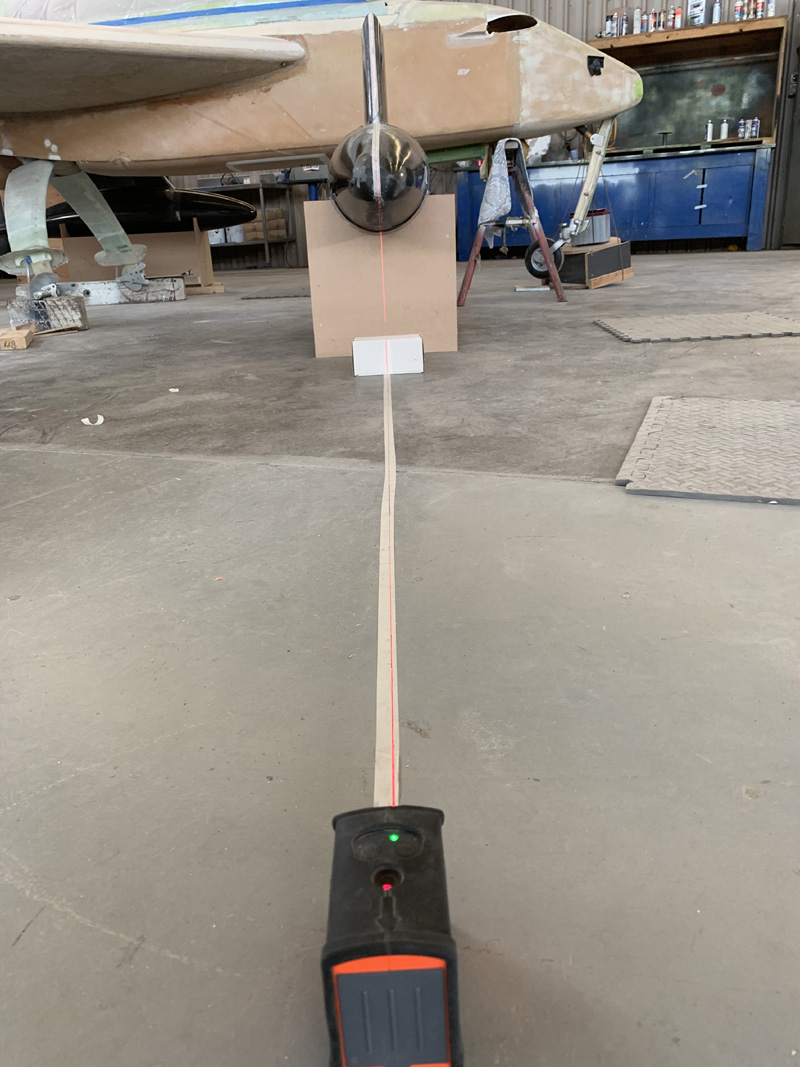
I extended my drawing of one of the lines from the fuselage via some tape, the laser and a pen. My idea is that once the front is in line, I can add extra gaffer tape to the nose join and call it good.
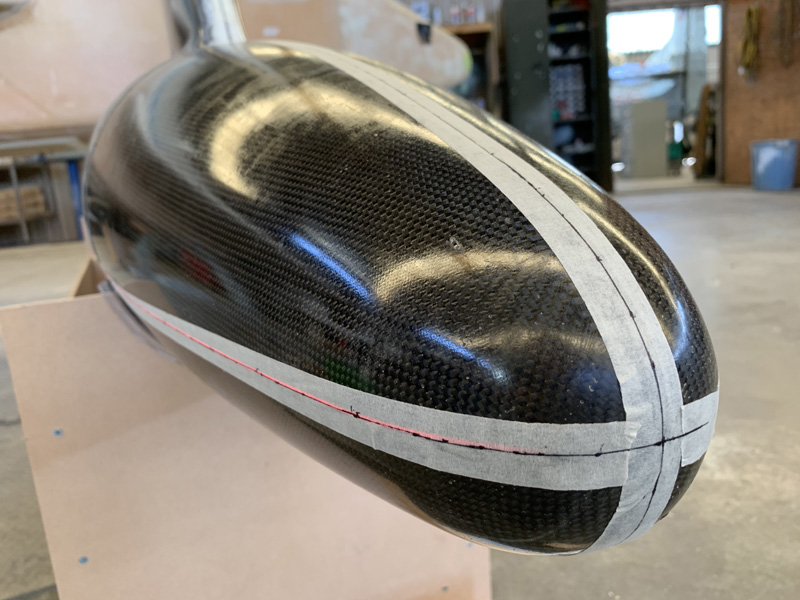
With the nose and center part aligned, using the same line on the floor from the other end I checked (and rechecked and rechecked) the nose section. When I was happy that got more tape around the join. It is getting very close in the picture.
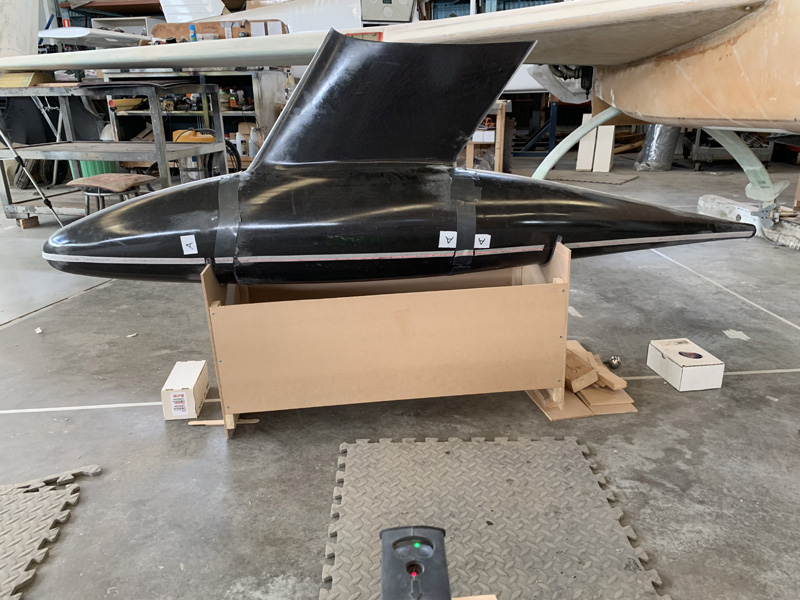
With a lined up pod I now needed a zero water line as the third dimension that needs to be correct with the airflow. The middle of the nose and tail are the zero points, I just needed a line between them. That laser sure is handy, and I have spare batteries too.
I ended up with lines drawn on tape and the ends secure. It was so much fun I did it again for the second pod.
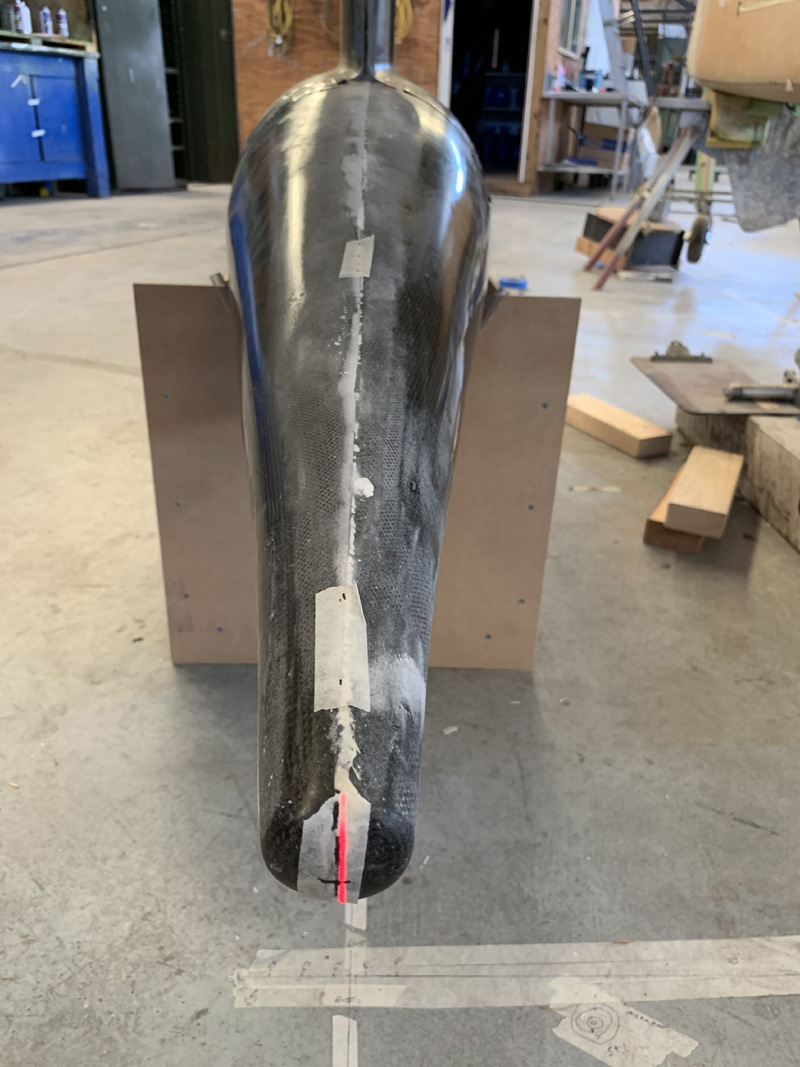
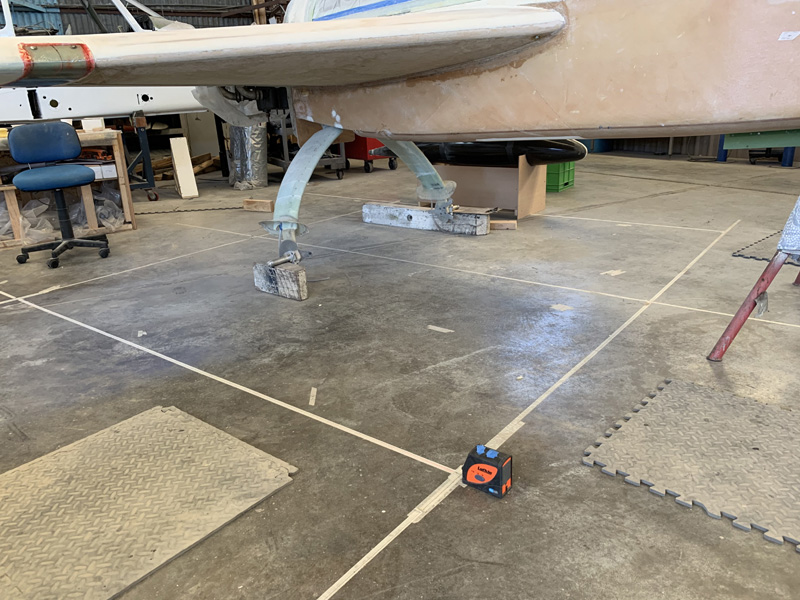
With the pods correct next up was to build a floor grid with lines that the laser could sit on. I’m using that parallel point of B.L. 61.5 and then extending those lines fore and aft so I can sit my laser on them.
From the front you can see it will be possible to line it up perfectly.
Then at the rear, again the line up.
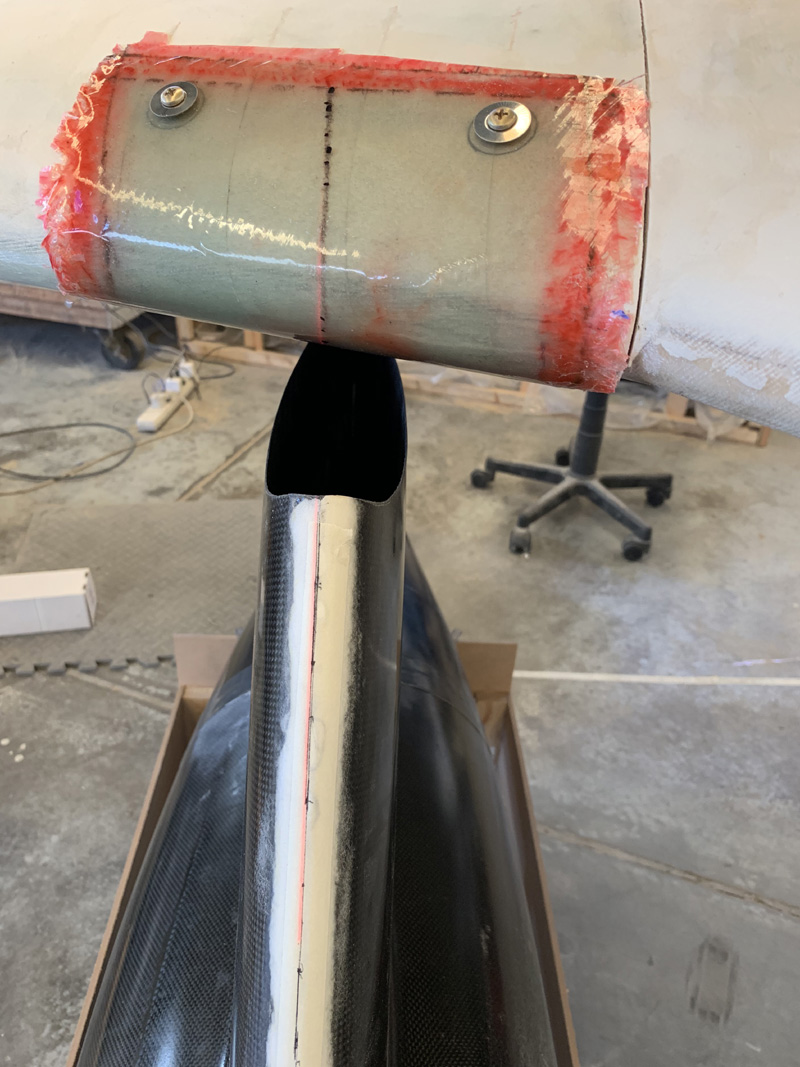
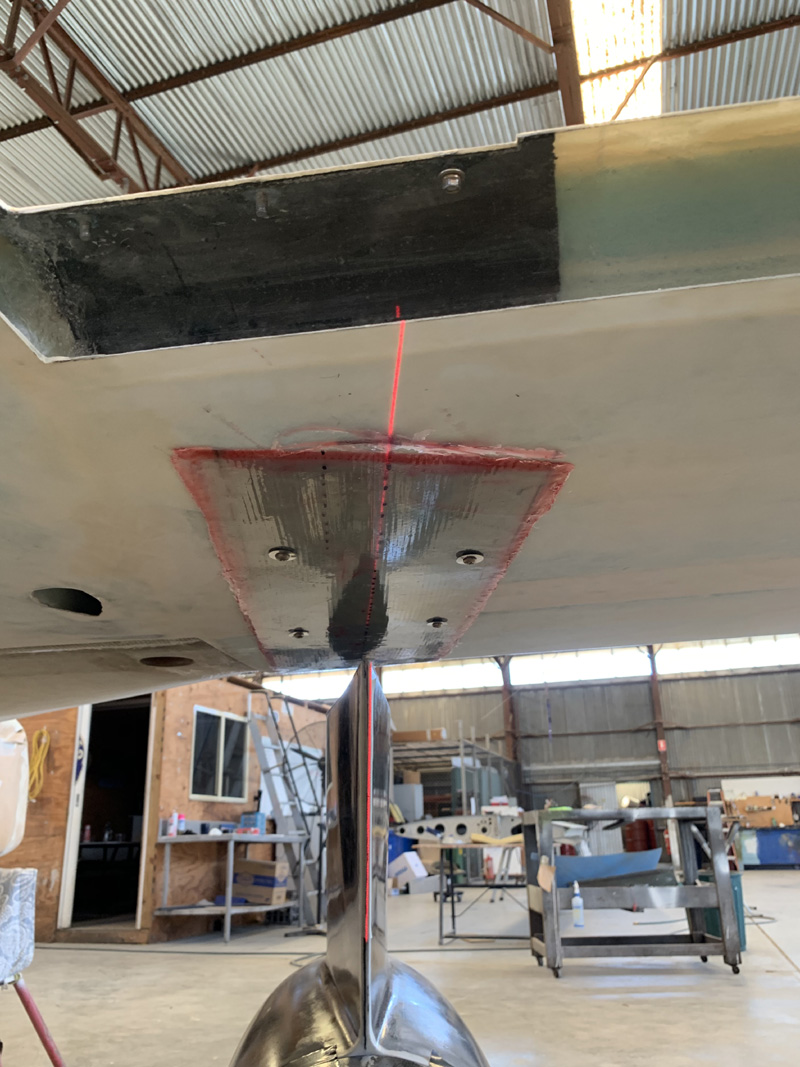
All I need now is the waterline to be correct. You can just see in the pic it is more of an intersecting diagonal than ‘in-line’. Its a good .5″ out at the back, meaning I have some carbon pylon to cut. The top should fit within 1/8″ or less all over. I have a LOT of careful trimming to do to get it a perfect fit and correct in three axis’s. I’ll have to go slowly as I want to maintain the same pod pylon length both sides and it is already ‘correct’ at 12″.

