| Date: 07-28-2018 | |
| Number of Hours: 7 | |
| Manual Reference: 13-10 |
As I was looking to get the heated pitot installed I really needed to sort out the interior nose area glassing and prep work for the light lens.
I smoothed out areas here as best I could and tried the light at full range movement to ensure all was good.
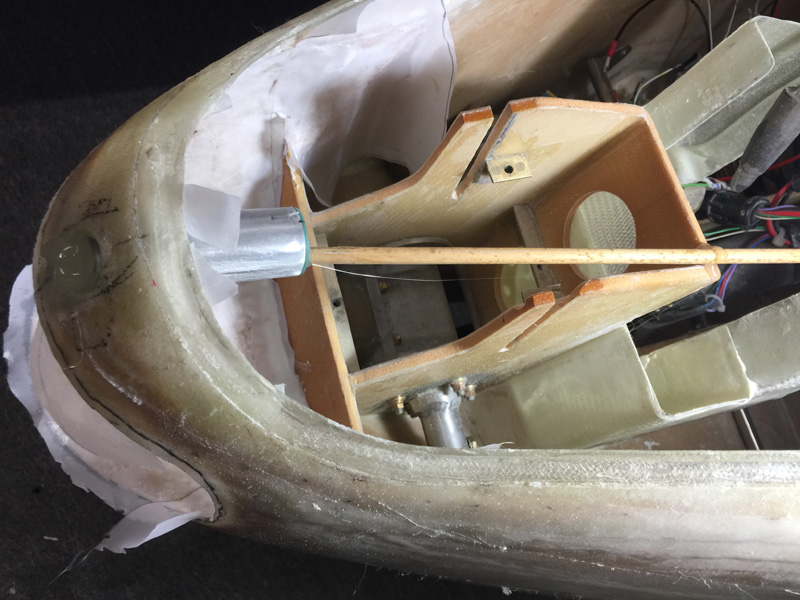
As the foam areas were a little rough I decided to hard shell before glassing. In other words paint on some micro with peel ply, let it cure and then do the glass on top. It was also time to flox in the first stage pitot tube. I secured this with a stick and hot glue and then just added flox around the edges. Actually it was micro mixed with flox as I had some over and it makes the flox smoother and a touch lighter. This will be way strong enough. I think its pretty straight but how it looks depend on how carefully I fair in the very edges of the tube. Such is the way optics work.
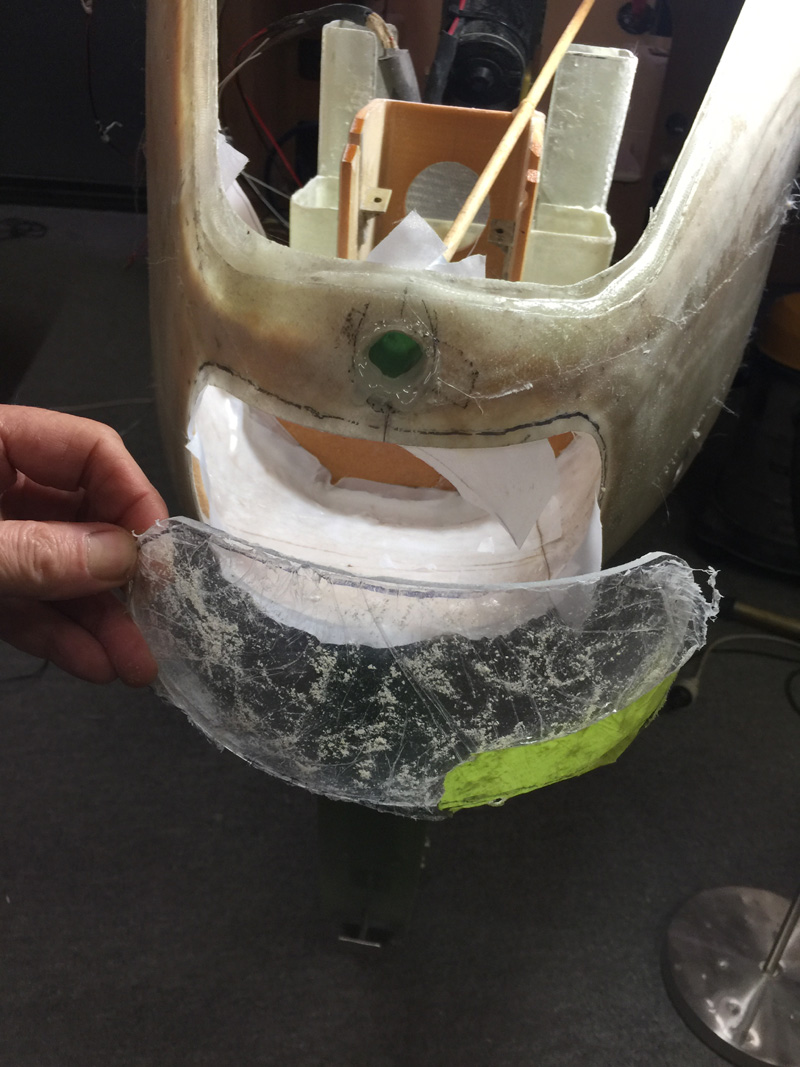
Before the micro stage I did do some fitting of the nose lens for an hour or so. This piece is pretty close and I’ll use it for more test fitting where it will be a template for the final cut lens.
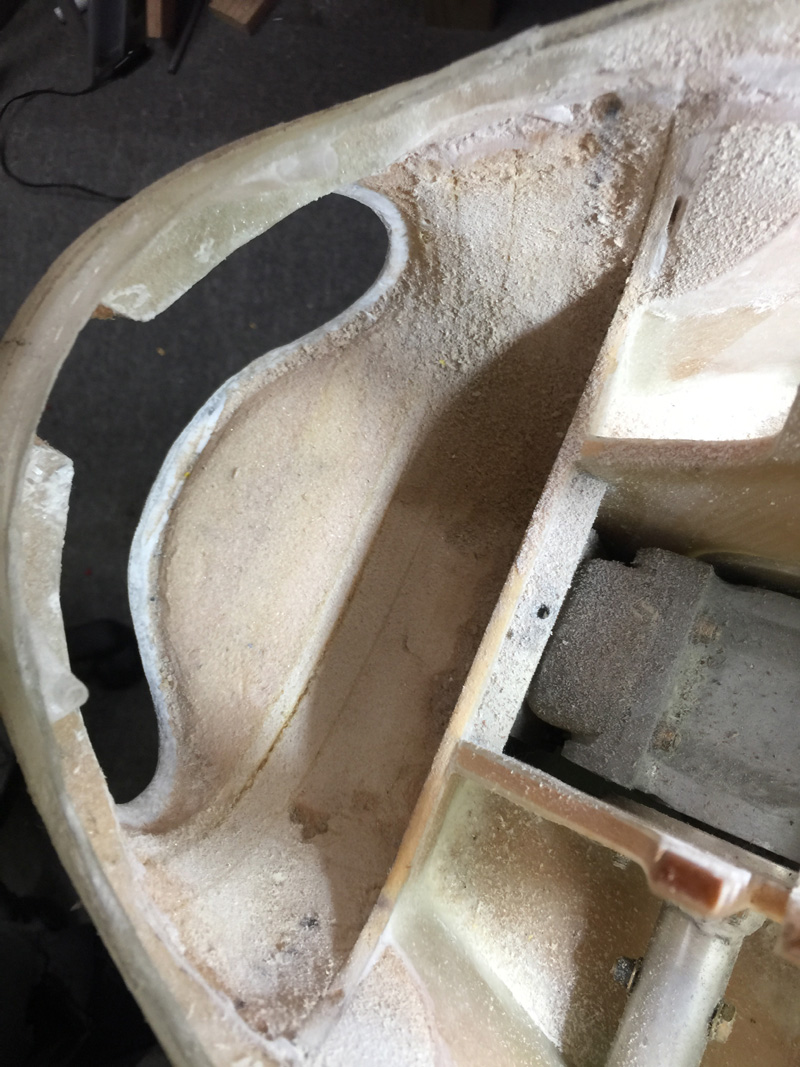
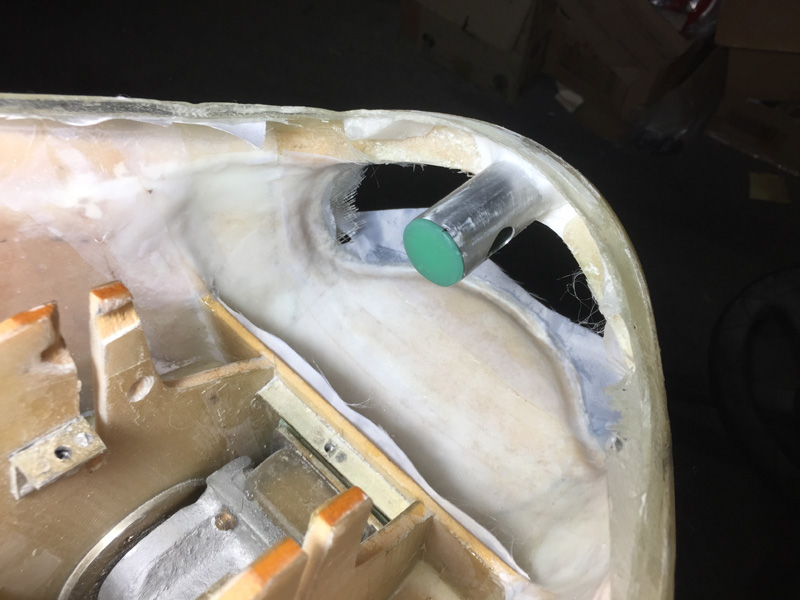
This is after cure and removing the peel ply. There as still a few small voids but its a lot better than before. I’ll add pure epoxy and a bit more micro for the layup.
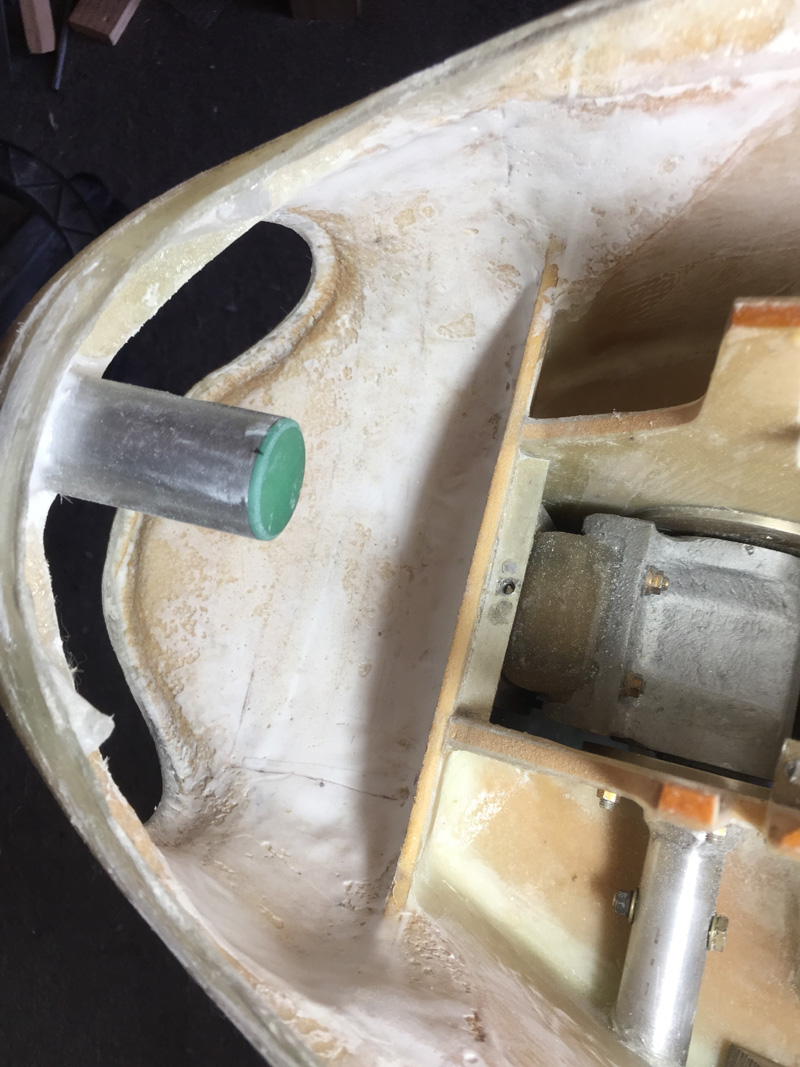
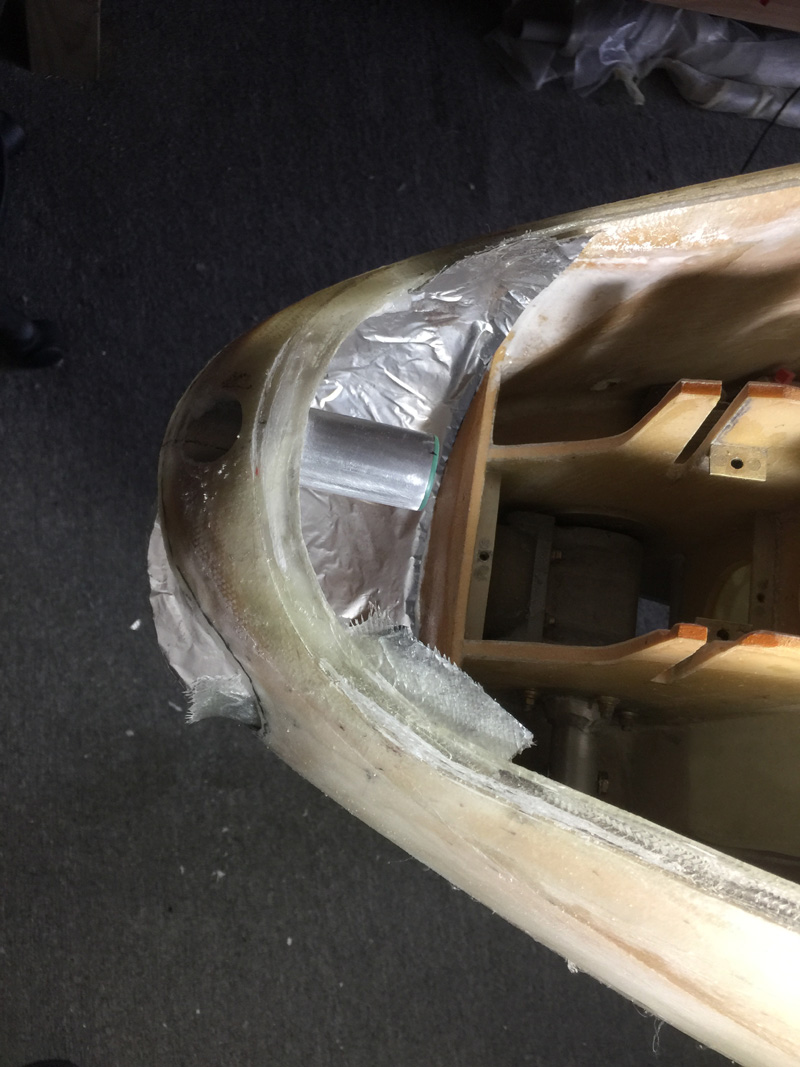
This is a bit tricky to layup. I went for 5 separate pieces of glass carefully pre-cut to shape and added using the foil method I like so much. This pic shows the main large floor piece still with the foil on. Then I added sides and a couple of tapes, upper and lower to bind it all together.
Finally peel ply and most of my day was gone.
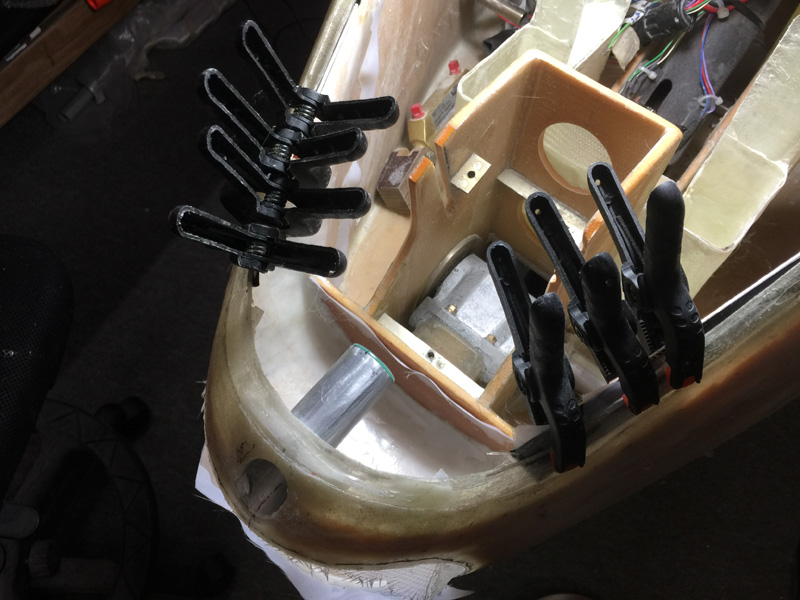
The edges right up the top were tending to curl away so I added some clamps which then prevented me from aligning the heated pitot itself for now. That’s the next step here.

