| Date: 11-25-2019 | |
| Number of Hours: 20 | |
| Manual Reference: no ref |
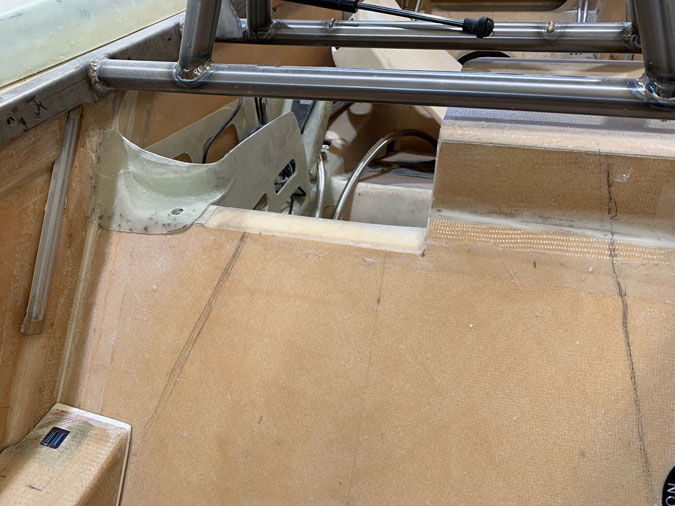
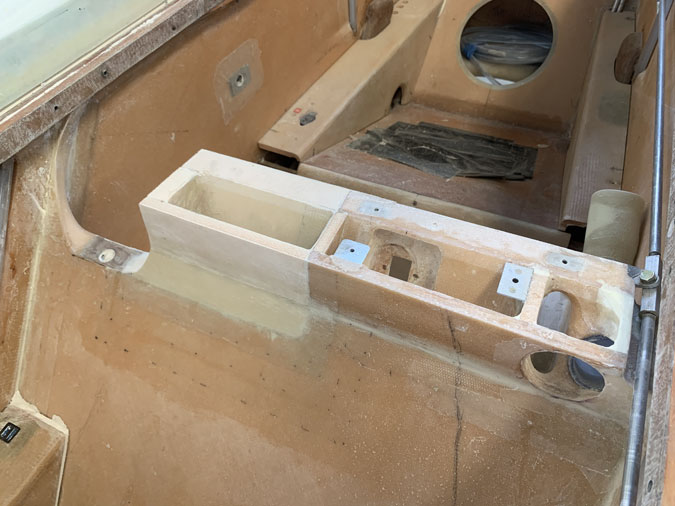
Back on January 20th, 2018 I chopped out a part of the front seat to fit the oxygen system and allow access. Now 22 months later I realise that it was a bit too much. The seat cushions will be hanging in mid air at the top. I could live with that but really, not quite right Dave! I had the idea of a bag for storage velcroed to the back of the seat. Wrong again. I’m better off with a shelf here and easier access.
OK so I’ll just put a bit of the seat back….back!
This is where I began.
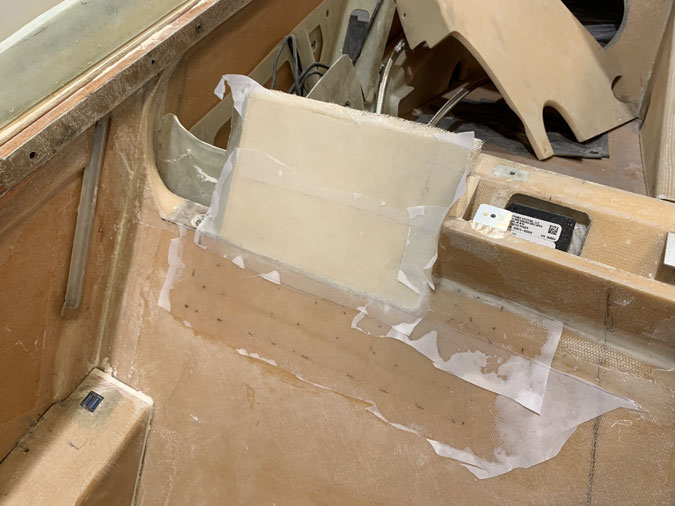
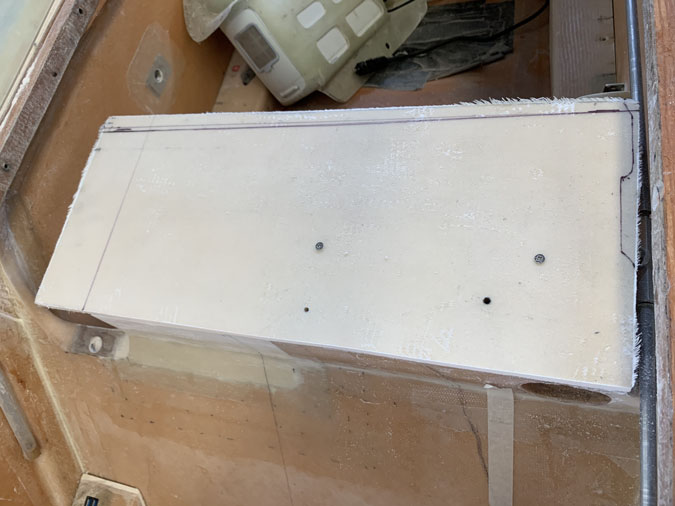
After checking the plans layups for the seat I went ahead and made an insert. Then for glassing the front I went with reinforcements via hot glue at the rear.
I did a ‘structural repair’. Fancy talk for removing 1″ per ply of the surrounding area and restoring the glass plus a ply of BID on top. The dotted lines were my guide to where the plies had to go. I did the usual layups on foil and plastic.
When that had cured I added the new front piece. Glass tape corners also went on the inside. When this all cured I added two ply of BID to the rear of the seat to tie in the new seat back, again with overlaps. Oh, and I had an air bubble in the glass that needed some epoxy injected into it and a clamp overnight. Worked a treat but more delays.
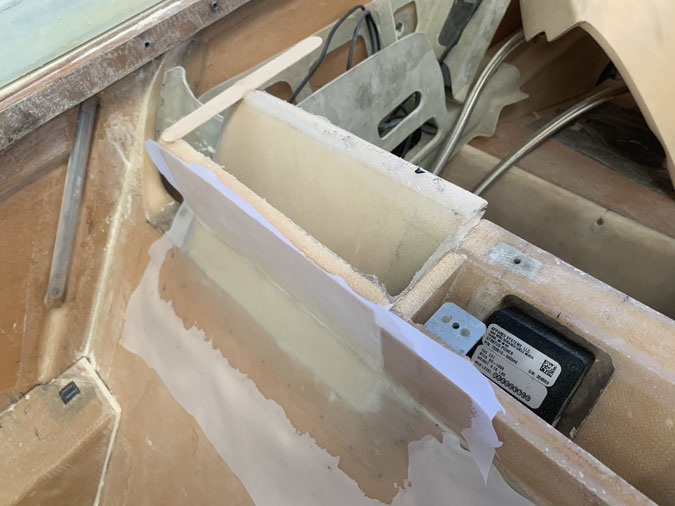
After all that I added the side end piece. This was after a few hours fitting and refitting the oxygen with the rollover in place to ensure I could get it in and out without disassembling anything! Quite important.
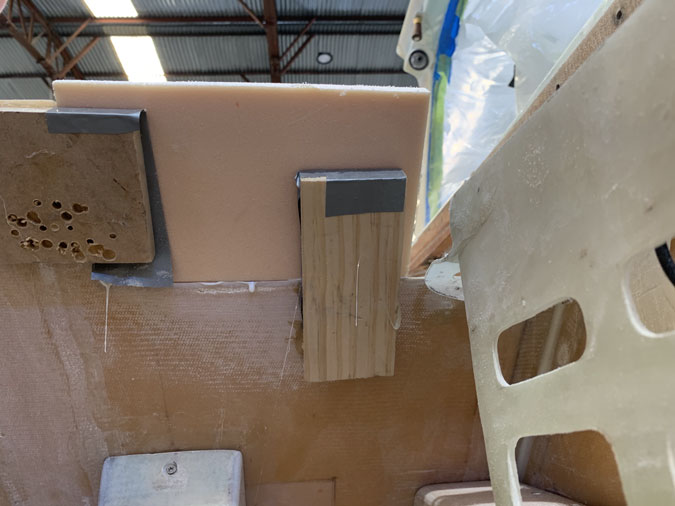
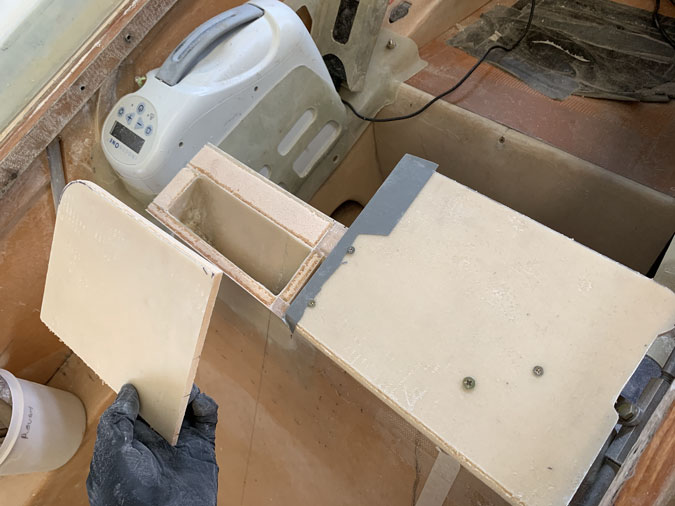
I made a shelf and glassed one ply of BID one side and two ply the other. Its the same foam as the instrument panel, given I’ll have an overhand I wanted the extra strength. I used some plastic to match the holes for the screws on the removable side of the shelf.
When I was happy I cut the top shelf almost in half. The reason is that I have the vent and the USB block which needs access. My idea is to glass the rest of the top piece in place which will tie the seat back addition in place with a lot more strength than having the whole shelf removable. You might notice I have small troughs in the foam. These are for flox corners given I can’t do inside tapes when I put that piece on.
Here we are good as new. What I should have done in the first place and saved myself 20 hours plus extra work. Its in the past now and the job is done.
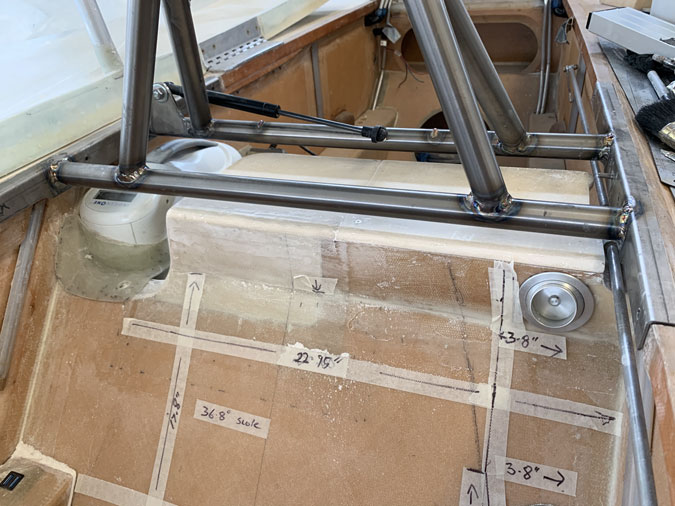
A final look with parts in place. Better eh? The tapes and measurements are for my seat cushions which will be made shortly.

