| Date: 01-29-2018 | |
| Number of Hours: 16 | |
| Manual Reference: no ref |
Over the last three days this oxygen thing got done.
First up was confirming that if the oxygen is installed I MUST have the back seat control stick removed. I also did a bit of work trimming the front and back armrests for freer stick movement. The final check will be with the wings on and everything hooked up. This is an essential check that is in my notes for that end stage of the build.
My idea is to make a cover over the rear stick a part of the oxygen install. So if the O2 is going in the plane you can only do this IF you remove the rear stick first. It’s ‘sort-of’ fool proof and I won’t need a placard or constant checking.

I mocked up what I’d need with some foil. I’m adding to what I’ve already done with a bit of an overlap.
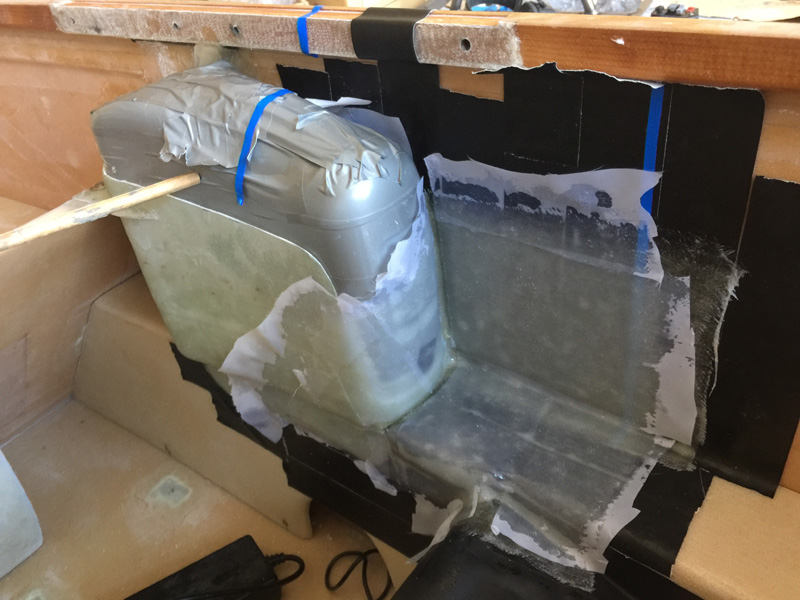
Here’s the layup done with two wetted out pieces of 4 ply BID. I’ve allowed overlap on the rear seat and sump too for extra support.

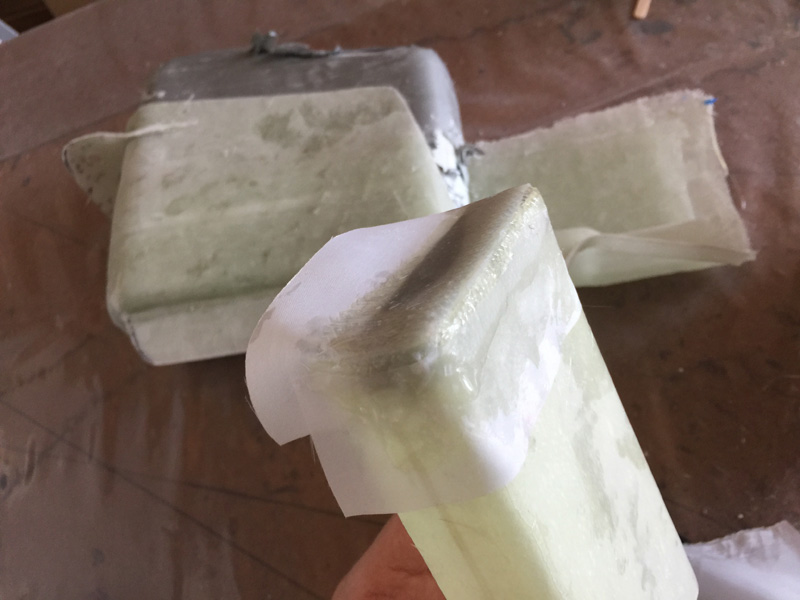
Not pretty and it was again a bit of a struggle getting the Oxygen unit out of the form.
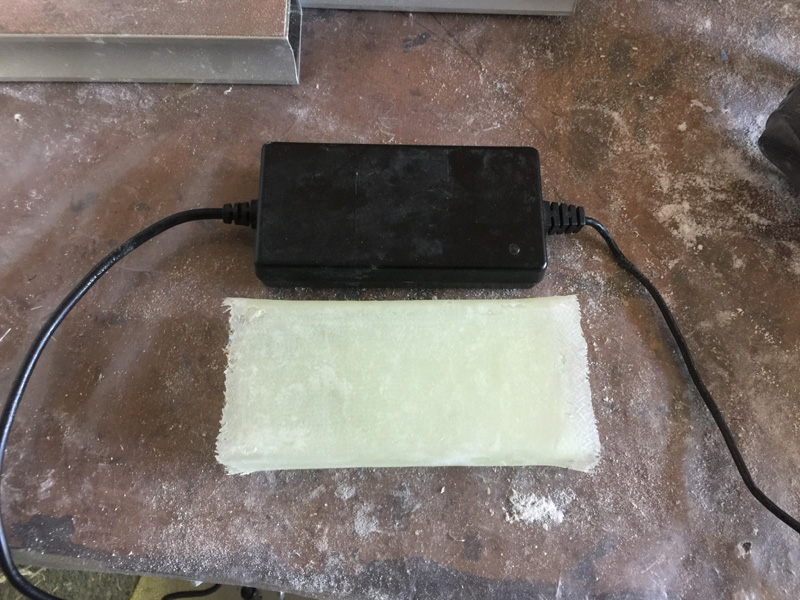
I’ve decided to now incorporate the voltage brick into the ‘Oxy holder’. Now I can see where it will fit and the decision to not leave the brick it permanently in the plane is made.
I had to cut the cured glass off the voltage brick with a thin cut down the middle that I quickly rejoined with a 2 Ply BID tape. Next up was squaring off the ends and making a proper end piece so I had an open ended box.
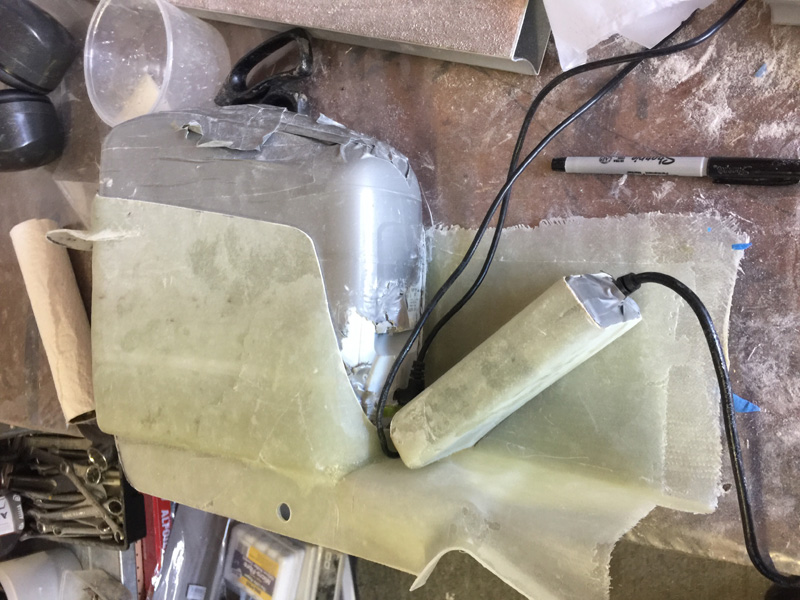
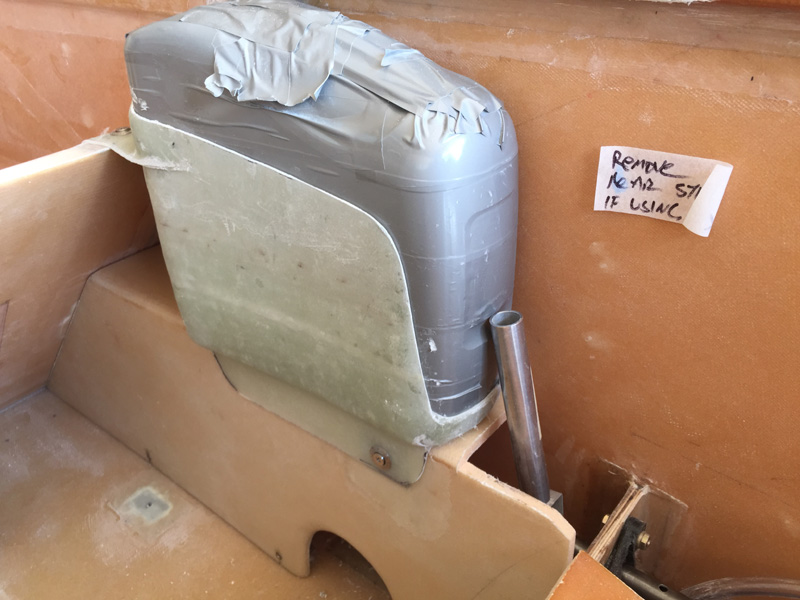
Here’s where I’m putting it. At the rear of the oxygen unit is where the air exhaust is so I needed to leave that uncovered, hence the angled brick. I first floxed it into that position with the brick in place. I’ll explain why the position is so important in a later picture. I’m sure you can wait for that.
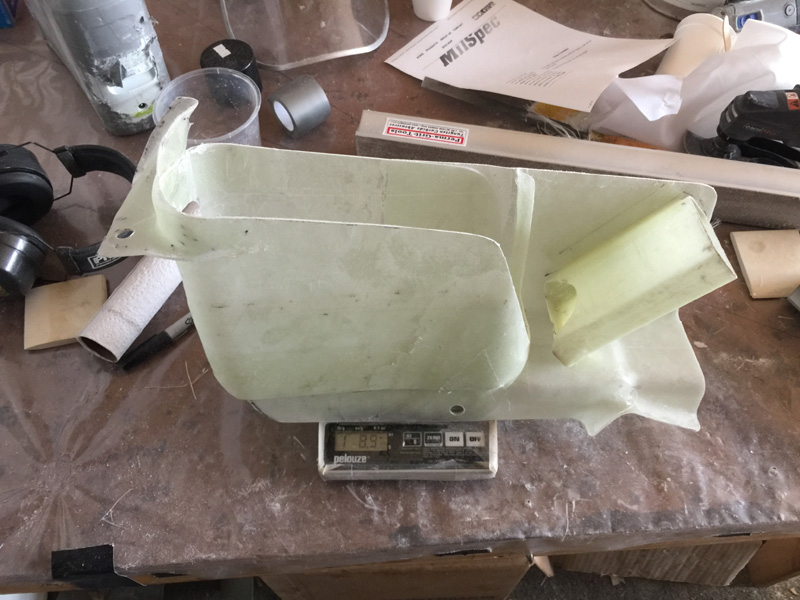
With the brick holder now also taped in place on three sides, I trimmed the whole unit to be a little tidier. It turned out to be quite portly at 1lb 8.9 ozs and as solid as a rock.
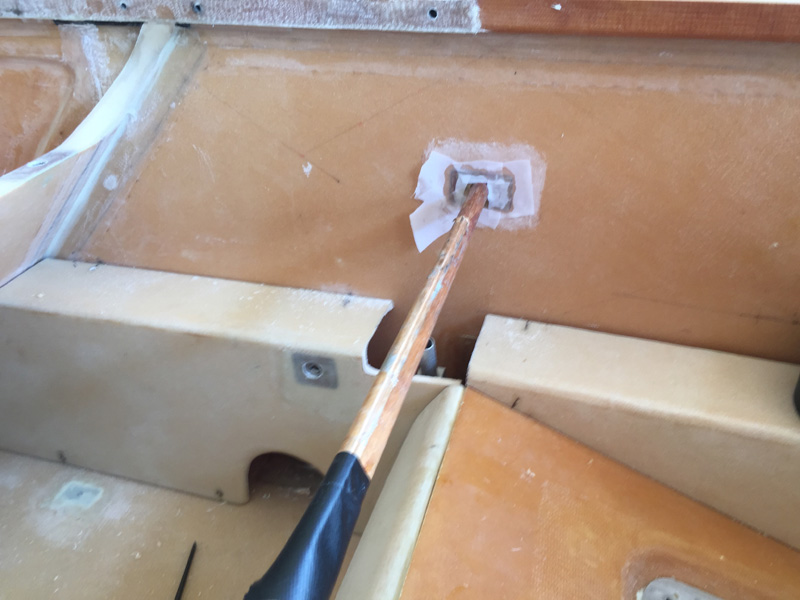
While I needed to address the weight I also needed one more fastener. So the unit will be held with just three camlocs. It will be self contained too for easy install and removal. It only needs the 12 volt adapter plugged in. I had to again make an aluminium plate for the Camloc, drill it out, clean it up, alodyne it, rivet the receiver in place and then make a hole in the side for it after match drilling the position and finally floxing it in place. Add a few drops of sweat too. The stick is to hold it while the epoxy dried of course.
After cure I set up the third Camloc in the ‘holder’ and all was secure.
Here we are after some hours making the unit lighter. I got nearly a quarter of the weight off with these lightening holes and it is still very strong. You can now see the three Camlocs and how it also sits over the rear seat and of course covers the stick hole.
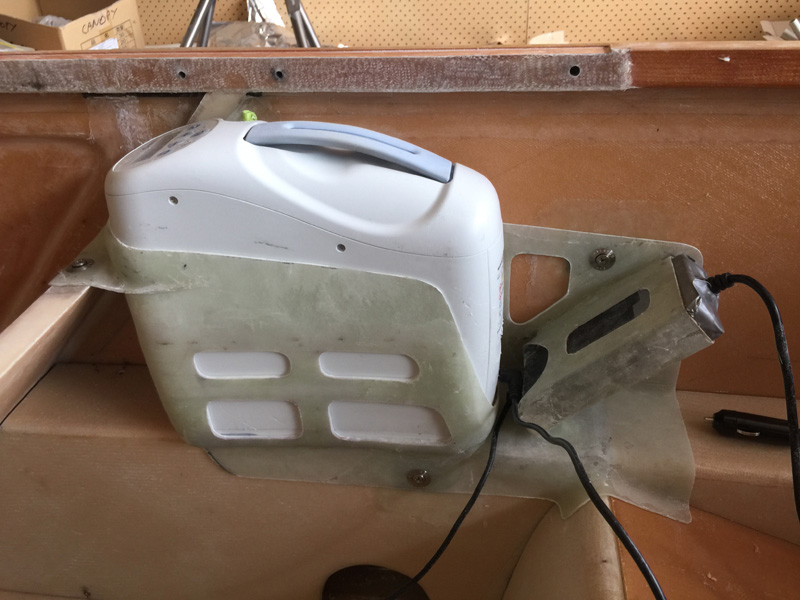
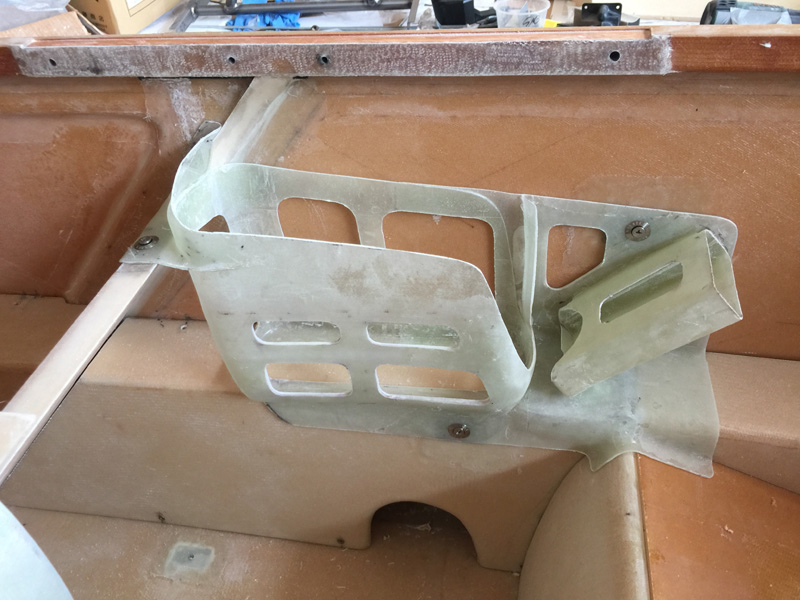
Here’s the holder with the hardware in place. Yes I will shorten the wire from the brick to the Oxygen concentrator, probably around 3″ will be long enough. You might notice a “D” shaped cutaway at the bottom of the brick holder. This is so you can slide the unit up and unplug it from the main unit easily.
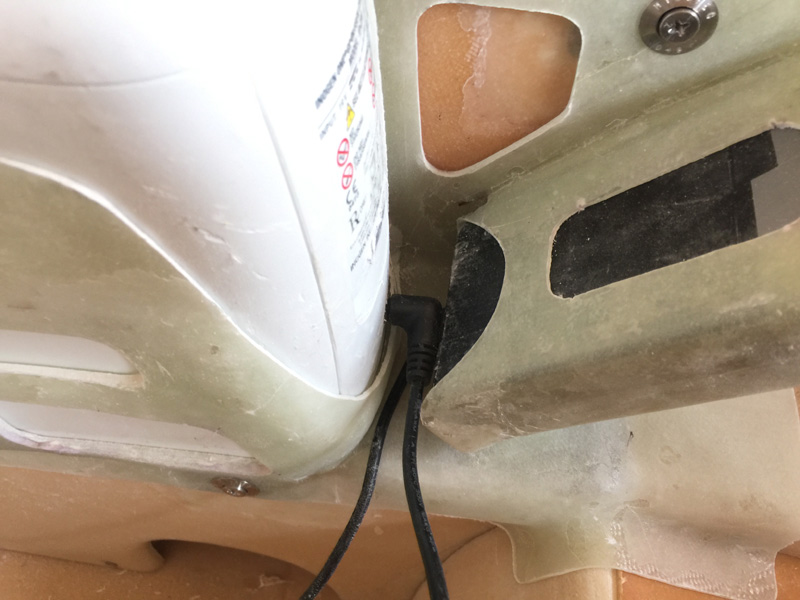
OK, here’s a clever bit (I say modestly) When the brick is in place, it also acts a a stop so that the power plug cannot come out. This took a bit of thinking and turned out to be very simple. I had a concern that being behind me in flight a simple plug might get dislodged in rough weather and I wouldn’t notice or be able to do anything about it. This design prevents that particular failure mode.
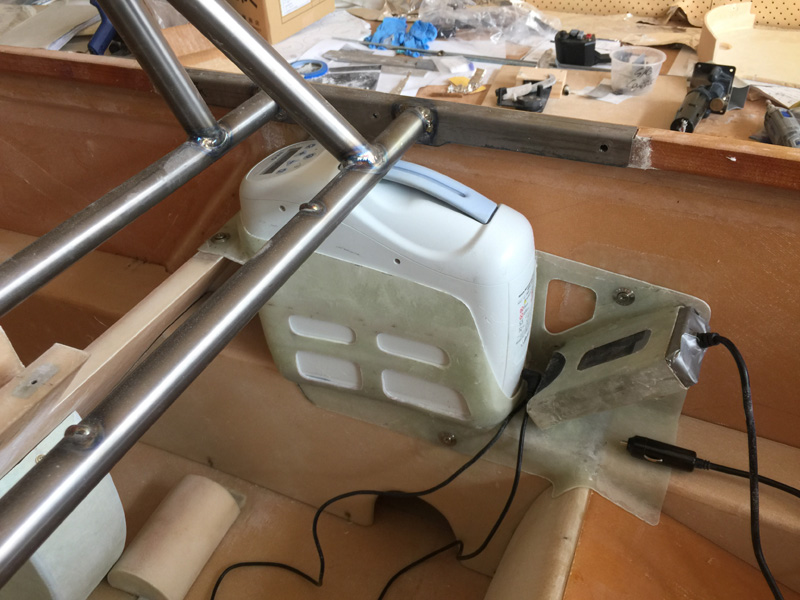
Here’s the unit with the rollover in place. It can only move upward about 1″ which would probably only happen in a crash anyway. The concentrator is pretty tightly held on all sides. While you can not remove it with the rollover there, it is easy to just loosen the Camlocs and uninstall the oxygen as a complete unit.
The position of the rollover and where the cannula attaches is such that the frame of the rollover will help keep the cannula tube plugged in. Another little design bonus.
All thats left is to work out the 12volt power. This was an interesting modification and solution to the whole oxygen issue in a small plane like the Long-EZ. I’ll be good to 18,000′ indefinitely, no bottles to refill. The ‘holder’ and position was not anything like I first thought it was going to be. A little magic happened and now I have a new storage area in that large cutout on the front seat to fill with a bag. Bonus!
1 Comment. Leave new
Very nice…. some great ingenuity going on there!