| Date: 01-20-2018 | |
| Number of Hours: 6 | |
| Manual Reference: no ref |
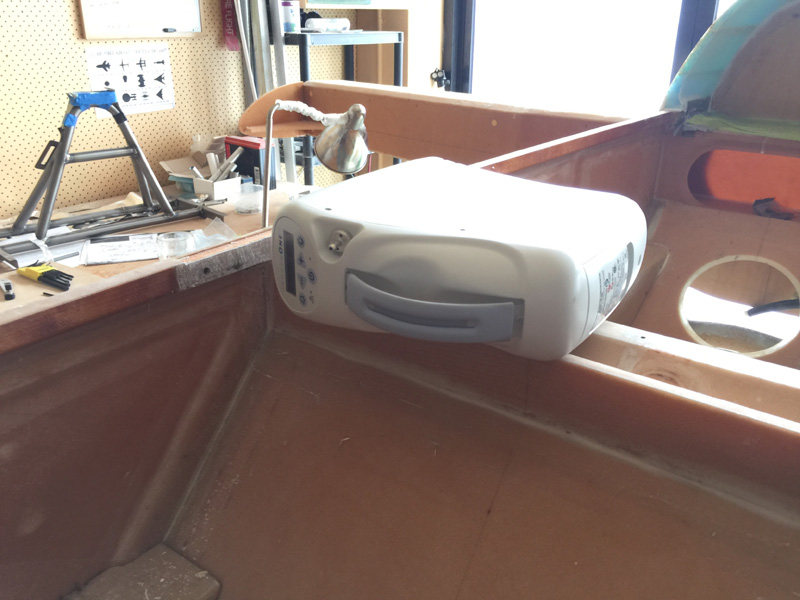
I opened the unit up and found it quite unsuitable for remote operation or any chance of making it lighter and smaller, so it has to go in as a unit. Given its weight I can also remove it for local flying too if I didn’t disassemble it. The other thought was that given these concentrators should have an annual service and a check that they are correctly delivering the oxygen its better to keep it ‘original’ for transporting to the agents service center.
After much thought again I decided the best place to put the oxygen was ‘in’ the front seat and supported from behind. I have a few ideas for the leads and plugs too.
I was a bit unsure if there were structural issues here. My own feeling was that I have the Titanum rollover now bracing the sides which might well take up the load and that I don’t have the usual strake cutouts there. I did get in touch with a very well respected structural engineer that will remain unnamed. While my eyeball engineering says this is OK, I did want some similar input using the same method but more experienced eyeballs.
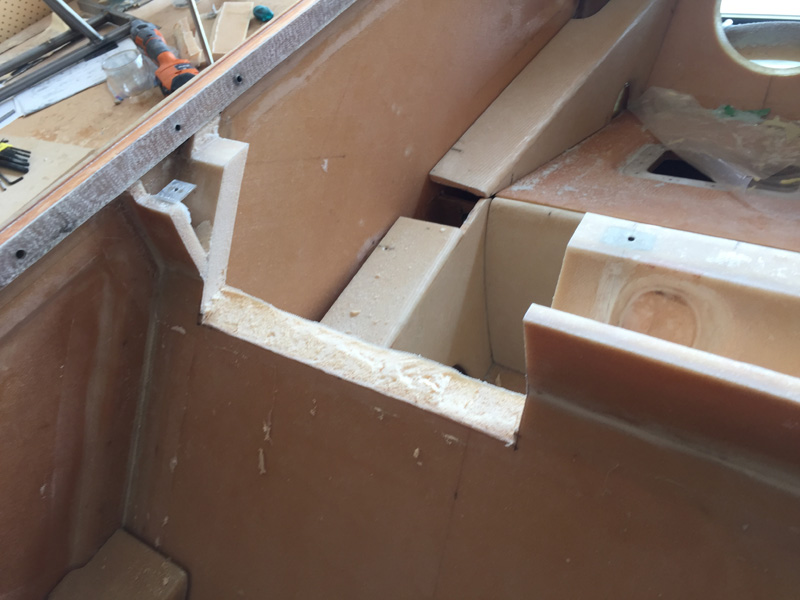
“My primary thought here has to do with the torsional stiffness that the per-plans front seat bulkhead adds. However, with the lack of strake cut-outs in the fuselage sides, my gut feel (NO analysis whatsoever) is that you are probably not compromising much with a cutout in the front seat bulkhead that you propose. Myself, on my own airplane, I would make the outboard edge of such a cutout an inch or two inboard from the fuselage side, and “ring” the cutout with a few plies of BID, extending out a few inches beyond the edge of the cutout itself, and also lapping said BID an inch along the fuselage side.”
So with that in mind I chopped a big slot out of the front seat two inches out from the side.
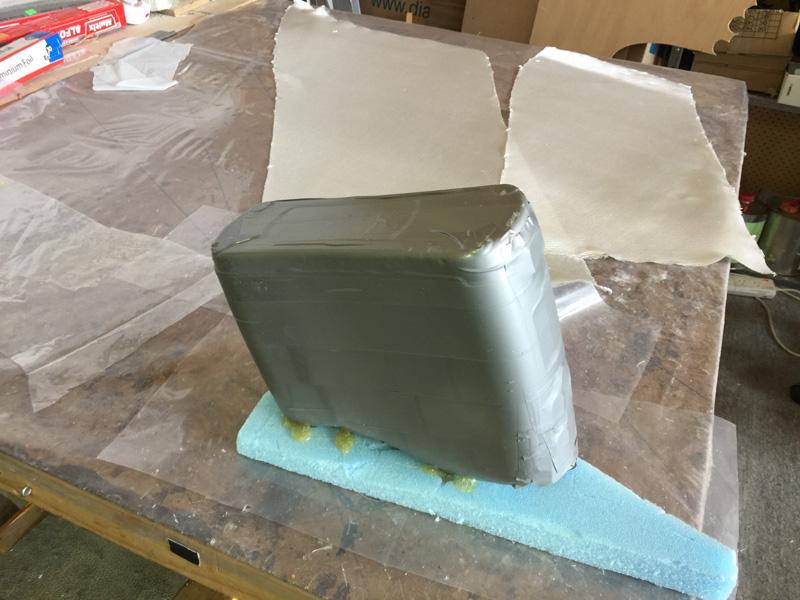
Again a bit of thinking and I like the idea of the unit held tightly in a molded shelf. First up was the usual layers of duct/release tape. I added a bit of thickness here and there with removing the ‘mold’ in mind.
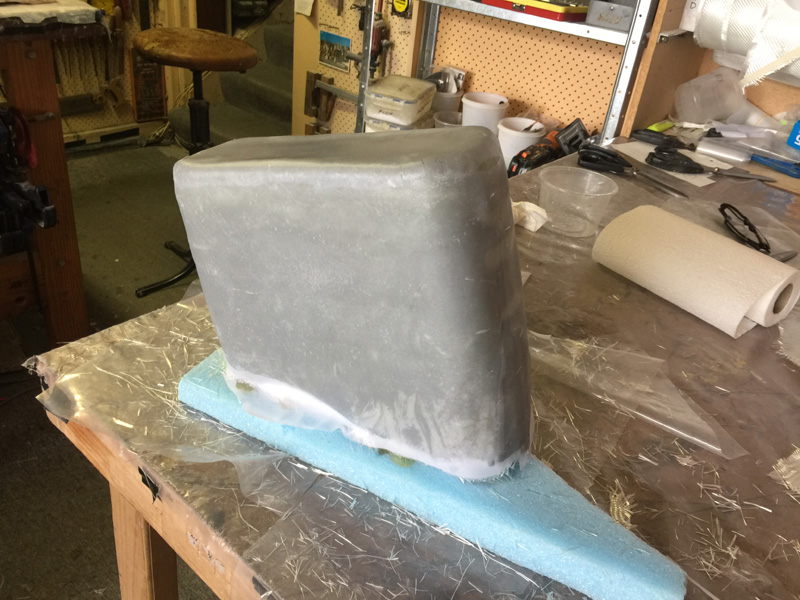
Here we are with 4 plies of BID and peel ply. The fun begins tomorrow after the resin cures getting the unit out of this mummified wrap. Then I have more ideas on how to fit it. This is one of the fun things on the build where you get to work out fittings without quite knowing how to do it until you start.


