| Date: 12-28-2017 | |
| Number of Hours: 8 | |
| Manual Reference: 18-3 |
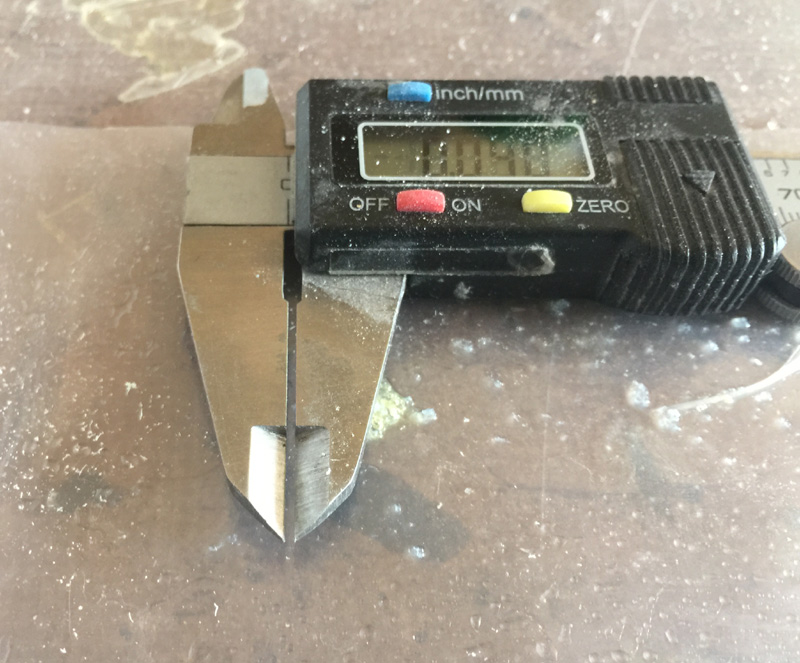
I was thinking that the outside of the canopy frame could just be a ply of BID or so and that I’d get the strength I need with the inside layups. I had another look at the plans and realised that Burt’s method is really a symmetrical layup with the inside and outside plies being a similar number. OK whats my penalty if I go this way? The thickness turns out to be .040″ with the glass I plan to use. Its a small bump but a little micro if needed in the right place and I think this is a better option, to go the Full Monty. I can always sand a little off later at the edges if I need to.
0.040″ is not the end of the world when I have to add micro to the finish anyway.
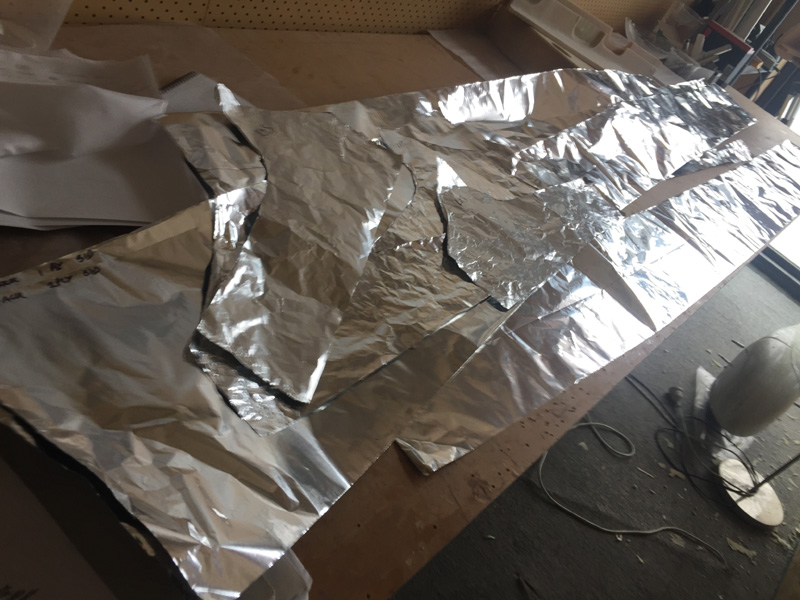
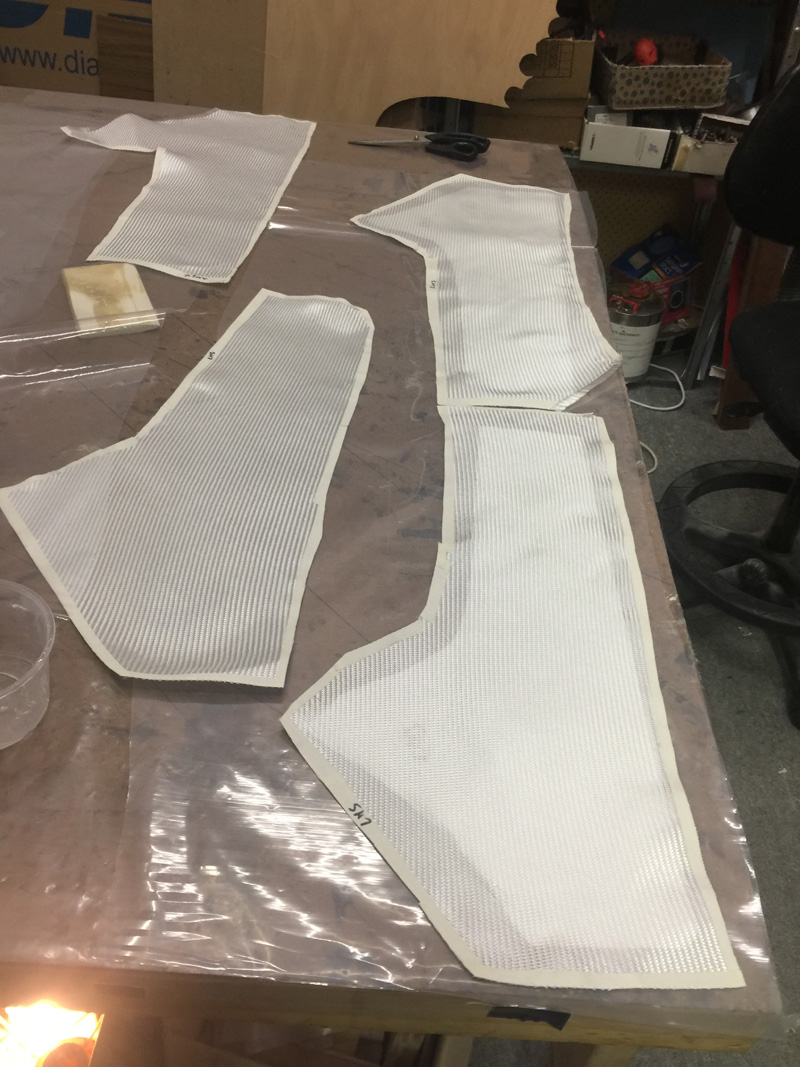
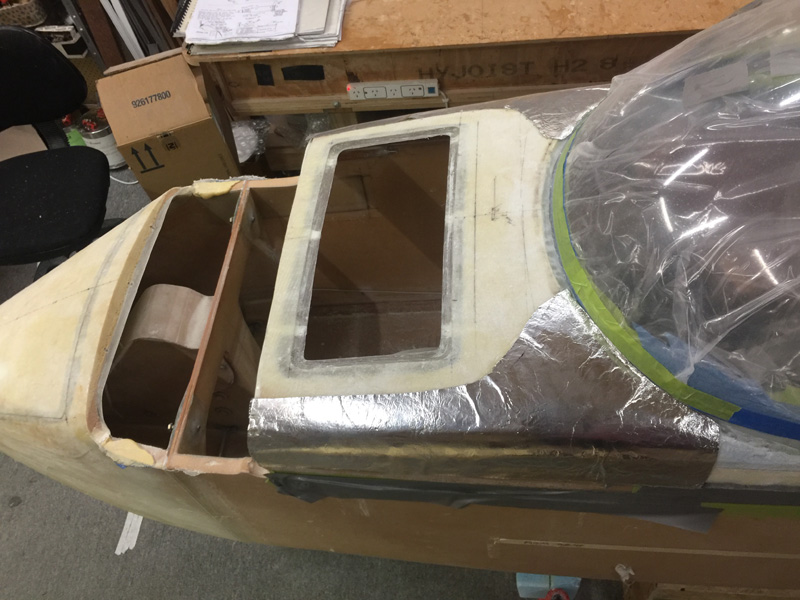
The layup is 5 ply and mine will be a touch different as I need to bond the outside of the section forward of the IP and some other sections there are already glassed. My first job was to make the foil templates for the glass and plan out the various layups. The plans say two hours for the whole of the outside of the canopy layups. In what universe would that happen? Where time is slowed down perhaps because we are traveling at the speed of light relative to this earth. It looks like two full days work to me.
So we plan to tackle all these layups over two days. Make sense? One lot tonight just doing the front and the turtleback after spending most of the day with prep work. As its not all at once I need to peel ply everything. First up was the rear layup where I’m doing two plies first.
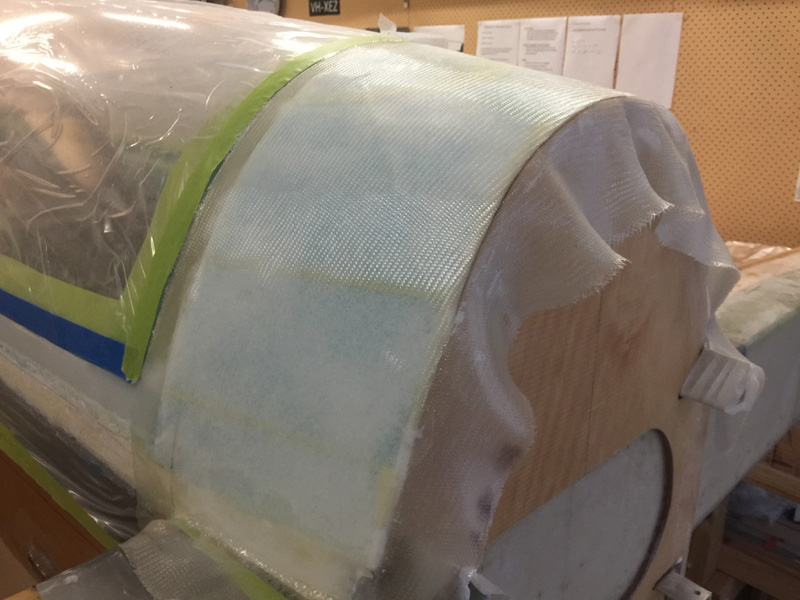
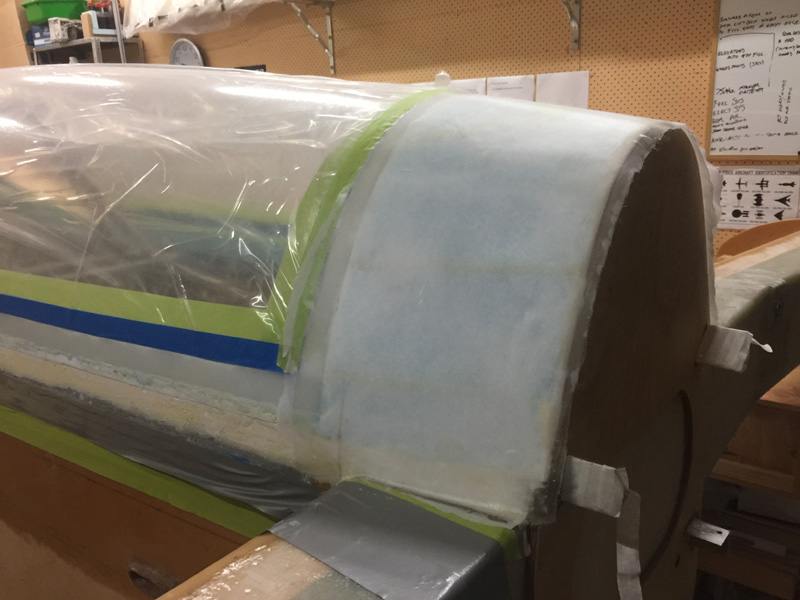
Here it is after some micro and pure epoxy as primer. I’ve noted that some people wrap the excess glass around the firewall.
I’ve decided to trim the excess back and after cure I’ll run a 2″ BID tape. I was worried about the edges being too sharp and the glass having air bubbles so I’ve trimmed it close. I’ll let it cure and then run the tapes. Yes another step, yes more time but I believe a better result and not compromising the main layup. This rear section gets three plies in all but plies of UND overlaps later. I’m just doing the two BID for now.
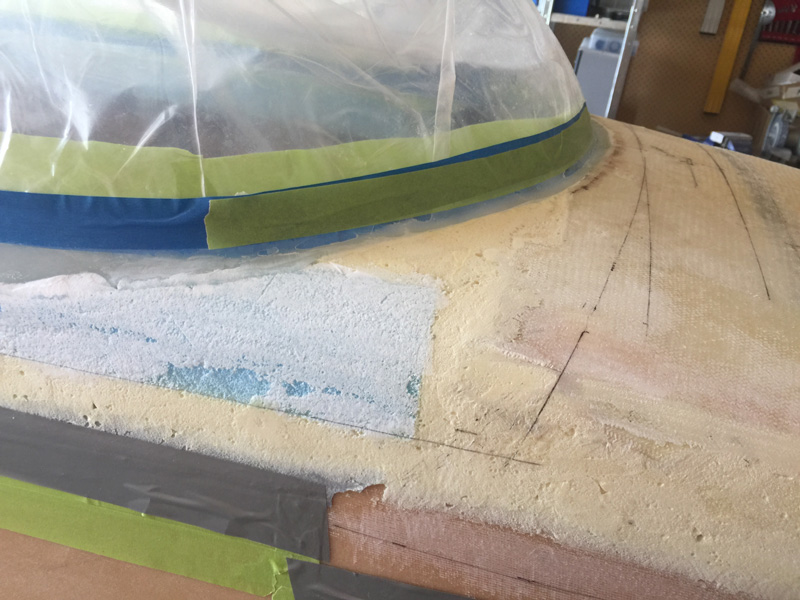
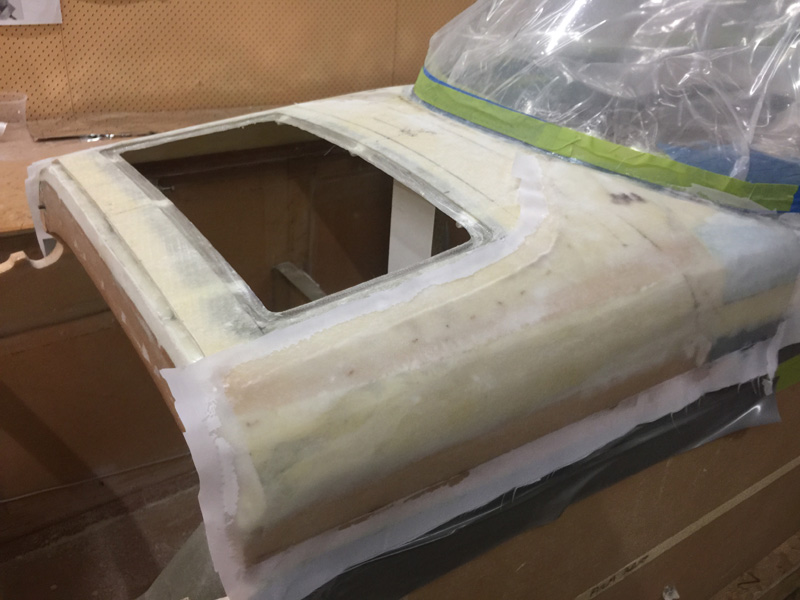
This is the forward section that I need to tie together. That foam towards the right lower part of the pic need to be tied into the top hatch section. The sides where the blue foam is will be the canopy rail. My plan is to just glass the lot after adding some micro fill of course, cut out the frame and clean up as needed later.
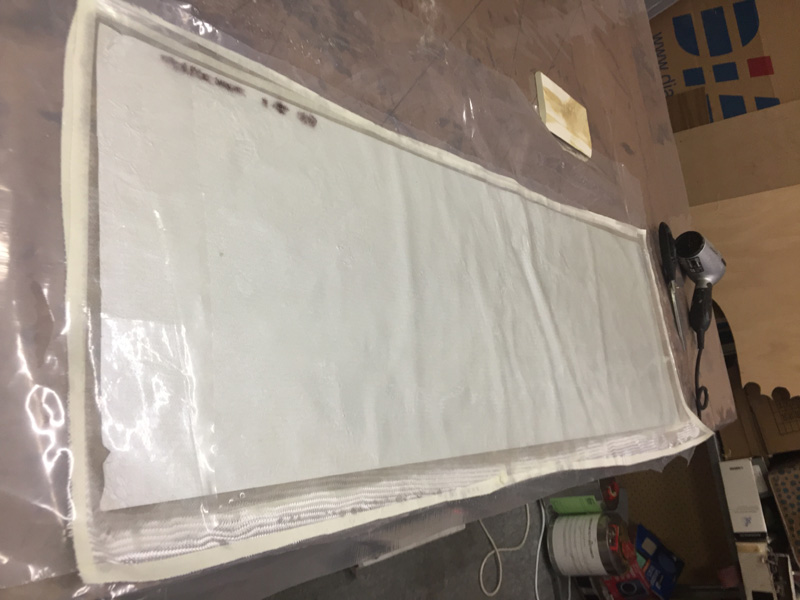
Here I’m just about to wet out the front two ply BID sections.
Here are the plies in place using the foil method for exact placement.
Yes the usual peel ply and we await the cure.
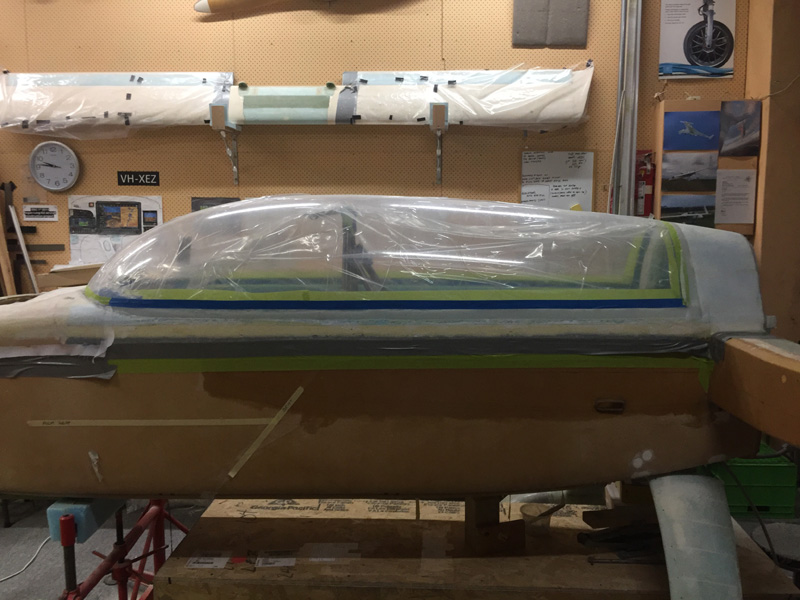
Here’s a side view of the first canopy rail layups done but really it is just to show off the nice canopy line.

