| Date: 09-30-2018 | |
| Number of Hours: 6 | |
| Manual Reference: no ref |
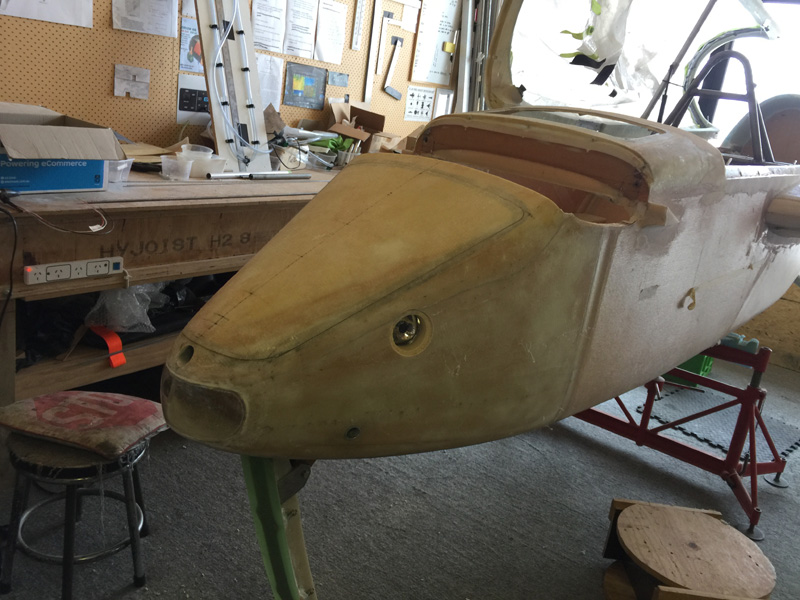
Securing the nose light plates is pretty straight forward.
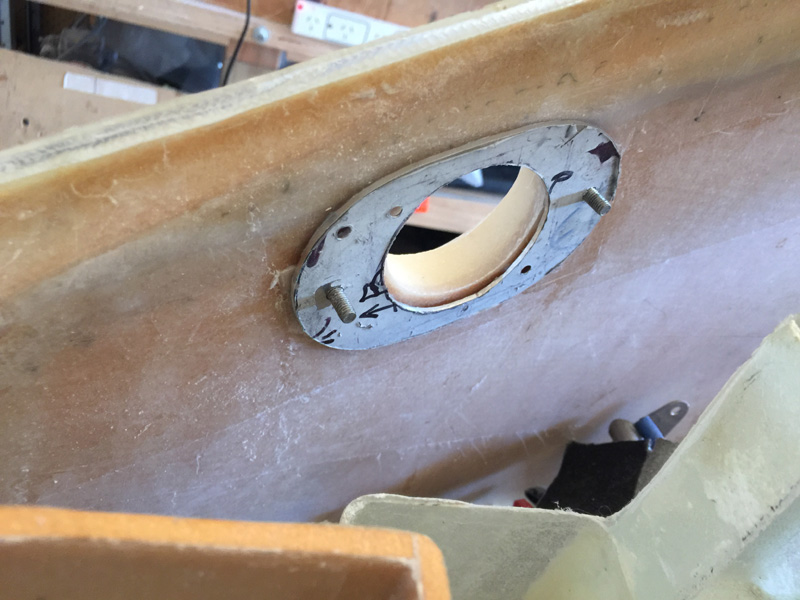
I set up some click bonds and prepped them with a few dimples. I usually drill four holes all the way through at the cost of some 1/16″ drill bits. I ran out of bits but I’m not concerned as this is a very lightweight light fitting, not a primary control.
After applying the flox I secured the lights in place with hot glue so the clickbonds would be correct.. Once cured I removed the fittings and did a ply of BID over the clickbonds with peel ply. I first had to re-glue one of them as it was slightly proud. That’s another day while it cured. There are plenty of other jobs.
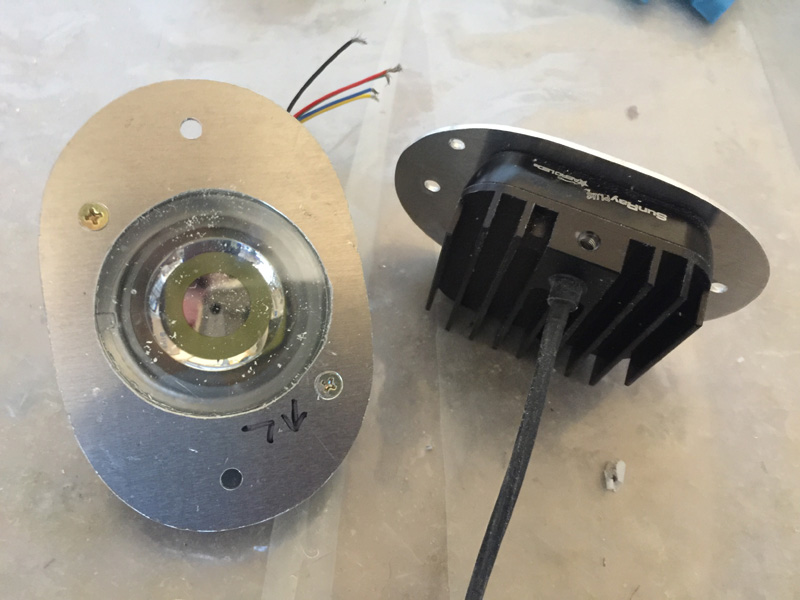
Once I was happy with the bracket fit I went to work and shaped them to a smaller footprint mainly for less weight.
This is a better size than I started with.
Here’s a light installed. I have since painted the rim silver to increase the lights reflection and I’ll fit the lens after the micro fill stage. Sometime in the future you might see the eye looking back at you, winking and blinking when I’m in the circuit area.

