| Date: 09-28-2018 | |
| Number of Hours: 10 | |
| Manual Reference: no ref |
For some time I’ve been concerned about visibility in a busy airspace. My home airport is in fact the second busiest in Australia with around 250,000 movements a year. The tower often gives me traffic that I sometimes can’t find. Then when my Long-EZ is given as traffic they often add ‘its hard to see’. l know thats because I’m so small and fast.
I’ve noticed other planes are easy to see front on if their landing light is on. No luck from the side however. My idea is to have the wigwag operating on my landing light. That covers head on but I also want side recognition and the wing strobes are not bright enough in daylight. So I’m adding side fuselage lights that I can hook up to a wig-wag pattern.
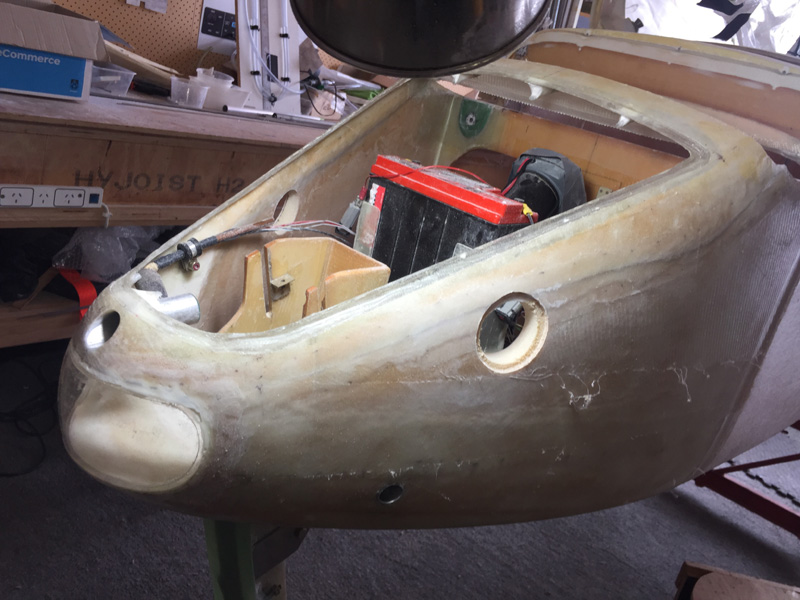
As you will see they might also be the ‘eye’ in a nose paint job that will either be a shark or some other sort of fish.
I started with making some lens for the light that will sit flush with the fuselage. I had some 3.2mm perspex handy that I’d bought for the job a long time ago.
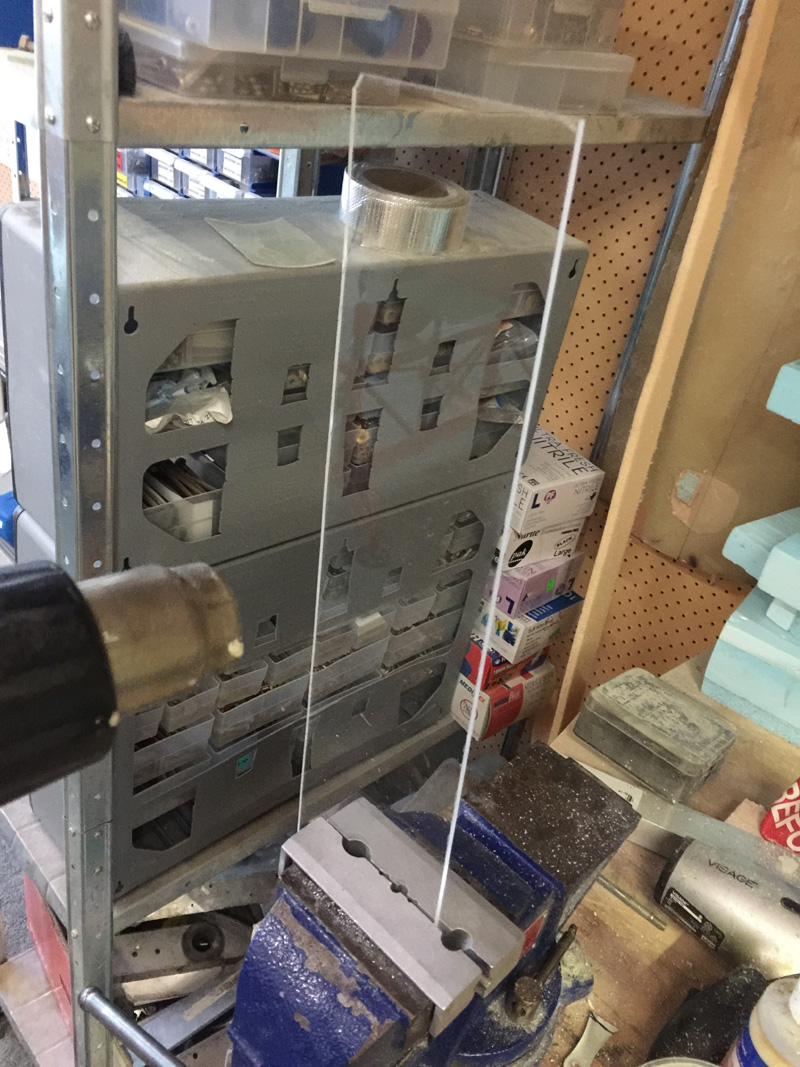
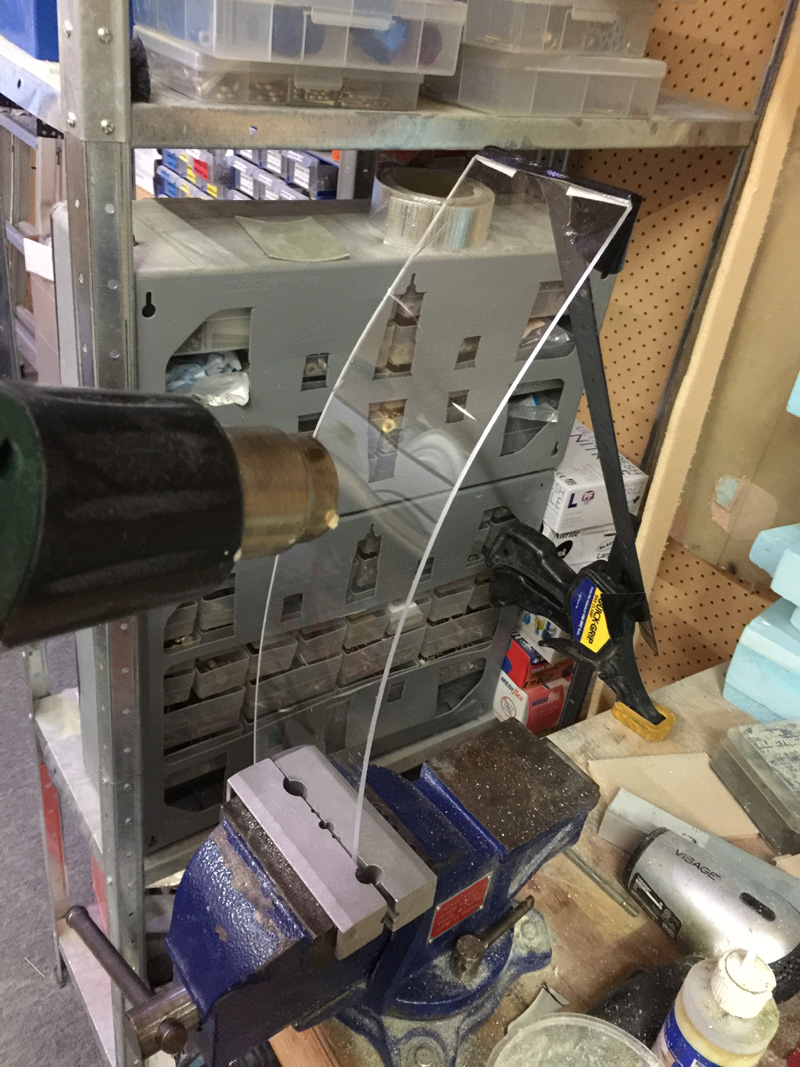
As the fuselage is curved where the lens go I had a crack at heat forming the perspex. To my amazement it would bend under its own weight and then return straight as it cooled down. I attached my metal ruler and some gaffer tape and heated it to the Tg of around 200F where the stuff really bends and couldn’t move as it cooled down. That gave me permanently curved perspex.
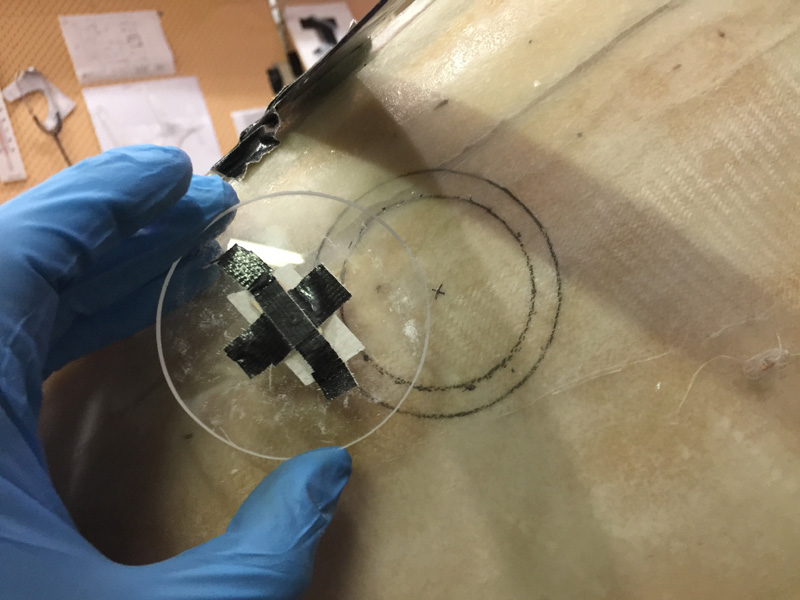
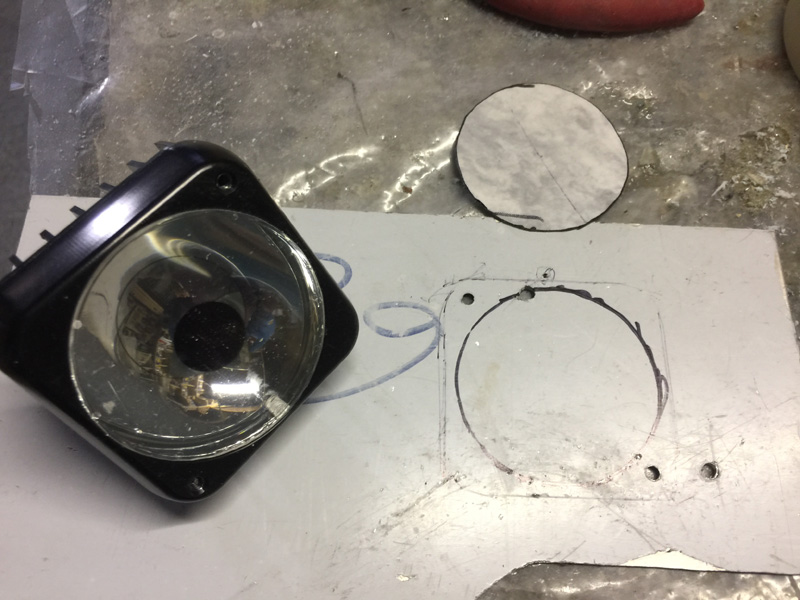
I then cut out two disks the same diameter of my recognition lights 2.25″ diameter. I’d already spent a while getting it drawn on the fuselage in the right place. The ‘place’ is out of the pilot line of sight and perfect if you are thinking of a fish or sharks eye position.
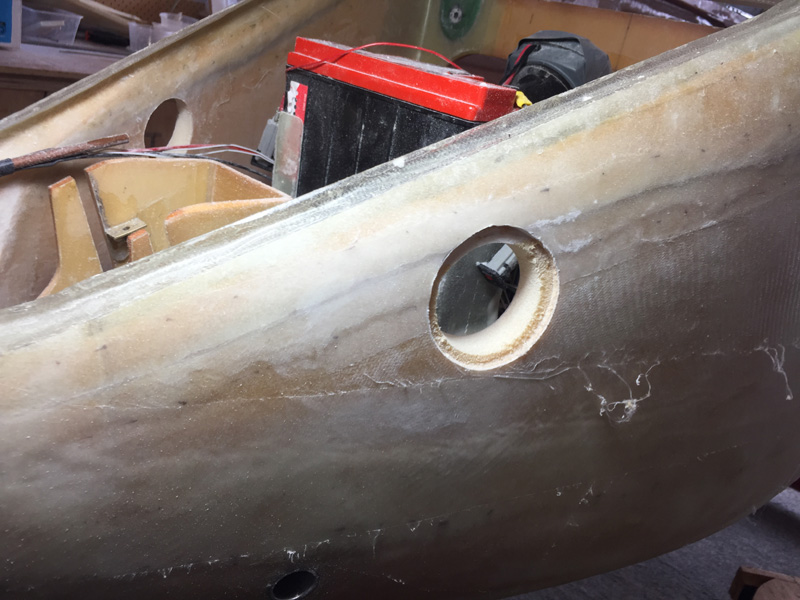
Here we are with the holes cut all the way through and a ‘step’ for the lenses. Are we looking like a fish?
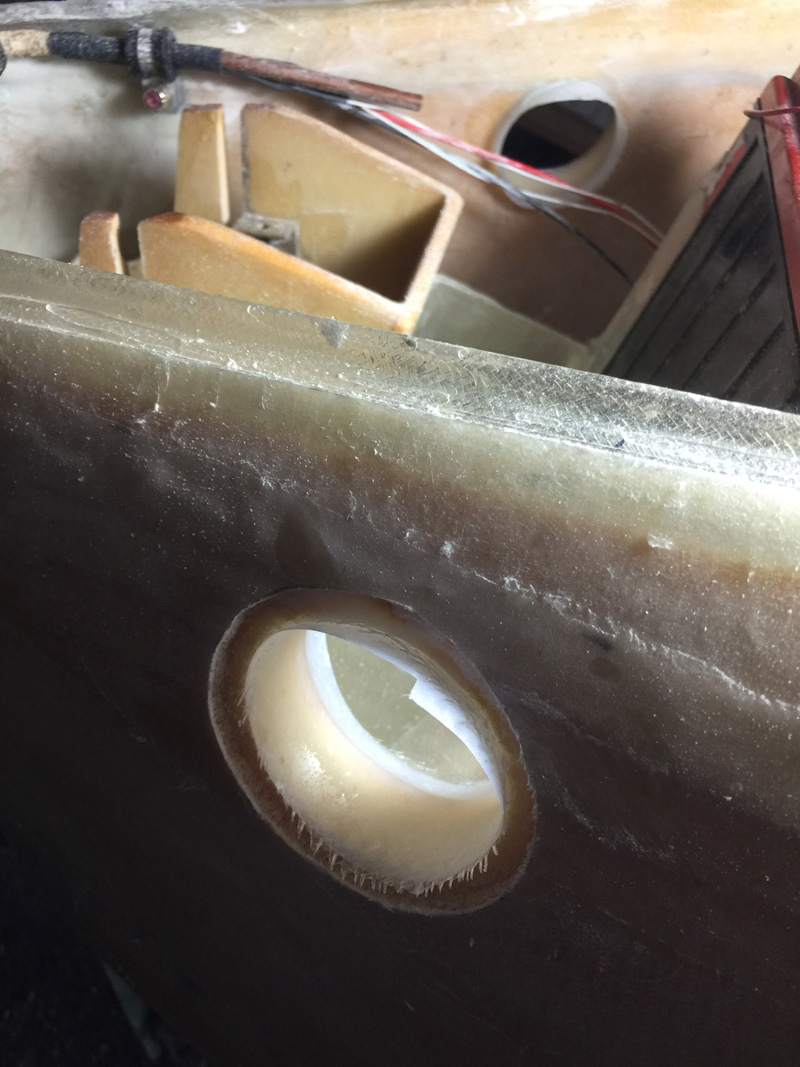
You can see the step idea, a bit better in this shot here, for retaining the lens.
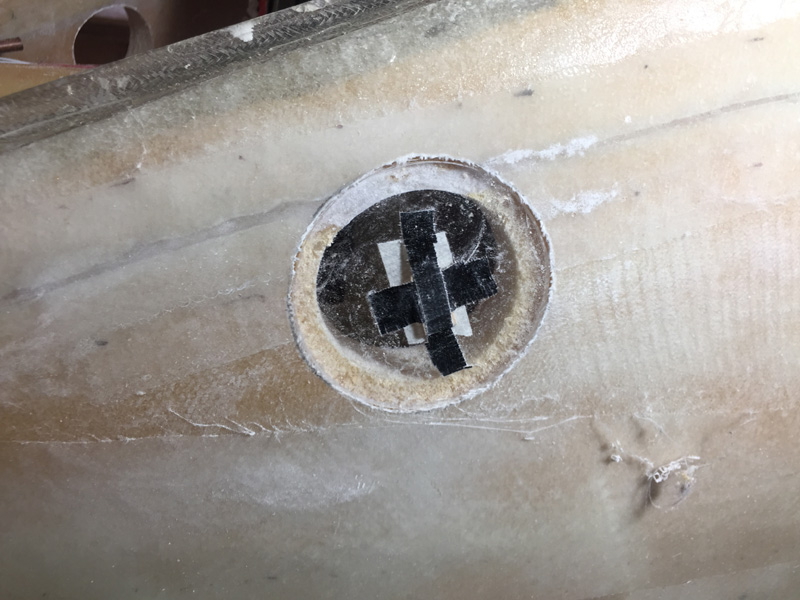
Lens in place for a test fit and reasonably flush with the surface seems possible.
I smoothed out the hole, added a flox corner on the inside and a ply of BID around the foam. Then peel ply.
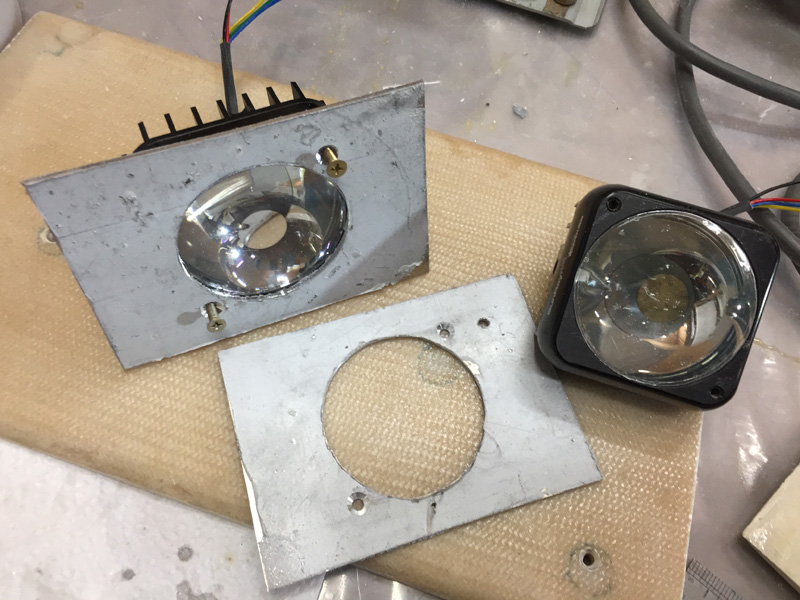
Meanwhile I have to mount the light on the inside of the nose. I though of a bunch of ways of doing it. The lightest and simplest seems a bit of 6061T6 I had lying around.
Here are the basic brackets cut to side. I’ll trim for weight after they get fasteners. I went for aluminum as an additional heat sink. In testing yesterday I could see these lights get a little warm. While they have a rear heat sink, I think the bracket will help too.

