| Date: 09-22-2018 | |
| Number of Hours: 12 | |
| Manual Reference: no ref |
The nose light lens install continues.
With the front lens jammed in place my idea was to just add pieces to the rear with my special acrylic glue and this would hold the lens. I didn’t take the tape off which was protecting the lens so I couldn’t really see what I was doing.
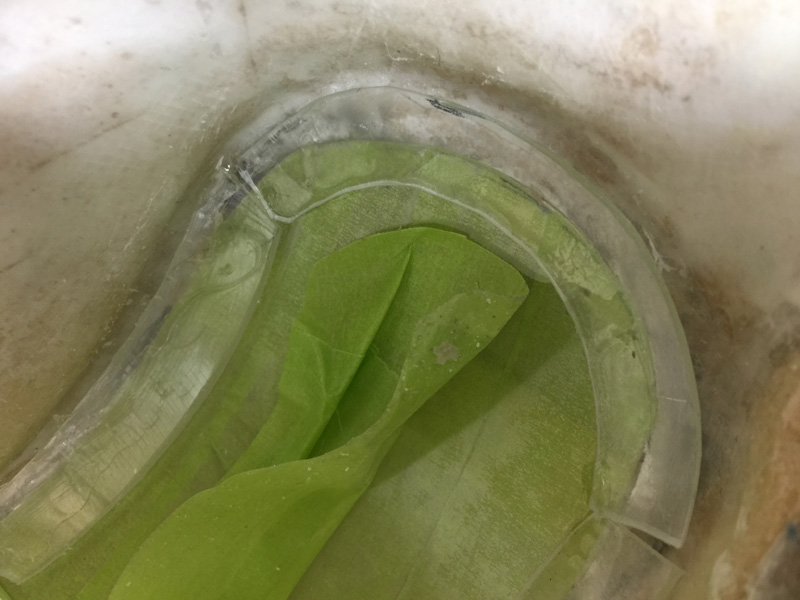
As you see here the result was a little ugly. I kept going and floxed it in to place from the inside. It did hold the lens perfectly but …well if you have read this far you know that lens had to go. I tried to think of ways to hide the edges but it was not what I wanted to see every time I got the plane out.
This lens took many days to sort out. Not so long to cut out! I called BS and spent an hour or so cutting it free and then a while cleaning up the edges.
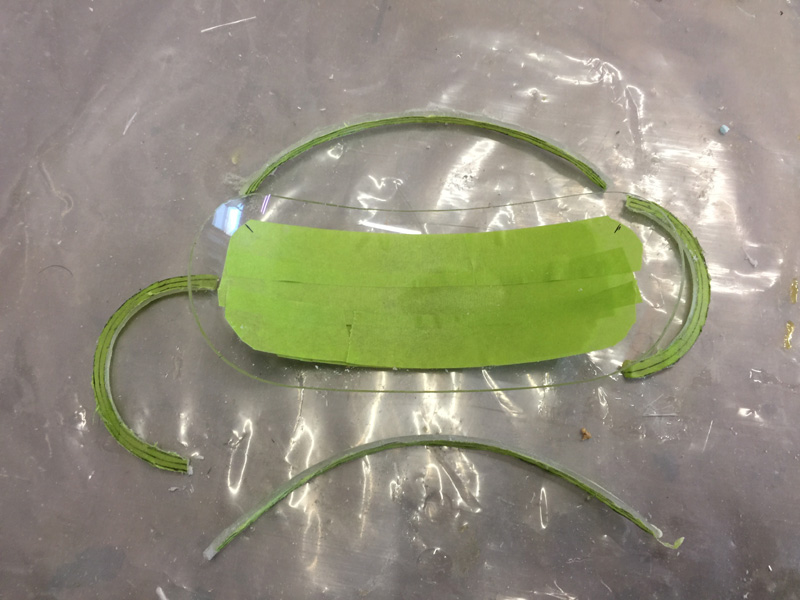
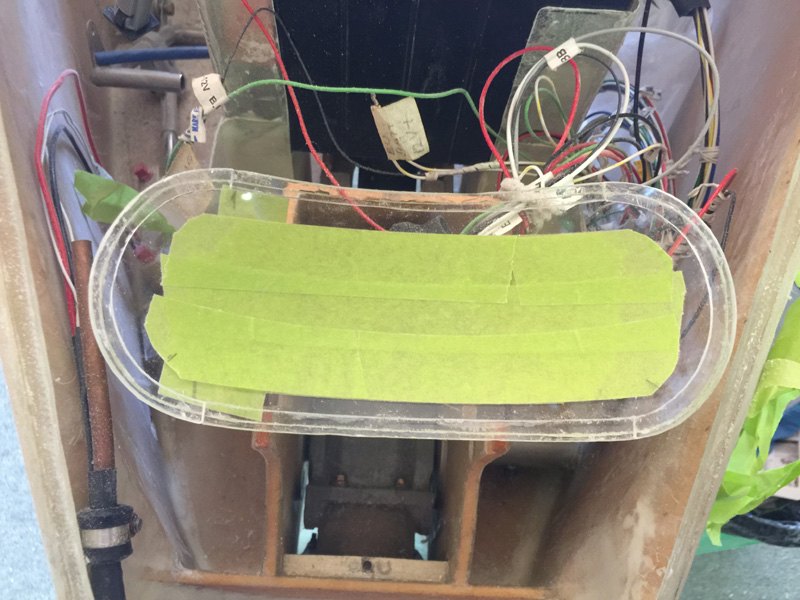
Here is version 2.0, with the knowledge gained on this I thought I could get it done in a day. It took two in the end but relatively easy the second time around. The new process was to construct the lens and then glue on the lip outside of the plane. My pieces are shown above.
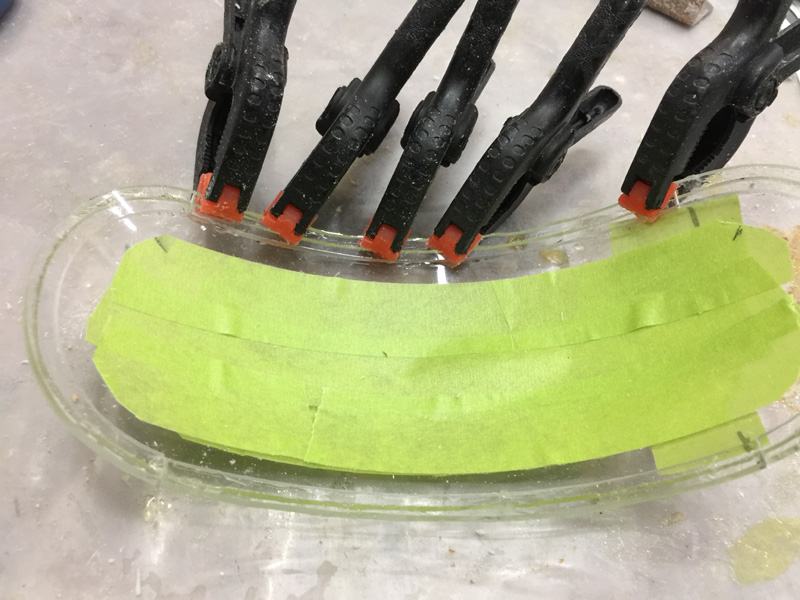
All I had to do now was glue on the four lip pieces.
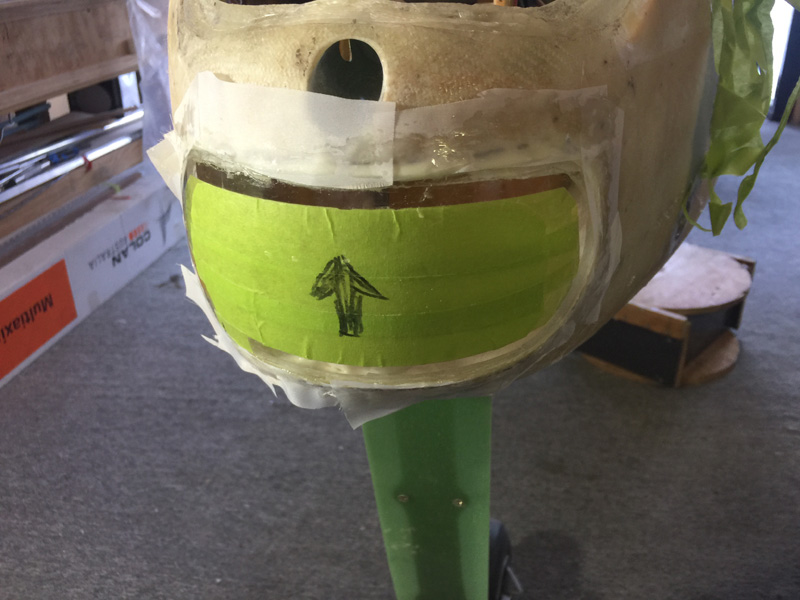
As you can see above this is MUCH better than my first try and a lot neater.
It took a bit more fitting and grinding to get the lens to sit in the hole flush with the outside fuselage edges. This second time there is a lot less stress on the lens and I’m much happier with the concept and fit. I used West epoxy as a flox paste to secure it. The West has a bit more flex or rather seems less brittle which is good where the perspex might expand and contract at a different rate to the surrounding glass.
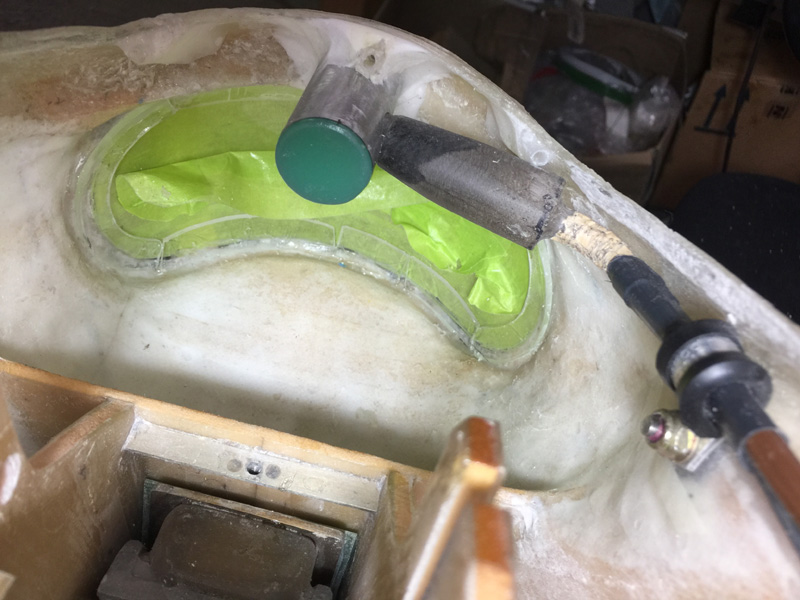
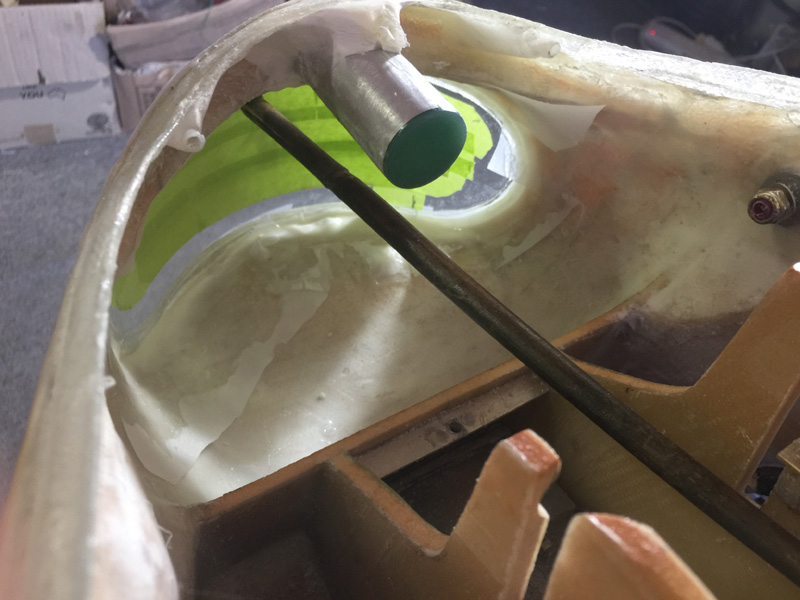
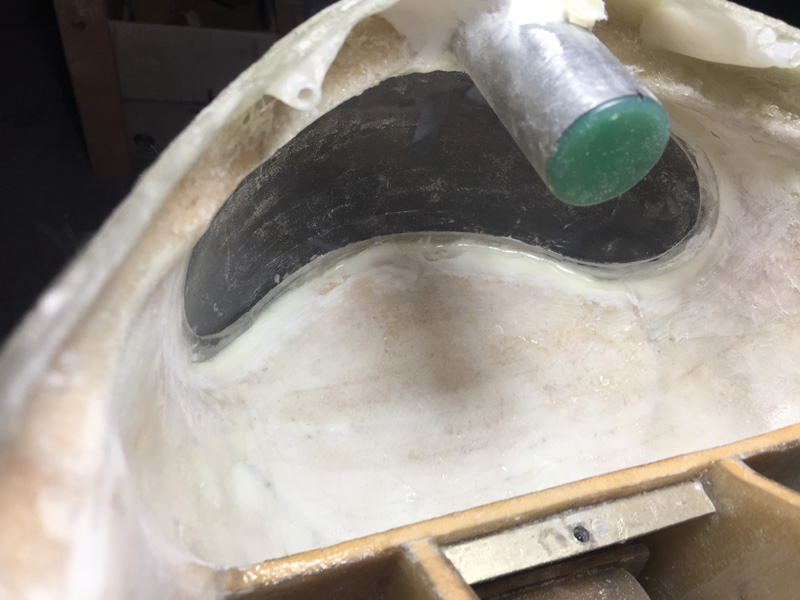
It just needed a little pressure to hold it while the flox cured. A bit of bamboo from an indoor pot plant was handy.
I did add a little of the flox mix on the outside of the lip too which filled in some small gaps. It is a pretty good fit.
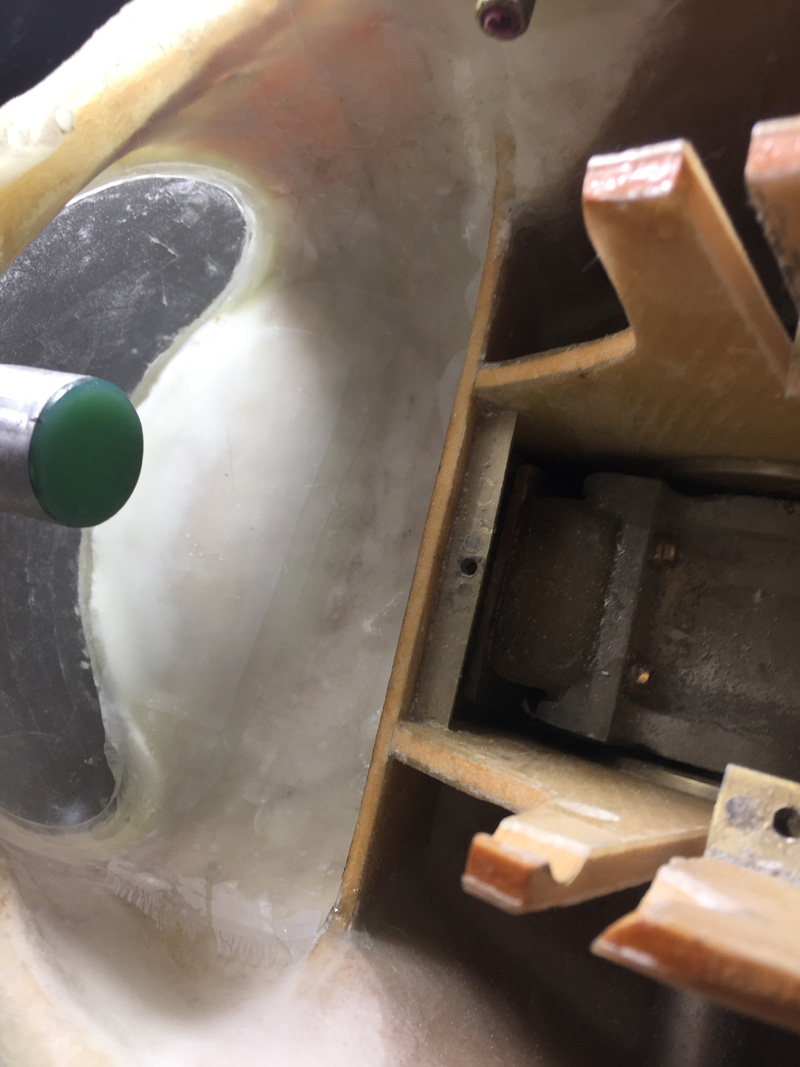
On the inside I also used West as thick flox around all the edges.
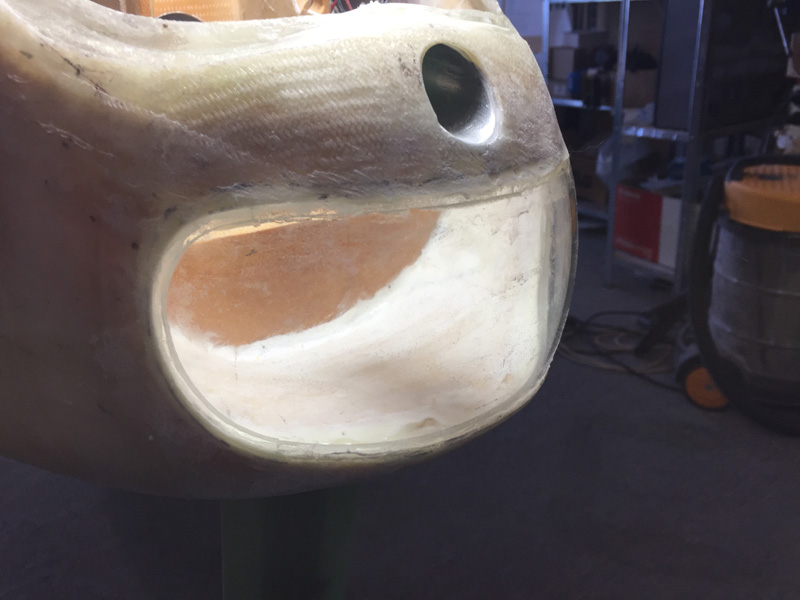
Once cured I couldn’t help myself and added 3 ply of BID to the bottom part mainly to make where the plane sits on its ‘lip’ even stronger. The other edges, sides and top were fine with just the flox.
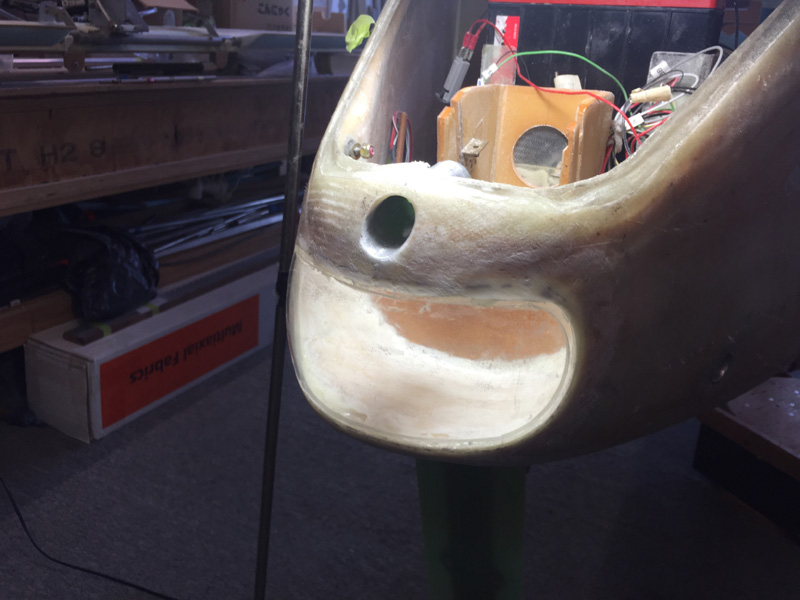
Here’s my nose lens in place. After a fare and fill it will be almost perfect. Job done, even if it took a ver 2.0. I deem this good practice for the larger side windows that will happen soon.

