| Date: 04-06-2017 | |
| Number of Hours: 10 | |
| Manual Reference: no ref |
Back to my original idea of a cover that I’d made. I’d put this aside as it was too heavy and once I had the nose in place with the hatch made I found that I couldn’t get the cover on and off! So I cut the front off it up and tried a refit in two pieces but that was a fail too.
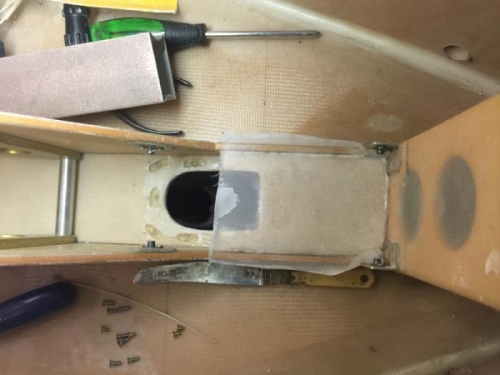
My next step was to reduce the air gap with a permanent piece. I had to first rip out the aluminium ring with nutplates that was glued to the floor. Ouch. I then made a wedge of foam to bring the edges up to the same height and glassed it in place as you see in pic 1. It was all peel plyed and nice of course.
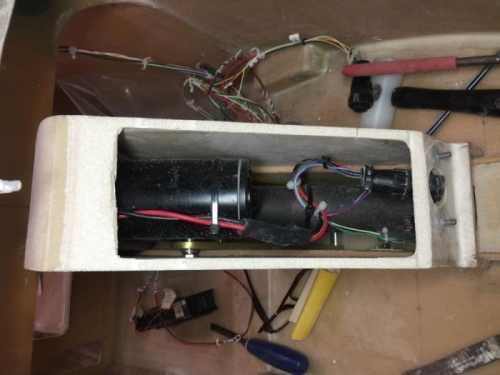
Pic two and I put the old cover on after hacking off the top. The next steps, which took an afternoon, were to carefully keep reducing the size of the cover until I could get it in and out of that nose area and it was minimised size wise. I had to cut out the front section and keep trimming as you see in pic 3.
I finally had a fit for the cover that was removable. You can see a couple of stick braces to ensure it kept its shape while I did all this fiddly fitting work.
Foam and glass reducer
A reshape
More fitting


