| Date: 05-09-2022 | |
| Number of Hours: 4 | |
| Manual Reference: 25 |
After more than two years and several false starts I have found a truly talented airbrush artist to make my plane unique. If you need something special, I am happy to recommend you get in touch with Stacy Lourens via his FB page.
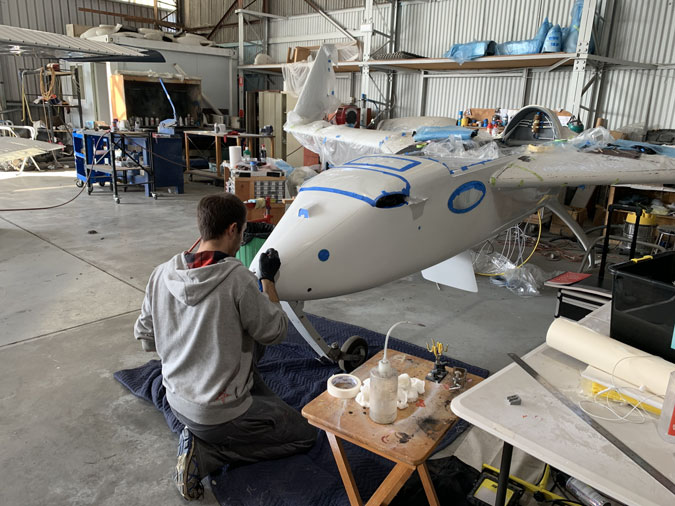
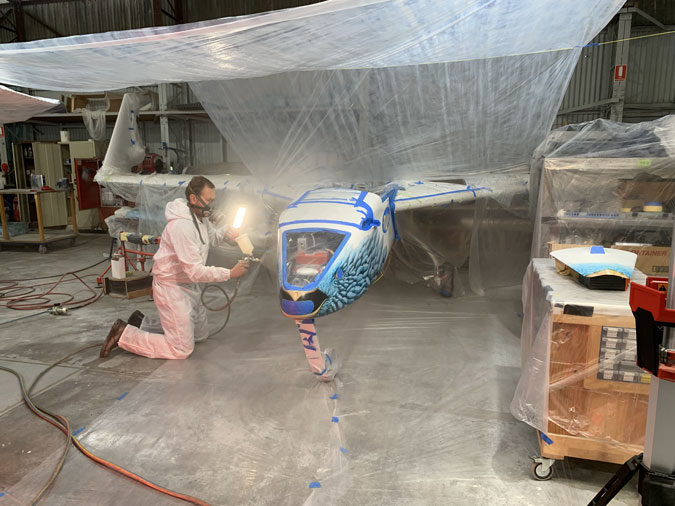
Stacy at work. I have prepped the nose area with maroon scotchbrite giving a dull surface for the waterbased paint to key on to. We looked at other options but in the end old school scuffing won.
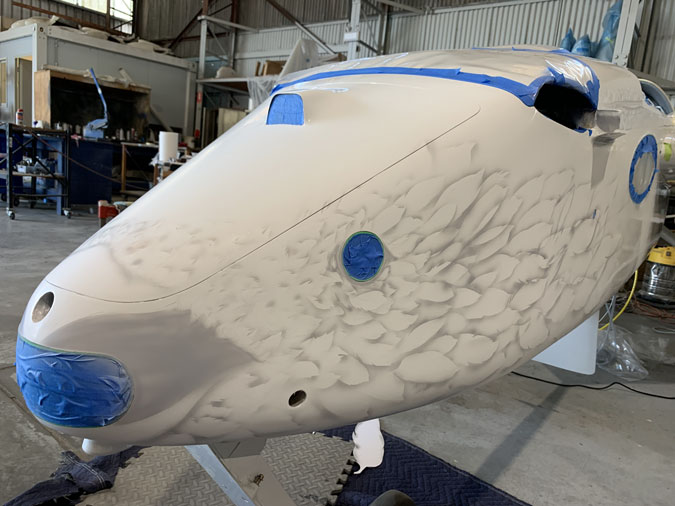
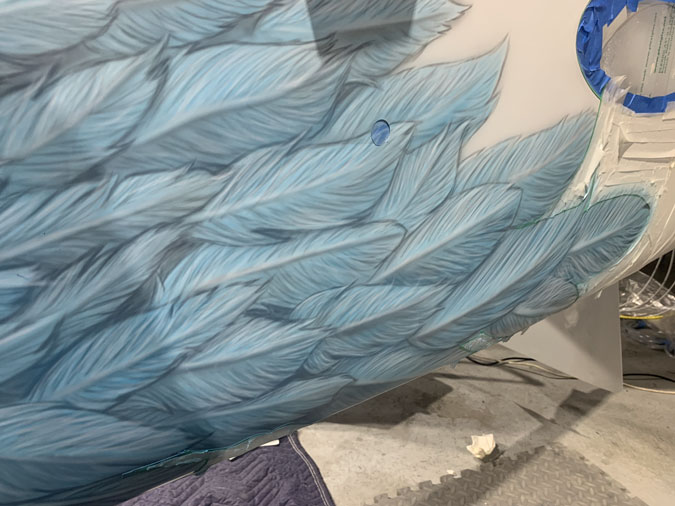
Early stages of the outlines. Some time was taken making several feather size templates to keep both sides ‘similar’ during the process.
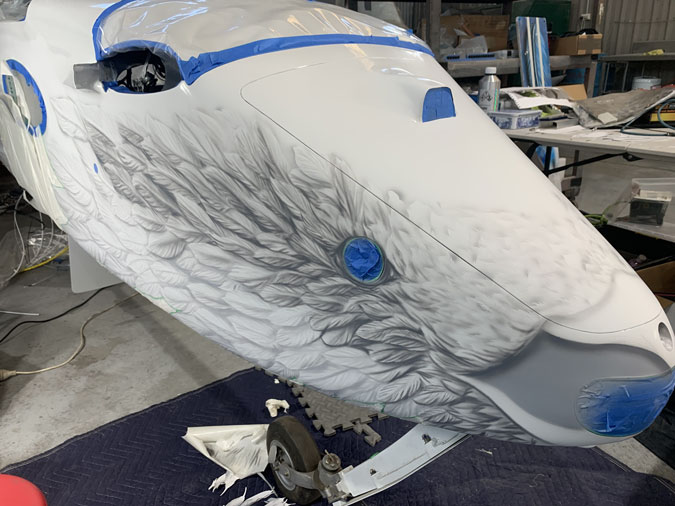
More depth added.
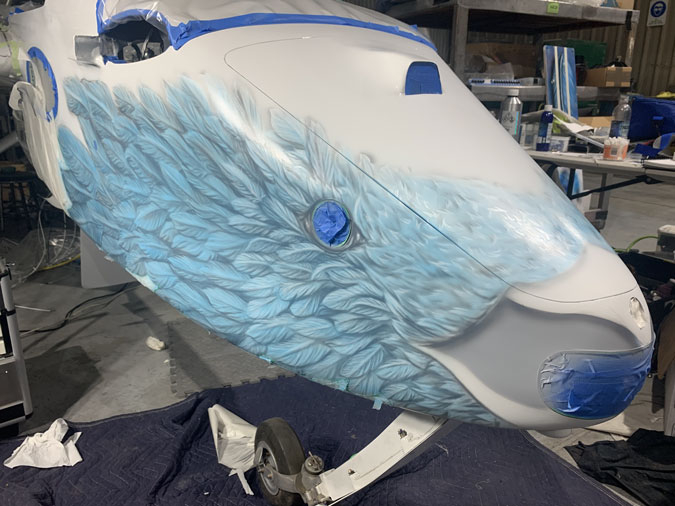
First stages of colour appear.
Exceptional details emerge.
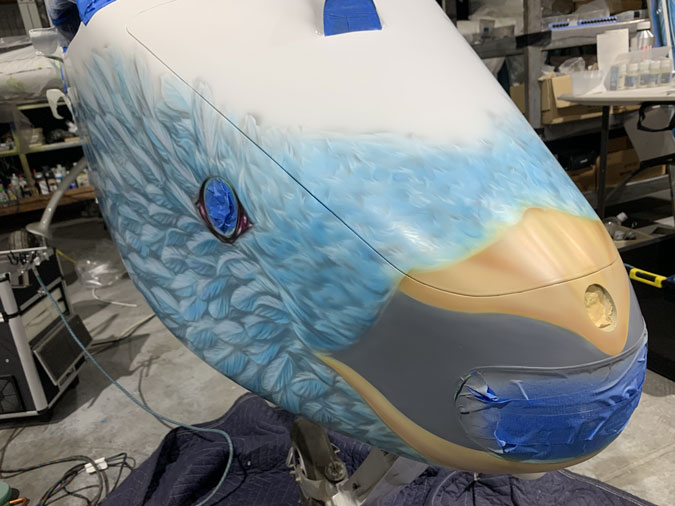
Early stages of beak and mouth colour. As an observer it appears that airbrush work here goes from light to dark, slowly building up the depth and the very important shadow direction.
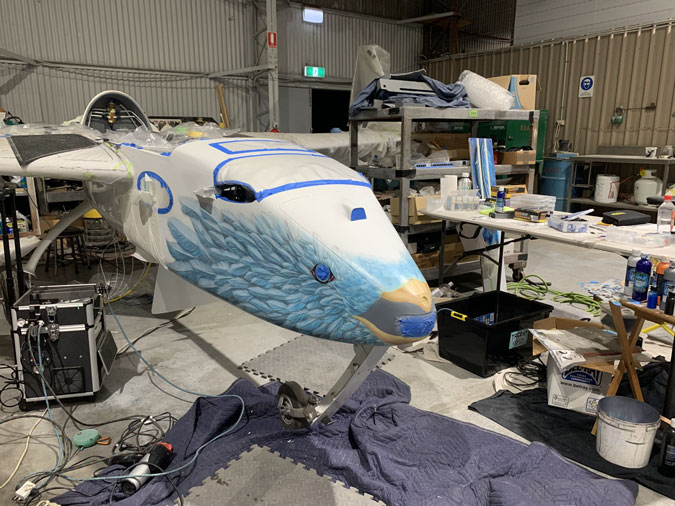
A broader look at the working area with a small portable compressor to drive the airbrush paint.
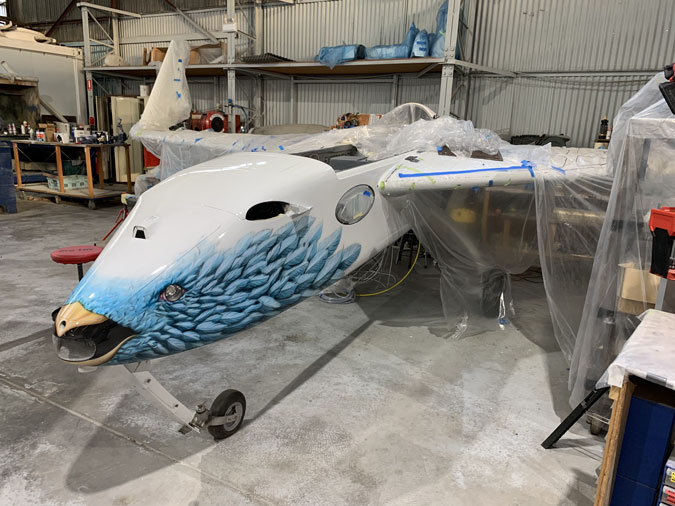
Here’s the artwork completed but before the clear coat process.
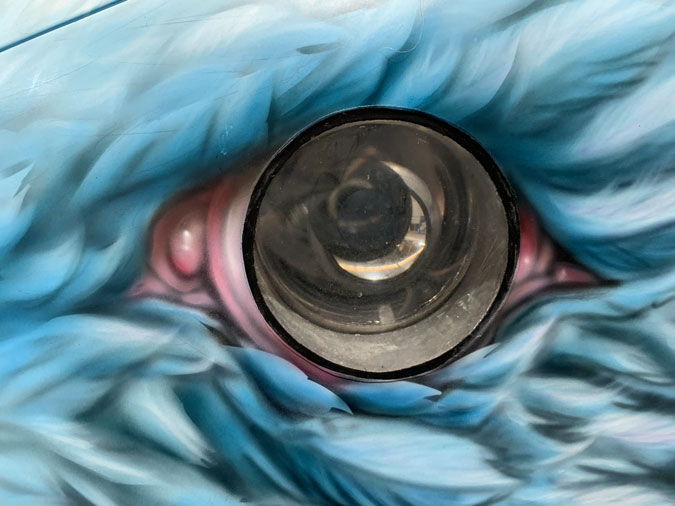
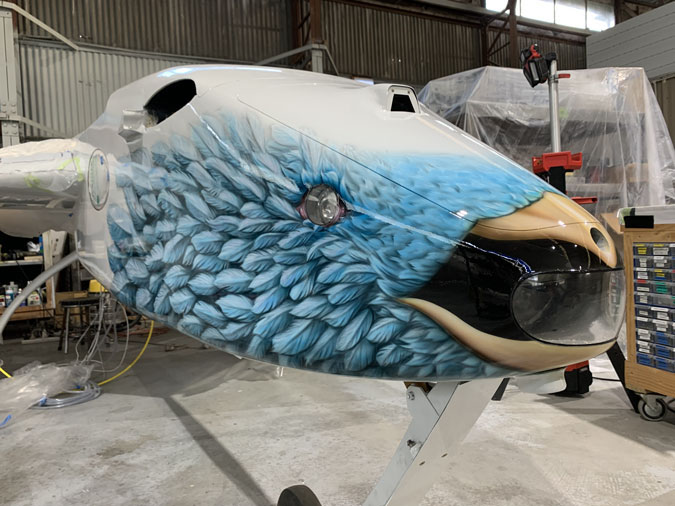
The eye is based on a side recognition light that I positioned a few years back with the idea something that had an ‘eye’ would end up as nose art.
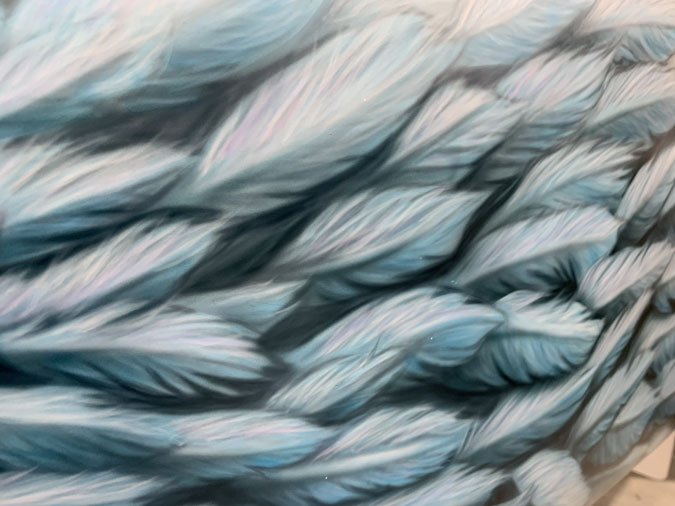
Feather details with shadows speaks for itself.
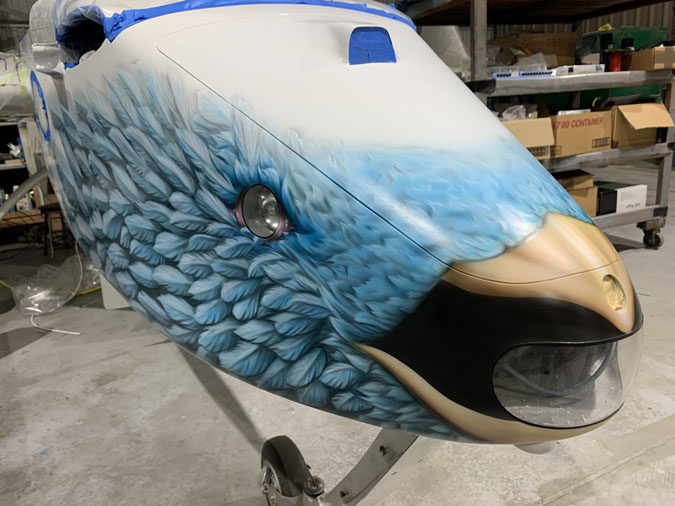
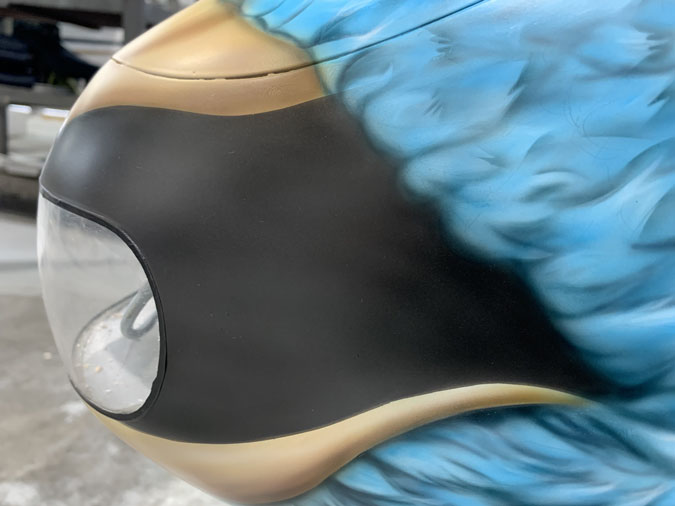
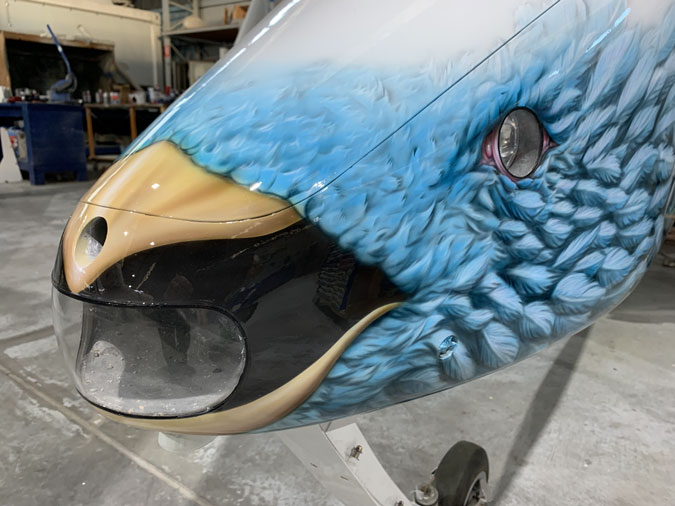
I think this is a very clever way to make the mouth work with the existing headlight lens.
We went for three coats of two pack clear to seal the job. A dust coat followed by two wet coats. My avionics guy who remains masked and unidentifiable also can paint along with just about everything else. No, I still won’t tell you who he is. He is busy with my plane.
Now with some shine and the masking tape removed you can appreciate the depth of colour.
It really pops.
Expect see the beast arriving at an airfield near you one day. It will be hard to miss.

