| Date: 02-06-2024 | |
| Number of Hours: 9 | |
| Manual Reference: 23 |
Today’s work was about getting the right radiator secured and hanging, seemingly in the middle of nowhere.
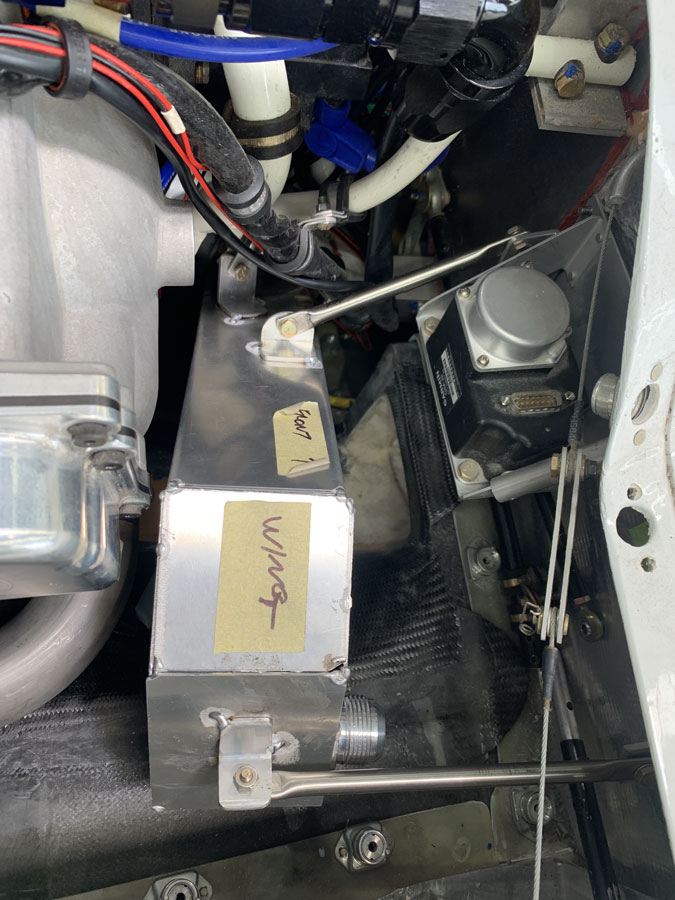
The rad is now secured from the auto pilot server case and a P-Clamp going to a tab on the top of the radiator. I’ve had several tabs just spot welded on after I positioned them. This keeps my progress going instead of waiting for the final welds to be done which might be a week or more. The airport welder was VERY helpful in doing several of these tabs of angle aluminium I’ve made up.
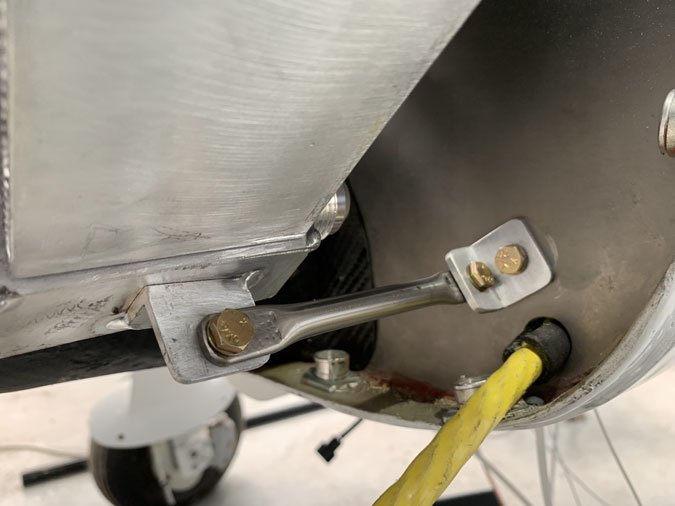
This is the first tab which goes to a clickbond on the firewall. I did this a few days ago and its worked out OK.
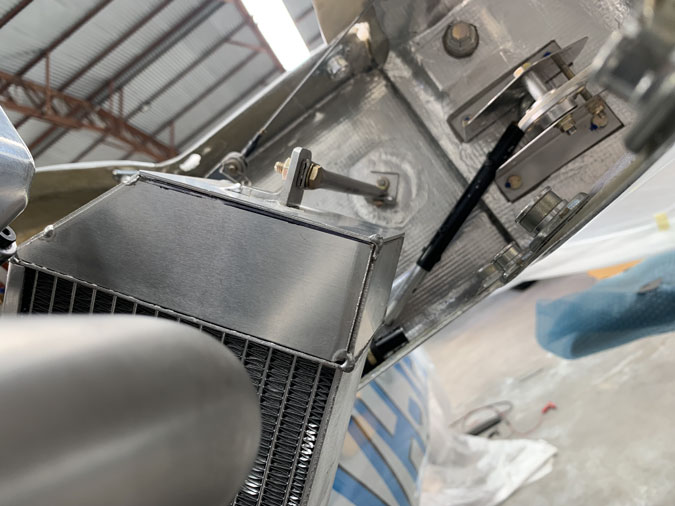
This is the servo mount stay. I’ve put this forward of the rad top and the next fixing is towards the back. I’m trying to give the set up more stability. If its a little loose now, imagine what might happen in flight.
You can see the hose clamp on the engine mount going directly to a tab on the left of the picture..
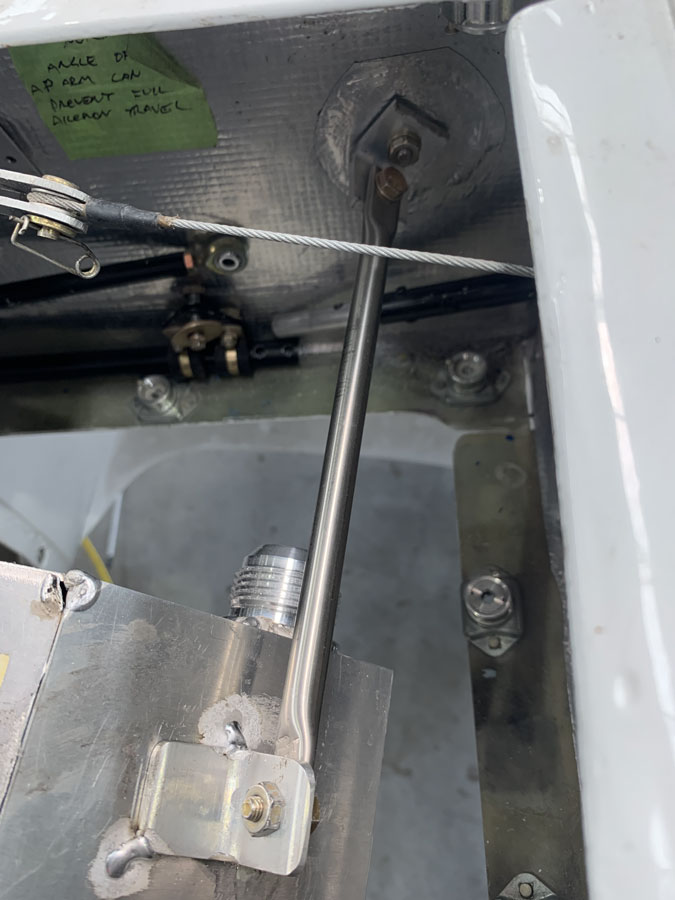
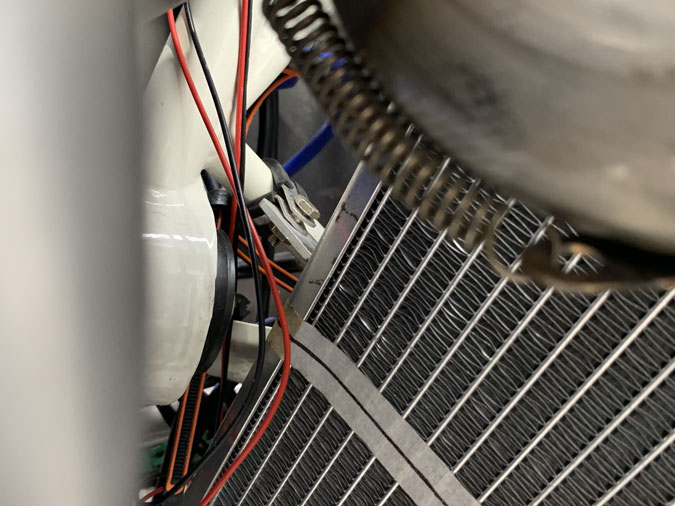
This is a second tab to the engine mount way in the background but very necessary. It is pretty hard to get to. I’m making a puzzle box it seems.
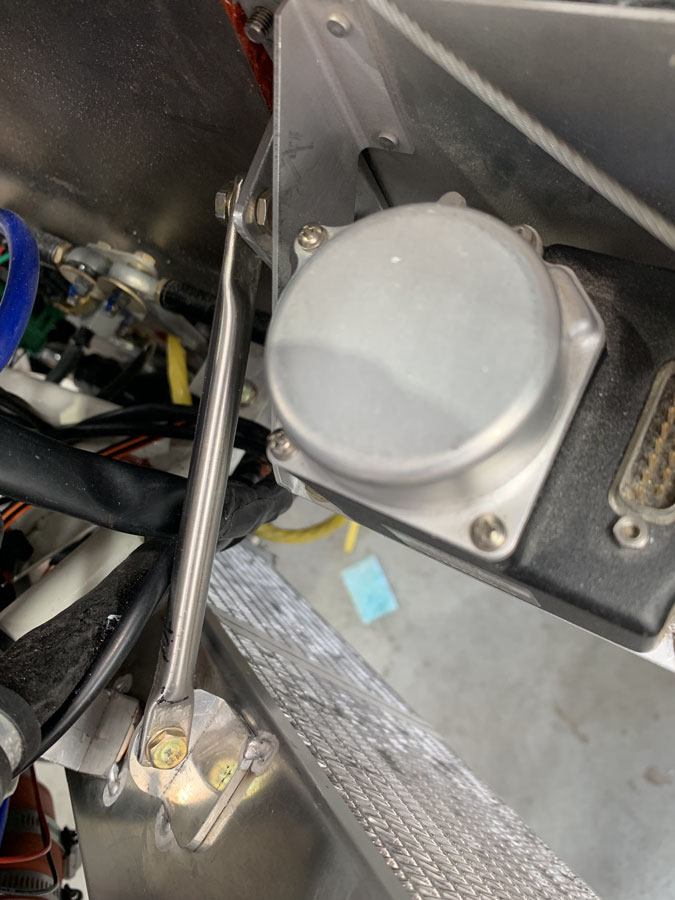
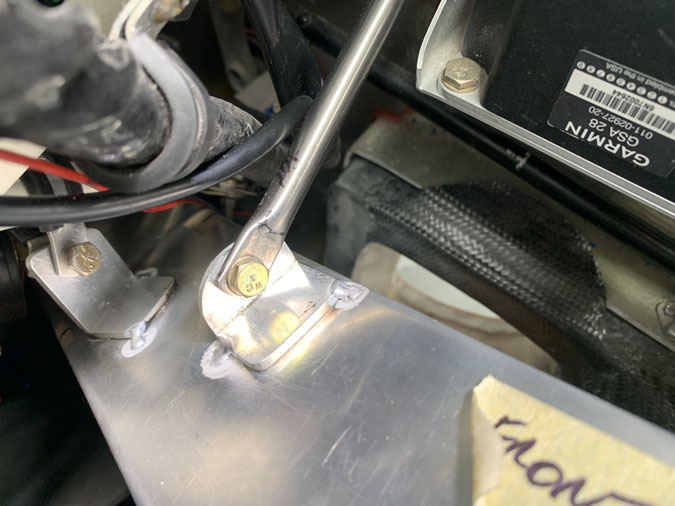
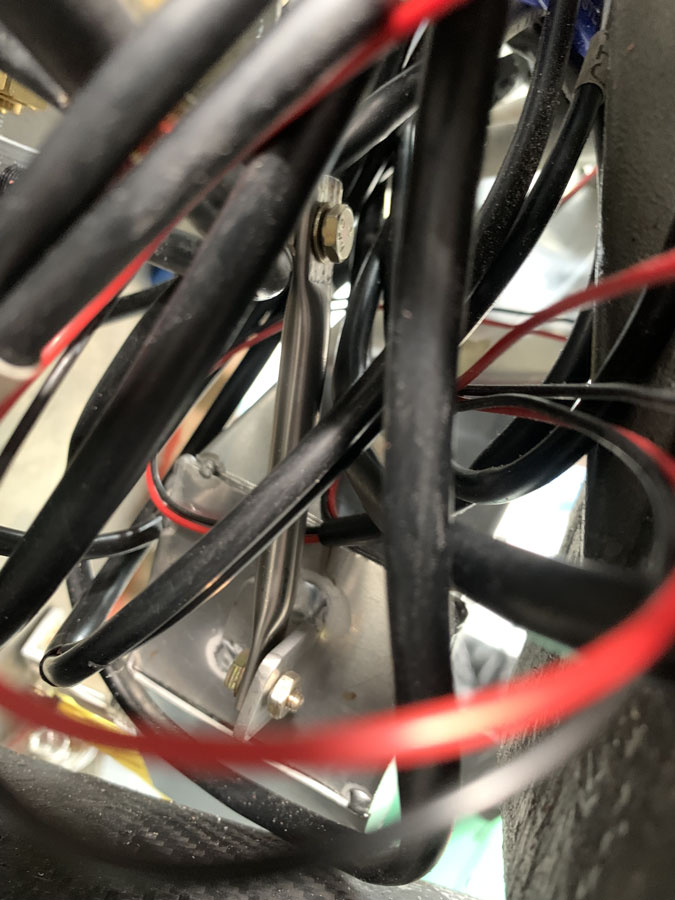
This is yet another stainless steel stay on the new tab welded on today. At the top is a P-clamp on the mount again. This little short one made the whole rad a lot more stable.
I like this shot for some reason.
This little one really stiffened up the assembly.
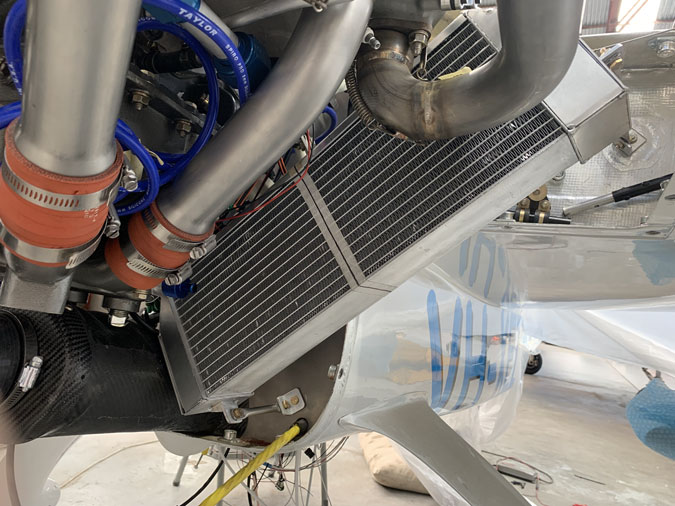
Here’s an overview. There is no fore/aft movement but just a little side to side still. I intend to join the two radiators (when the left one is delivered) near the middle and that might sort the issue out. It is close to rock solid. I can certainly start on the carbon fiber ducts from armpit to radiators now.

1 Comment. Leave new
You have the patience of a saint Dave, what a job.
It looks messy and complex but of a certainty it is everything in it’s place
Well done.