| Date: 06-16-2018 | |
| Number of Hours: 12 | |
| Manual Reference: no ref |
Having sanded these sides I am choosing to peel ply a wet coat. This will keep the goo where I want it. I detailed this in the last post, now with the interior sanded there is no putting it off.
Peel ply is one of the less fun things.
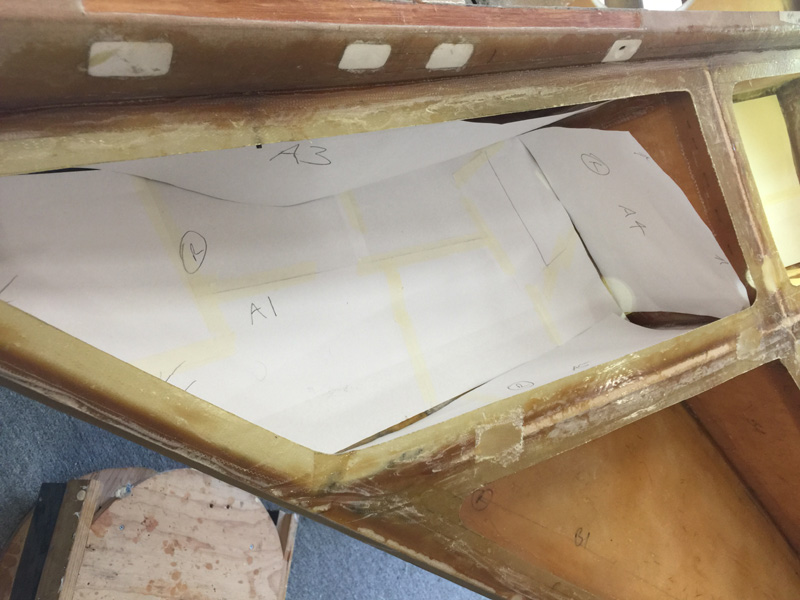
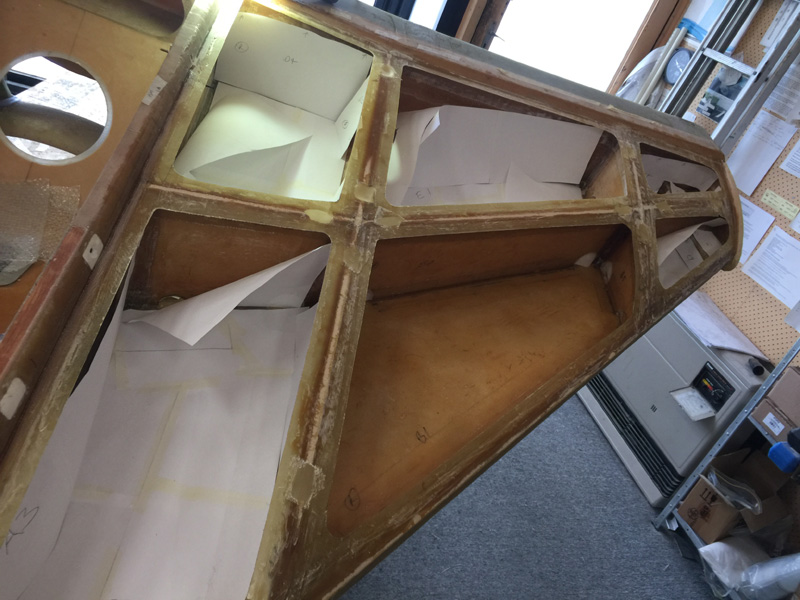
I made paper cutouts for each piece so thats five per compartment.
You get the idea, its a lot of paper.
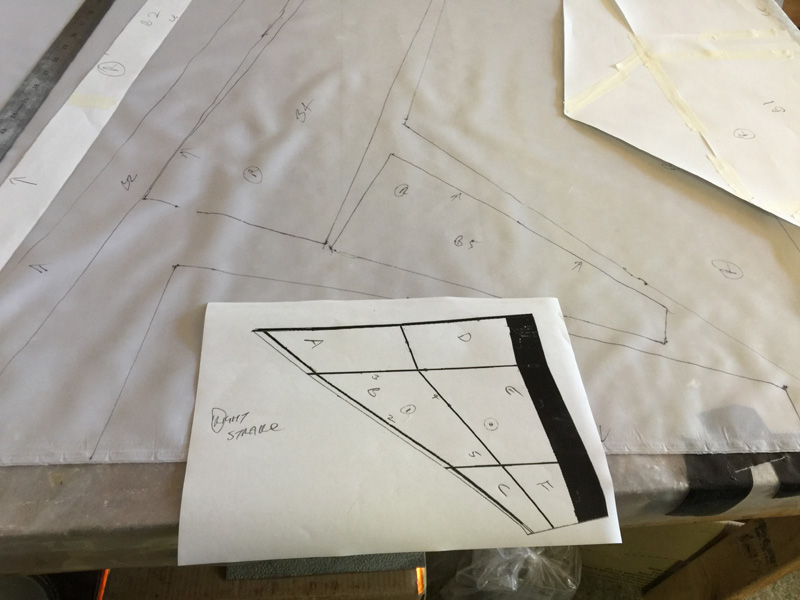
Next up was to mark out the peel ply pieces and cut them up. Yes I labeled everything and had a plan that did work.
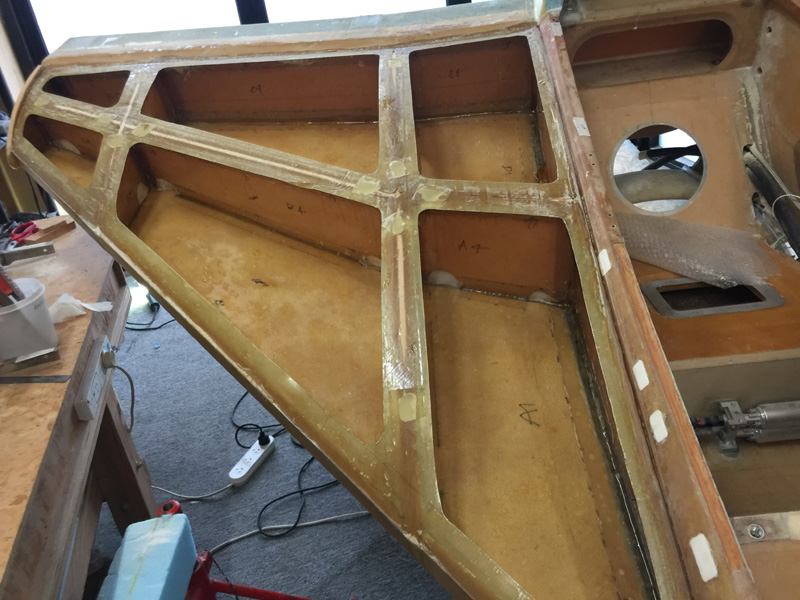
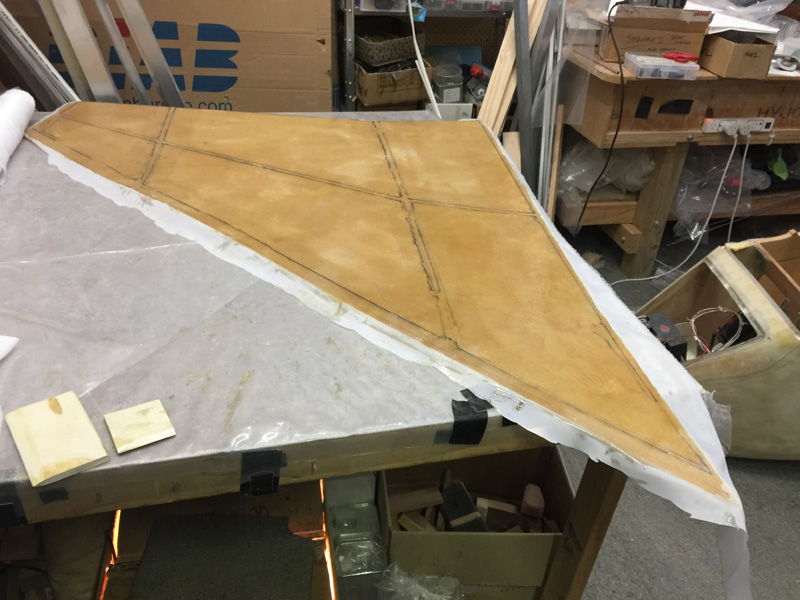
I know you can’t see much but here we have the epoxy and ply down on the right side. It took me a day to do the left as well. The epoxy down is one thing, then its getting all the wrinkles and bubbles out of the peel ply. I’m sure there is a ZEN Master somewhere that would have a name for this sort of work.
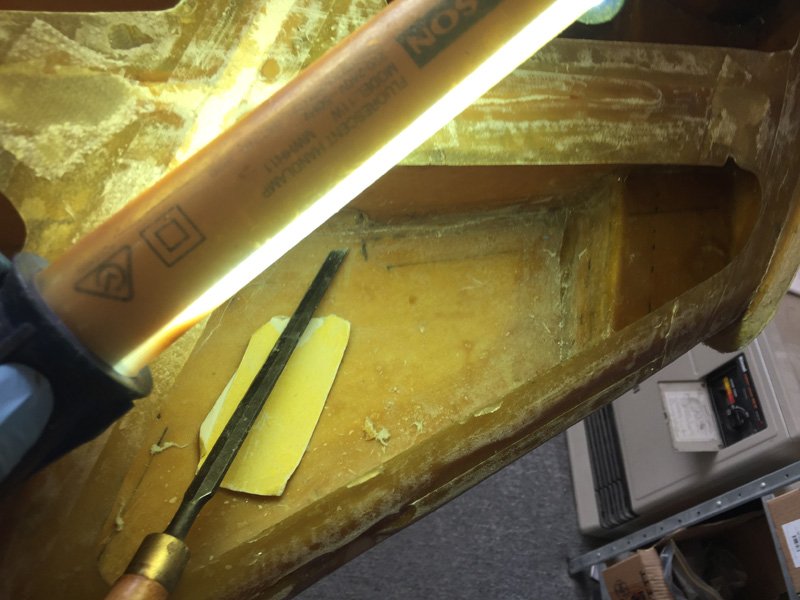
After those two days, I got on today with removing the all the peel ply and doing a clean up, which was a lazy couple of hours. My room heater has been on for two days solid. Its around 12C outside and more than 22C+ in my room. Toasty!
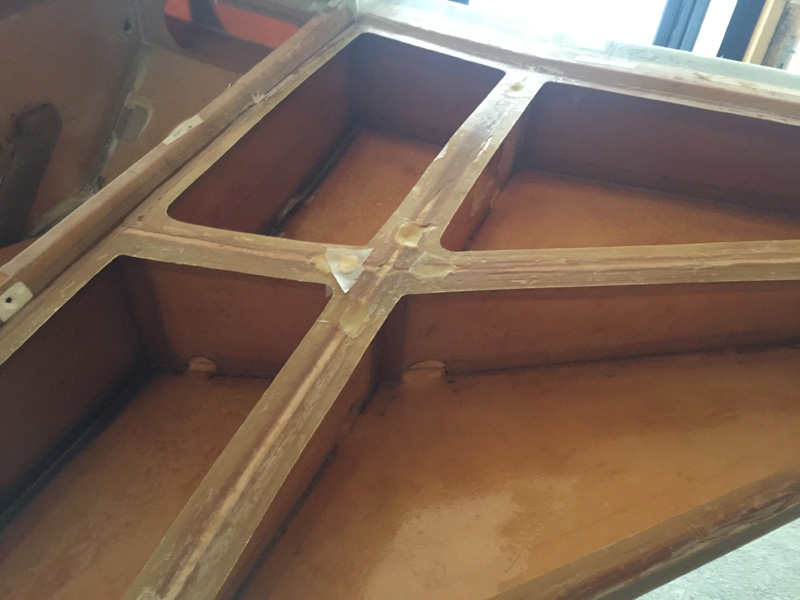
Finally I added a light coat raw epoxy to the strakes concentrating on the sides where leaks would be possible. Again hard to see in the pic yet it has happened.
Meanwhile I also did a coat of epoxy AND peel ply to both strake top insides. I’m concerned I may have introduced pin holes when I scored them to get a curved fit. This is just a kind of due diligence. It may also stiffen these tops. I put way too many cuts in them and don’t have any spare foam to re make. It will be OK but I will need to ensure I have plenty of micro in the cuts when doing the top outer skins. Meanwhile getting things a little thicker on the inside tops as I have done to the inside fuel area also makes sense.
This is slow progress, doing these strakes, but I’m on it every day and it will get done.

1 Comment. Leave new
Looks like a lot of work, but looking good.
“but I’m on it every day and it will get done.” That’s definitely the key my friend… keep pushing!