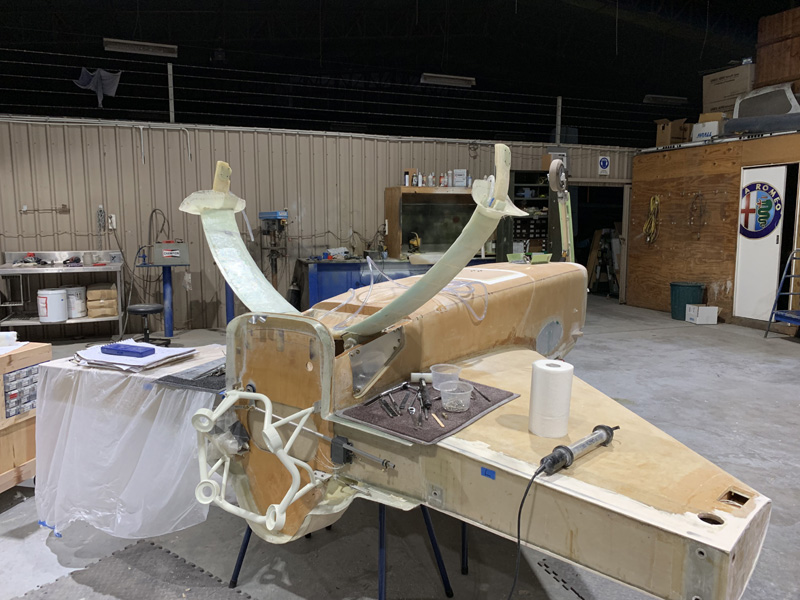
| Date: 05-10-2019 | |
| Number of Hours: 8 | |
| Manual Reference: no ref |
Today did get one side completed. Here’s what happened.
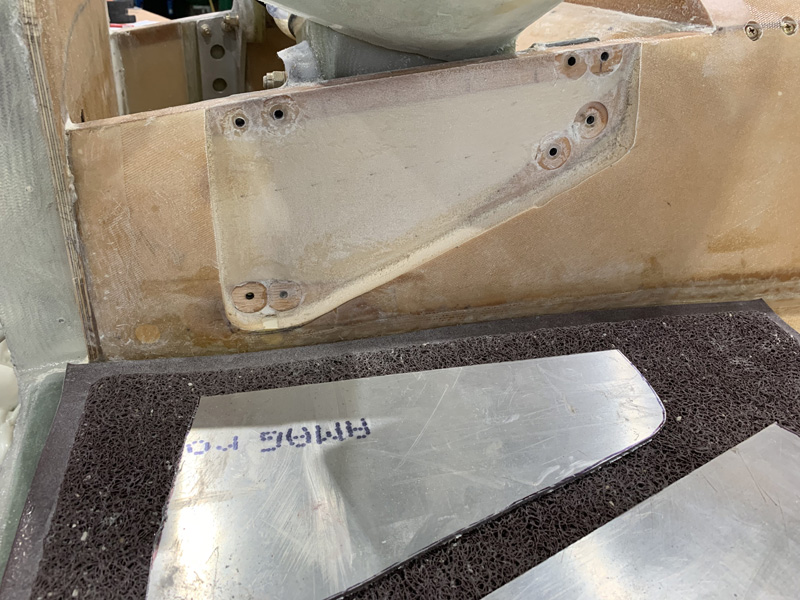
I removed all the foam down to the glass underneath and this gives quite a level surface with little effort.
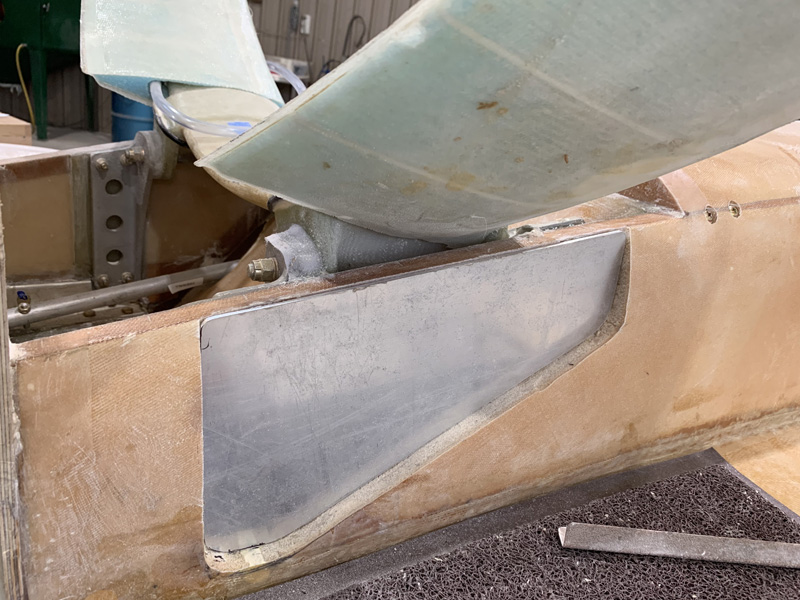
I’ve gone for 0.125″ (1/8″) 2024 T3 aluminium for my plate. I contacted one of our gurus asking about lightening holes. The answer was that maybe with 1/4″ plate but in this situation 1/8″ might buckle if highly stressed. The plates were too heavy for my 200gram limit scales. WE might be adding yet another pound or so with this beef up. So be it!
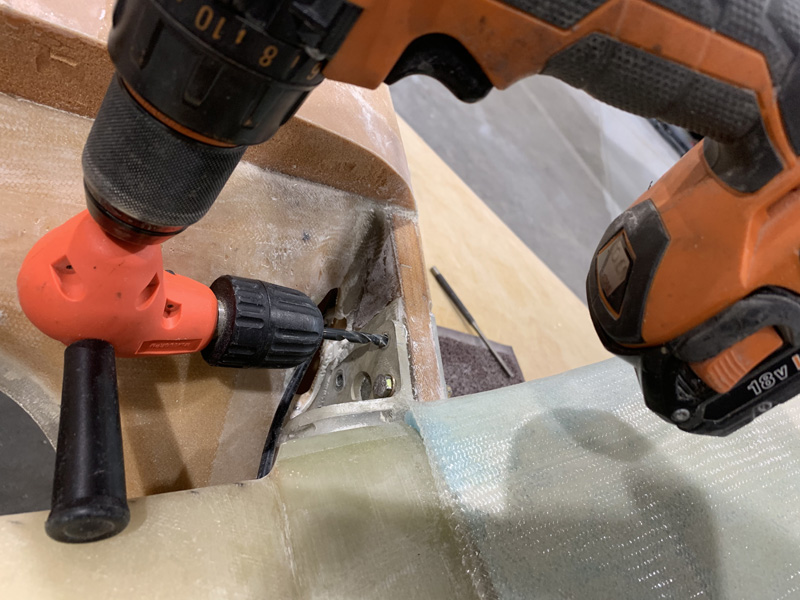
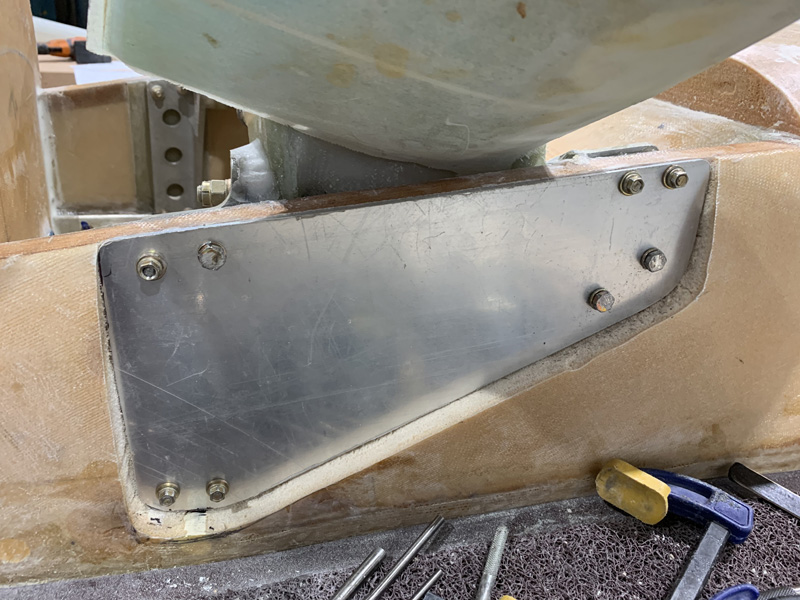
I champed the plate to the sides and used the existing holes as drill guides. I then added bolts as I went and removed the clamps. Most holes were accessible. The smaller bracket top ones I could just do with the right angle attachment above. I do have a 1/4″ chucking reamer so the holes were made good.
The lower two holes in the forward bracket are not accessible from the rear to drill through. Forget it.
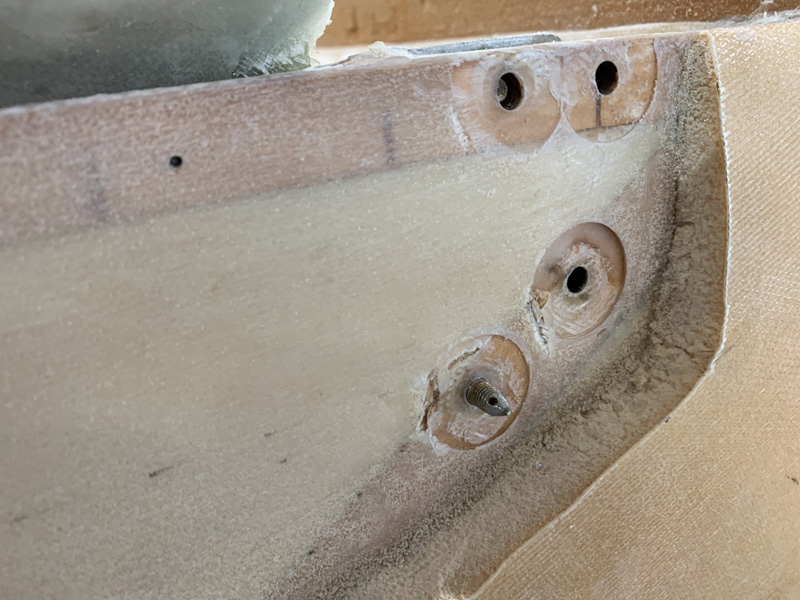
I used an AN4 bolt and my large sanding disc and made a point by rotating it against the moving disk. Easy! Then I used the same technique to grind off the bolt head.
The idea is to put the ‘tool’ in the slot as you see above and then use the other holes to get the plate in position. Then I used a flat punch and a hammer from the inside and belted the tool so it made a mark in the center of our hole on the inside of the plate.
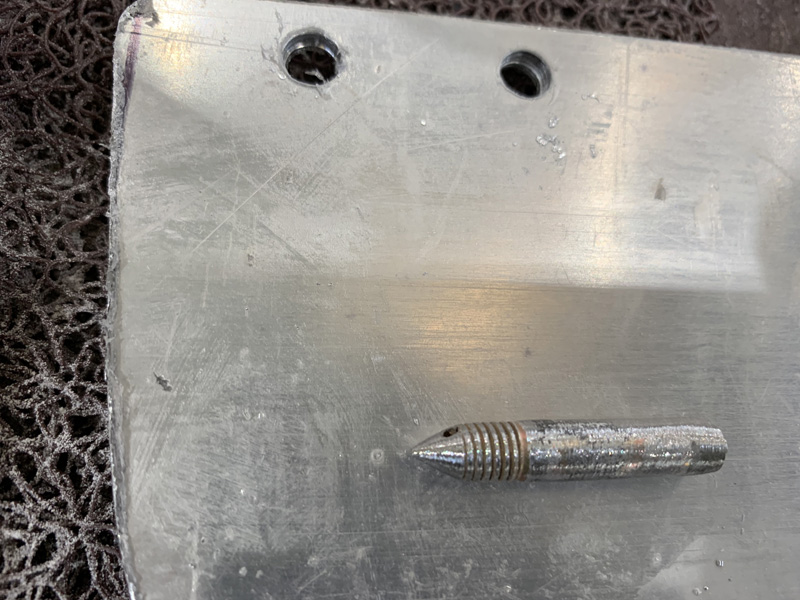
Here’s a look at the ‘tool’ and the indentation it made. I started with my smallest drill using the dent hole as a guide. Next was to drill it up progressively to .25″ constantly checking I was centered in the hole. It worked a treat. I did the same for the required second lower bolt hole.
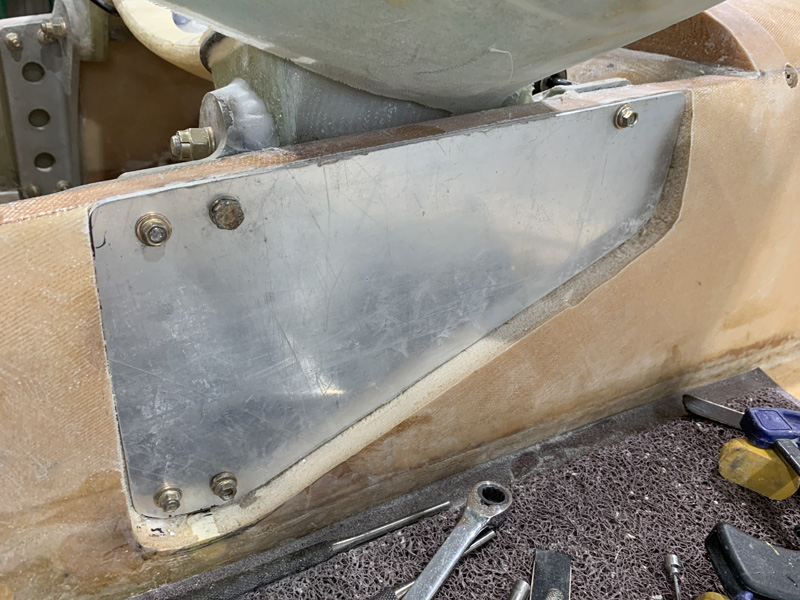
With the final temporary bolts in place we are looking good.
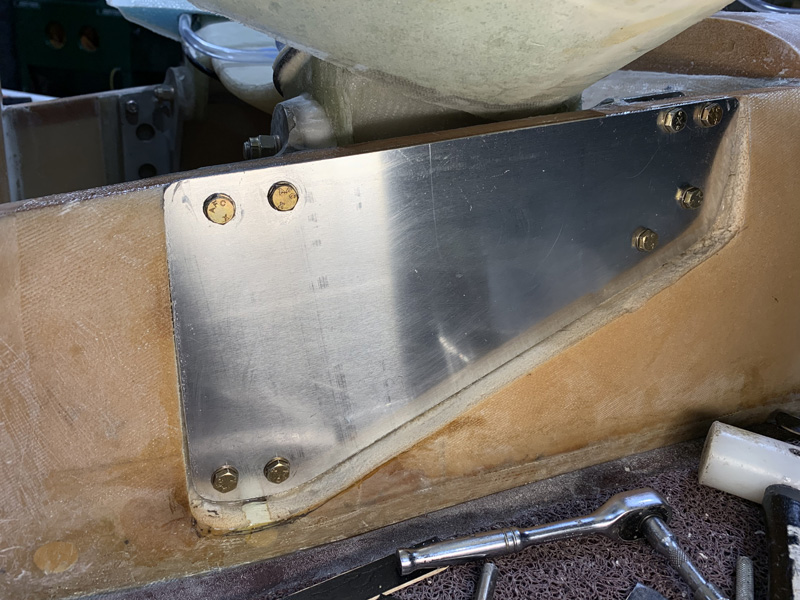
I removed the temporary bolts and got my 8 x AN4-16A, metal lock nuts and washers ready. I then mixed some flox after priming the previously sanded plate and the fuselage cavity interior with pure epoxy. I then added lots of flox as a bed. The hardware went in, I torqued it all up to quite a low value and will get it to spec after the flox cures.
For an AN4 its 50-70 inch pound PLUS the resistance of the lock nut on a bolt. I’ll sort that after cure.
This side is done, there is a lot to do on the other side. The hardest part was getting the old bolts out. Somebody did an ace job making them permanent.

