| Date: 01-21-2021 | |
| Number of Hours: 9 | |
| Manual Reference: 24 |
I’m currently waiting on the painting, the engine, the electronics, the upholstery, even the panel screen printing so please forgive me for doing such a minor job as a stick boot.
This is not mine. It was posted online, I think for a Cozy. Beautiful work. As I have a different stick I don’t think I can do the same but it is inspiration. So tidy!
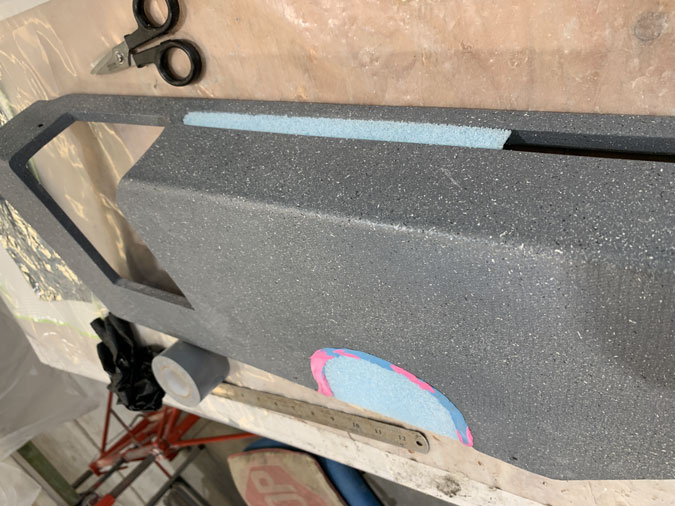
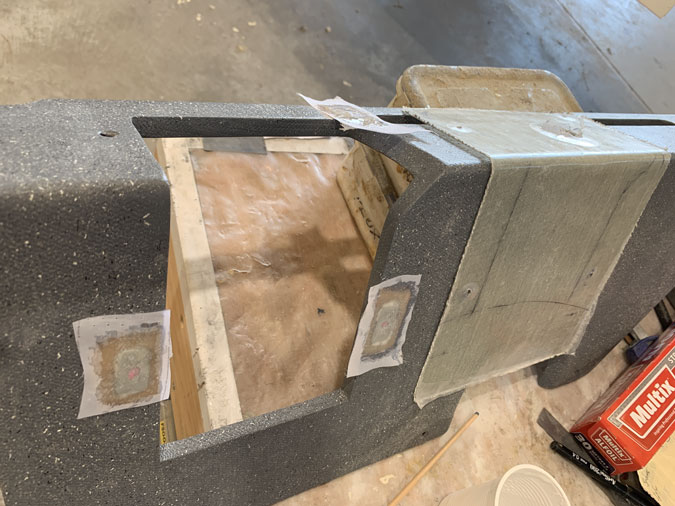
The first task is to make a three ply BID cover for the stick area. I’m using the armrest as a mold BUT down past the cutout. There was still the problem of filling in the gaps with foam and blue tack.
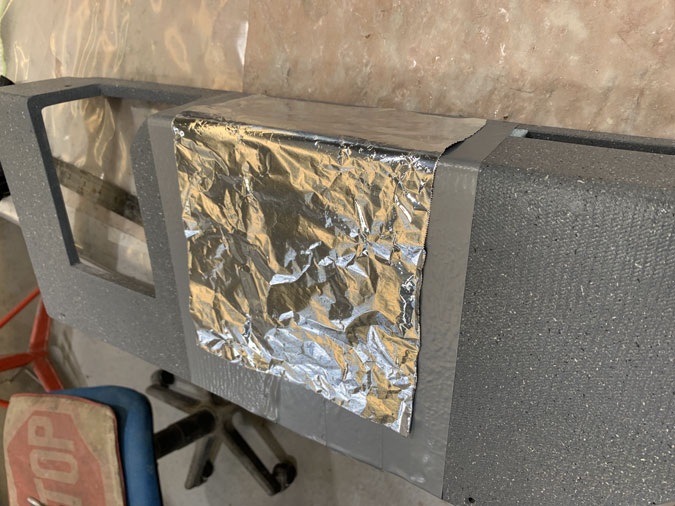
I then covered the area with grey release tape and did the usual foil layup. I use the foil as a pattern, cut the glass and get it done.
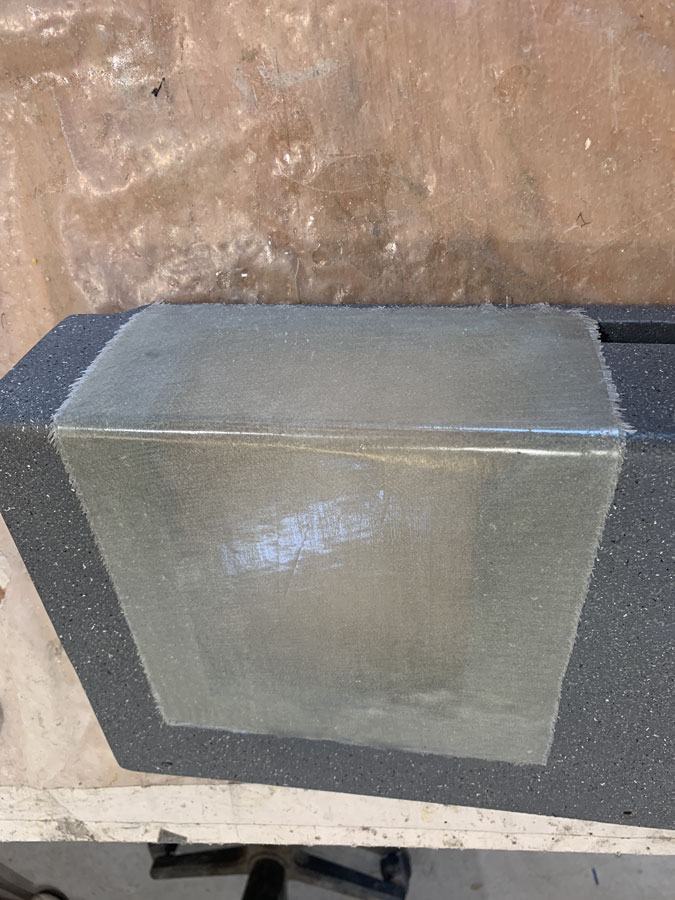
Here’s my resultant cover. A good fit.
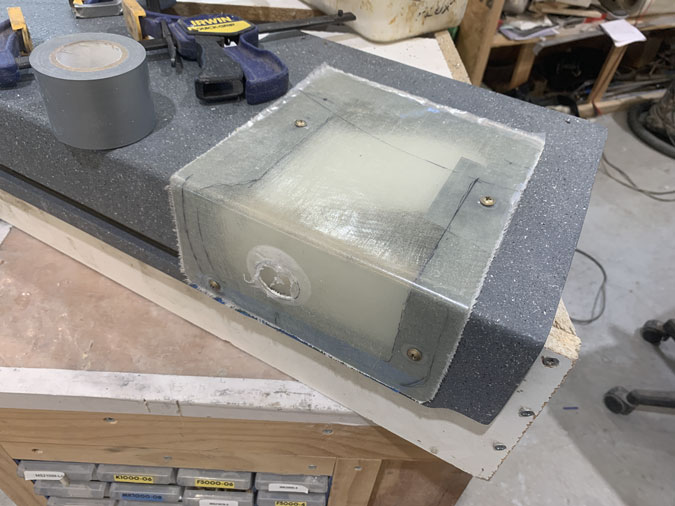
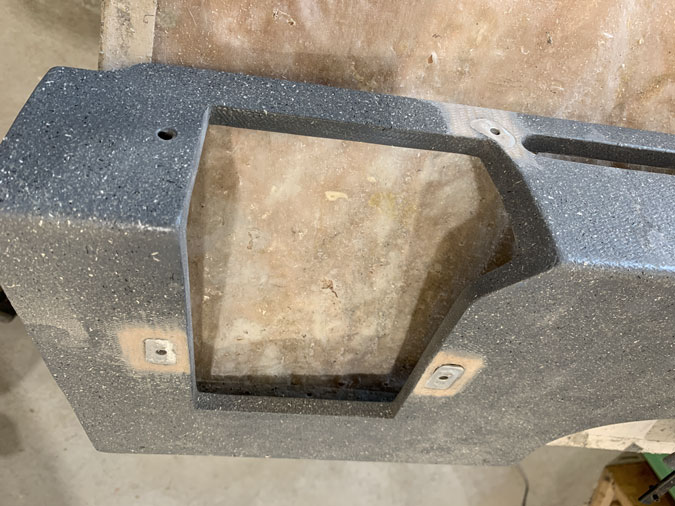
Next was deciding screw placement. Its needs to be accessible and I could use the same hole and nutplate as the armrest cover fastener. This meant only three nutplates are needed.
A bit of work making the nutplates with an aluminium base, countersunk rivets and so on. Then I had to inlay them into the armrest and I just used 5mt glue and some flox to thicken. All I’m doing is gluing the nutplates to foam so its not a high strength situation.
After that it was two coats of BID over the prepared top. Tomorrow I’ll paint them. Maybe trim the cover a little. I really need to wait now for the controls to be hooked up again so I can see if I need to bump out a little at the bottom of the cover to contain the stick movement.
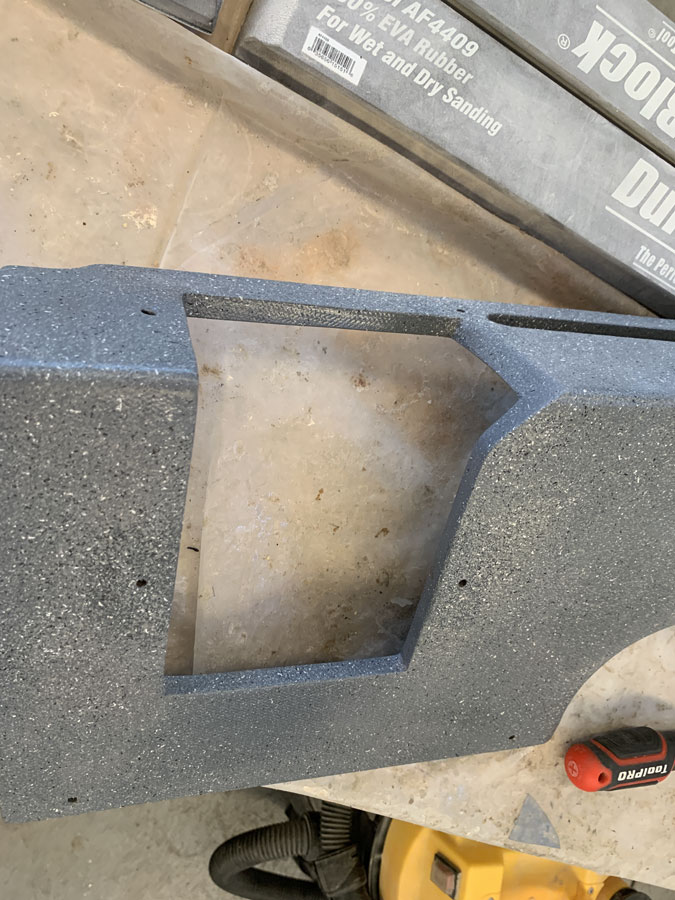
I really need to see the stick full range movement too before opening up the stick hole fully. THEN I can look at some sort of material or leather boot. For now it is another little job done.
Update… After a little paint. This one will now wait until the controls are in.


1 Comment. Leave new
[…] the previous stick boot entry I addressed making a surround for the stick […]