| Date: 07-10-2020 | |
| Number of Hours: 30 | |
| Manual Reference: 22 |
Time for really fitting this panel face using nutplates and fixing it in place without compromise.
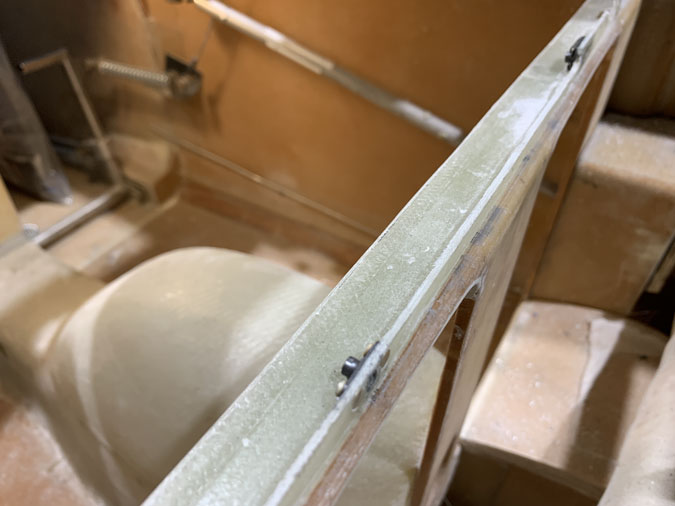
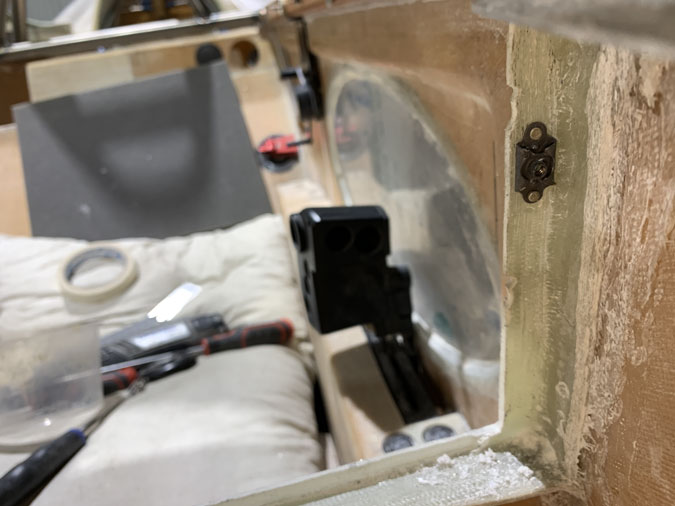
I’ve used very small profile nutplate here to fix the front panel. I thought I was going to have to go from underneath with an L bracket but these little guys have worked out.
Where there is more room I’ve used floating nutplates.
Some odd shaped plates too. I’ve used soft rivets for the hand squeezing onto the glass frame.
Two countersunk screws hold the audio panel rack and the one at the bottom holds the frame.
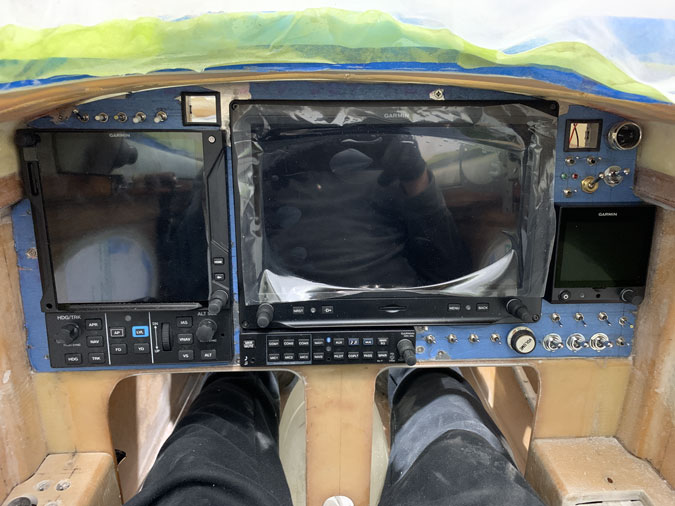
Its like a rock now. There are 10 countersunk screws doing the job. Some of them get hidden by instruments.
I checked fit again and there are still some tweaks to do.
I still need a few things below the panel per the plan.
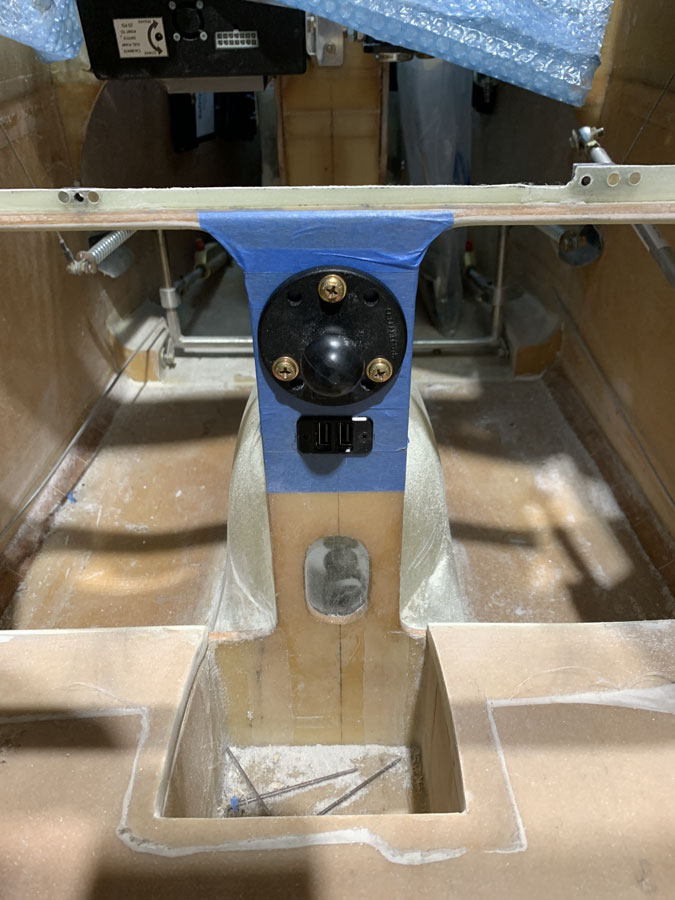
Just the RAM mount and a double USB. One side will power the iPad and the other for …whatever. I moved the alt static onto the panel so just the two items here.
Behind the panel the USB took a lot of fitting, a good days work just for that. I have to empty the panel for a start just to get access.
On the left side we have the front gear switch, indicator lights and an emergency function switch.
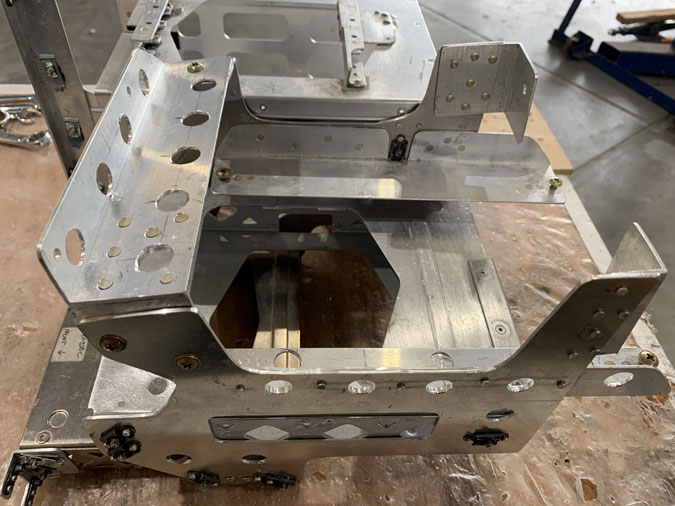
The main rack came out again as I needed to put in clearance for a sub D that I’d neglected. Matt, who works in the hangar, pointed that out in a nanosecond, I would have gotten there later. While I was at it why not a few more lightening holes?
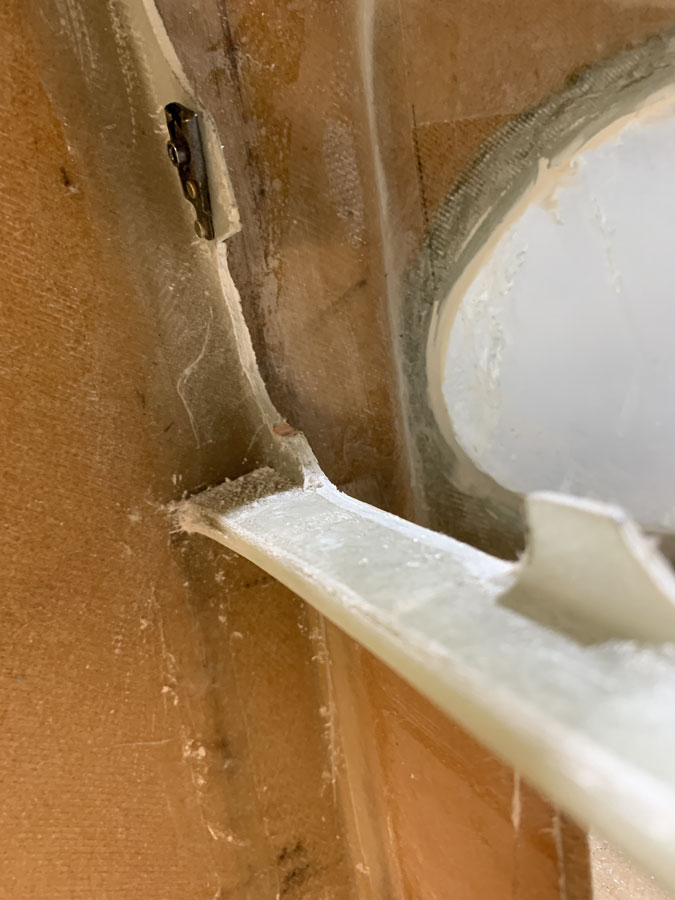
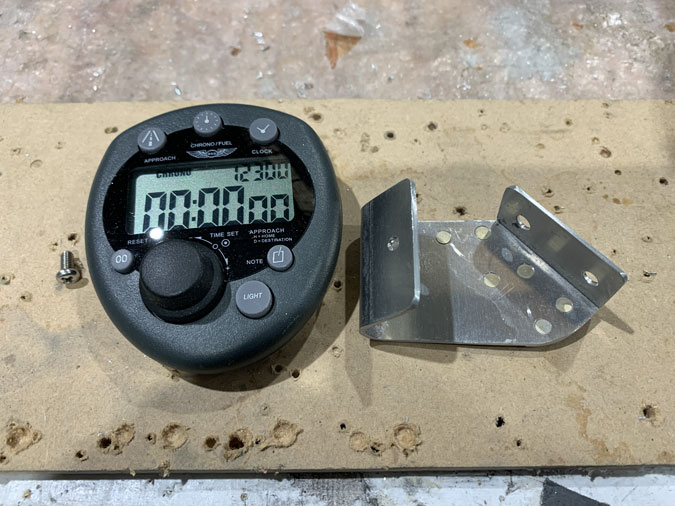
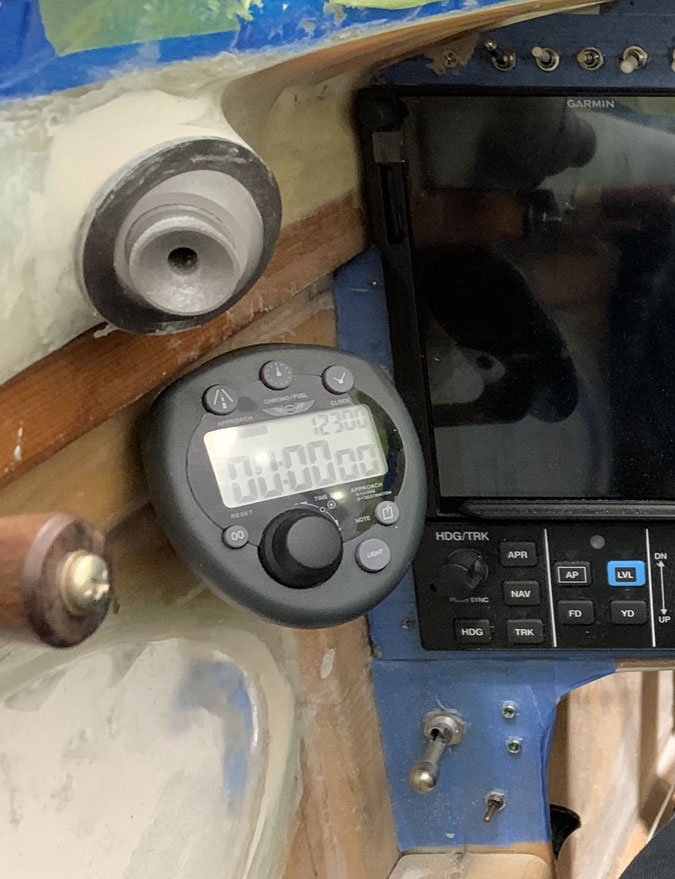
Another day and a half went into this simple timer mount. I had to get some new bending skills with a brake and there was a lot of in and out of the cockpit to ensure very exact placement and angle for this clock timer.
Clickbonds and the usual 2 cure cycle with 2 PLY of BID glass after floxing on the bonds.
Believe it or not, this angle and placement is perfect.

