| Date: 10-13-2020 | |
| Number of Hours: 40 | |
| Manual Reference: 25 |
Prepping the fuselage bought a whole lot of surprises and unexpected jobs.
I went to tighten/torque the rear seat belt hardpoints. First I was short on the required threads. I scrapped away some glass to suit but was still short. In the end two new fittings in much thinner chrome molly ‘appeared’. It was looking good until one of the AN525 screw head bolts started turning. This is like an engine stud turning. Not a good feeling.
The solution took over two days work including removing the 4 AN525’s and replacing them with AN4 bolts of a suitable length. I have photos but this stuff just hurts, its now in the past. Except I’m still filling and sanding the outside in four places.
Then I lost another full afternoon with just one nutplate in the panel in a very difficult place. Then there was an issue with the common sump lid. Don’t ask….
Now is the time for all those little jobs as I prep the fuselage interior for painting, for real. There is no putting off anything until later before the paint.
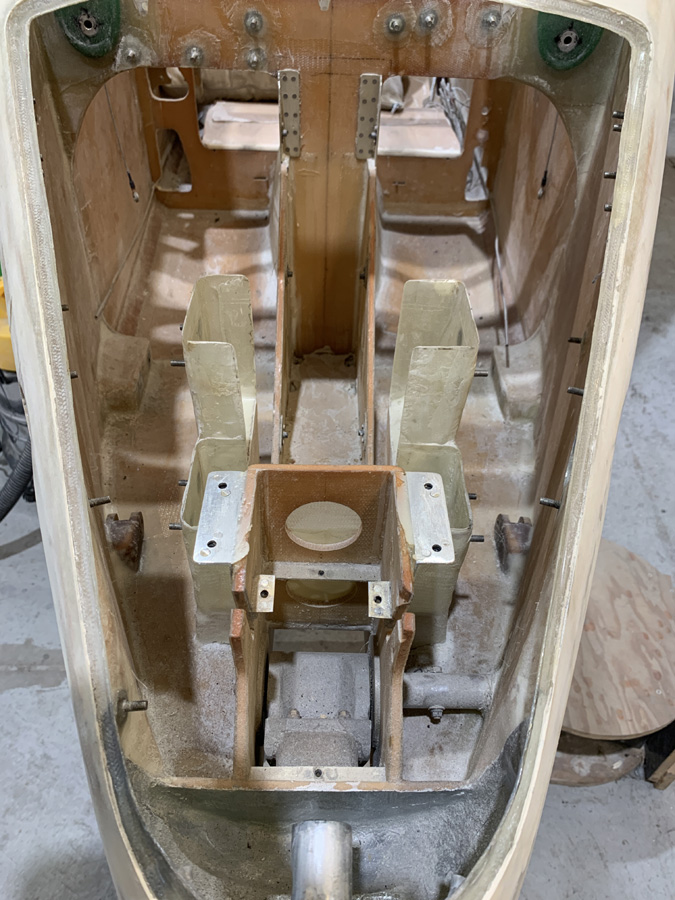
Getting EVERYTHING out was a part of the prep job. I have several big boxes of labeled parts.
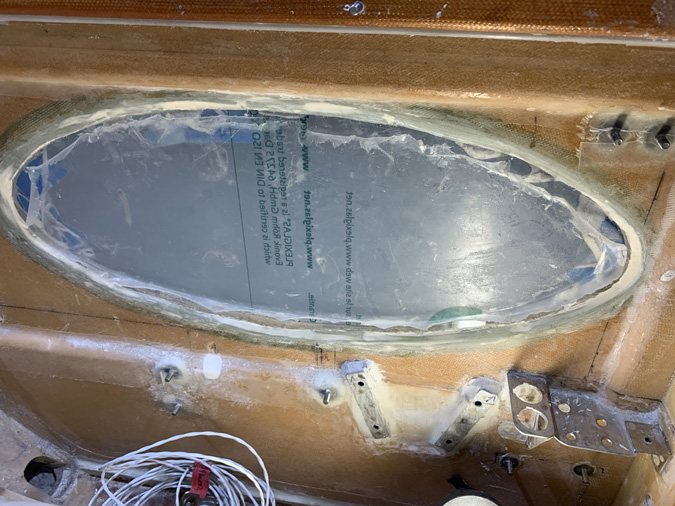
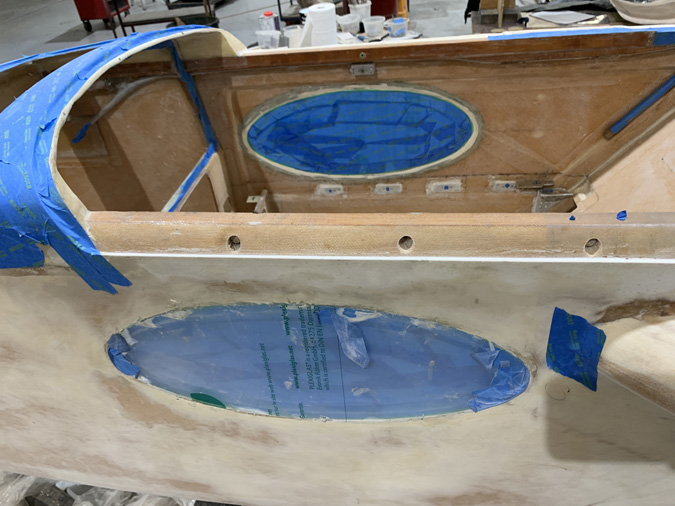
Chasing around just one window was a full afternoons work. Razor blades and sharpened chisels and EXTREME care. I just peeled back a little of the protective plastic and cleaned the edge, no scratches were added which is why it took so long.
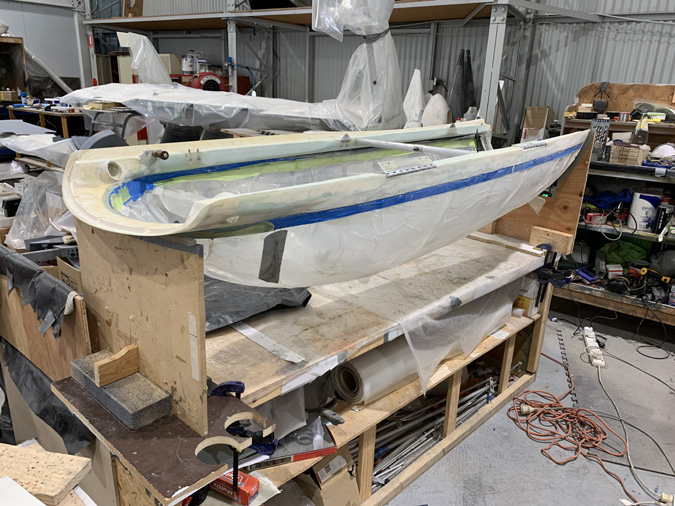
The canopy had to come off to do the windows. I made a rough jig and this will become a ‘side job’ while fuselage work and electronics go ahead. Always something to do on this build.
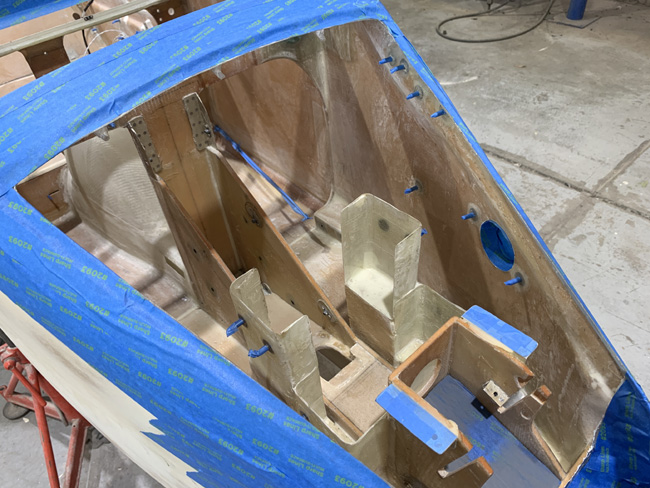
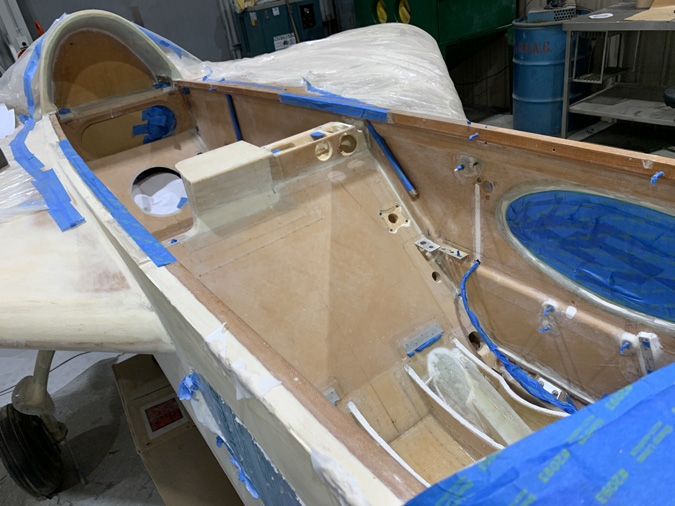
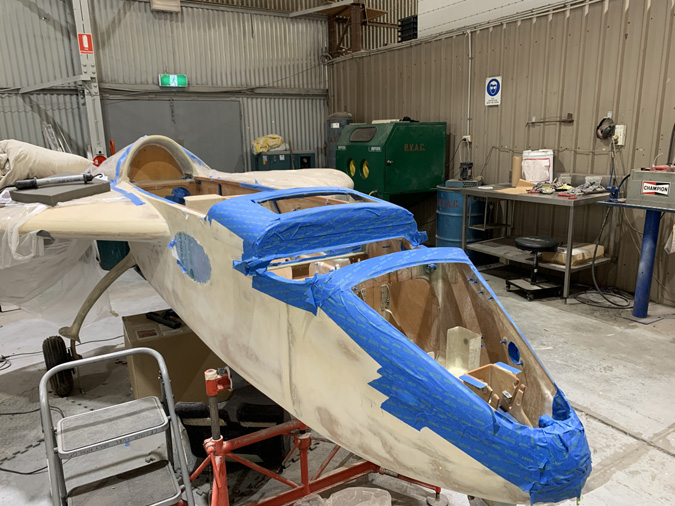
There was a lot of sanding and cleaning for the interior prep. Eventually I got to mask edges.
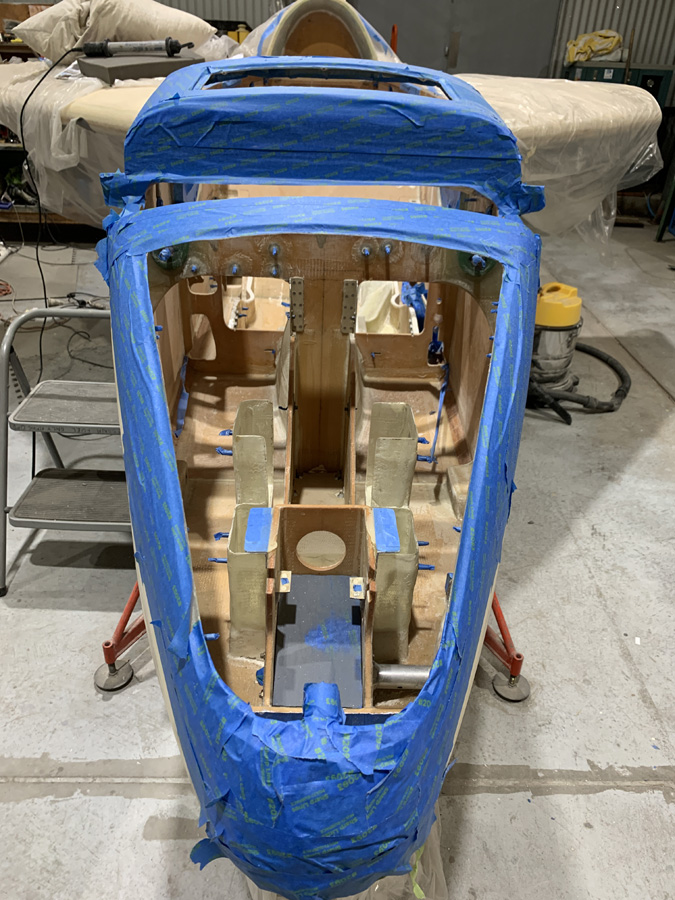
The windows have 5mm tape edges then painters tape. I hope I never get that view for real. It will mean the plane is in deep blue water.
Some last looks of the raw glass colour.
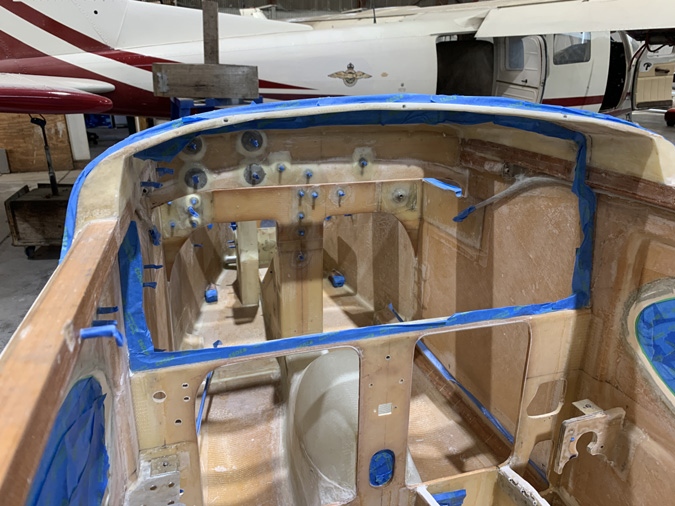
The panel edges don’t need paint. Just like all those click bond threads have to be protected.
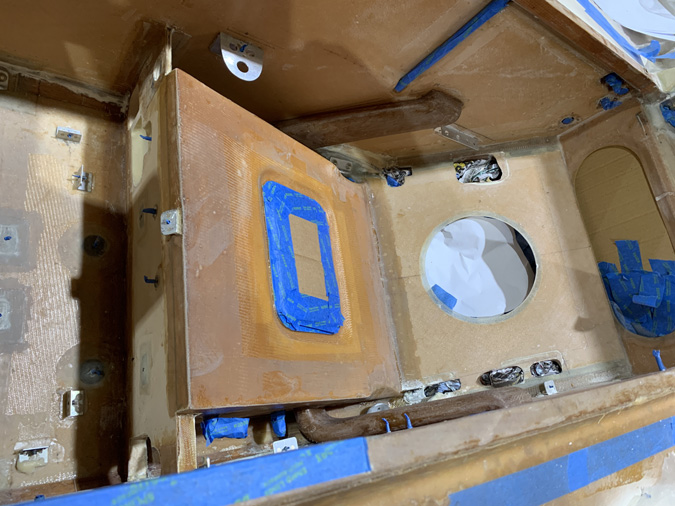
Back seat masking up. I’m leaving the sump opening raw aluminium as this will get a cork gasket and hopefully no leaks.
There can’t be too much tape, more means less work to clean up later.
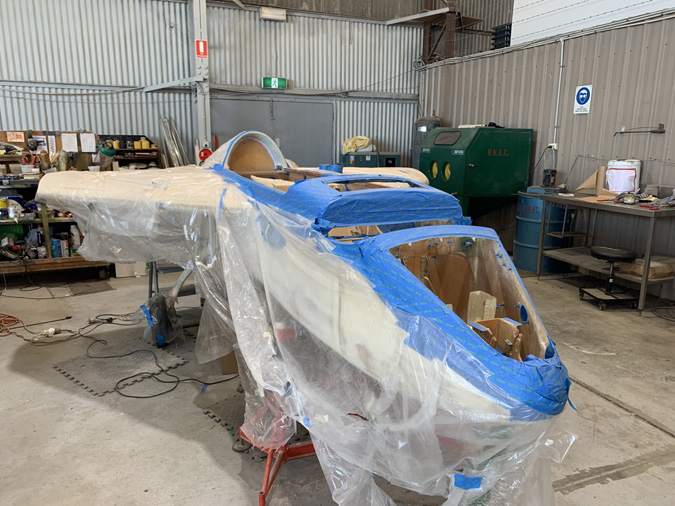
Nearly there.
Everything had to be covered on the outside. Previously I’d blown the insides with compressed air, several times. I finally did the interior with acetone just damp on a paper towel and then a tack rag.

