• Home
  • Flying
    • First Flight
  • Build by Chapter
    • Ch 3 Education
    • Ch 4 Fuselage Bulkheads
    • Ch 5 Fuselage Sides
    • Ch 6 Fuselage Assembly
    • Ch 7 Fuselage Exterior
    • Ch 8 Roll Over/Seat Belts
    • Ch 9 Main Gear/Landing Brake
    • Ch 10 Canard
    • Ch 11 Elevators
    • Ch 12 Canard Installation
    • Ch 13 Nose and Nose Gear
    • Ch 14 CenterSection Spar
    • Ch 15 Firewall and Accessories
    • Ch 16 Control System
    • Ch 17 Roll/Pitch Trim System
    • Ch 18 Canopy
    • Ch 19 Wings, Alierons
    • Ch 20 Winglets/Rudders
    • Ch 21 Strakes – Fuel/Baggage
    • Ch 22 Electrical System
    • Ch 23 Engine Installation
    • Ch 24 Covers/Consoles
    • Ch 25 Finishing
    • Ch 26 Upholstry
  • Build Mods
    • Liquid Cooling, Numbers, Weights and Flow
    • Cooling
      • Solving Ground Cooling 1
      • Solving Ground Cooling 2
      • Solving Ground Cooling 3
      • Solving Ground Cooling 4
      • Solving Ground Cooling 5
      • Solving Ground Cooling 6
      • Solving Ground Cooling7 – Test Data
      • Solving Ground Cooling 8 – Flap Building
      • Solving Ground Cooling 9 – Hinges
      • Solving Ground Cooling 10 – Lower Flaps
      • Solving Ground Cooling 11 – Upper Flaps
      • Solving Ground Cooling 12 – Completed
      • Cooling the Beast 1
      • Cooling the Beast 2 – Lower Cowl Expansion
      • Cooling the Beast 3 – KW Oil Cooler Diffuser
    • EVS (Enhanced Vision System)
    • Cowl Keeper
    • Rudder Gust Locks
    • Wing Fences
    • Post Cure
    • Hinge Upgrade
    • RAM Air & Hellhole Cover
    • Main Gear Beef Up
    • Pilot Side Windows
    • Baggage Pods
    • Winglet Intersection Fairings
    • Titanium Rollover
    • Nose Gear Doors
    • Wheel Pants/Gear Leg Fairing
    • Cabin heating System
    • Fuel System
    • Roll and Pitch Trim
    • Oxygen System
    • The Ferry Tank
    • Cruise Angle Indicator
    • Fire Extinguisher Install
  • Round the World
    • RTW Route East #12 rev1
    • Survival Equipment
    • Training Flights
  • Other Stuff
    • Blog
    • Around the World: RAAUS Sport Pilot Issue 110
    • Taxi Tests
    • Summary Feb ’24 from an SAAA Meeting
    • AOPA Pilot 27th Sept 2019
    • Build Tests
    • Flying Stories
      • A Long Easy Dream ’06
      • Townsville ’07
      • Cairns ’08
      • Albany ’08
      • East Coast ’08
      • Brisbane ’09
      • Cairns ’10
      • Perth ’10
    • Non Build Mods
      • F16 Scoop for JZE
      • Ram Air Box for JZE
      • Strange Tips
    • Milestones
    • Links
  • Contact

Blog

Home
Blog
Interior Painting 1

Interior Painting 1

5 years ago
Dave Berenholtz
Blog, Ch 25 Finishing
Date:  08-04-2020
Number of Hours:  18
Manual Reference:  25

You know there is some sort of progress when it is time to paint the interior of the plane.

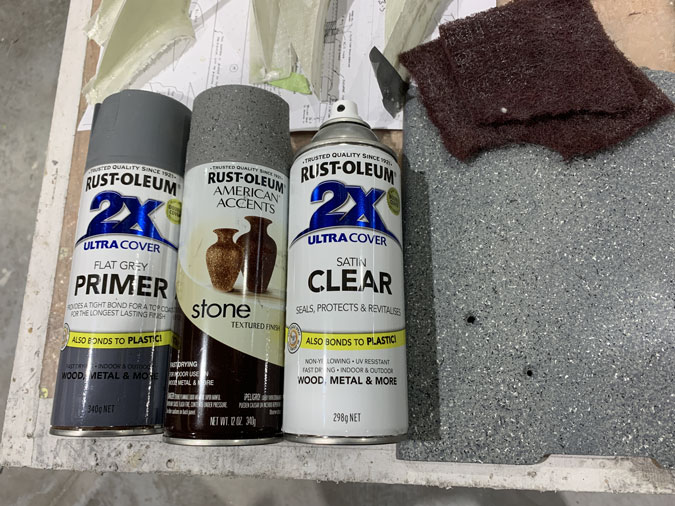
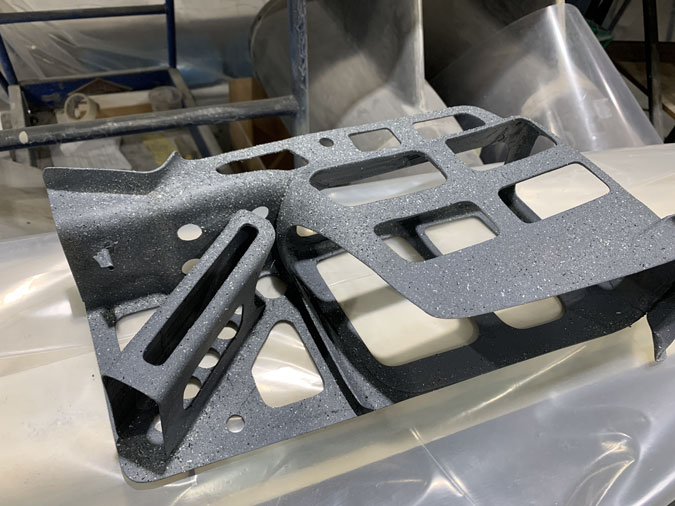
After years of taking notes and reading on line posts, this is my interior paint system. Criteria is for long wearing, easy to maintain and touch up and all done with a rattle can.

The piece on the right of the pic is one of several sample pieces I made.

As you see above, all Rust-oleum. My undercoat is the flat grey, stone American accents for the texture and Satin clear on top.

The process is a light sand of the item. It doesn’t need a careful fill for a ‘perfect finish’. Due to the texture I am quite happy to just prep the surface with a sanding of around 80-120 grit and then clean the surface with Prepsol, a grease and wax remover.

First up, Primer for a full grey coverage. Then spray on the texture which is amazing to see out of a rattle can. Next up a good three coats of clear. Then I sandpaper the sharp edges off the surface as its really rough, not too much sanding here either. Finally I’m using scotchbrite (as pictured) to dull the surface to a matte finish. That takes a good rub for a few minutes.

It ends up with texture that will wear well but OK to the touch. You can see some weave patterns here and there which I like too. From a distance it looks perfect, closer and it still looks good to me.

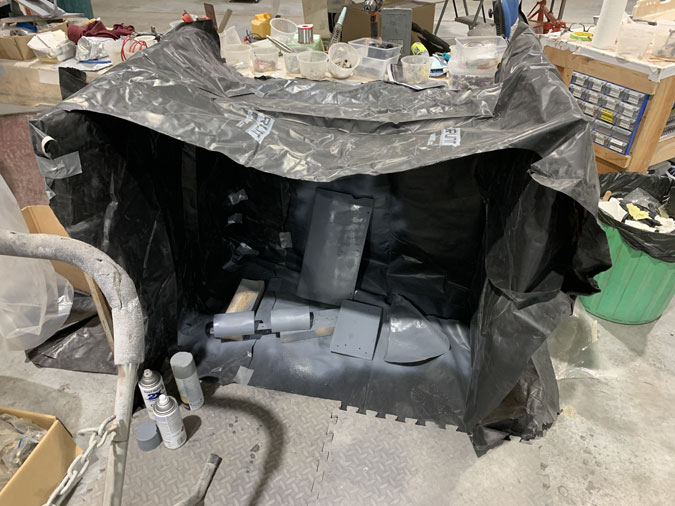
I made myself a little tent to spray the many bits that go on the inside.

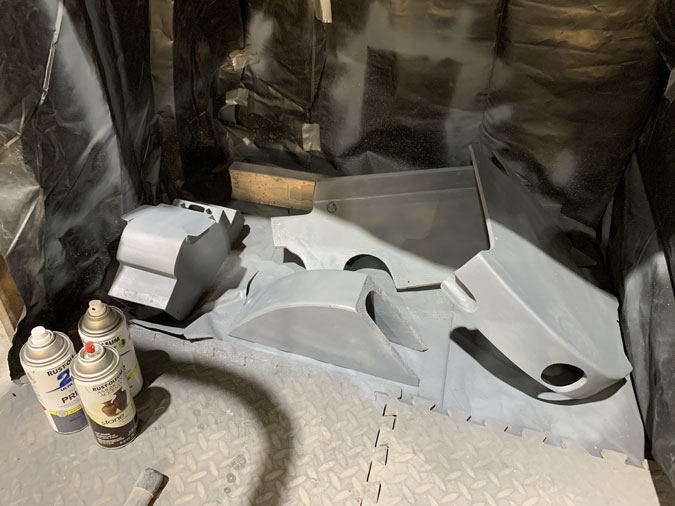
When you get these loose bits together its a bit depressing to think how much they will all weight in total. If I was building a pretty rough plane and didn’t take passengers I could probably leave most of them out.

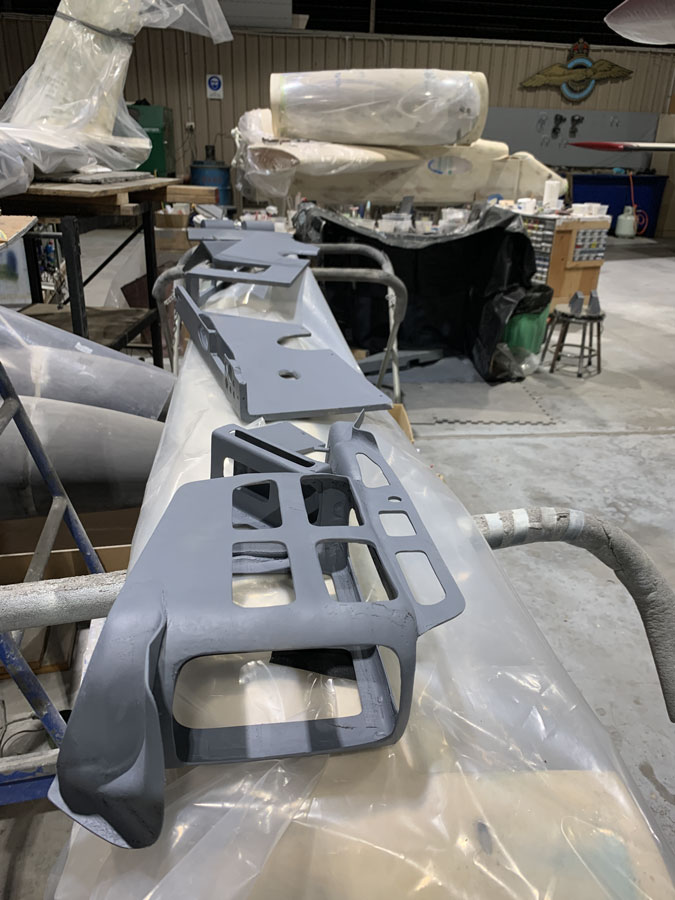
I’m doing a batch of undercoats first and the canard is as good a place as any for a waiting line of components.

I did spend a whole afternoon making this oxygen holder 100 grams lighter. Despite its many added on surfaces, once painted with the texture, it looks pretty good.

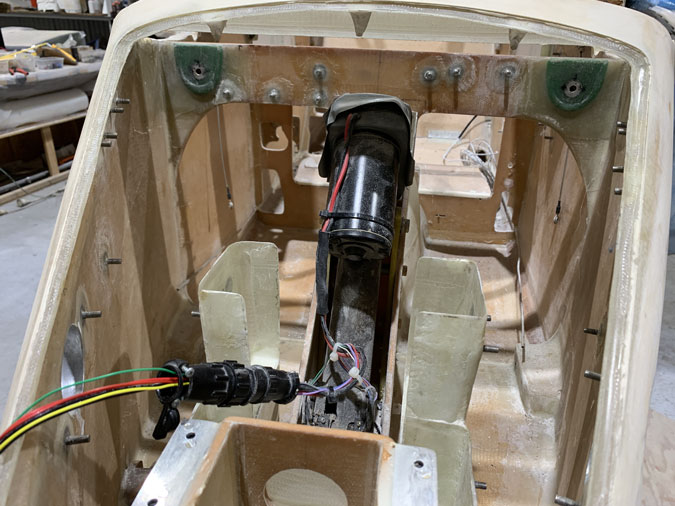
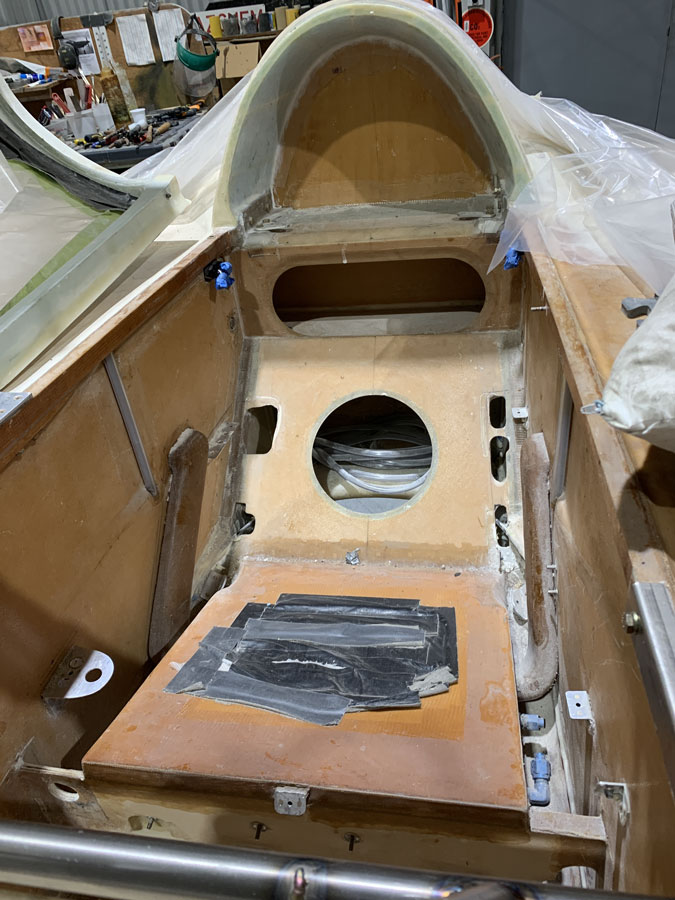
A really big job before I even start prepping the interior is getting everything out. That nose lift will be the last thing to go.

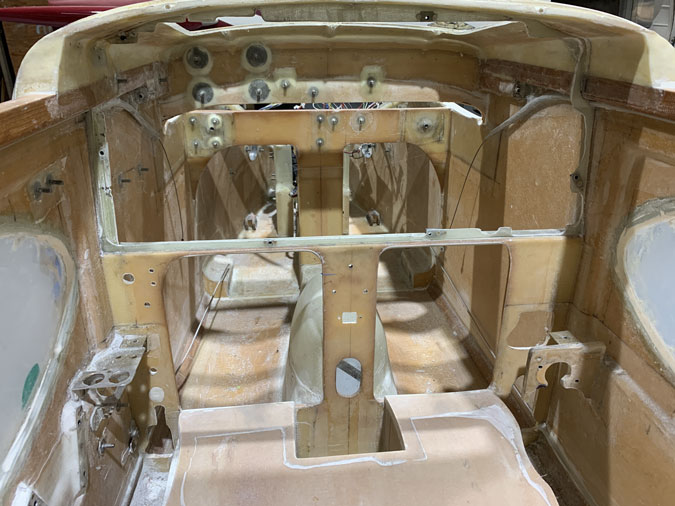
I have several boxes now of electronic bits and controls and so on that have been removed for the painting. You can see the glass frame I made for the instrument panel here and all the many click bonds!

The plane is starting to look like it did months ago when I was adding so much.

As I work I’m thinking about how I will paint various parts. The interior of the canopy and around the side windows will need a few days of extra attention.

Covid19 Update

Its August 9th and I’ve been in lockdown since July 30th. I can’t go to the hangar to work on the plane, I can’t travel more than 5km from home, there is an enforceable 8pm curfew and we are allowed out once for shopping and up to 1 hour a day for exercise and of course with a mask on when not at home.

It’s stay at home the rest of the time for 42 days at least. How long will depend on infection numbers in our state.

This will be my last post until restrictions are lifted and I can get back to work! Meanwhile the plane does need a lot of paperwork that I haven’t done. I guess I’m out of excuses for putting that off!

See you on the other side.

Previous Post
Vortilons
Next Post
Panel Labeling 1

2 Comments. Leave new

  • Bob MacGillivray
    28/08/2020 5:45 am

    I built and flew the first Long EZ in Australia back in the 1980s. VH-LEZ.

    Reply
    • Dave Berenholtz
      28/08/2020 3:53 pm

      Hi Bob, we met briefly some years ago at YLTV. I still have the Glinderman JZE as my ride while the new ones getting done.
      LEZ has a great reputation as being a very well made and particularly light LE. You are a bit of a Rock star of the small builder group 😉

      Reply

Leave a Reply Cancel reply

Your email address will not be published. Required fields are marked *

Fill out this field
Fill out this field
Please enter a valid email address.

CategoryLogsHours
All157617079
Uncategorized135
Ch 3 Education220
Ch 4 Fuselage Bulkheads25231
Ch 5 Fuselage Sides32283
Ch 6 Fuselage Assembly30270
Ch 7 Fuselage Exterior14140
Ch 8 Roll Over/Seat Belts990
Ch 9 Main Gear/Landing Brake71642
Ch 10 Canard28287
Ch 11 Elevators36298
Ch 12 Canard Installation12102
Ch 13 Nose and Nose Gear1291097
Ch 14 CenterSection Spar57525
Ch 15 Firewall and Accessories448
Ch 16 Control System27237
Ch 17 Roll/Pitch Trim System654
Ch 18 Canopy70502
Ch 19 Wings, Alierons1271090
Ch 20 Winglets/Rudders71528
Ch 21 Strakes - Fuel/Baggage65437
Ch 22 Electrical System591031
Ch 23 Engine Installation961152
Ch 24 Covers/Fairings/Consoles25202
Ch 25 Finishing561084
Ch 26 Upholstry340
Fuel System46310
Rollover1050
Cabin heating System60331
The Ferry Tank335
Blog2694182
Build Mods2252513
Nose Gear Doors856
Wheel Pants/Gear Leg Fairing40473
Oxygen System762
Roll and Pitch Trim964
Winglet Intersection Fairings445
Baggage Pods11104
Pilot Side Windows437
RAM Air & Hellhole Cover15177
Main Gear Beef Up322
Post Cure124
Fire Extinguisher16
Wing Fences13
EVS (Enhanced Visual System)130
Hinge Upgrade115
Cowl Keeper110
Rudder Gust Locks19
Cooling20607
Taxi Tests42
Flying10

Complete the Test Flight Program

2025/6/30 10:26:01

Round Australia in Four Flights

2026/4/1 10:26:01

Round the World Departure

2026/8/22 10:26:01

Rough River Flyin, Sept 23, 2026

2026/9/23 10:26:01

© Copyright 2025 Dave Berenholtz