| Date: 05-29-2020 | |
| Number of Hours: 44 | |
| Manual Reference: 22 |
Eleven days work here. I’m only documenting the IP frame. I’ve redone the fitting of the back instruments of the panel and pulled it all apart to make lightening holes…. so it weighs a little less. I tied up a few other things and I’ve been working on the brake reservoirs too.
Oh and I moved the electric trim actuator so the attachment points were improved. That was another days work with nothing to see really.
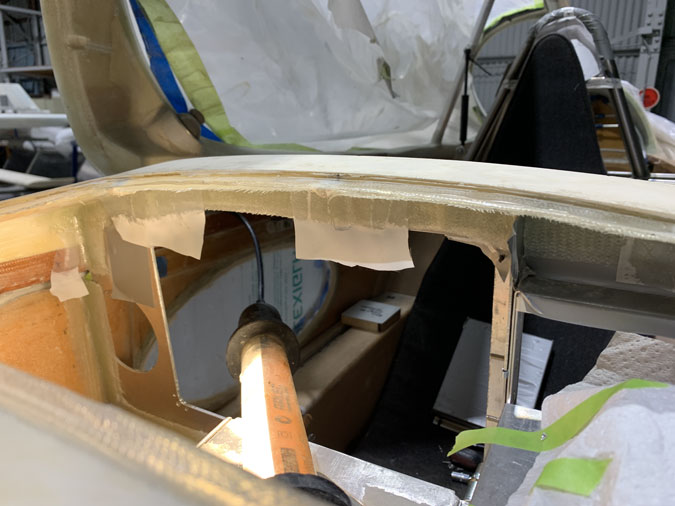
The Instrument panel frame IS worth a few photos.
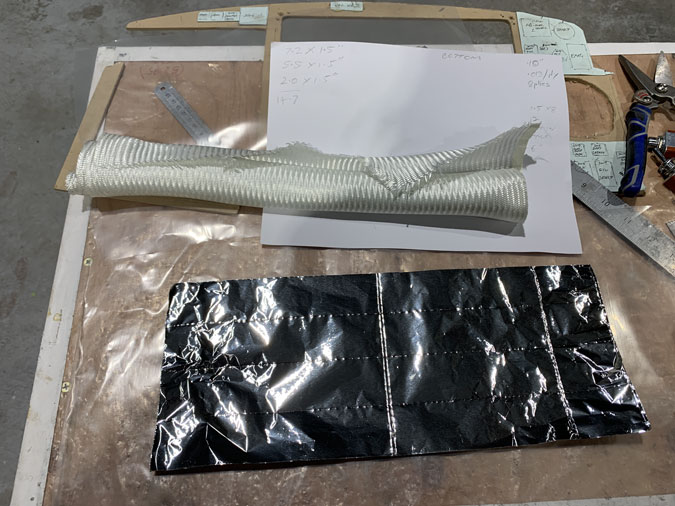
This was a complex layup that needed three separate glass sessions. I’ve used the usual layup on foil and plastic at every stage.
Here’s the first section. I’ve gone for an 8 ply BID layup. This is not only to give the metal IP something to lay against and attach to, it is also to strengthen this area of the cockpit.
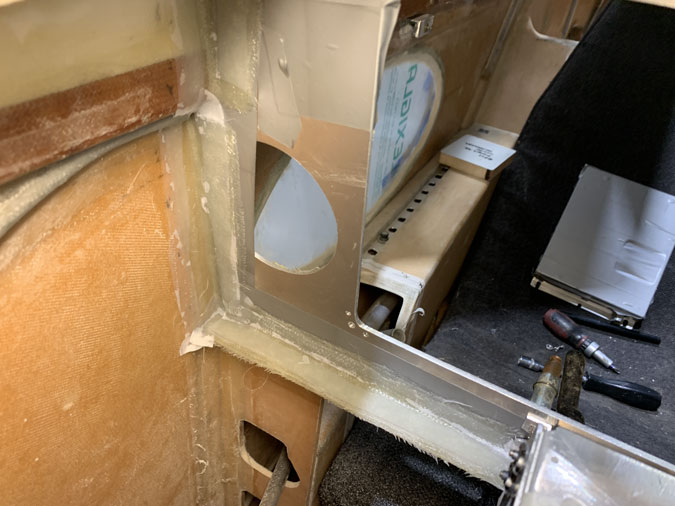
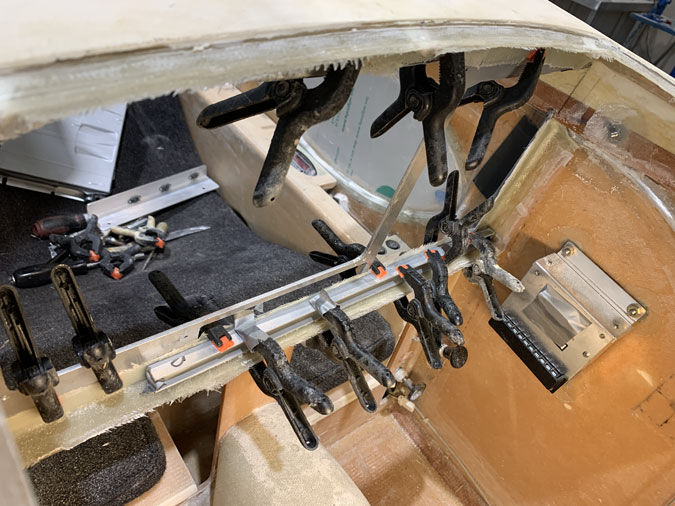
Here we are after using the IP as a mold and making a very stiff backing.
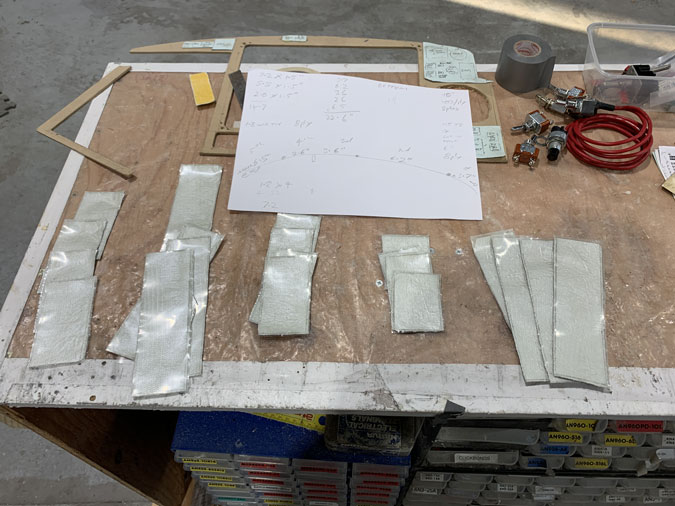
Another 20 pieces for the next section, each two ply so we have 40 bits of glass just for this small section.
Again the Instrument panel is my mold for making this lip.
For this bottom piece I’ve added some aluminium open box as a former to get a strong corner. The lip will only be about .25″ here. I’m hoping it will be enough for nutplates.
Each cure cycle had its own clamping protocol.
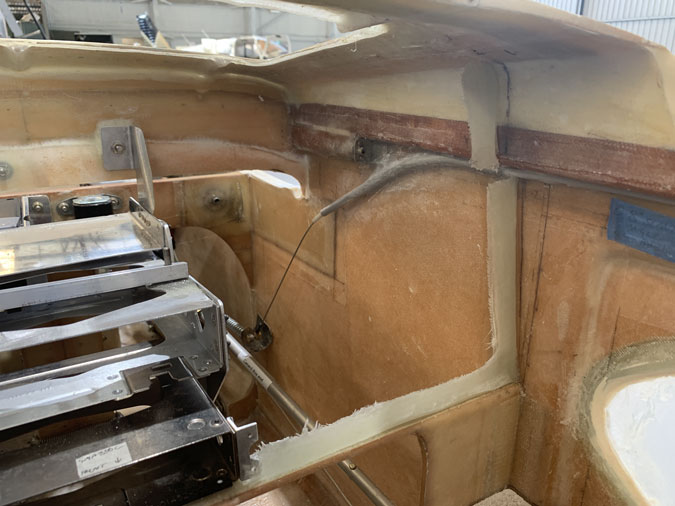
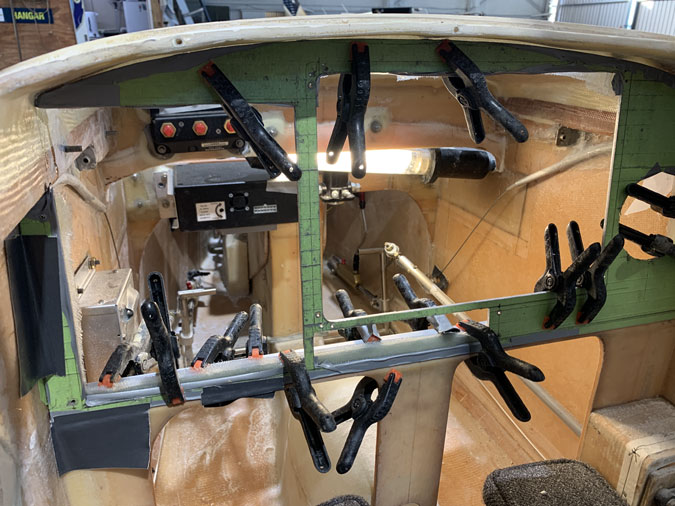
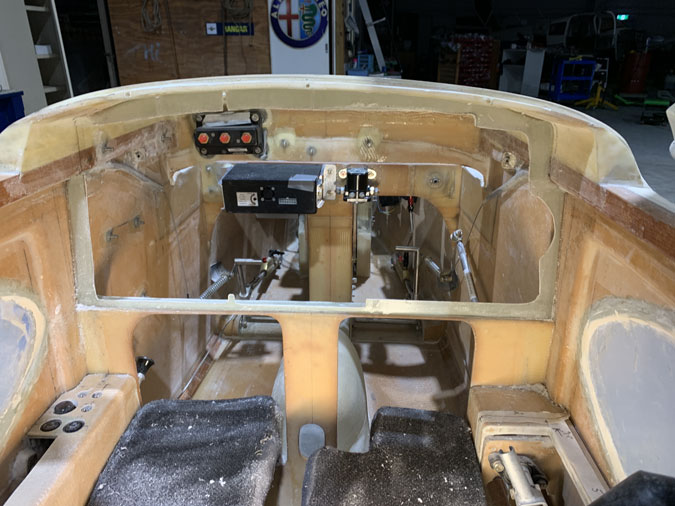
Here we are before a trim and you can see a frame has formed.
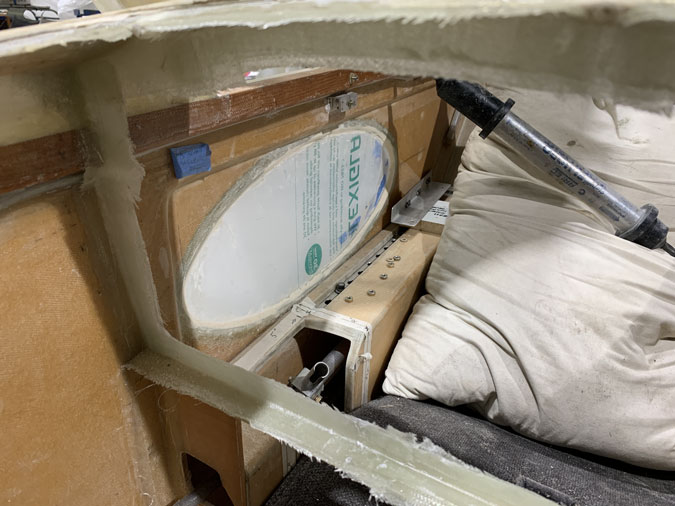
This is the forward or backside of the panel. You can see the glass is also to strengthen the cross bracing part of the panel.
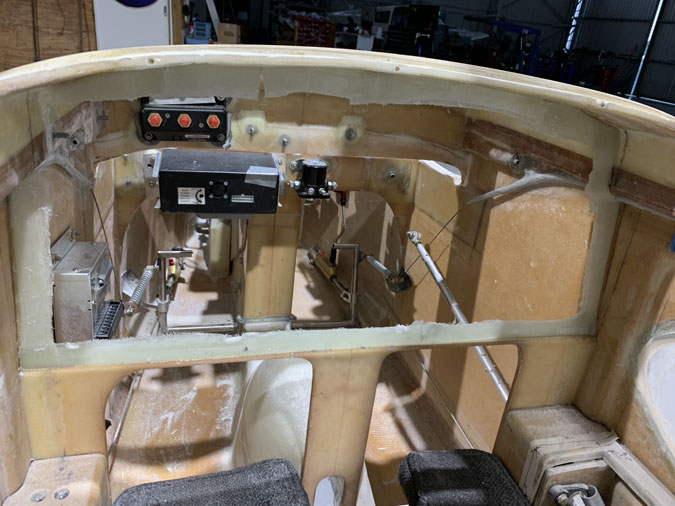
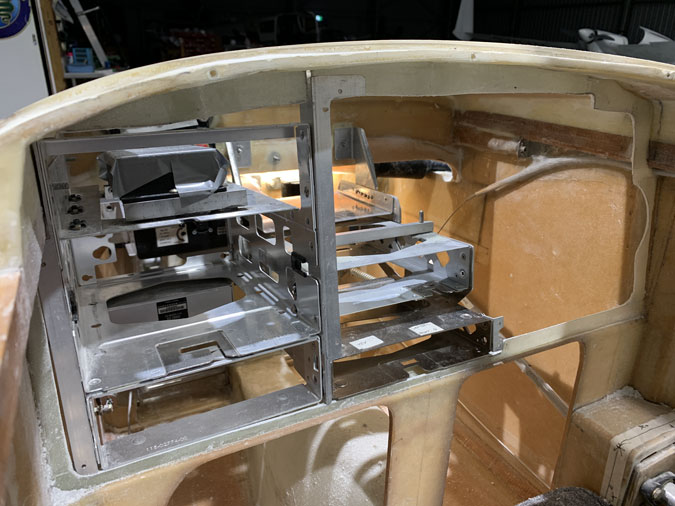
After a bit of a trim it looks better. A lot of trimming to make it all work is still to come.
Another view and a few more hours to get the instrument trays to begin to fit.

