| Date: 03-09-2019 | |
| Number of Hours: 6 | |
| Manual Reference: no ref |
Today I finished off the fitting and floxed in the windows.
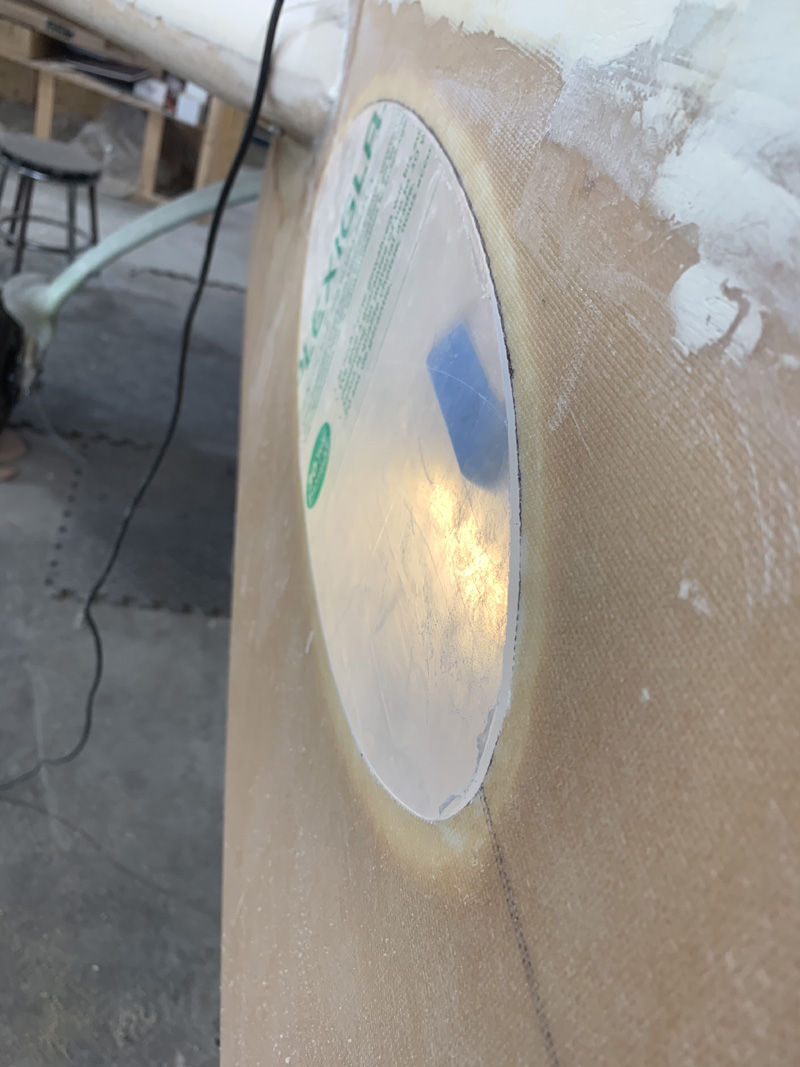
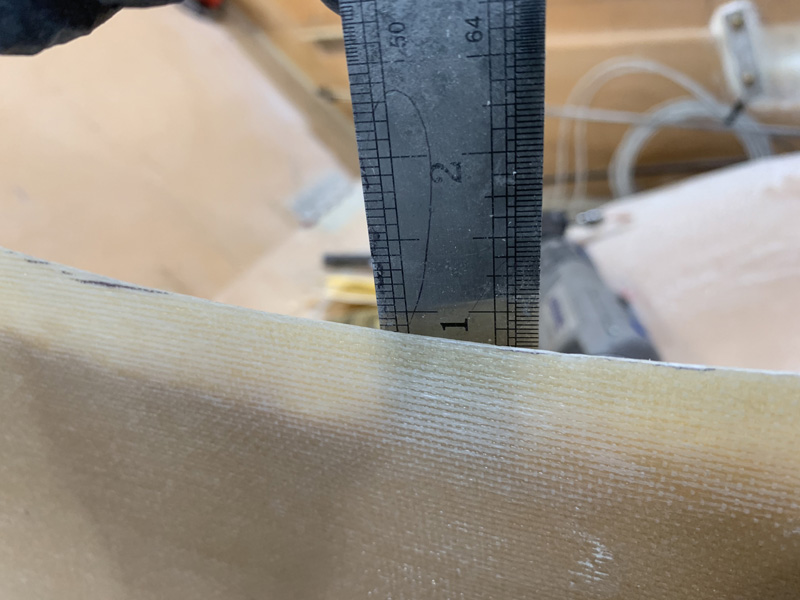
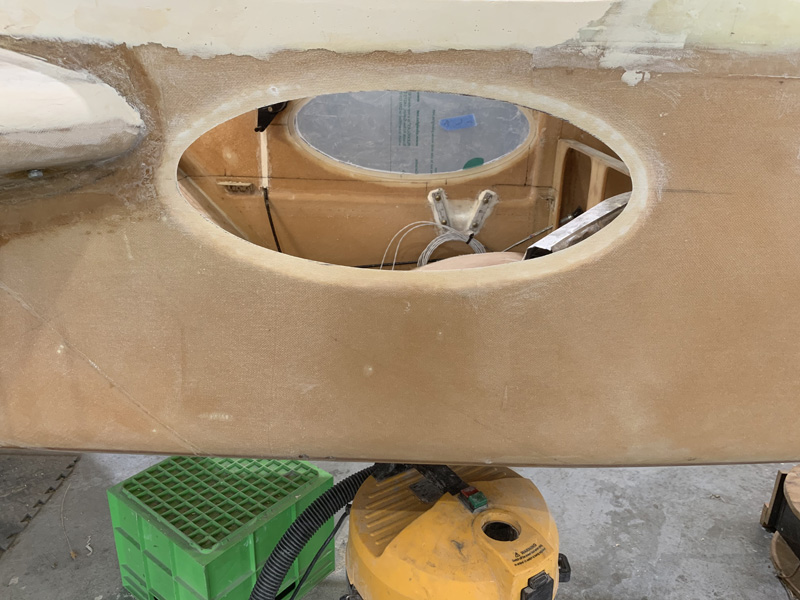
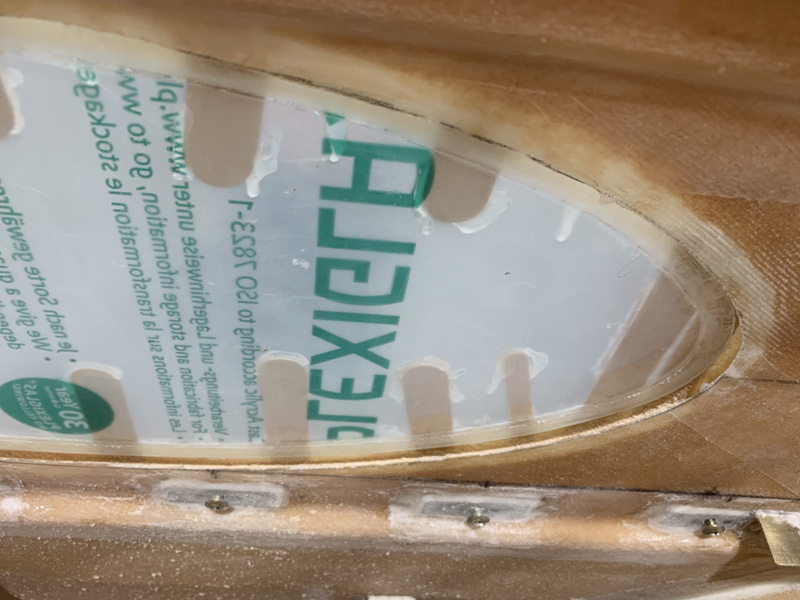
First up was to get the windows fitted from the inside. This meant removing about 0.5″ from the inside cutout. As you see above I could then push the window through from the inside where it would protrude through the outside hole. Yes it is beyond flush. Given the stepped lip is 3mm and the sides are only .022″ (two ply of UND) it makes sense. Well its .55mm so I need about 2.5mm of flox to pad it up with. 🙂 Or a tenth of an inch.
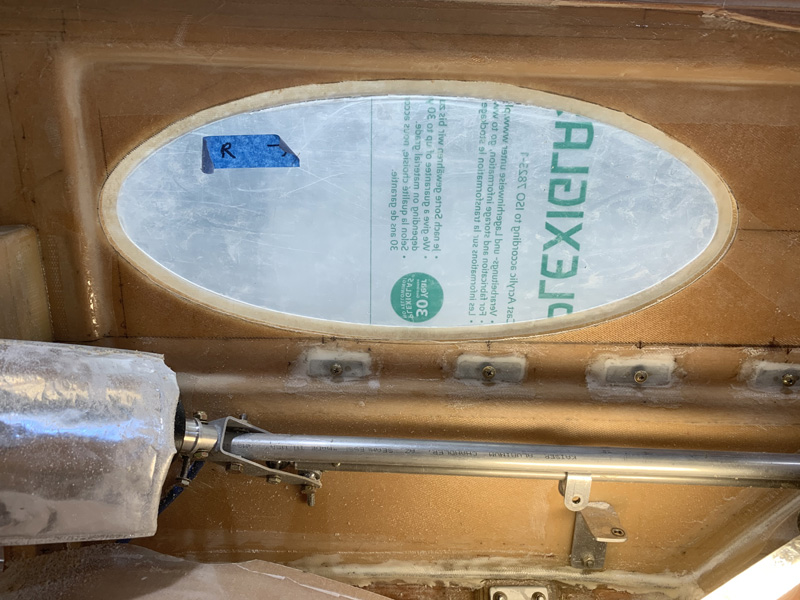
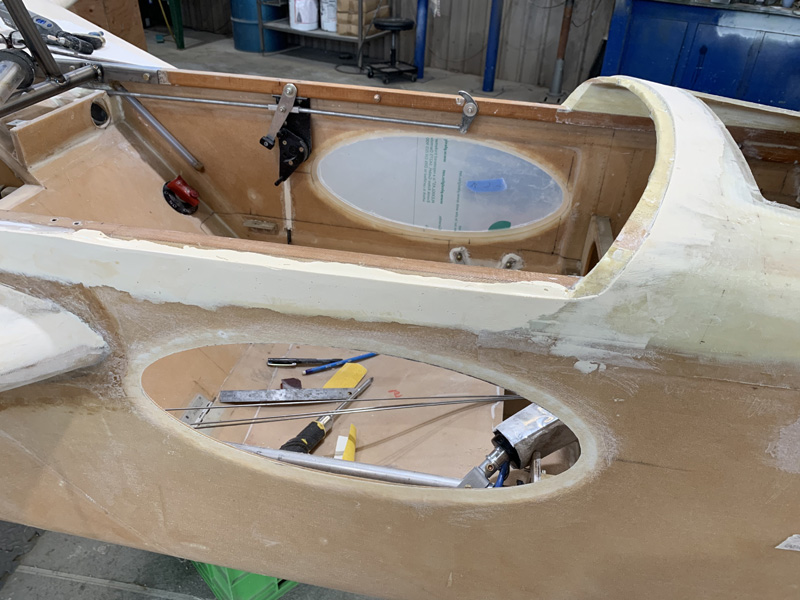
Here you can see the inside lip flush against the inside wall which as I said is .5″ greater in diameter all around than the outside. Effectively we capture the window.
I continued digging out the foam between the skins to a one inch depth and of course thats only .5″ on the inside. I feel this will be enough, others may disagree.
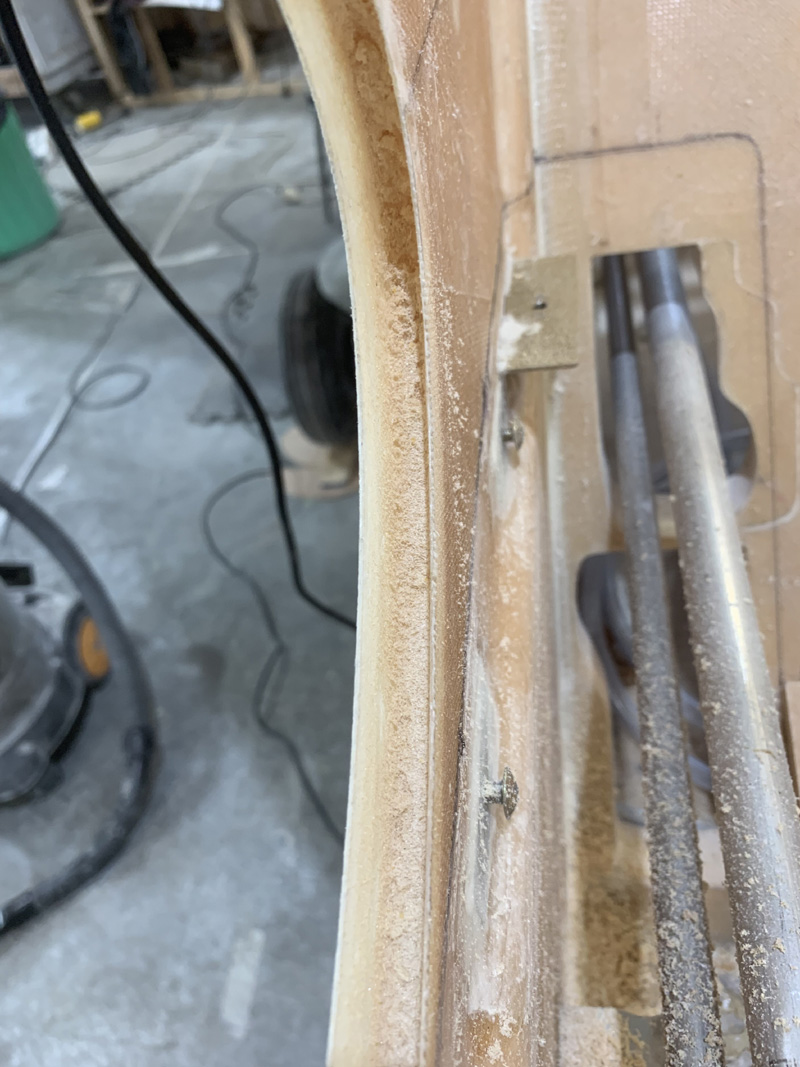
Here’s how the inside trough looks.
The colour change at the rim is due to the foam being dug out so its easy to see how deep I’ve gone. I’ve also sanded around the outer lip in preparation for the fuselage fill and fare.
I did a final check and clean up before setting up the jigs and mixing the epoxy. I won’t be seeing through these windows until after the final paint job. The protective plastic will stay in place until then.
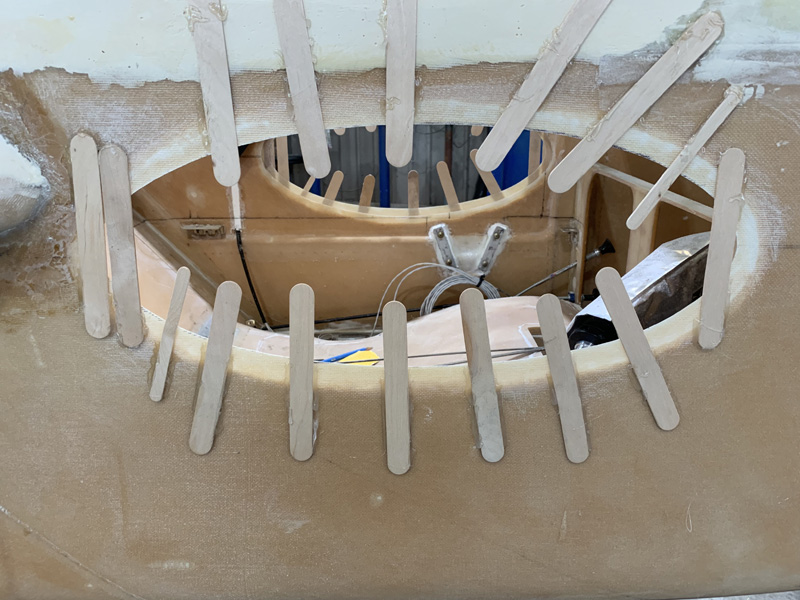
My idea is to get the windows flush with the outside using these sticks and hot glue. There will be a gap between the lip and the sides. I’ll be using plenty of flox to bridge this.
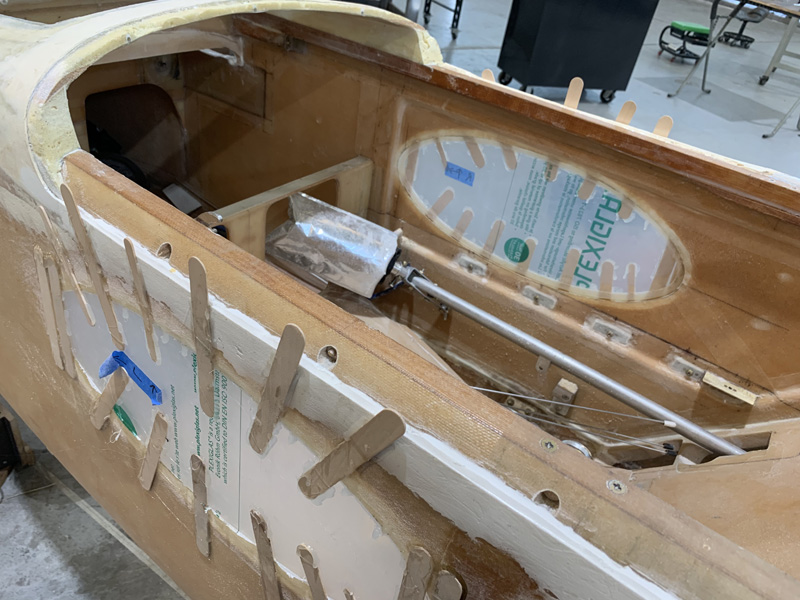
Less than an hour later I have both windows floxed in place with a little hot glue to help hold them.
Here’s how it is on the inside. You can see that even though the window is floxed in we still have a good gap to make reinforcement. That’s tomorrows job.

