| Date: 02-18-2019 | |
| Number of Hours: 8 | |
| Manual Reference: no ref |
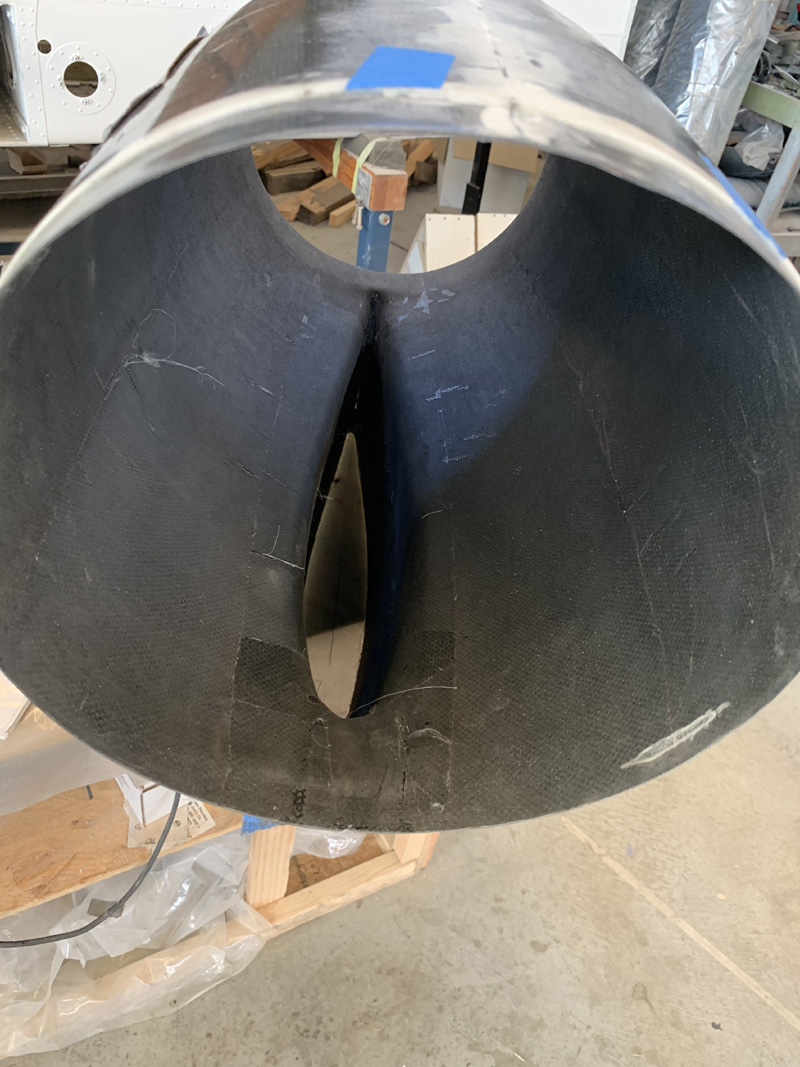
Now to reinforce the pylons.
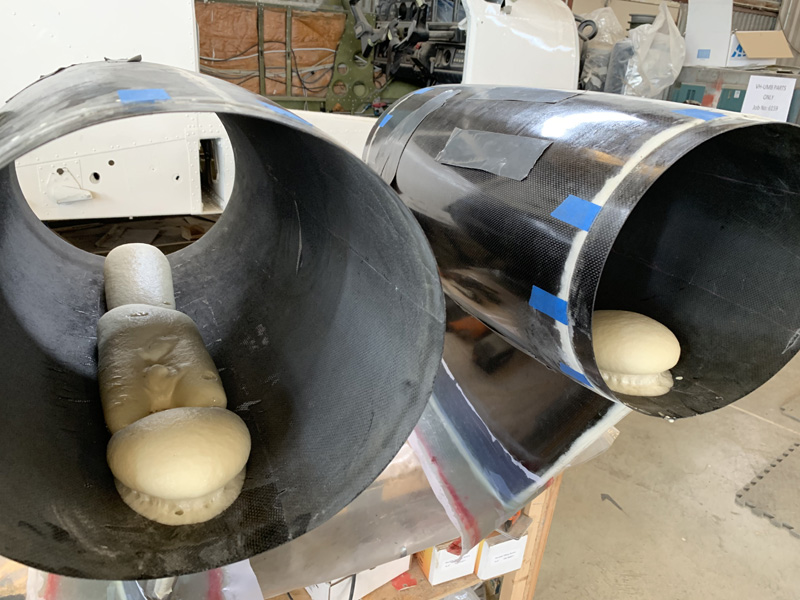
Somehow I need to get some glass down there sitting on the bottom and lapping onto the sides.
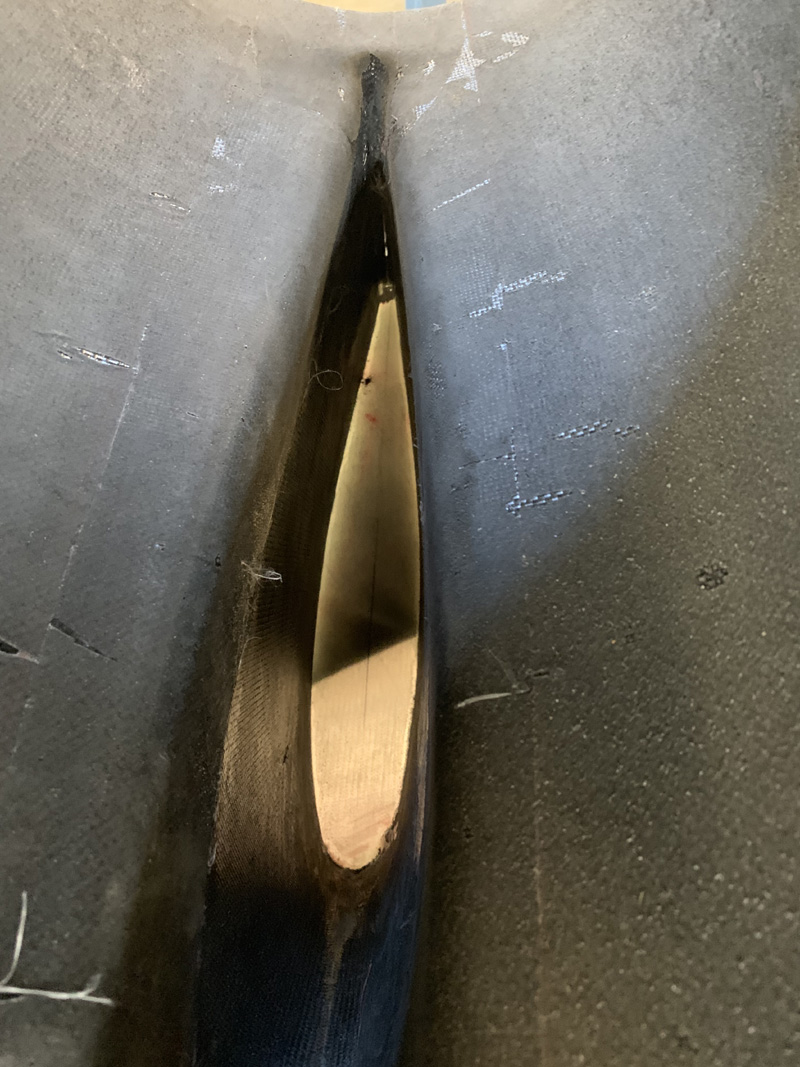
Here’s a closer look. Needless to say you cann’t really get a hand all the way down there.
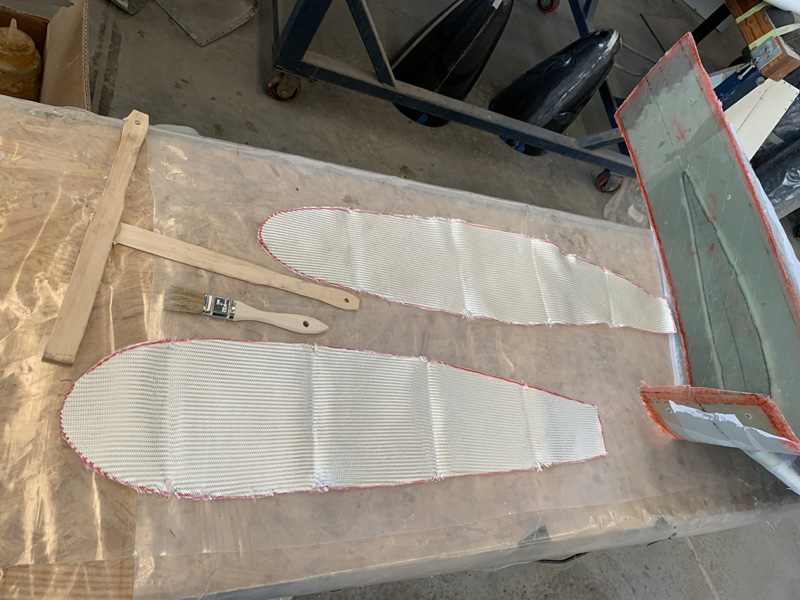
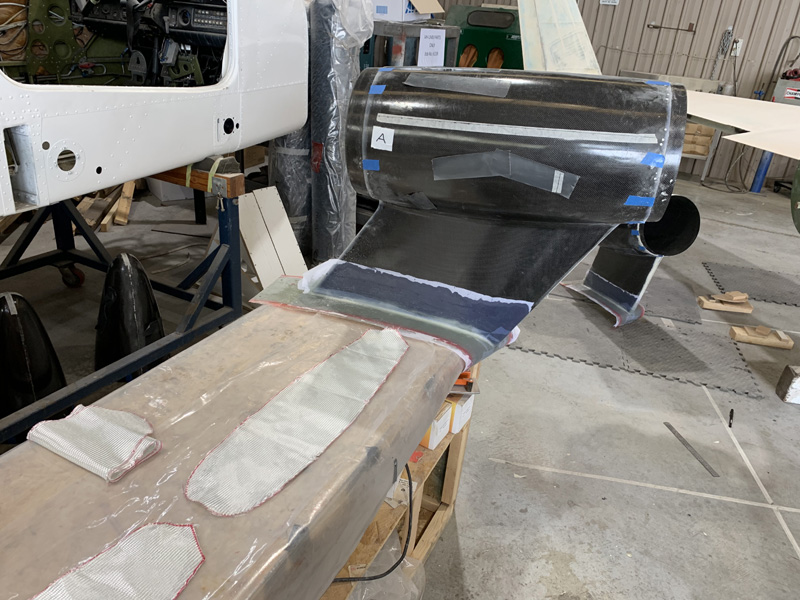
I wetted out the cloth and used the recommended T shaped tool I made out of a couple of stirring sticks. I did the best I could and would do better the next time. There is some glass down there between the bottom and the sides.
While the glass is wet the idea is that you add some pour foam and this will push everything in place. Too much foam and it will distort the pylon as it expanses. The stuff I have grows about X 8 and gets pretty hot. My plan was to use 100gram batches. Given its 20 second mixing time you need to get on with it!
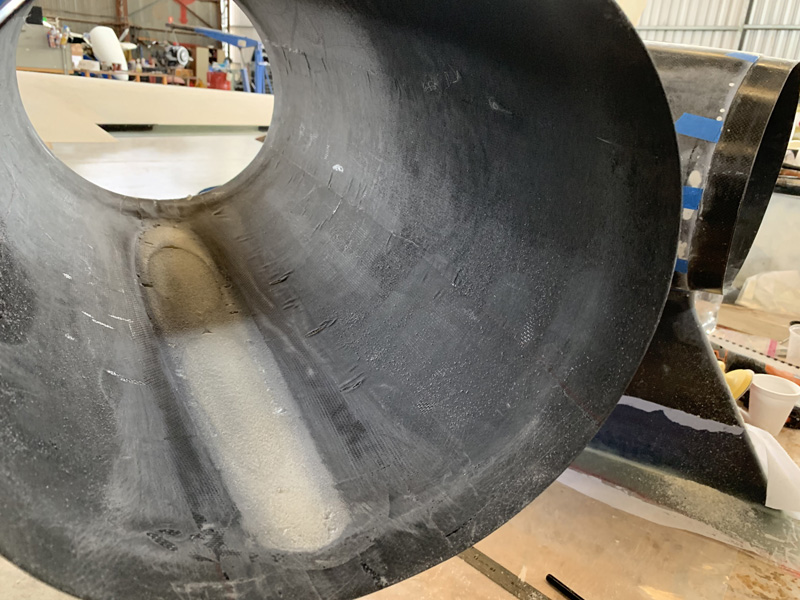
After about 6 batches I had the stuff grown well over the edges.
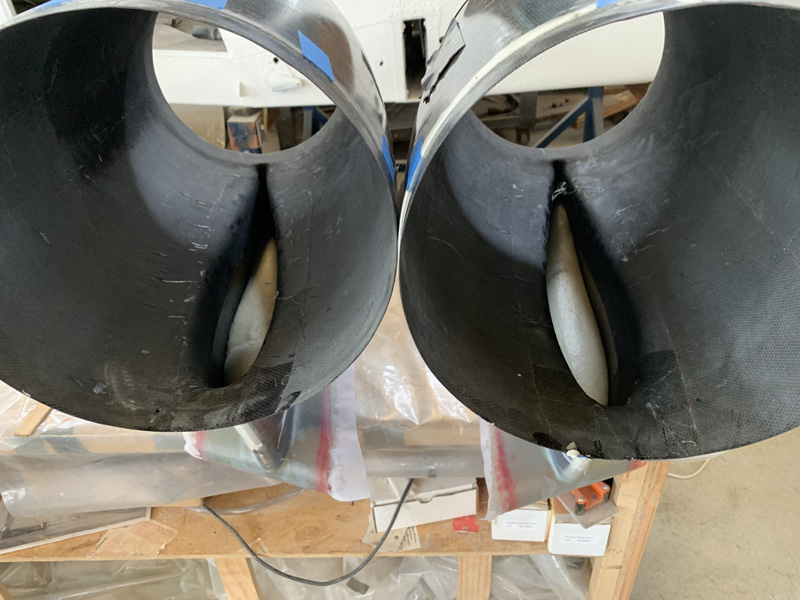
Less than an hour later I had a pretty good surface in both pylons which were now glassed at the bottom and full of foam.
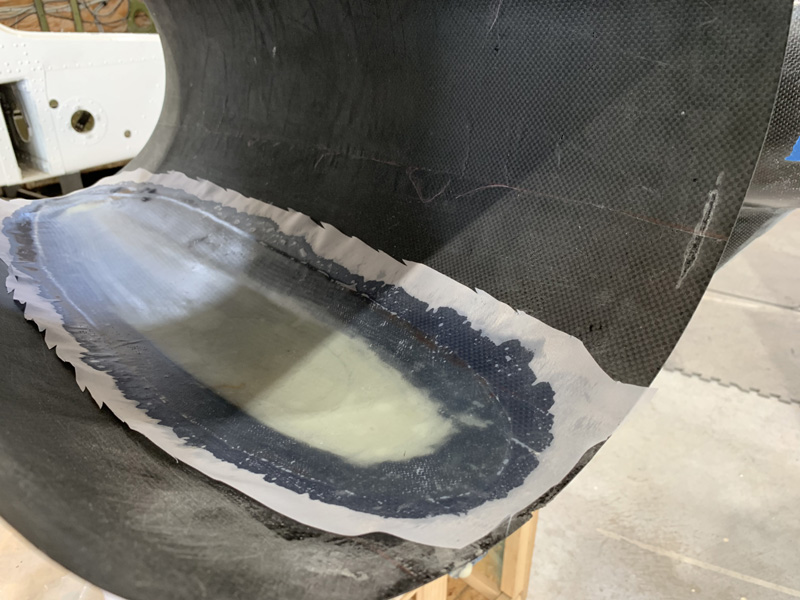
The next day I wetted out a couple of plies to seal the foam. It needed a bit of micro first to fill a few voids as is usual.
Glass on, peel ply on. Lets call these pylons filled and sealed and move on.

