| Date: 11-03-2023 | |
| Number of Hours: 10 | |
| Manual Reference: no ref |
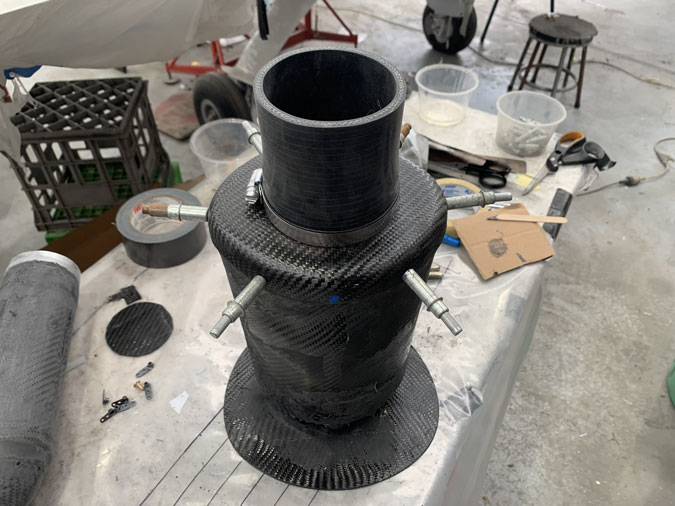
We are getting near to putting everything together so I can start tweaking the details. First up that lid needs fasteners.
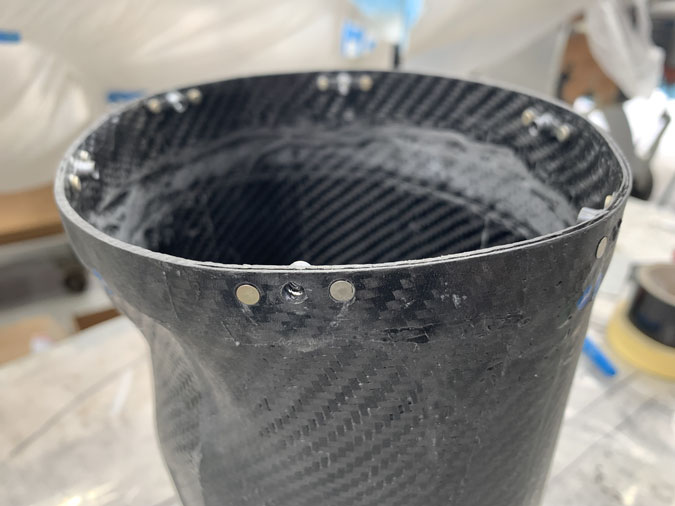
I had a couple of goes getting the holes for the screws and subsequent nutplates done. As you might have read earlier, I should have made the top lip deeper. Anyway, as always, I got it happening.
The six nutplates are all done with soft rivets. Did I mention earlier that I added some plies to the inner top section of the plenum box? This was so after countersinking I wasn’t dealing with sides that were too thin.
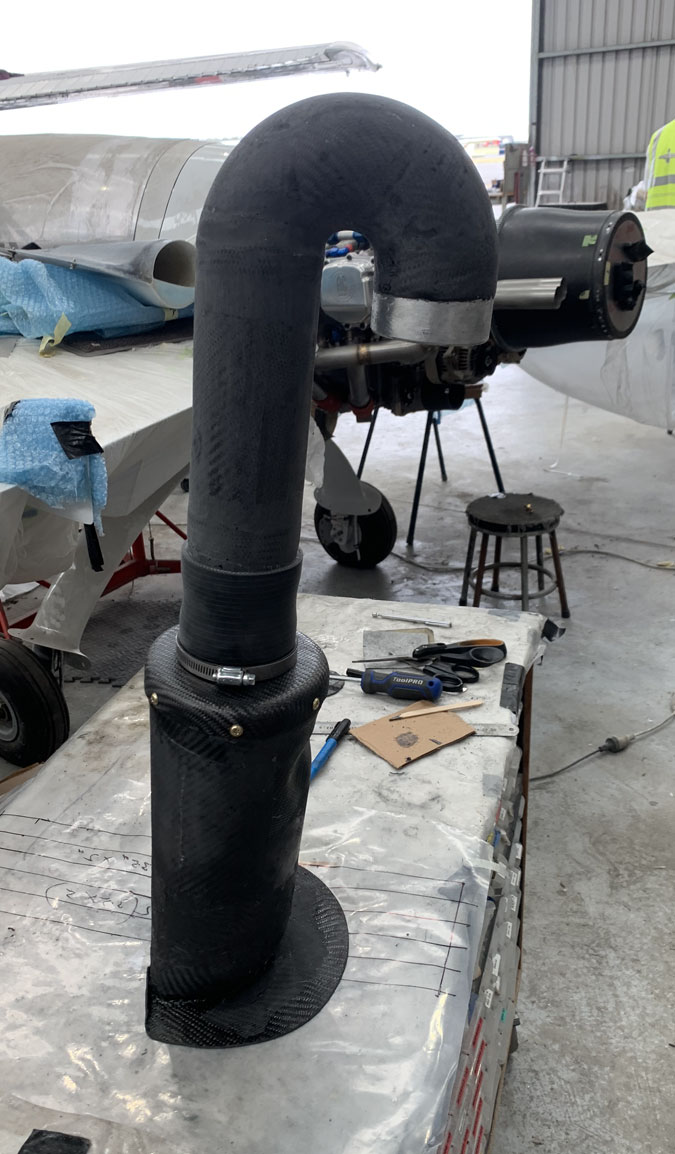
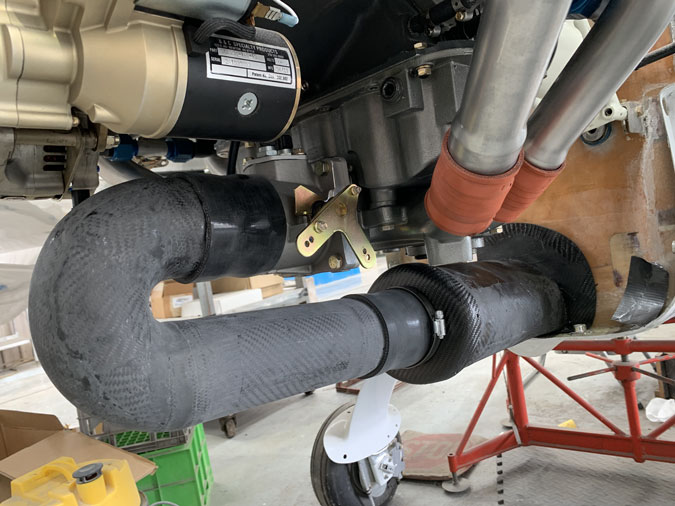
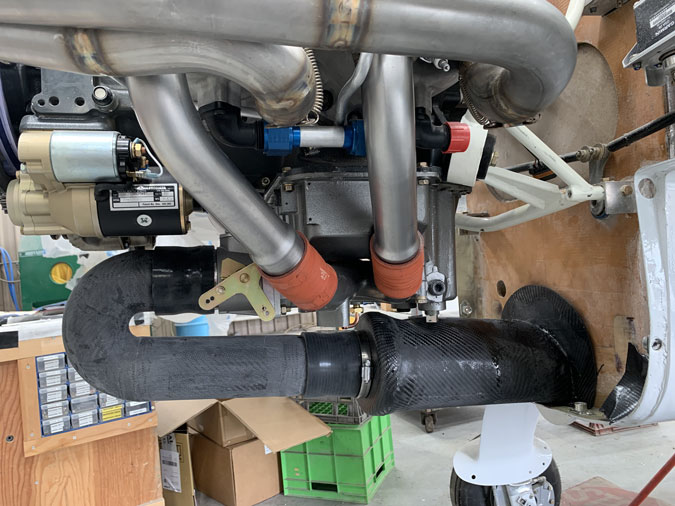
The monster is finally built. It wouldn’t look out of place in Lock Ness.
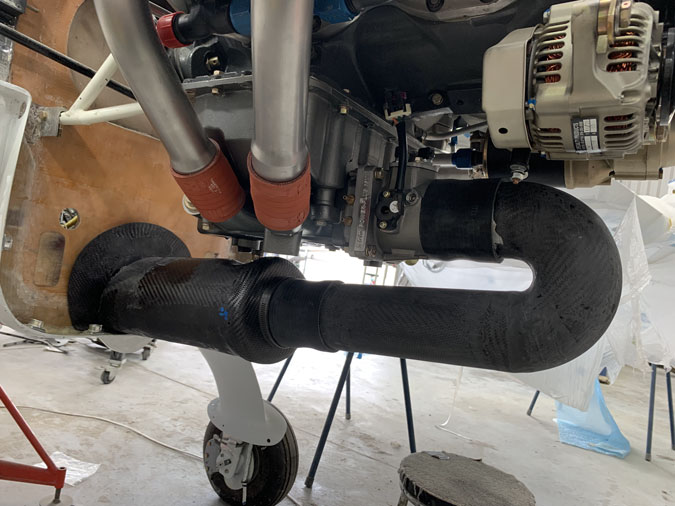
May I indulge in a few overall pics?
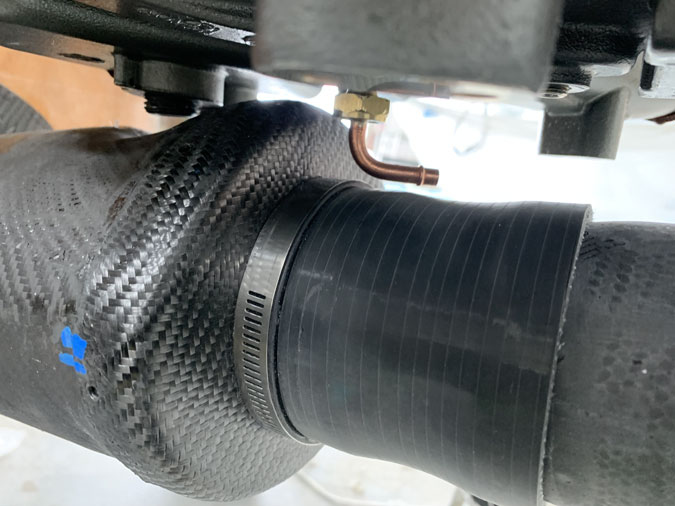
There is an issue with the sniffer valve clearance that has been bugging me. I might just get away with this. I may put a cable tie with some rubber use that tube as a fixing point to help support the plenum weight.
Its a bit of a monster with the 3″ pipe diameter, However I need to add a few millimeters to the angle at the firewall to have everything sit just right. Then I will be reducing the plenum face plate and fixing it to the firewall. There is still some transition work to do from the RAM air chute.
I’m pretty happy with the fact that I have gotten this far with quite a major part of the engine install.

2 Comments. Leave new
Hi, how is this flex pipe fixed to the carbon tube?
Very good question. I glassed in small lengths of aluminium tube to the ends both internal and external plies. It added a very small amount of weight but allowed a hard point for the hose clamps to grab onto without crushing the carbon. I think there are a few pics in my log entry of this.