| Date: 10-28-2023 | |
| Number of Hours: 12 | |
| Manual Reference: no ref |
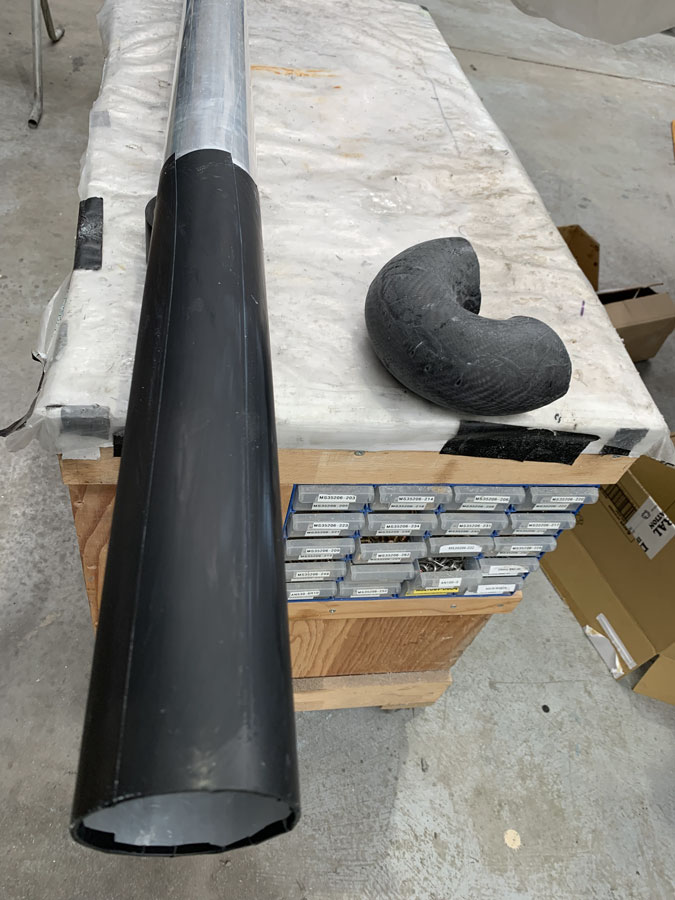
Having first made the U pipe now it is time for the long section.
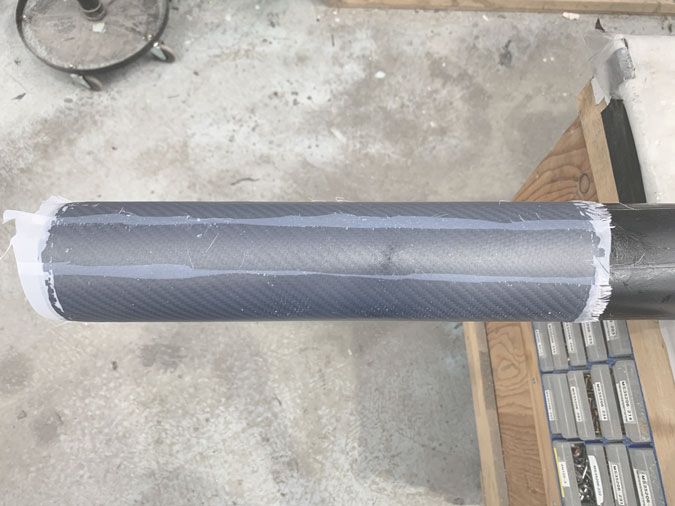
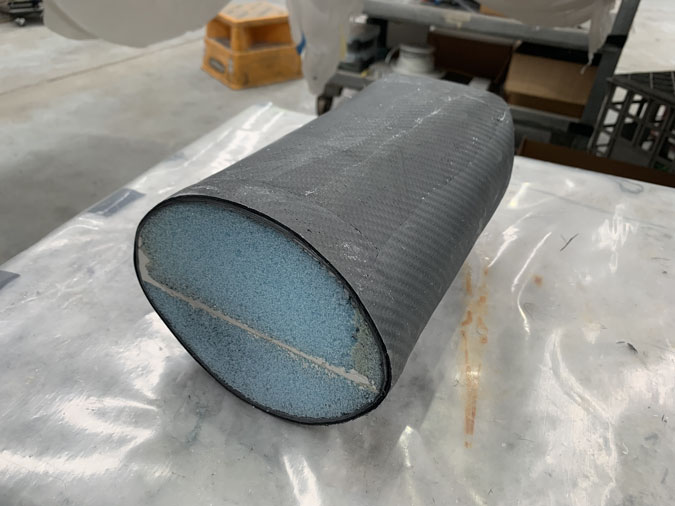
I wish everything was as ‘easy’ as this. I first covered my 3″ diameter aluminium pipe with duct tape.
Then after sizing the required carbon, I simply laid up three separate pieces and then covered it in peel ply. Later I cut a line with the dremel and carefully separated the piece from my pipe mold. It worked a treat. Another very strong and lightweight part.
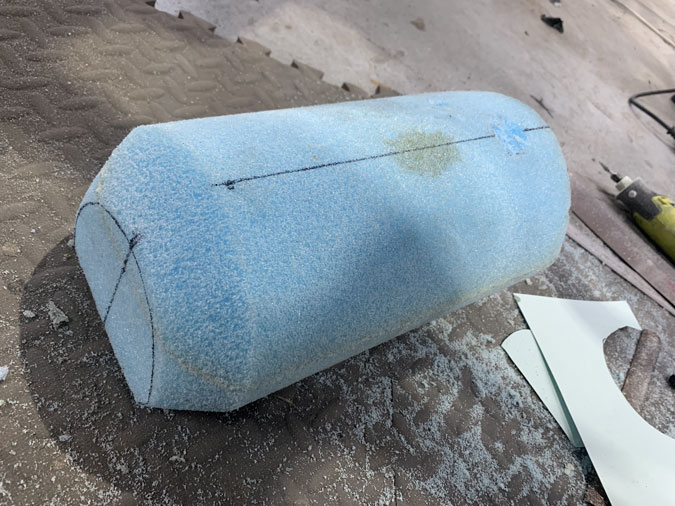
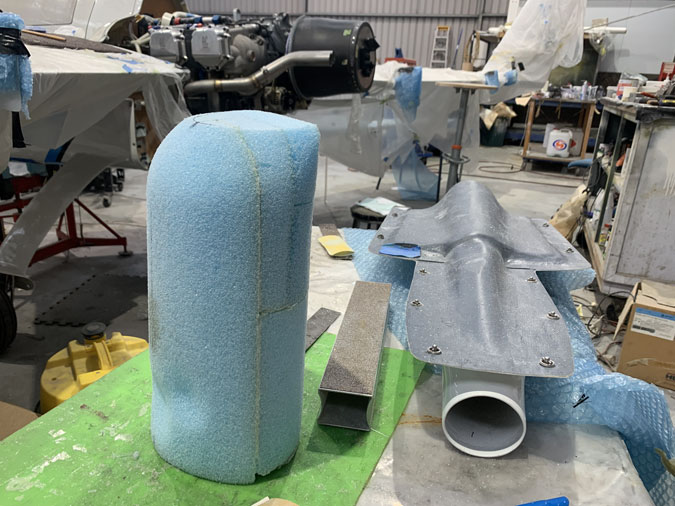
Back to my plenum mold. Some careful refining took place.
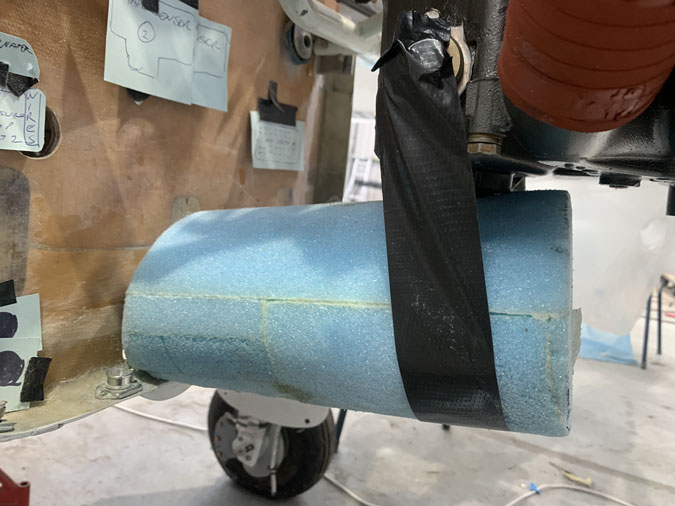
Clearances here are critical. What am I going to bump into? Will all the bits line up? Can I still put the cowl on or will I hit the bottom? So cowl off and on and the gaffer tape sling happened quite a bit here.
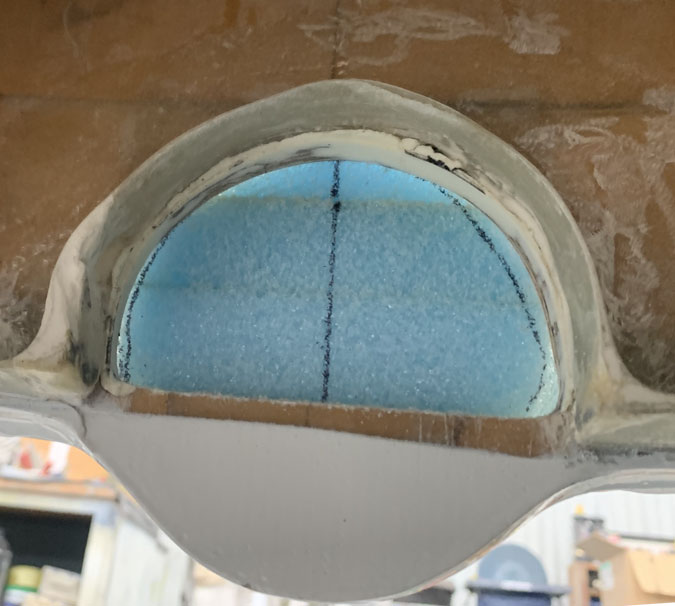
This is how it looks from the firewall entry. I am thinking about how the air will expand slowly and cleanly into the plenum space that holds the air filter.
You might notice a couple of dents in the bottom left of the picture? These are where the sump plug and a plug hole blank fitting just happen to be in the way. I want to ensure I won’t get any rubbing as the engine moves on its mount, particularly at startup.
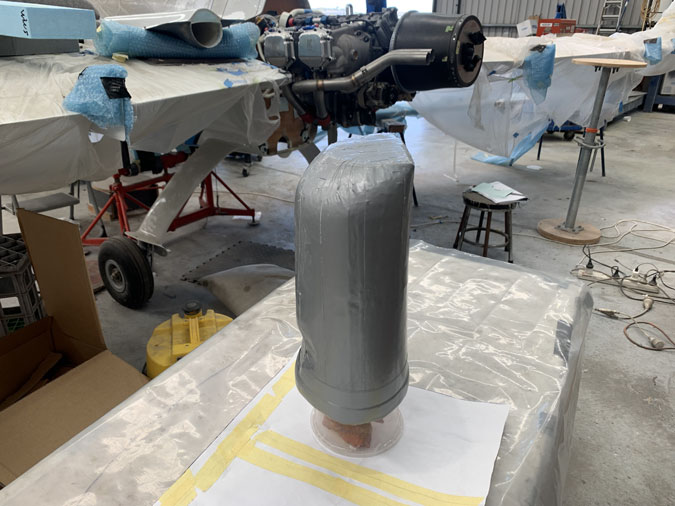
It took a while to get all the duct tape on. I first used some modeling clay to fill a few of the larger defects in my foam blank. Again, not a show piece, I just want this functional. I used a weighted plastic cup as a base and hot glued the mold base to it.
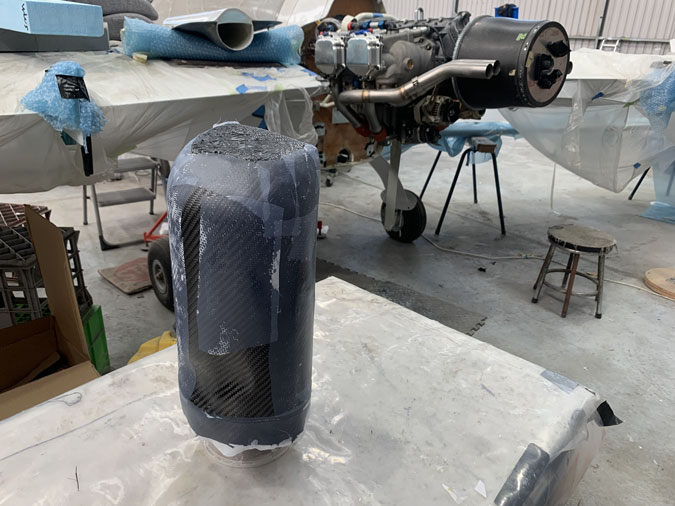
After quite a long three ply layup and a little peel ply we have a plenum.
This is the end that now needs a lid.

