| Date: 12-20-2013 | |
| Number of Hours: 10 | |
| Manual Reference: 19-4 |
The dates aren’t accurate but it may help in reading this log, a lot happened on the same days sometimes.
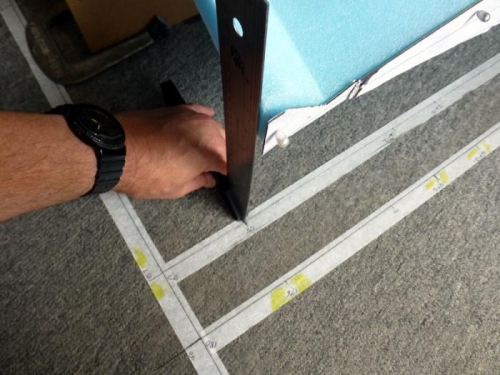
2.1 Setup FC2/3, lower wing, at least 8″ above the ground using the 4 jig halves which are as good as anything else for this. Place the lower corner FS 176, BL 157 and the upper corner FS 130.5, BL 55.5. Note a slight allowance for the thickness of the shear web. Thats 6 ply of UNI or around 1/20″ of an inch.
2.2 With the templates or lines drawn on each end of FC2/3 W.L. 17.4 needs to be level. Lines are needed on FC1 (template pinned on) and FC 4/5 too for later.
2.3 Now get WL 17.4 at the same height at each end of FC 2/3
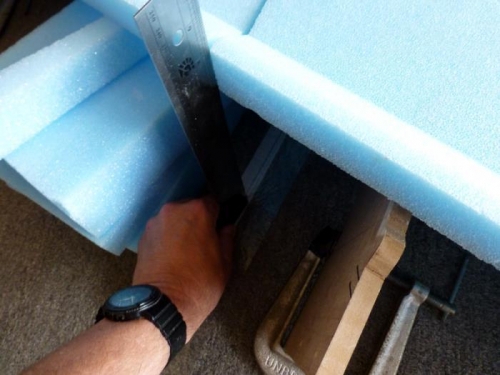
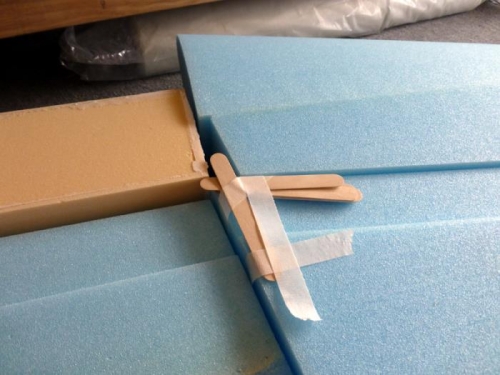
2.4 Recheck position, level and height of FC 2/3. Ensure it is secure and has room on the jigs for FC 4/5 to be placed on it later. Gaffer tape can be used to keep the jigs and shims from falling over. I put clamps on the sides of the jigs to stabilise them. As in pic 2. Pic 3 is a bit further along but you get the idea…right?
Use square in two directions
More square stuff
A rough check of heights


