| Date: 09-07-2021 | |
| Number of Hours: 15 | |
| Manual Reference: no ref |
The hinges for the rudders, ailerons and landing brake can be improved. There is a system where Teflon is introduced into the hinge with a replaced smaller metal core. This Teflon lining greatly reduces wear and stops the flying surface become loose at this point over time from the metal to metal vibrations.
Another advantage is they will not need periodic lubrication. A trail of oil from the hinge point can be seen on a lot of aircraft including my own flying Long-EZ, VH-JZE. I’ve always hated that.
A heads up is in the Canard Pusher 39 page 7 as a ‘Builder hint’. To be fair, this is not new information from canard people, it is well known and used in some GA airplanes.
 .
.
Two issues, its hard to know what sizes and materials to use and it is hard to do this simple mod. You have to stuff a 0.1″ soft liner into a hinge while adding a metal core AND the whole thing needs to be tight.
All the right sized materials can be bought from James Russell in the form of a kit for your airplane. Here’s his email:- fshort@flash.net
That’s what I did. The kit comes with instructions and install suggestions. James is very helpful if thats what you need. Here’s one of the methods, with pictures, that worked for me.
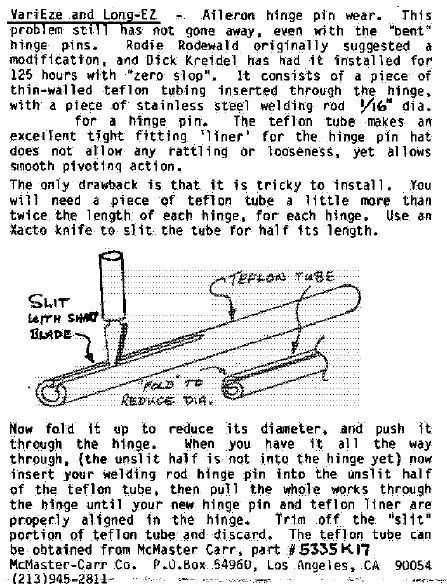
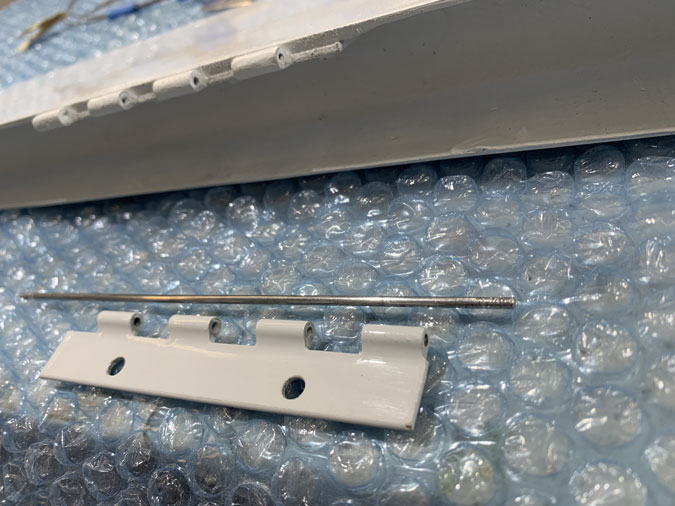
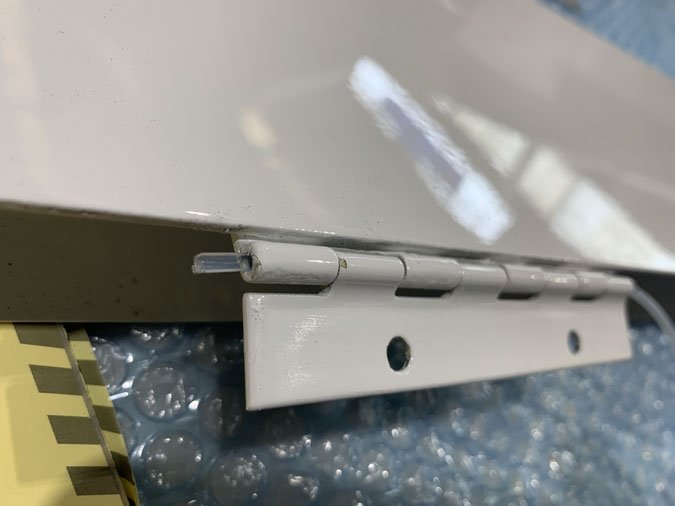
Here’s a rudder hinge with the original pin. My plane has just been painted and the original unpainted perfect fit aluminium hinges now need quite a clean up. Did you spot my mistake? A smarter person would have put the original hinge rod material in place before painting. You’d need extra rod if the hinges were painted apart which is the way to do it. This way no paint could get in that would later need removing. Maybe in my next life…
I started with small drill bits to clean out the hinges.
Then I moved to a larger pin to get more paint out.
A final tool was a piece of original hinge pin. I made some notches in one end with cutters. This made an excellent final reaming tool to ensure the holes were clean. You want this right or you will never get the teflon liner tube inserted without drama.
Lots of reaming and then a bit of work with sand paper and even a razor blade to clean off any paint so the hinge halves go back together.
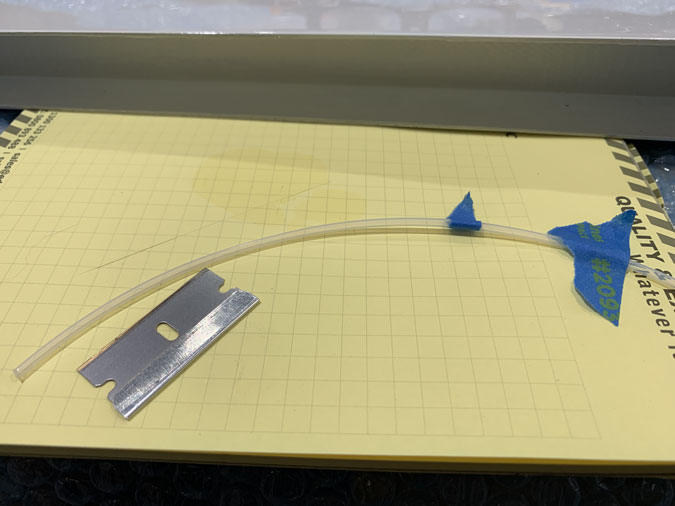
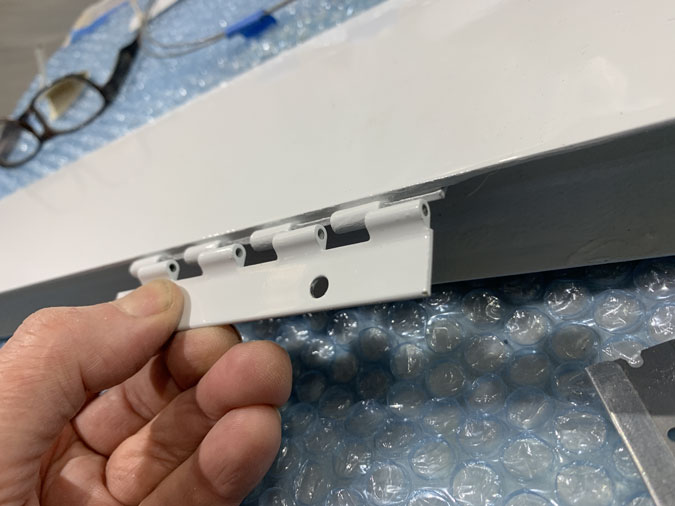
Next I prepared the Teflon tube. You need a piece twice as long as the hinge plus an inch or so.
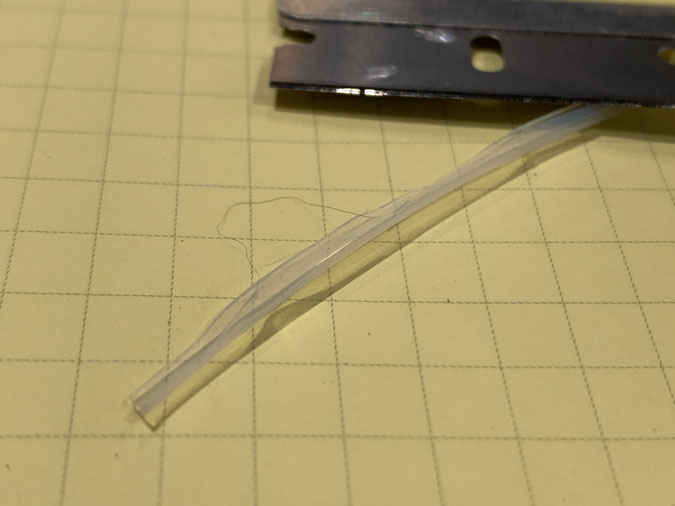
I carefully sliced off 1/3 to 1/2 of the tube just over the length of the hinge. If you slice too much it will break later. If you slice too little it will not fit easily.
Wooooh! Hold it. It is time to clean with something like Isopropyl alcohol, we need clean, rinsed out hinges to prevent wear from any dirt or grit.
Now you need to feed the cut part of the tube into the assembled hinge. As you do this wiggle the hinge up and down. That’s to help alignment, particularly at the joins. If the tube seems to get stuck, relax and pull it out again. Chances are there is a bit of tube that is not sliced through and is still a bit thick. I found a few places easily, used the blade and had another try. The tube, with wiggling should feed through pretty easily.
Be careful not to force it and kink the tubing. Have a sip on your drink and try again.
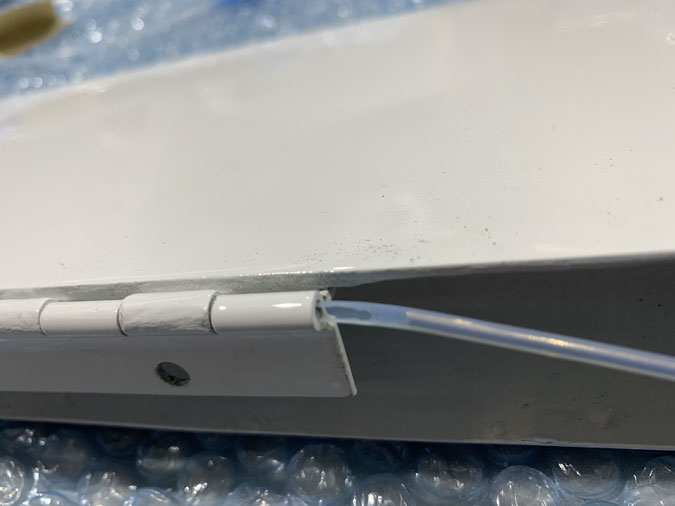
Once the tube is all the way through it should look like the above. A bit of the cut area showing, at both ends of course. I put a mark on the tube so I knew when I was almost through.

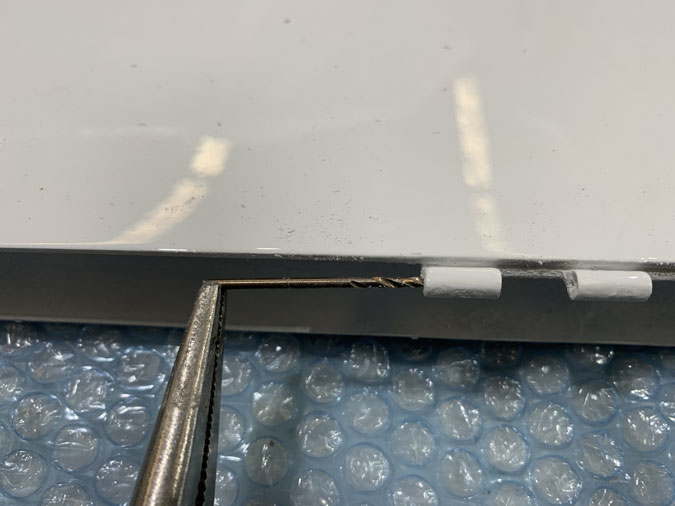
Now insert your new thinner hinge pin into the good whole tube. I straightened mine out a fair bit. However I think leaving a bit of a curve helps the pin stay put in the hinge. In the picture above the lower piece has too much curve and the one in the plastic worked for me.
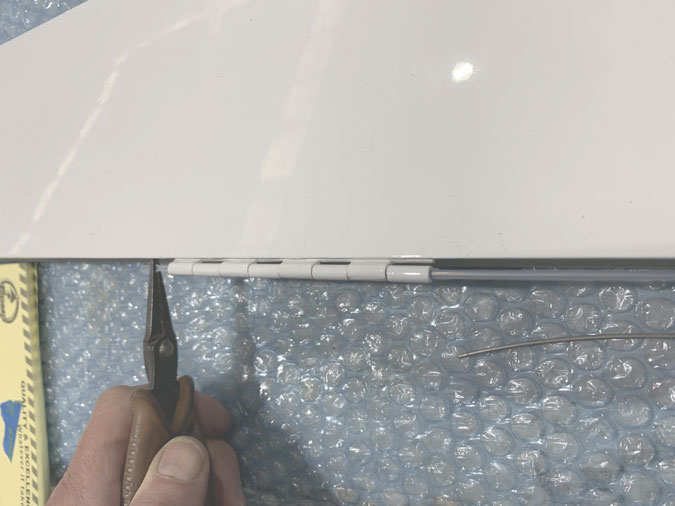
Now you have to get the whole show from one end pulled through. Don’t be tempted to push on the hinge, it only makes the tubing bunch up. It needs to be pulled through. Some sort of Vaseline or aviation equivalent may help a little. You need to pull gently and firmly at the same time.
Wow. Don’t forget to wiggle the hinge a bit as you pull through. If the lining breaks at the pliers you probably cut too much off the diameter during your slicing preparation. Oh well, get some more tube, you have extra right? and try again. Out of six hinges I only broke one. You do need to go slowly.
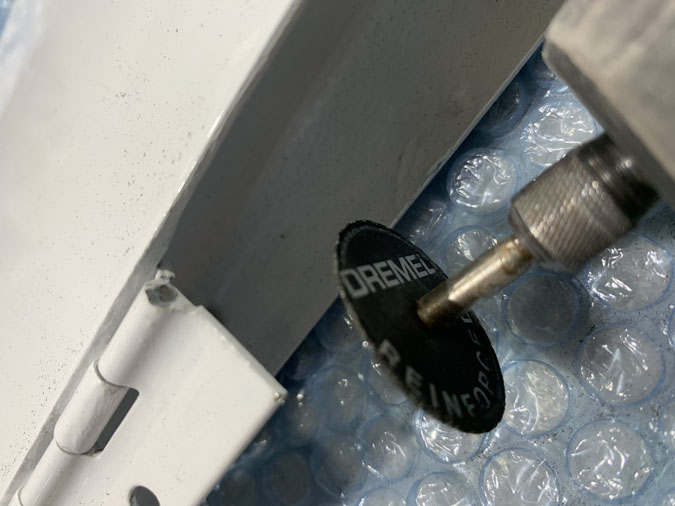
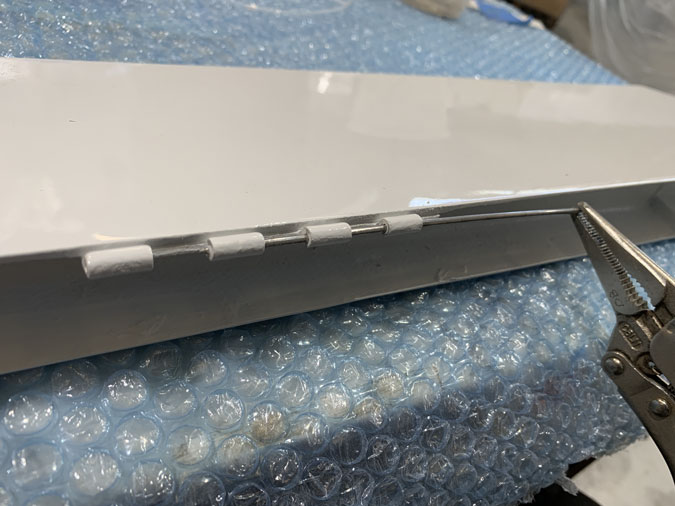
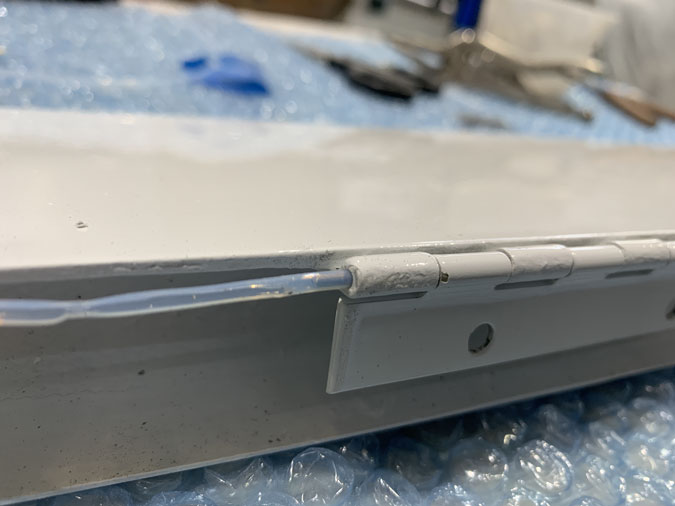
My clean up tool for the overhanging edges was the dremel wheel. Don’t forget you need some sort of hinge retaining system as your ‘safety’.
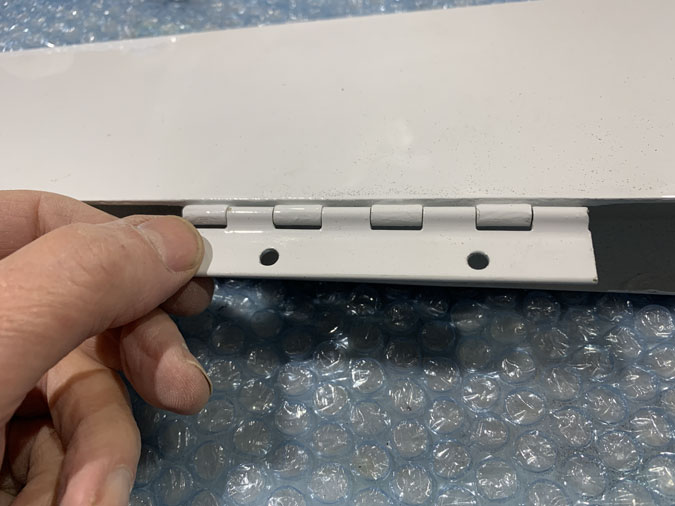
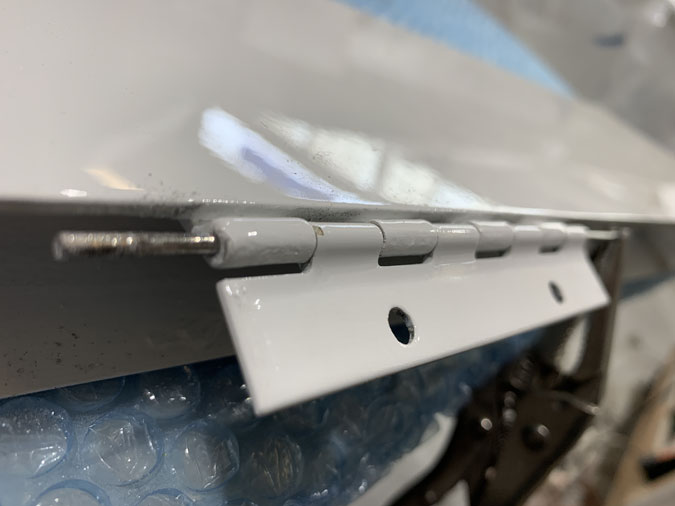
Here’s this hinge done. It is disappointing that it looks like any other hinge, but we know it’s special.
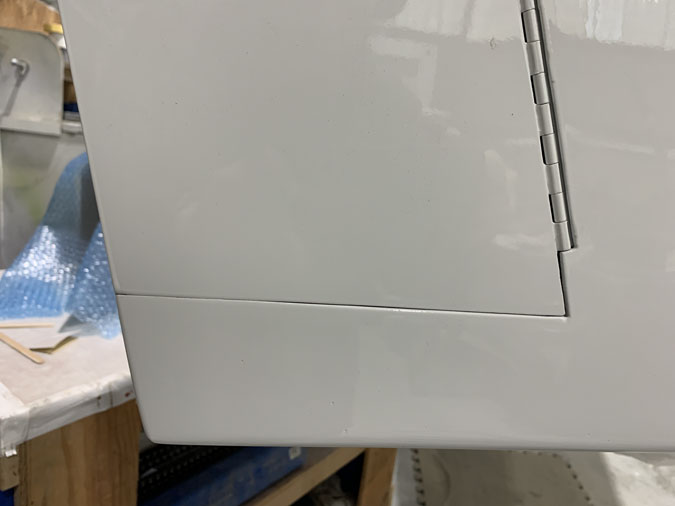
Here it is on one of the rudders. You can see the hinge pin is retained by design of the cutout in this case. Your application might need something else.
I really like this mod. It is proactive maintenance reduction and gets you a very smooth working flying surface.