| Date: 05-16-2019 | |
| Number of Hours: 32 | |
| Manual Reference: no ref |
This was another 5 days work. Well four really, I worked on my flying Long-EZ for one day. There is always a benefit in doing supervised maintenance as I am allowed under the regs. I intend to continue this even when I have fully authority to do everything myself on this new build. There is knowledge in the hangars full of licensed people and a second set of eyes is something I would be foolish to give up.
This ram air mod is in two parts. The scoop itself and getting it fitted in the hell hole while still allowing full access to this area. No small challenge.
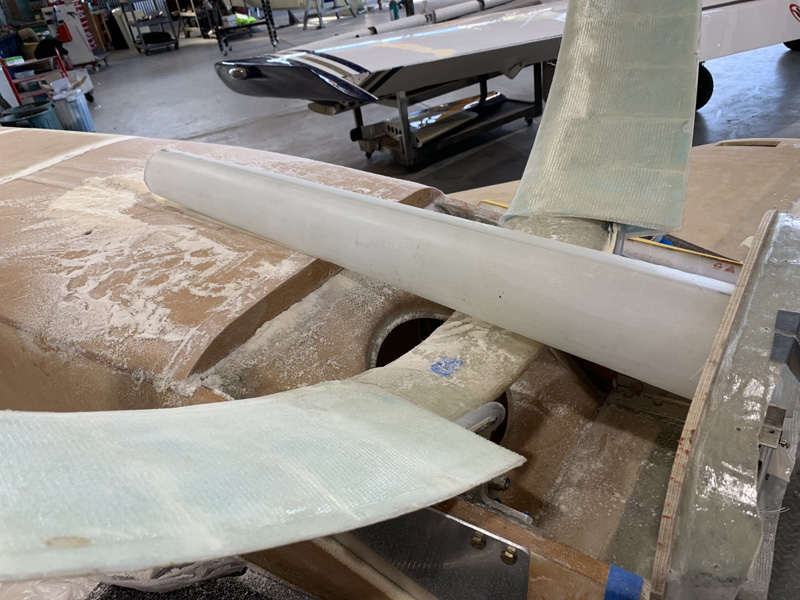
I first trimmed the gear fairing, if only to reduce unnecessary weight. Then I had to confirm that this scoop was going to fit and have an idea of how much I was going to be cutting into the floor of the plane. Much less than I though as it turned out. You might notice that I have cleared the scoop of its blue foam mold. That worked out very well using grey release tape and patience while getting the form out from within.
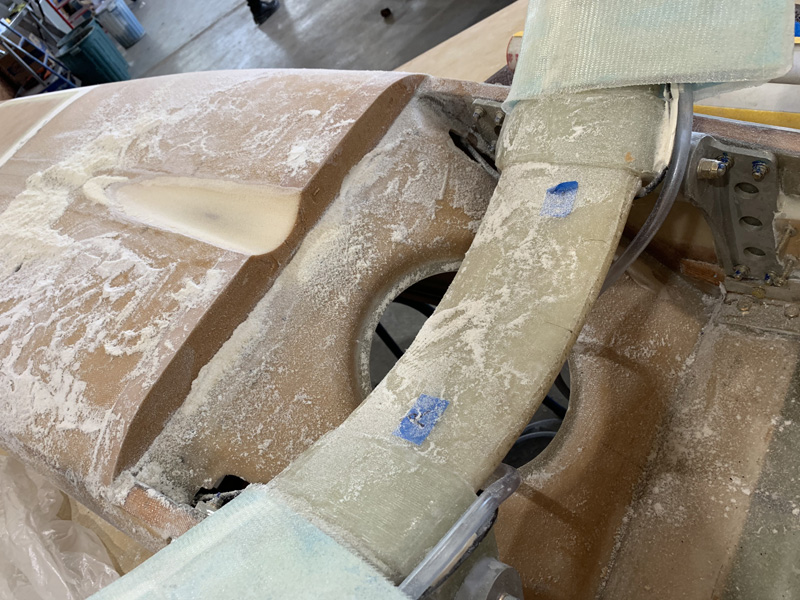
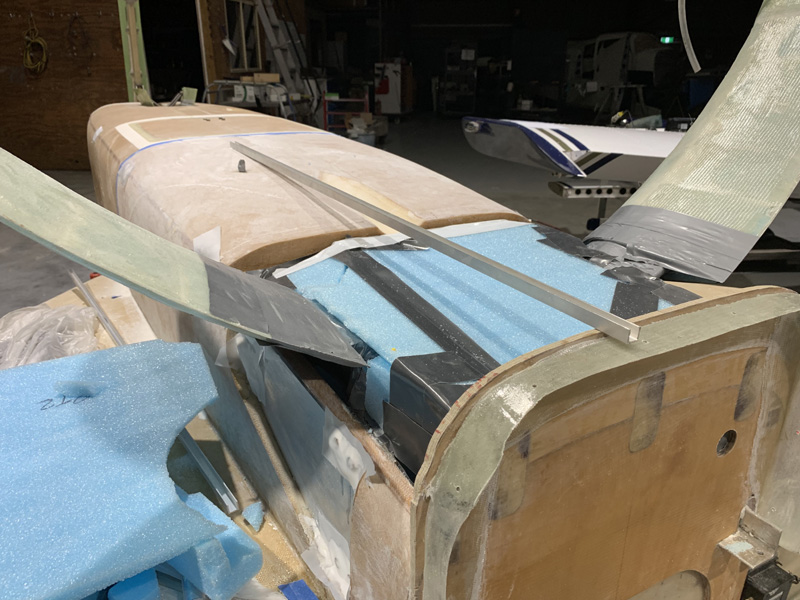
This gives you an idea of the ‘adjustment’ I had to make in the fuselage floor.
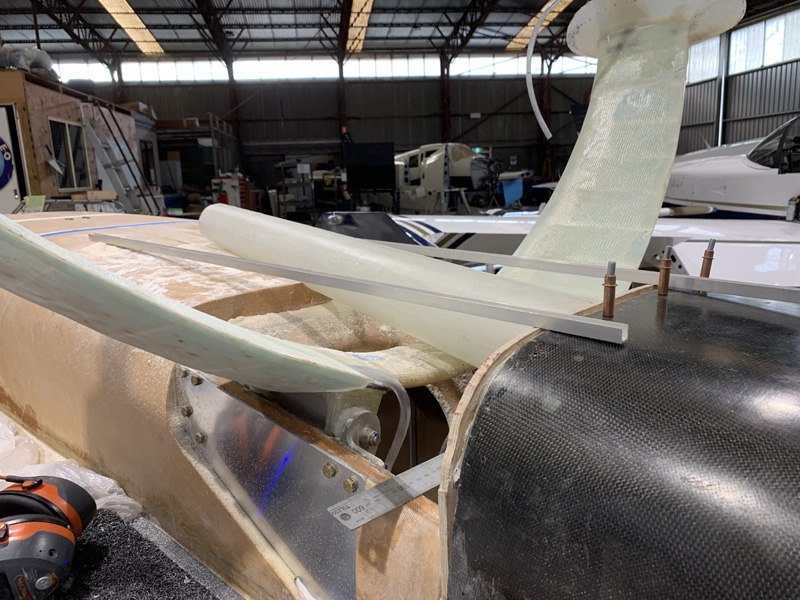
The extrusion straight edges show how much extra floor body needs to be added to get a smooth transition to the firewall from the fuselage bottom.
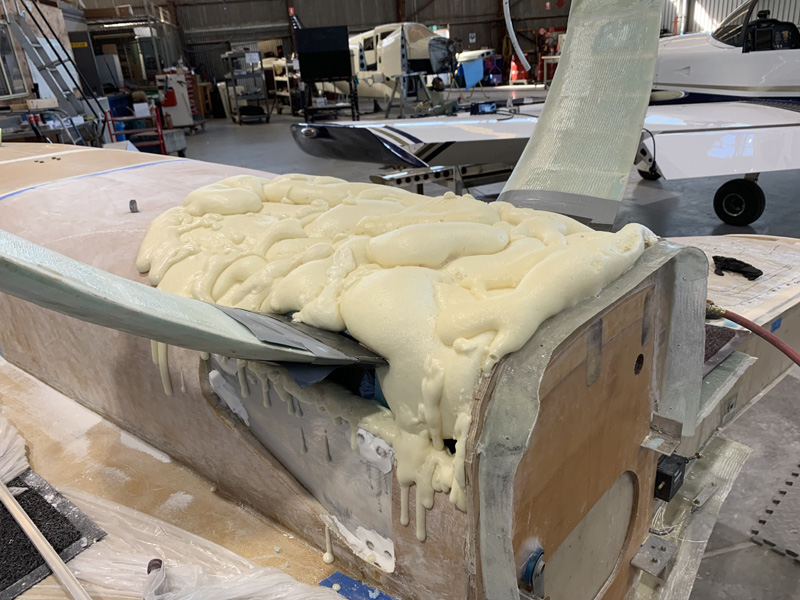
I could make beautifully crafted inserts on blue foam to do the job, OR I could use pour foam of the same density, 2lb per cubic foot or 32kg per cubic meter. The plane won’t know the difference and it is going to be a non structural cover.
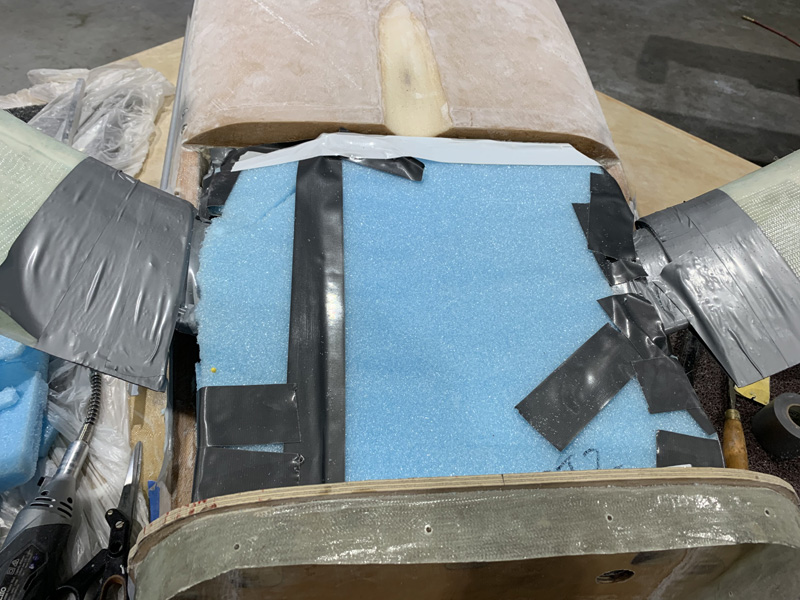
I just stuffed some left over foam into the cavity as a base. I did take quite a few photos and measurements for later. You can see here a LOT of fill is required to make the lines right. Of course most of it will be removed later.
You might notice that I have covered the plate bolts with micro. I also did this with all the seat belt exterior bolts. The idea is that if I ever have to tighten the nuts I don’t want the bolts to rotate. I suspect I will never have to tighten them. They are torqued to spec and have blue torque seal indicator lacquer on them for later visual checks.
A guy has to have some fun. So I did opt for the excess mess over the carefully fitted parts.
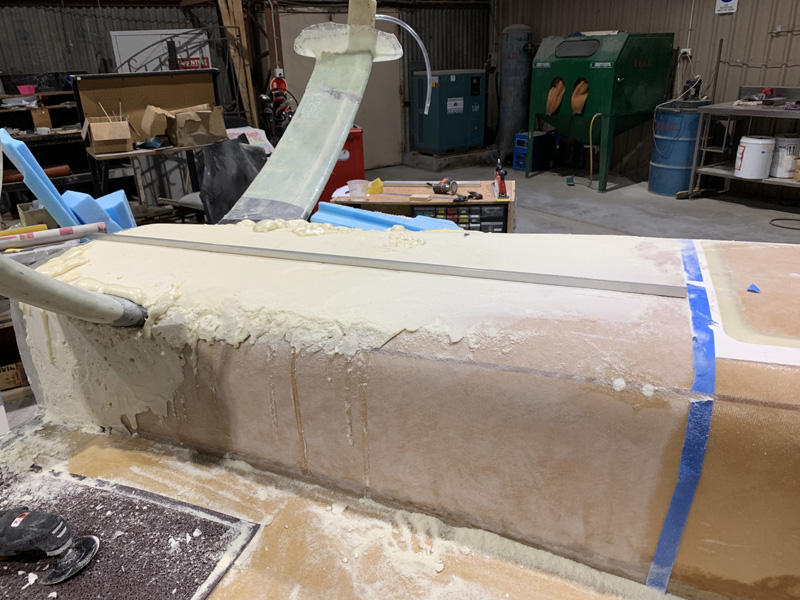
Time with the vibration cutter and the power sander removed the bulk. Next came the sandpaper glued to conduit as I used on the strakes. 40 grit paper still needs a little time to cut the foam.
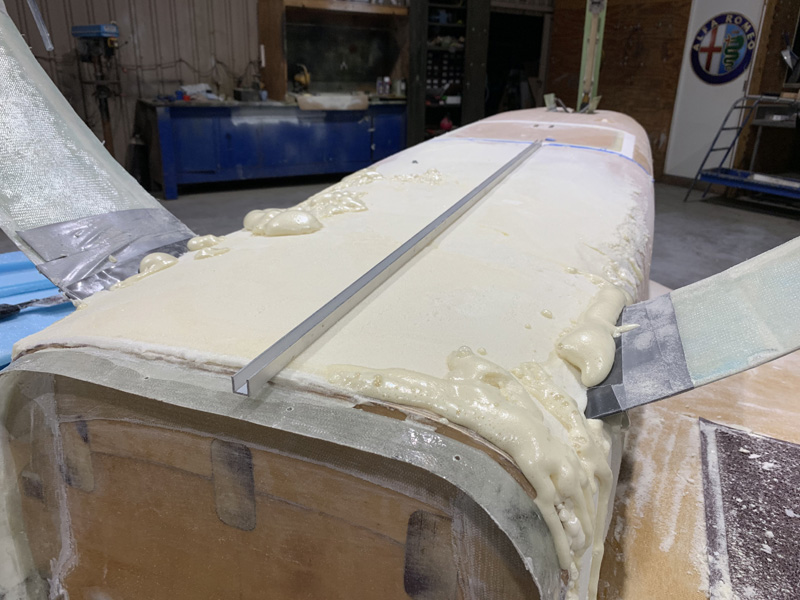
You can see I am still filling a few cavities. Its almost flat on top (or underneath as we are inverted). There is plenty of work left on the sides to go. Where I find a deficit, I just add more pour foam and an hour or so later it is ‘sandable’.

