| Date: 05-24-2019 | |
| Number of Hours: 14 | |
| Manual Reference: no ref |
This edition of ‘hatch lips’ includes another epic fail.
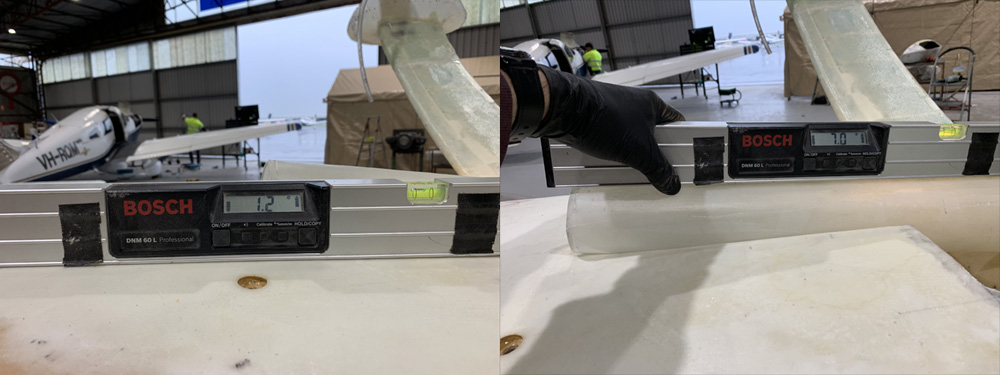
Just before moving on to the hellhole cover lip… I really needed to be sure what I was doing with the RAM air scoop position. If the fuselage was at 1.2 degrees and the scoop sitting at 7 degrees, then my scoop is 5.8 degrees to the bottom of the plane AND it would be 3.8 degrees to the relative wind. Ideally it would be zero to the wind but I’m OK with the 3.8 and I think it will still collect the air for the engine as I want it to. The main thing as I understand it is that the air entering the scoop would not go turbulent.
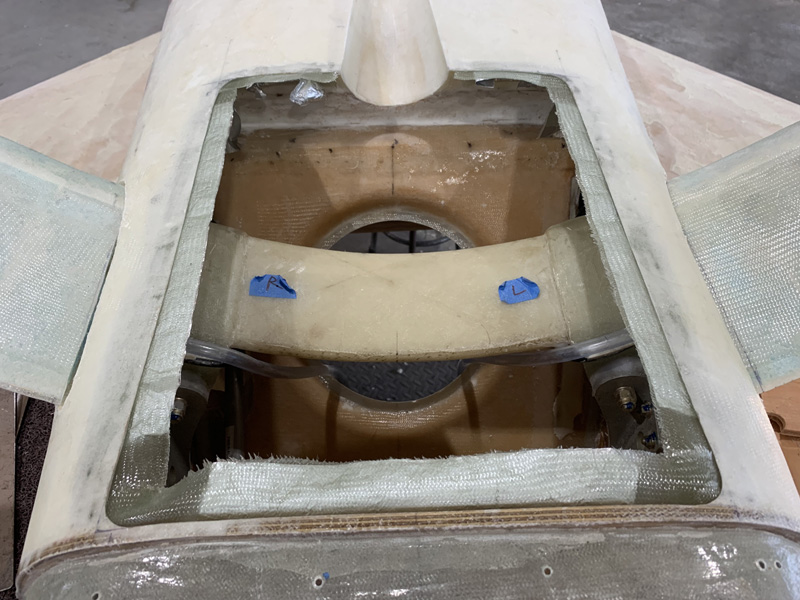
Time to make lips for the hellhole cover. The hatch lip had previously received an extra 3 Ply around the edges and feels quite stiff. My plan was to get the top in place and then layup the tapes from underneath through the hellhole backseat opening.
Oh, while I was at this I did do several hours on the strake undersides over two days and have put on the first coat of filler. That’s not worth its own log entry so I included the hours in this one.
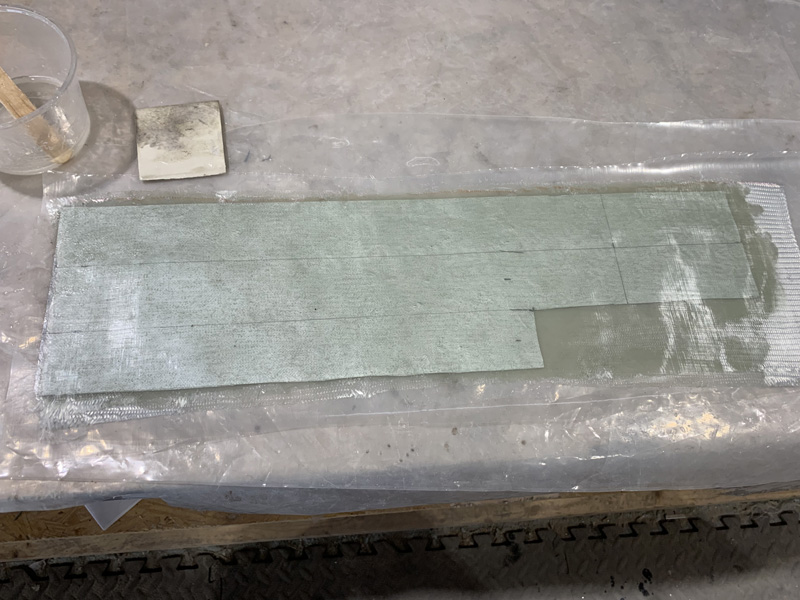
I did a very careful 3 ply layup for the four tapes.
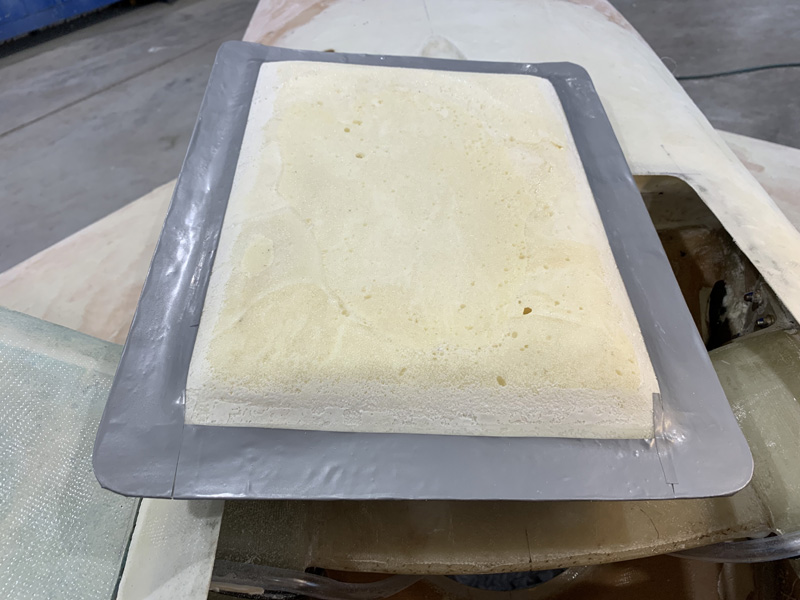
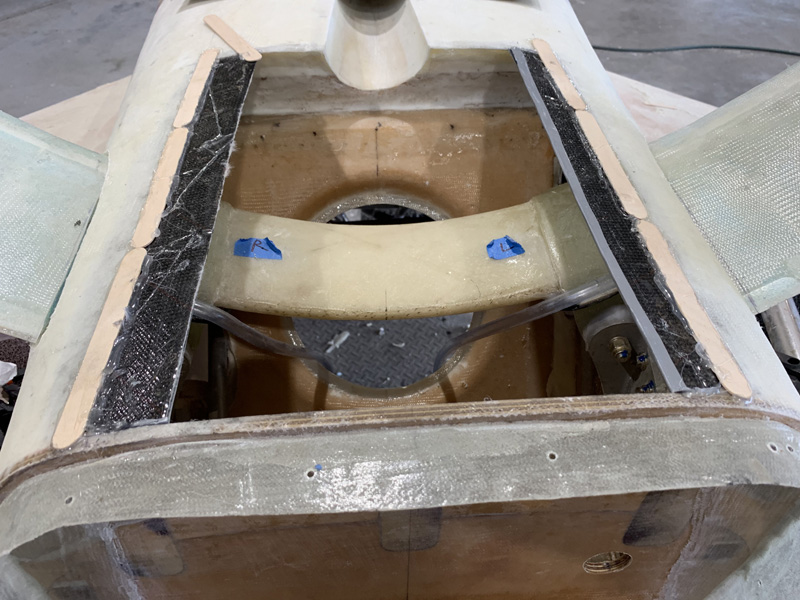
I positioned them as you can see above and then carefully placed the taped hatch lip in place and hot glued it flush to the edges.
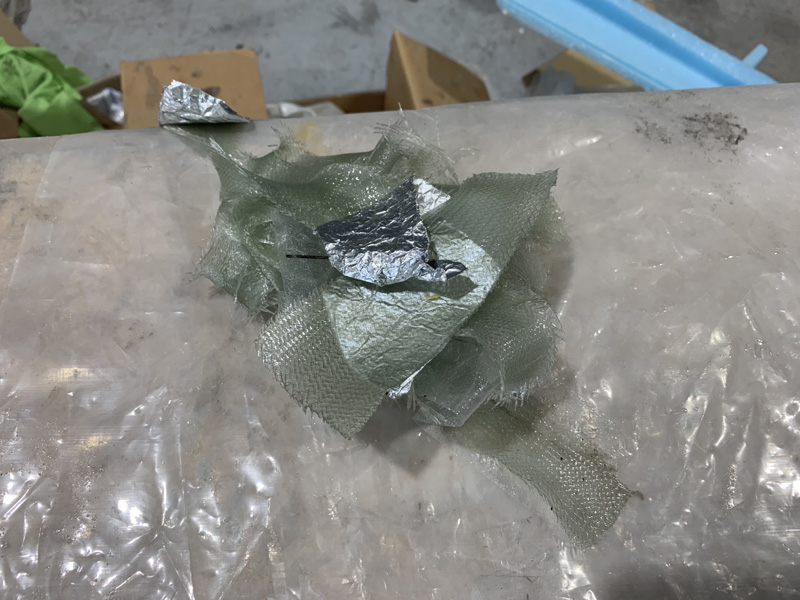
I then found all the tapes fell out and I couldn’t get both hands in from underneath to properly reposition the wet lip edge layups. I had several tries…. and then called it. Epic Fail. See the picture above…
I gave up on all that work and went to think of something else. I am not a perfectionist by any means, however if it isn’t going to work I will scrap what I’m doing and get on with a better method straight away.
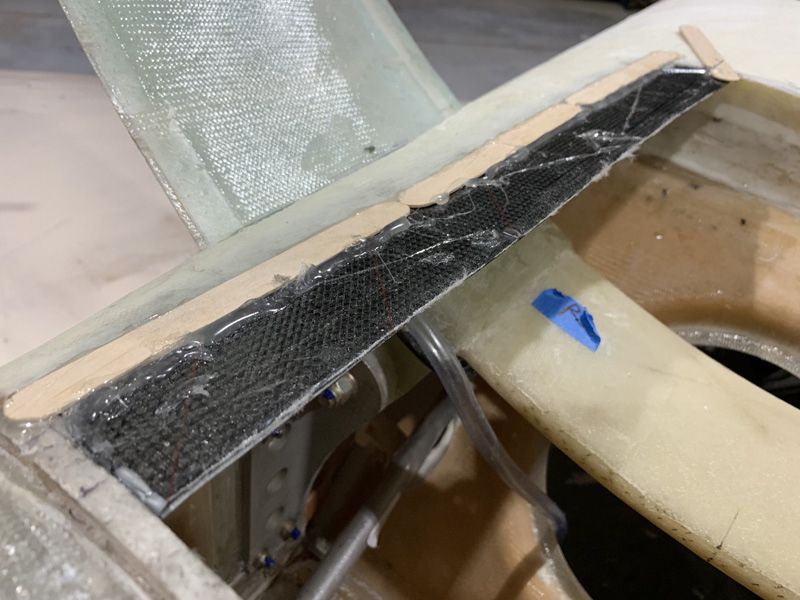
Method B. I had some carbon scraps from the cowls that were about the same thickness as my hatch lid edges. I have hot glued some sticks to the top edges and then fitted in these spacers with grey tape on the bottom.
You can’t really see but I have done a 3 ply layup on the bottom of these carbon pieces and the hatch edges that are 2.5″ wide and span the inside to spacer former to make a lip. I will do the front and back areas tomorrow when these are cured enough to continue. I hope the hatch will sit flush with the edges or I will make adjustments. This was an easy layup compared to trying to do it though the backseat access hole.

