| Date: 10-06-2016 | |
| Number of Hours: 4 | |
| Manual Reference: 13-11 |
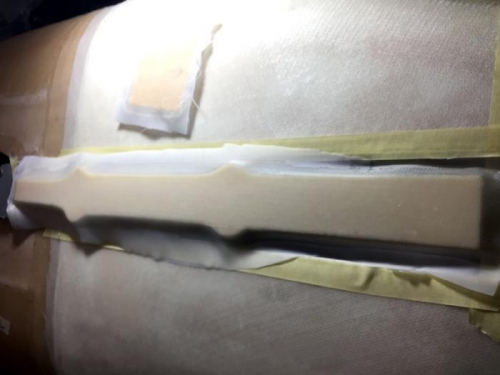
Next up was to cover the ‘leg faring spacer’ I think we can call it… with one ply of BID and peel ply. I also did that side piece you see in pic one. This side piece was some carefully shaped foam that will fit under the main faring covering the NG6 plate at the forward part of the leg up the nose. Yes this is all a part of my plan from a few log entries ago. Best I just show it later in a pic… too many words otherwise.
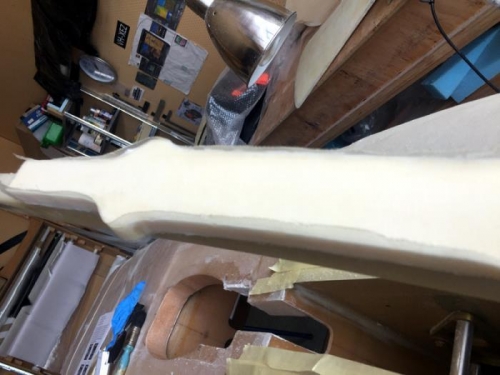
Pic 2 has the leg face all cleaned up. As the foam is a little thick here I’ve added a ply of BID to the sides along with a small flox corner of course. Given this area is exposed in taxi and landing I really want it all sealed properly.
With this all done I cut the glass for the nose faring itself. Then as it was only 3pm I thought I might do that layup now. It did mean that I may have compromised the spacer side layup as it is still wet. If its not good when cured, I’ll redo it later. I’m itching to make some more visible progress today.
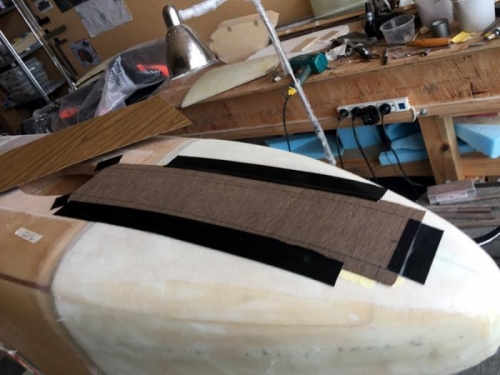
I found some thin laminate material and taped it to the nose which made an instant faring mold! (pic 3)
Foam glassed and peel plied
Trimmed with sides glassed
Fairing mold


