| Date: 11-10-2017 | |
| Number of Hours: 6 | |
| Manual Reference: no ref |
Today was a long one. Time to just secure those leg fairing foam pieces. I read the various posts and instructions on line and printed out a summary. I leveled the fuselage and made parallel lines yet in the end these pre-cut pieces only fit on one way with just a small amount of variation.
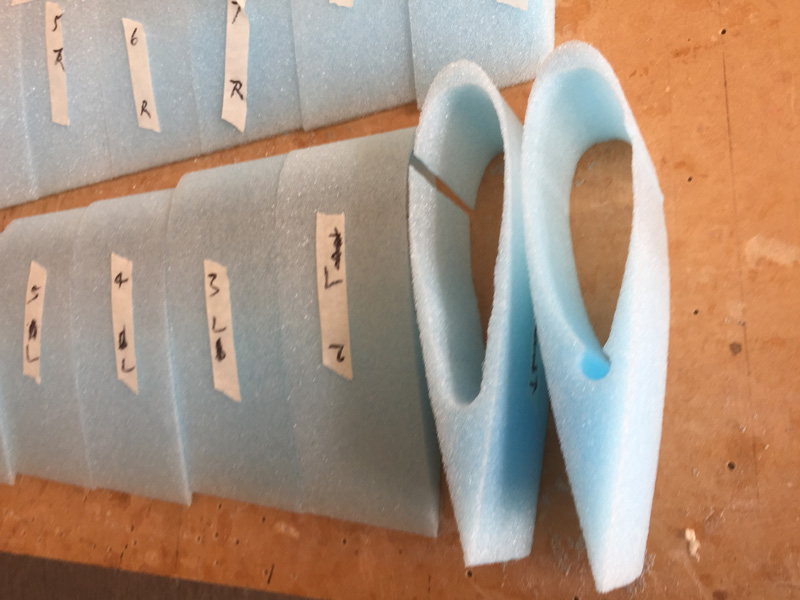
First up was to enlarge the rear gaps to fit my relief tube. You can see here the different between the pre cut and the one I’ve begun to adjust.
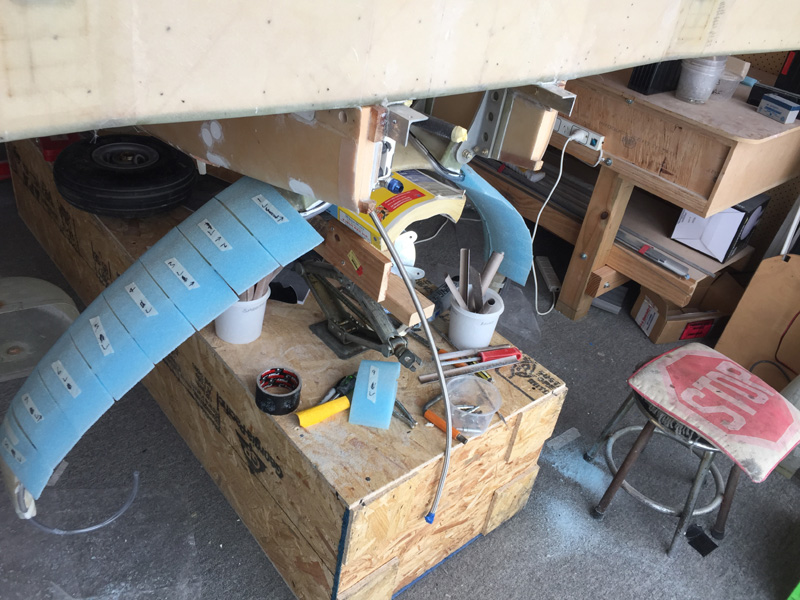
Next up was the initial fit to the legs. I did two rounds of this. One to get close and the next time I got serious and did a dry line up to ensure there was enough wiggle room to get things lined up in an optimal fashion. There was a couple of hours just in that step. The foam was very thin and I was very careful. You can see I have the wheels and axles off – that only took about 10 minutes.
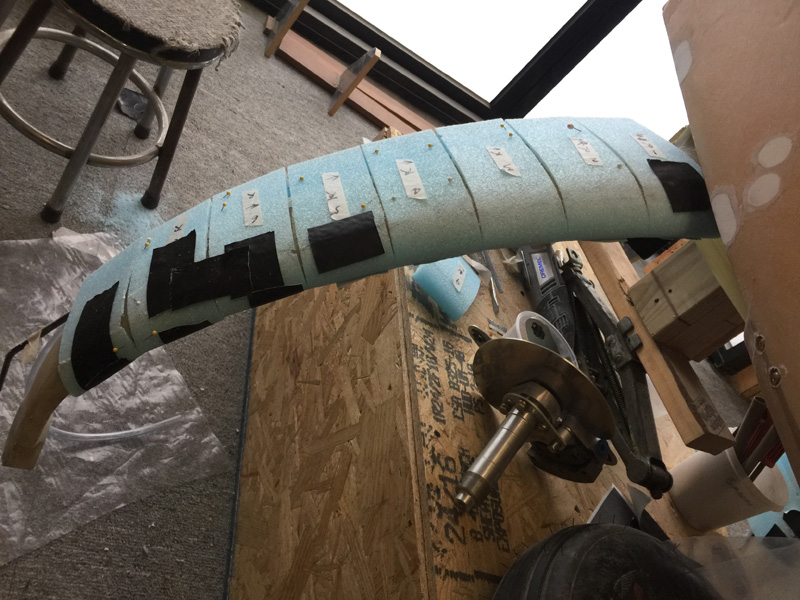
I coated the legs with pure epoxy and then mixed very dry micro and went from the top foam piece to the bottom in fitting them. I had a few ideas on how to secure them while the micro dried. It turned out to be easier than I thought. I had the hot glue and 5mt glue ready but all it needed was the dry micro, gaffa tape and hat pins. I used about 90 grams of micro all up.
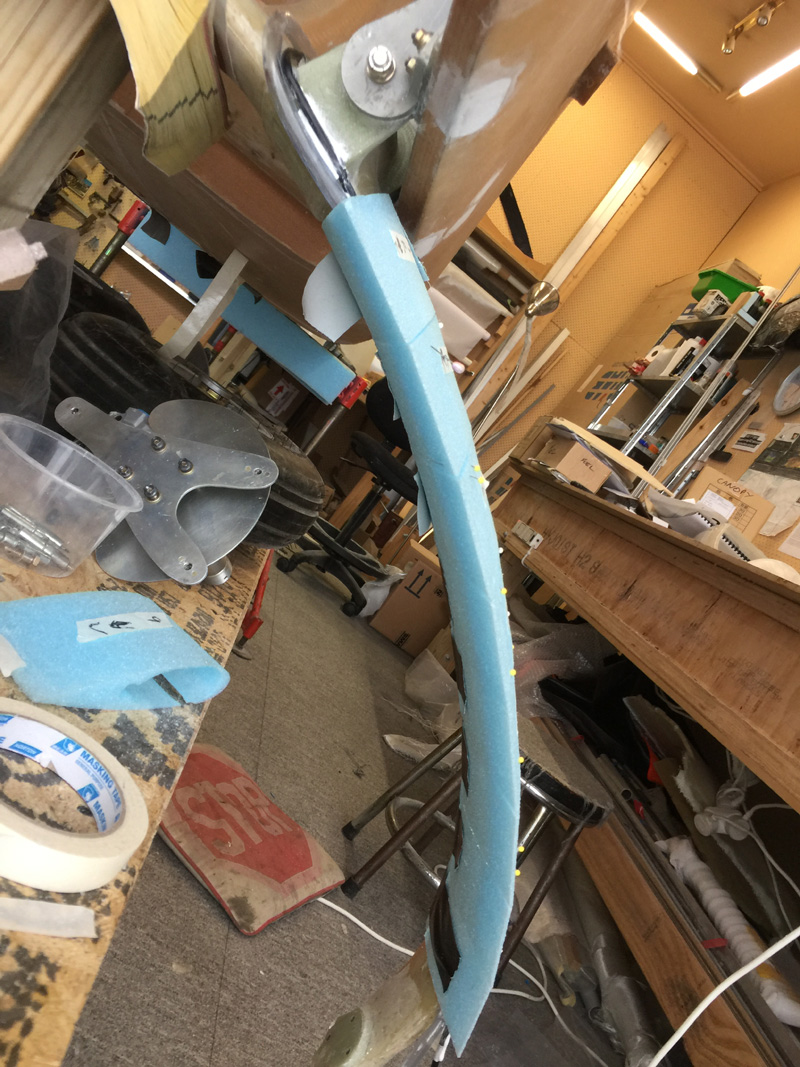
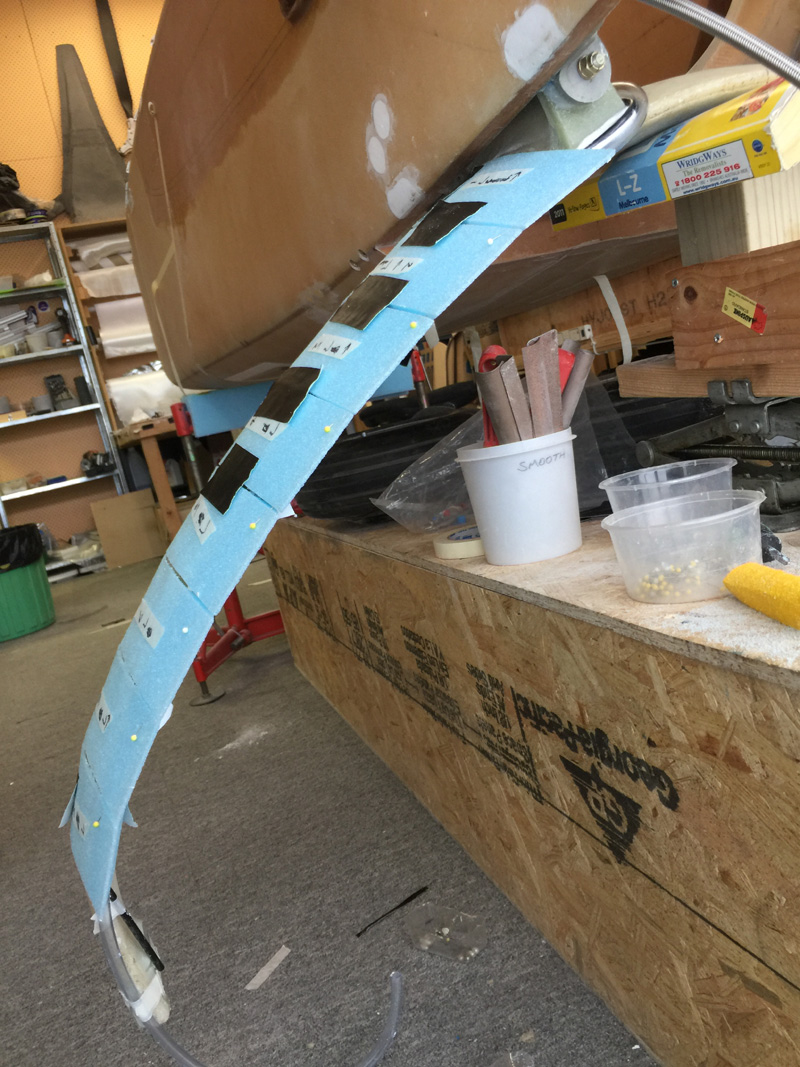
You can see here I have things lined up as well as is possible with these curved legs. The pins and tape work as ‘clamps’.
These shots showing the trailing edge above and leading edge below as close as I could get it.
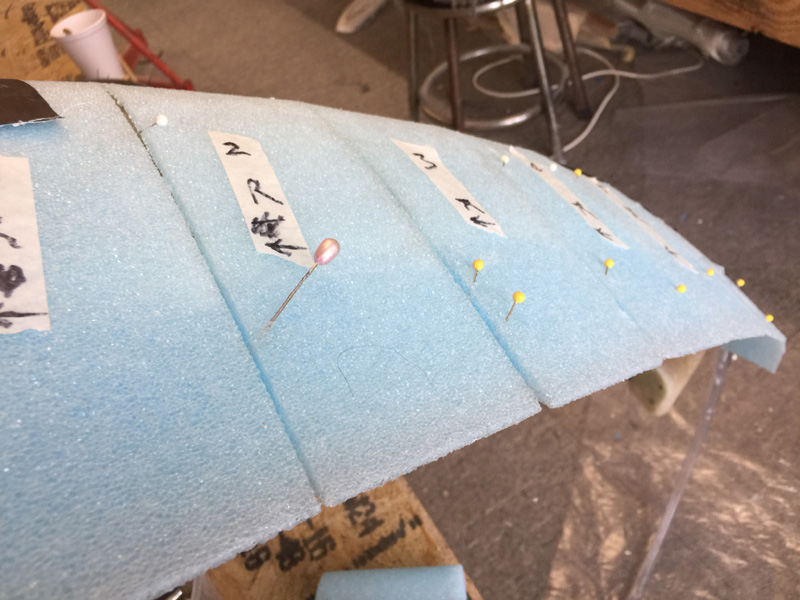
Here’s a close up of my pins. Another ‘tool’ bought at the local $2 shop that has been fantastic throughout the build.
From here there is quite a lot of filling work, adding micro to get everything smooth and in line finally for glassing in a few days I imagine. It is good to be doing something with ‘structure’ as this feels like progress.

