• Home
  • Flying
    • First Flight
  • Build by Chapter
    • Ch 3 Education
    • Ch 4 Fuselage Bulkheads
    • Ch 5 Fuselage Sides
    • Ch 6 Fuselage Assembly
    • Ch 7 Fuselage Exterior
    • Ch 8 Roll Over/Seat Belts
    • Ch 9 Main Gear/Landing Brake
    • Ch 10 Canard
    • Ch 11 Elevators
    • Ch 12 Canard Installation
    • Ch 13 Nose and Nose Gear
    • Ch 14 CenterSection Spar
    • Ch 15 Firewall and Accessories
    • Ch 16 Control System
    • Ch 17 Roll/Pitch Trim System
    • Ch 18 Canopy
    • Ch 19 Wings, Alierons
    • Ch 20 Winglets/Rudders
    • Ch 21 Strakes – Fuel/Baggage
    • Ch 22 Electrical System
    • Ch 23 Engine Installation
    • Ch 24 Covers/Consoles
    • Ch 25 Finishing
    • Ch 26 Upholstry
  • Build Mods
    • Liquid Cooling, Numbers, Weights and Flow
    • Cooling
      • Solving Ground Cooling 1
      • Solving Ground Cooling 2
      • Solving Ground Cooling 3
      • Solving Ground Cooling 4
      • Solving Ground Cooling 5
      • Solving Ground Cooling 6
      • Solving Ground Cooling7 – Test Data
      • Solving Ground Cooling 8 – Flap Building
      • Solving Ground Cooling 9 – Hinges
      • Solving Ground Cooling 10 – Lower Flaps
      • Solving Ground Cooling 11 – Upper Flaps
      • Solving Ground Cooling 12 – Completed
      • Cooling the Beast 1
      • Cooling the Beast 2 – Lower Cowl Expansion
      • Cooling the Beast 3 – KW Oil Cooler Diffuser
    • EVS (Enhanced Vision System)
    • Cowl Keeper
    • Rudder Gust Locks
    • Wing Fences
    • Post Cure
    • Hinge Upgrade
    • RAM Air & Hellhole Cover
    • Main Gear Beef Up
    • Pilot Side Windows
    • Baggage Pods
    • Winglet Intersection Fairings
    • Titanium Rollover
    • Nose Gear Doors
    • Wheel Pants/Gear Leg Fairing
    • Cabin heating System
    • Fuel System
    • Roll and Pitch Trim
    • Oxygen System
    • The Ferry Tank
    • Cruise Angle Indicator
    • Fire Extinguisher Install
  • Round the World
    • RTW Route East #12 rev1
    • Survival Equipment
    • Training Flights
  • Other Stuff
    • Blog
    • Around the World: RAAUS Sport Pilot Issue 110
    • Taxi Tests
    • Summary Feb ’24 from an SAAA Meeting
    • AOPA Pilot 27th Sept 2019
    • Build Tests
    • Flying Stories
      • A Long Easy Dream ’06
      • Townsville ’07
      • Cairns ’08
      • Albany ’08
      • East Coast ’08
      • Brisbane ’09
      • Cairns ’10
      • Perth ’10
    • Non Build Mods
      • F16 Scoop for JZE
      • Ram Air Box for JZE
      • Strange Tips
    • Milestones
    • Links
  • Contact

Blog

Home
Build Mods
Gear Leg Fairings Bonnet Prep

Gear Leg Fairings Bonnet Prep

8 years ago
Dave Berenholtz
Build Mods, Wheel Pants/Gear Leg Fairing
Date:  11-20-2017
Number of Hours:  15
Manual Reference:  no ref

It looks like it’s easier to post many days work at once. My old logging system didn’t allow for that but now I have my own website. Well….. guess who’s the boss now.

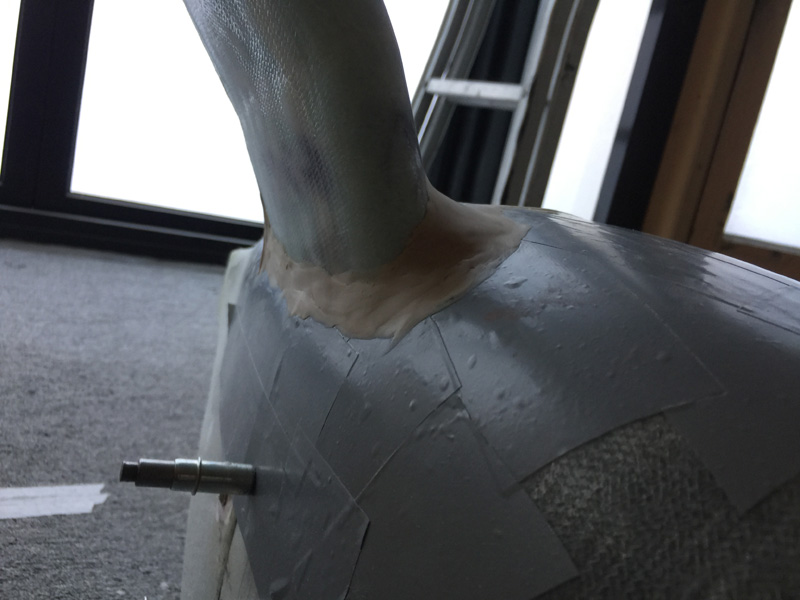
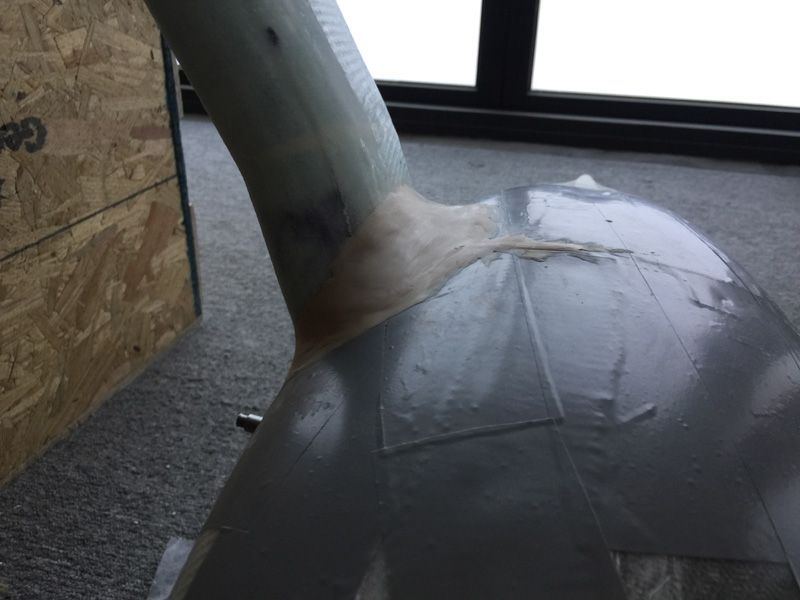
Here’s how the fairings look with the layups done and the pants back on. From here I needed to make some decisions. The intersections at the fairings and pants were not ‘favorable’ or less than 90 degrees so I definitely needed a fairing for the fairings at the wheel pants.

The next decision was will I go with the mounting system I have with the existing screws and hard points or will I go for a bonnet per Gary Herzler’s pant instructions? I’m going for a bonnet as I’m worried about the tire clearances and a bonnet with fittings on top will allow me to ensure I get those lightweight floppy sided pants sitting away from the tires.

So a bonnet means I need a bit more meat on the pants where fasteners will go bear the gear leg cut outs. I went for a 4 ply BID layup and you can see the pre-preg items in the pic below.I added some tape and cardboard so I could just glass across the openings to cut out later.

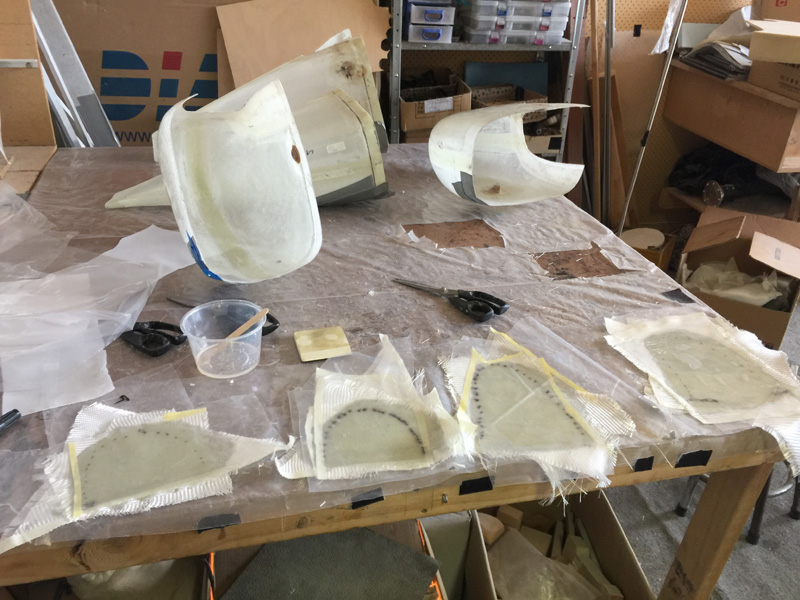
Here are my cutouts all glassed up again. I’ve gone for just under 1.5″ around the cutouts to ensure plenty of support.

All that time spent making the cutouts nice can be redone now as I have filled in all the gaps. A smarter person would have done that first and saved half a days work…

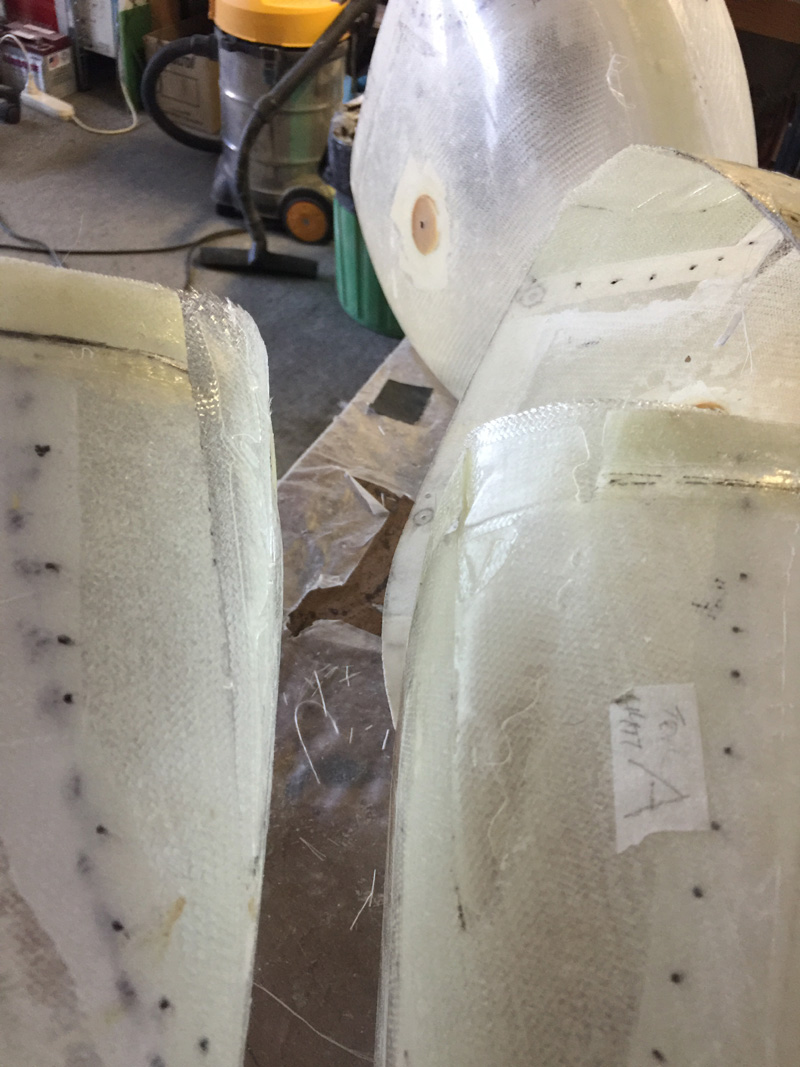
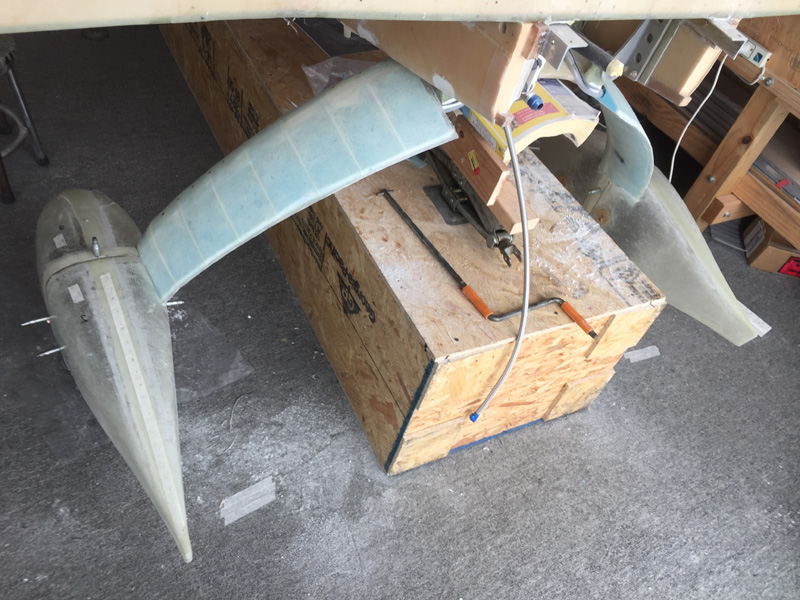
Another issue has cropped up that I was worried about. I need access to put the brake fittings on and I need maintenance access in case they leak or something one day. I can’t just put the fittings on and glass over. I spent a couple of hours re checking where the pants sit and then cutting out gear leg fairing material below those lines.Β  A smarter person would have already had those lines drawn some time ago.

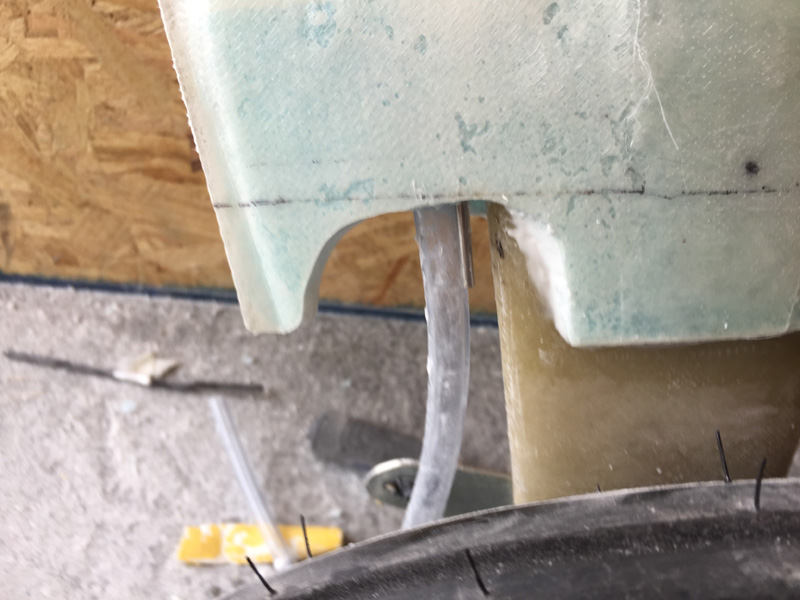
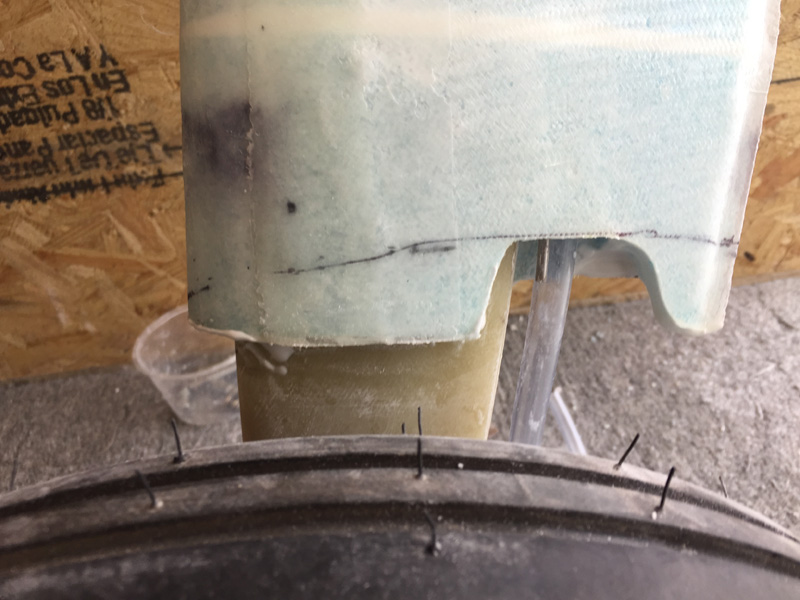
I checked with spanners to ensure that I have good access. I may cut off that bit at the leading edge but it may be a good place to secure the relief tubes so I’ll leave them for now. You can see the stainless steel brake lines next to the plastic tubes. There is plenty of room for fittings. I think I’ll blow out the lines later in the build before putting the fittings on ‘permanently’.

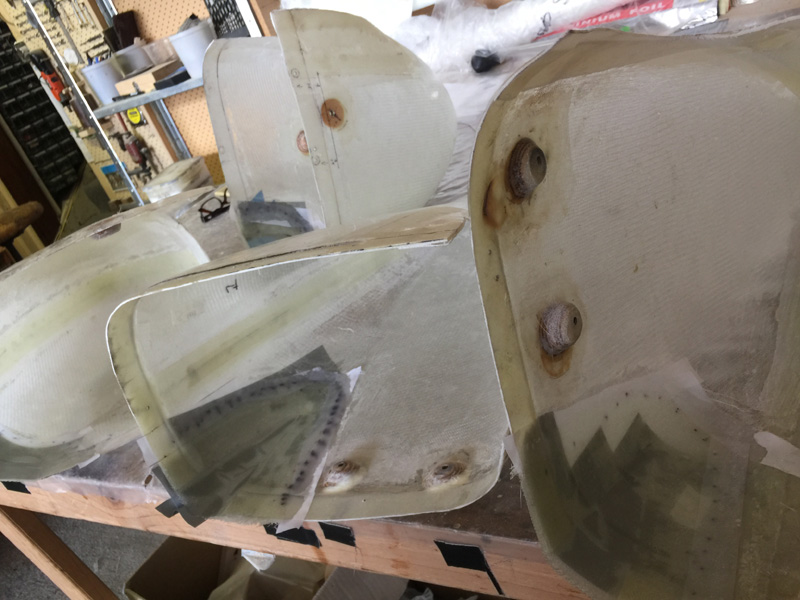
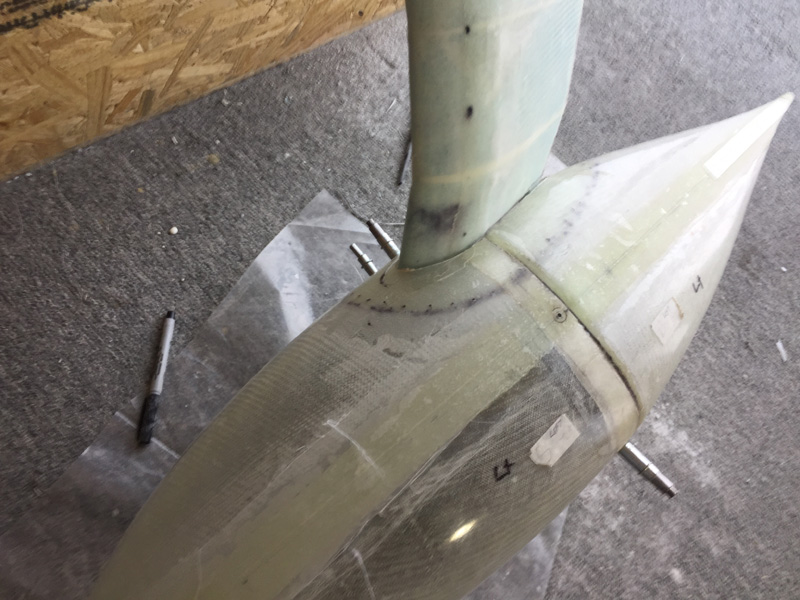
A few more hours again on my knees refitting the pant cutouts. I also enlarged a couple of screw holes to make the pants fit in a more ‘relaxed way’ Its a lot of fiddling I know.

The cutouts are a better fit now, of course I’m the only person who will know as the bonnet will cover this join anyway. Maybe I can remove the pants some timeΒ  and then get a big mirror underneath to show people. Of course even if you are reading this even YOU may not care!

From this point I’ve added release tape and started making clay intersection fairings which will become the bonnet.

I have more to do on this. Its another skill I am to learn, sculpture… who would have guessed this would be needed to build an airplane? Ok, be nice, I haven’t finished yet. The fairings or the plane.


Previous Post
Gear Leg Fairings – Glass the Topside 2
Next Post
Pant Bonnets Good for Now

Leave a Reply Cancel reply

Your email address will not be published. Required fields are marked *

Fill out this field
Fill out this field
Please enter a valid email address.

CategoryLogsHours
All157617079
Uncategorized135
Ch 3 Education220
Ch 4 Fuselage Bulkheads25231
Ch 5 Fuselage Sides32283
Ch 6 Fuselage Assembly30270
Ch 7 Fuselage Exterior14140
Ch 8 Roll Over/Seat Belts990
Ch 9 Main Gear/Landing Brake71642
Ch 10 Canard28287
Ch 11 Elevators36298
Ch 12 Canard Installation12102
Ch 13 Nose and Nose Gear1291097
Ch 14 CenterSection Spar57525
Ch 15 Firewall and Accessories448
Ch 16 Control System27237
Ch 17 Roll/Pitch Trim System654
Ch 18 Canopy70502
Ch 19 Wings, Alierons1271090
Ch 20 Winglets/Rudders71528
Ch 21 Strakes - Fuel/Baggage65437
Ch 22 Electrical System591031
Ch 23 Engine Installation961152
Ch 24 Covers/Fairings/Consoles25202
Ch 25 Finishing561084
Ch 26 Upholstry340
Fuel System46310
Rollover1050
Cabin heating System60331
The Ferry Tank335
Blog2694182
Build Mods2252513
Nose Gear Doors856
Wheel Pants/Gear Leg Fairing40473
Oxygen System762
Roll and Pitch Trim964
Winglet Intersection Fairings445
Baggage Pods11104
Pilot Side Windows437
RAM Air & Hellhole Cover15177
Main Gear Beef Up322
Post Cure124
Fire Extinguisher16
Wing Fences13
EVS (Enhanced Visual System)130
Hinge Upgrade115
Cowl Keeper110
Rudder Gust Locks19
Cooling20607
Taxi Tests42
Flying10

Complete the Test Flight Program

2025/6/30 10:26:01

Round Australia in Four Flights

2026/4/1 10:26:01

Round the World Departure

2026/8/22 10:26:01

Rough River Flyin, Sept 23, 2026

2026/9/23 10:26:01

Β© Copyright 2025 Dave Berenholtz