| Date: 06-11-2018 | |
| Number of Hours: 7 | |
| Manual Reference: no ref |
The gauges finally got floxed into position today. Yesterday was more fitting and filing and a little painting too.
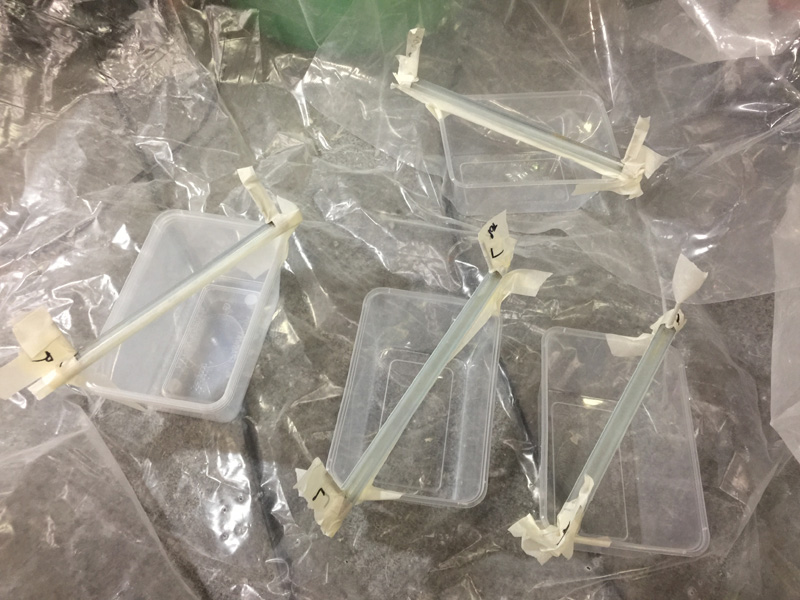
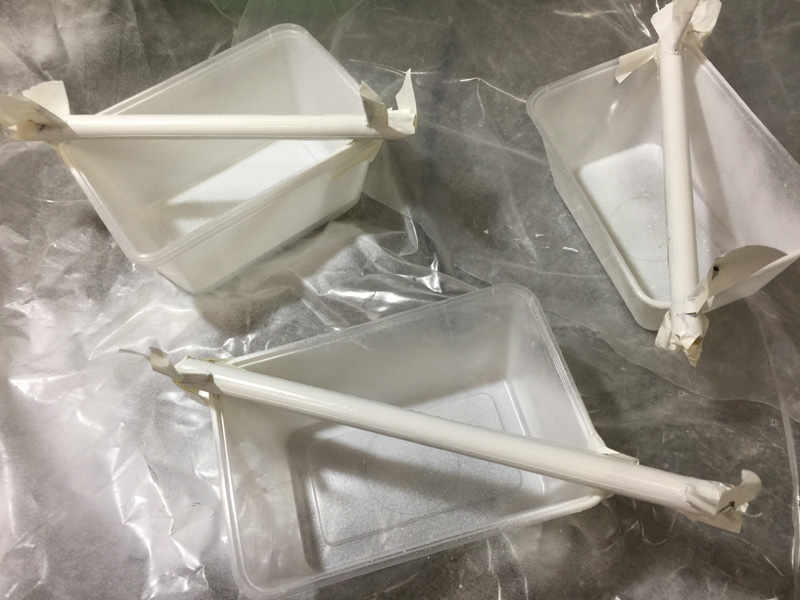
I fitted the gauges yet again, marked out the locations and masked up for some white background paint. I could have just used some white silicon behind the gauges but I wanted to be in control.
Three coats of white and an overnight dry.
Tapes off and it will work out. I taped the rear gauges a little differently to the front ones to allow for the change in viewing angle.
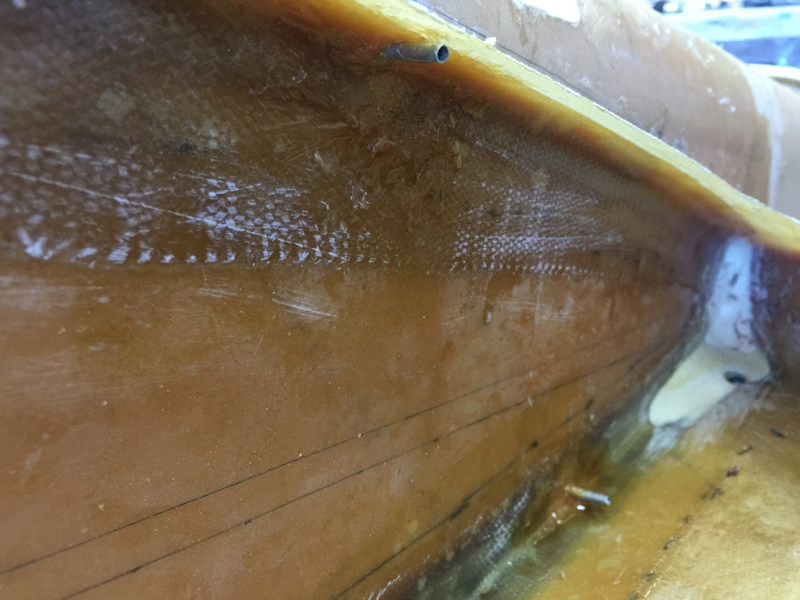
Last night I also added some pure epoxy and wet flox to seal the ‘open cut’ areas under where the tubes will go.
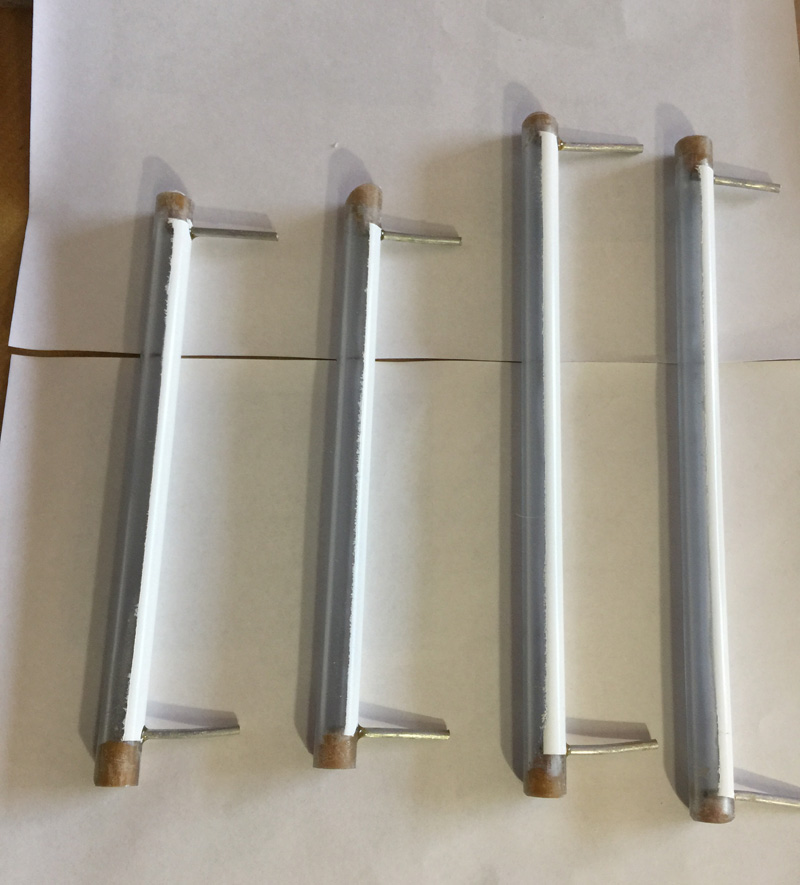
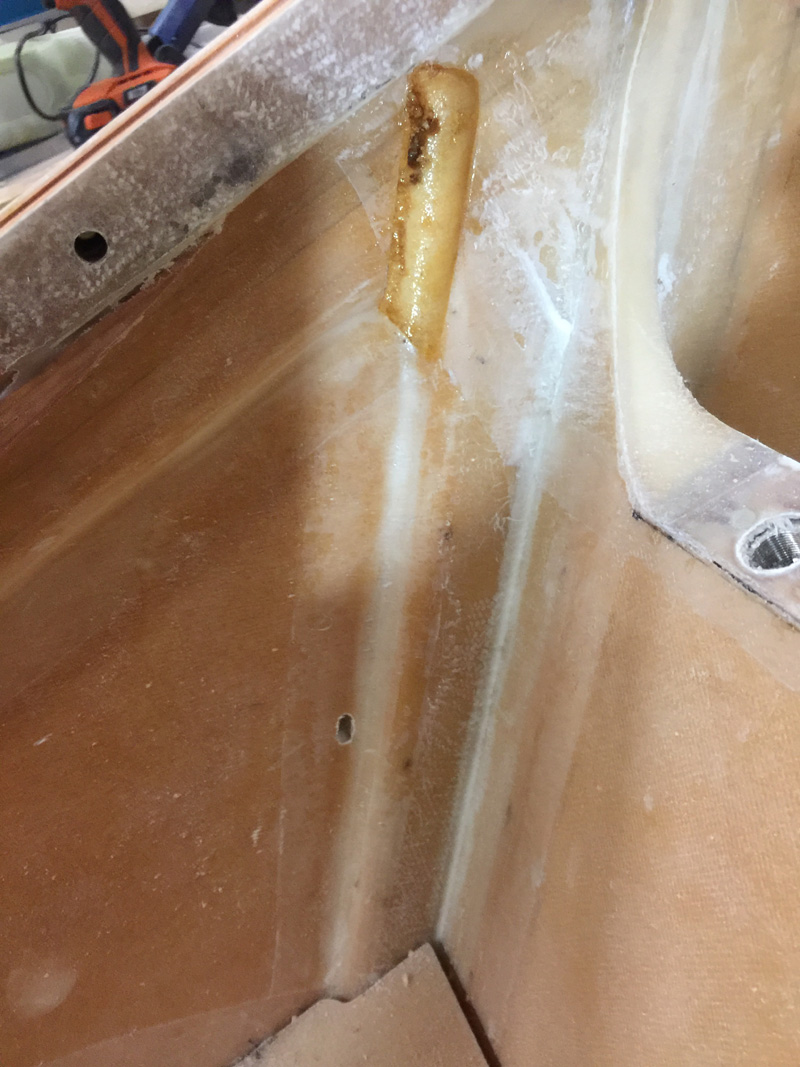
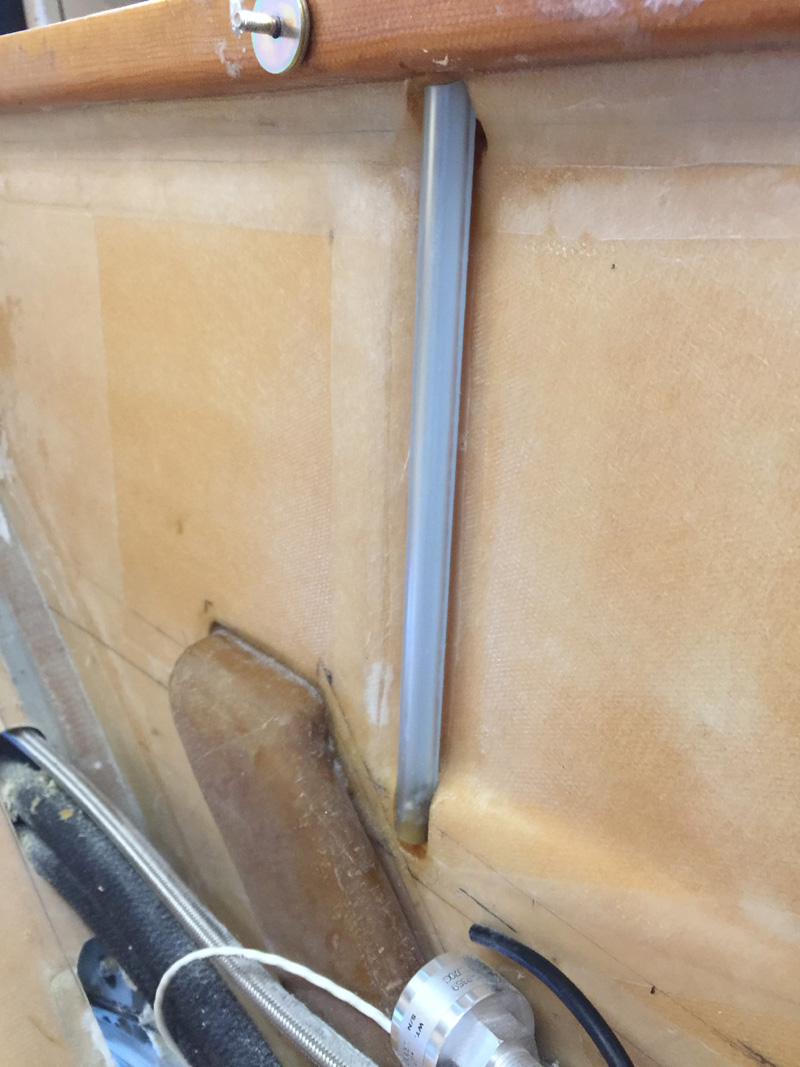
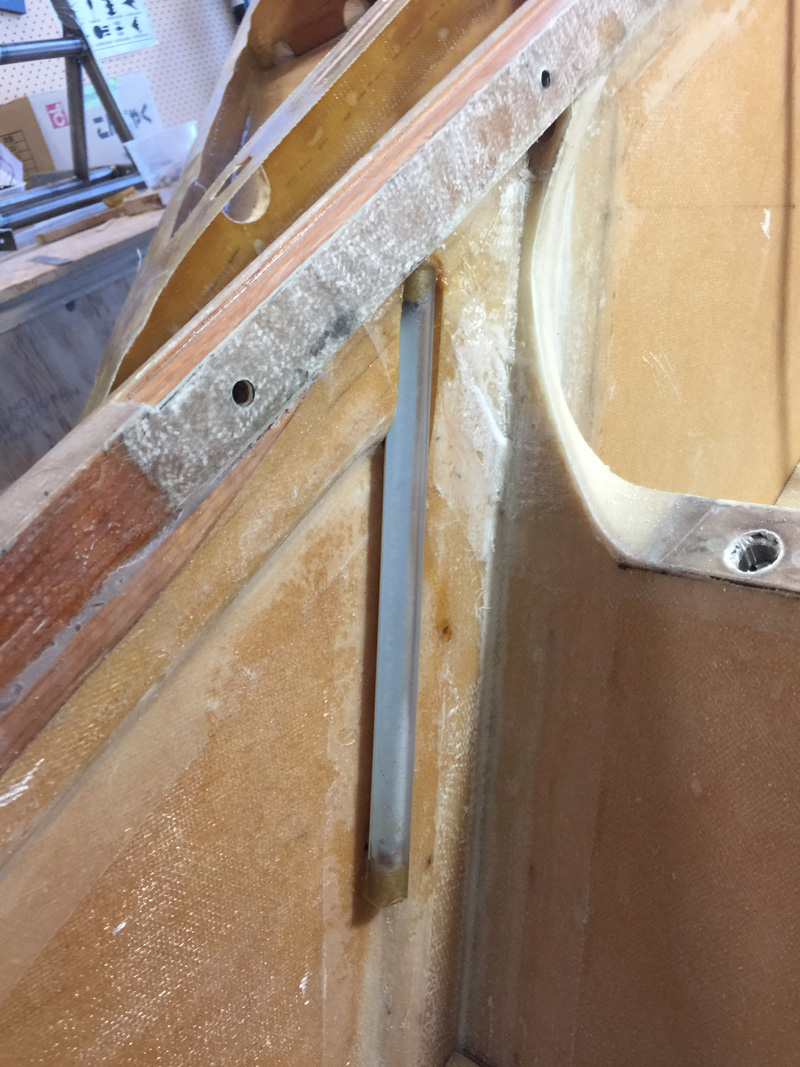
Today the four tubes were floxed in place.
You can see on the front ones particularly I’ll need to add some micro to make it all nice.
I plan to finish off the fitting with a ply of BID over the tops and bottoms of course, just below and above where the fluid will enter.
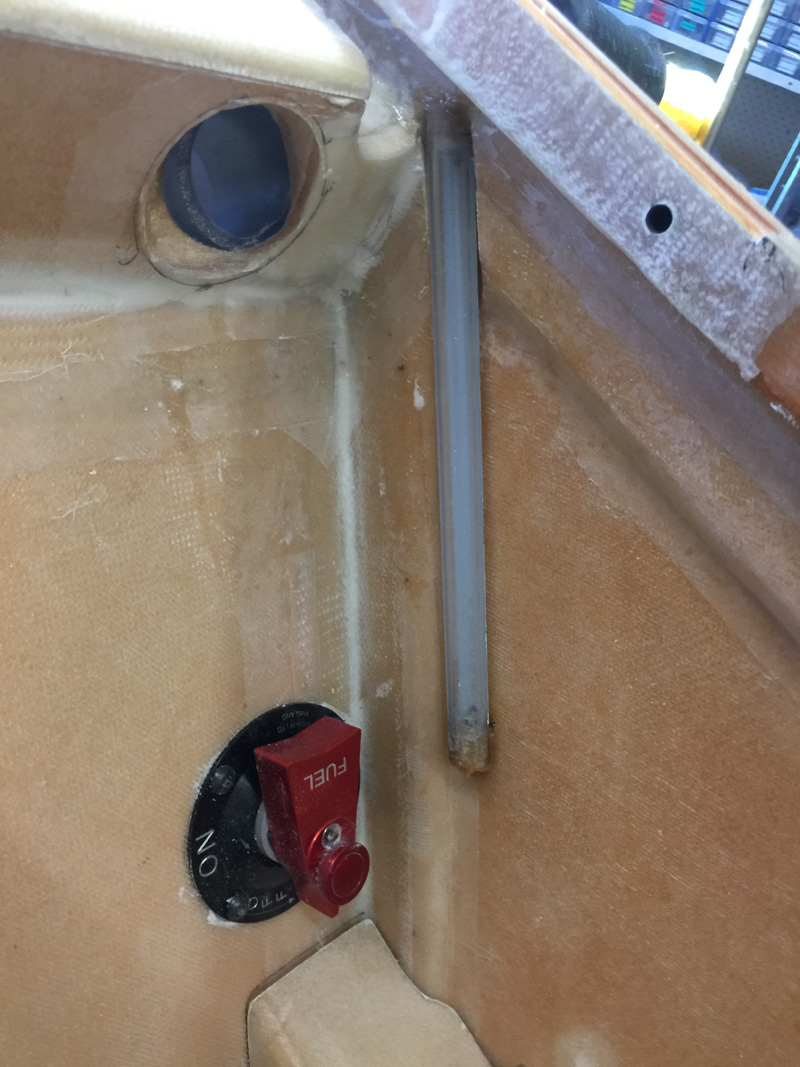
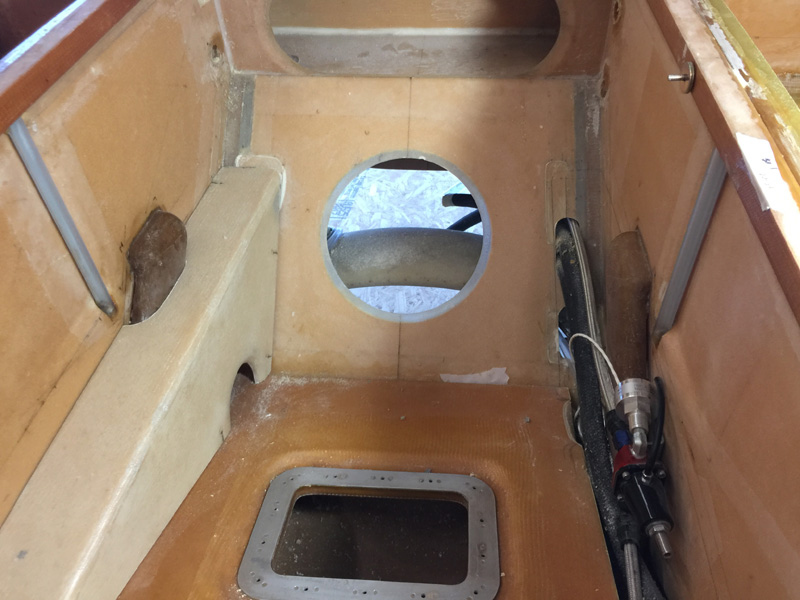
Here are two of the interior tubes. I spent a while ensuring the were well floxed in. Then I added a ply of BID on the outside to again ensure a good seal.
You can see my rear tubes are a lot longer than the usual Long-EZ sight tubes. I hope to get a really good indication of full and empty with these guys. I also looked at LED lighting today and experimenting with a single LED. I’m going to look at some strip LED’s and see if they might work better.
Given that I’ll leave these tubes for now and work out the lighting before finishing them off cosmetically. Tick this one off the ‘to do’ list before I can close the stakes.

