| Date: 06-07-2020 | |
| Number of Hours: 18 | |
| Manual Reference: 22 |
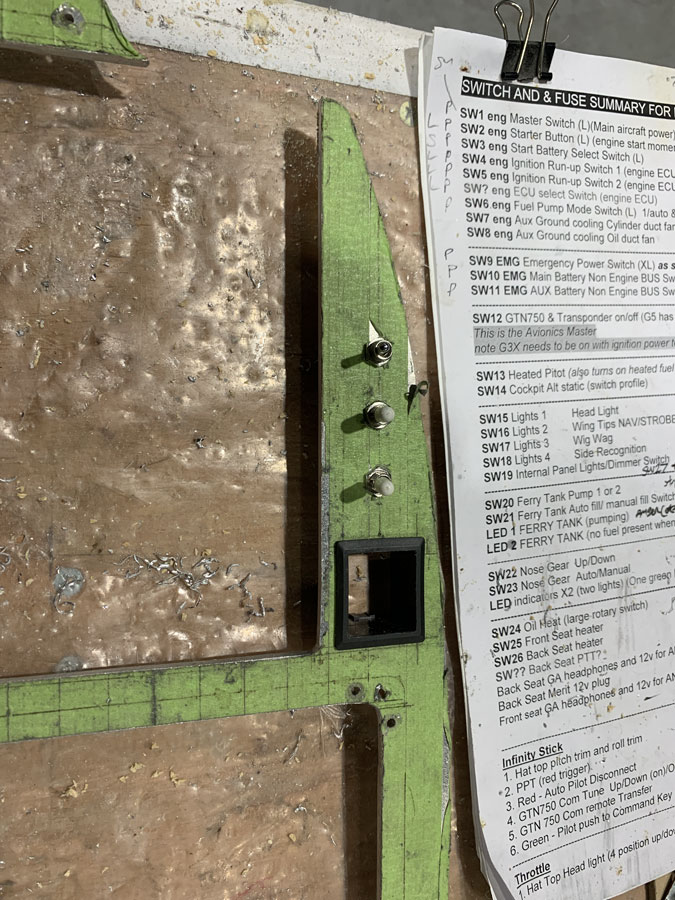
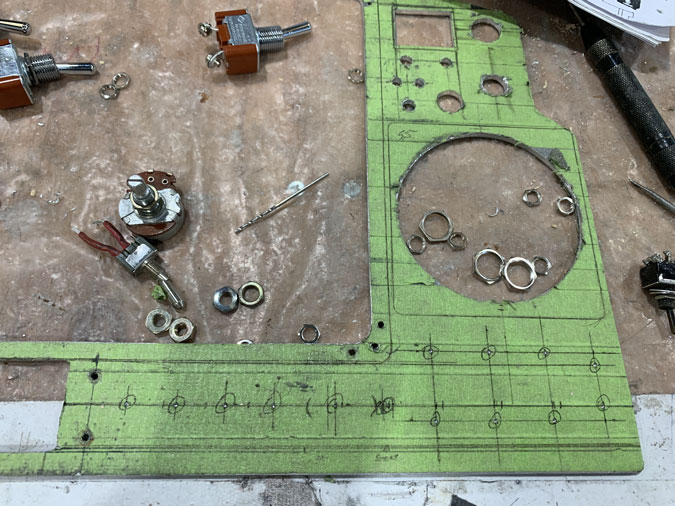
Time to bite the bullet and drill out the main panel for switches. I really had to revisit what I needed and triple check if I had things right and in the optimum position for the pilot. i.e. me.
You can see the check list here. I’ve added three switches, one required and two spare. I already have a job for one of the ‘spare’!
As I added switches I trimmed the glass retaining panel frame to make it all work.
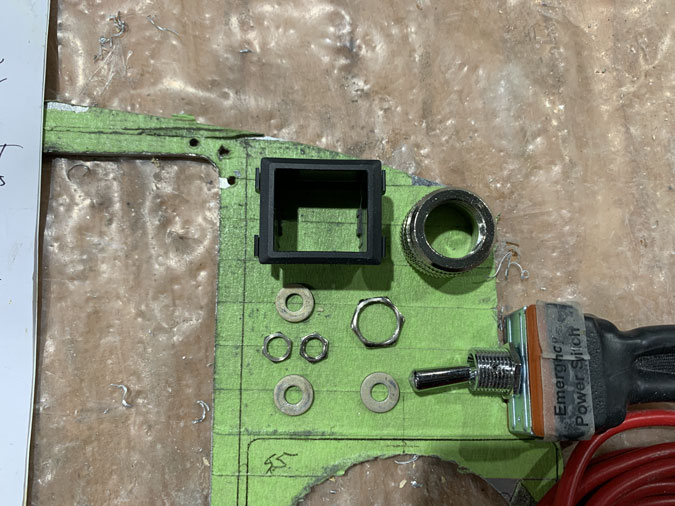
Layouts were done with switch sizes in mind. Some, like the emergency switch, have a huge footprint. Others like the LED indicators are minimal.
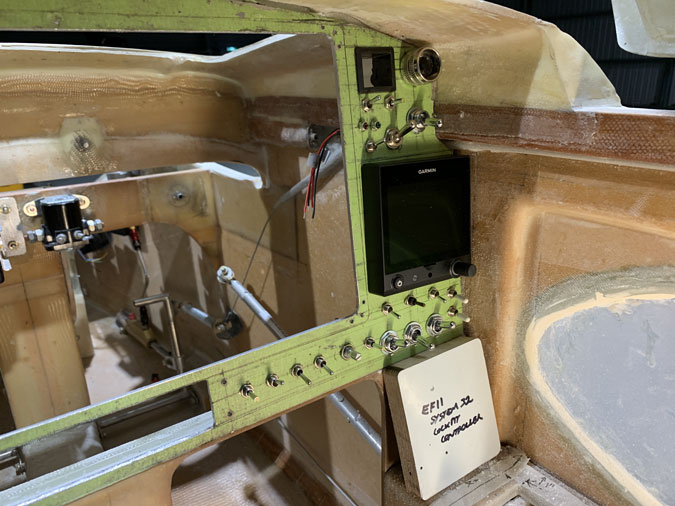
This area has the emergency giant switch, starter button, ferry tank pumping controls and indicators, pitot heat and alternate static. All seldom used items. I expect my right hand will be busy with the stick so these are things suited to the right side of the panel.
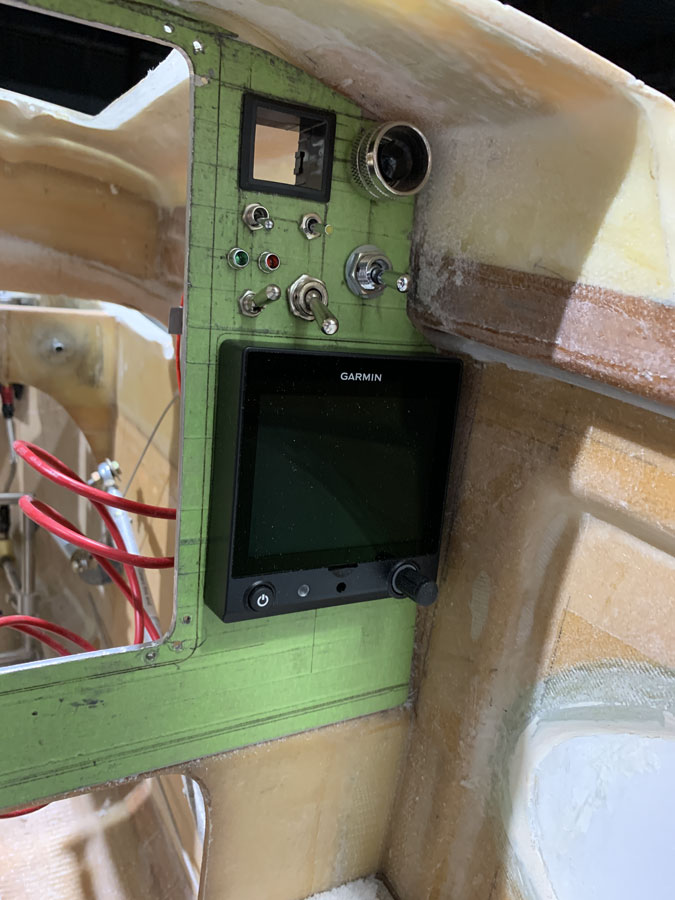
Next up were the lower switches. I really tried hard to have these in line. You might guess that this isn’t exactly CAD work and cut on sophisticated computer controlled routing table. Just a ruler, center punch and a cordless drill.
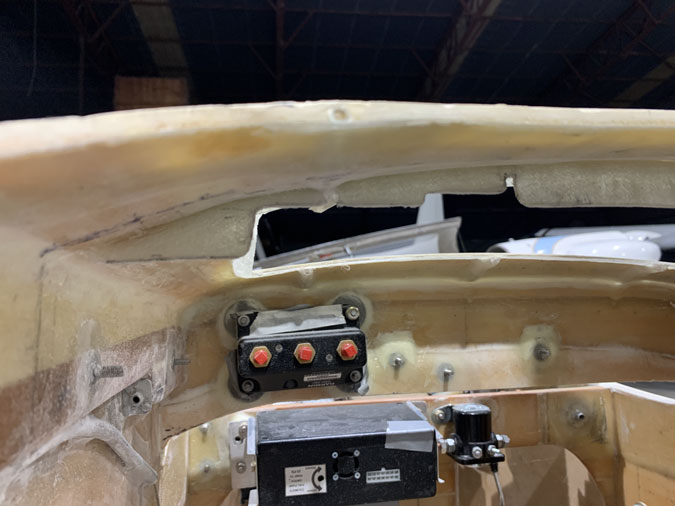
It worked out OK and pretty straight. I have dummy switches in place for now. The EFII controller may need to go on that angle and will be fun and games to fit when it shows up with the engine. I’ve put the Garmin G5 into the panel for now just to ensure the switches are clear.
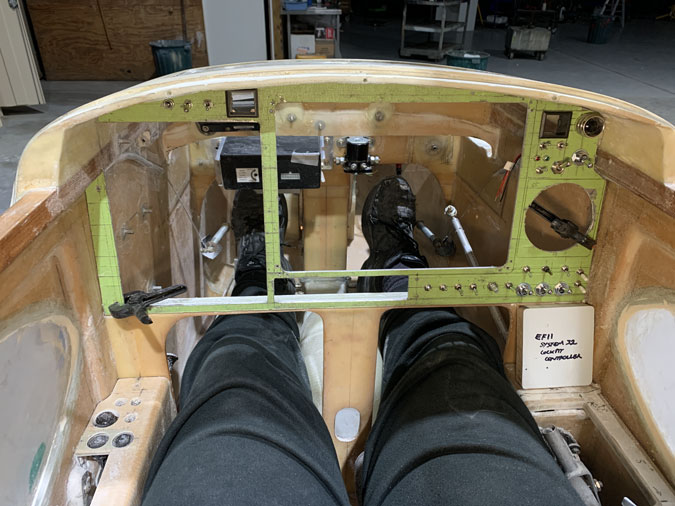
Here’s the overview. I have no idea how I’ll do the lettering and labels. I guess a very small font will be needed?

